The Search Resource Tracker Page enables users to locate and review resource tracker entries efficiently. These entries capture task details, project progress, and resource usage.
Step by Step Guide:
1. Navigate to JOBS > Revenue Tracker > Revenue Tracker.

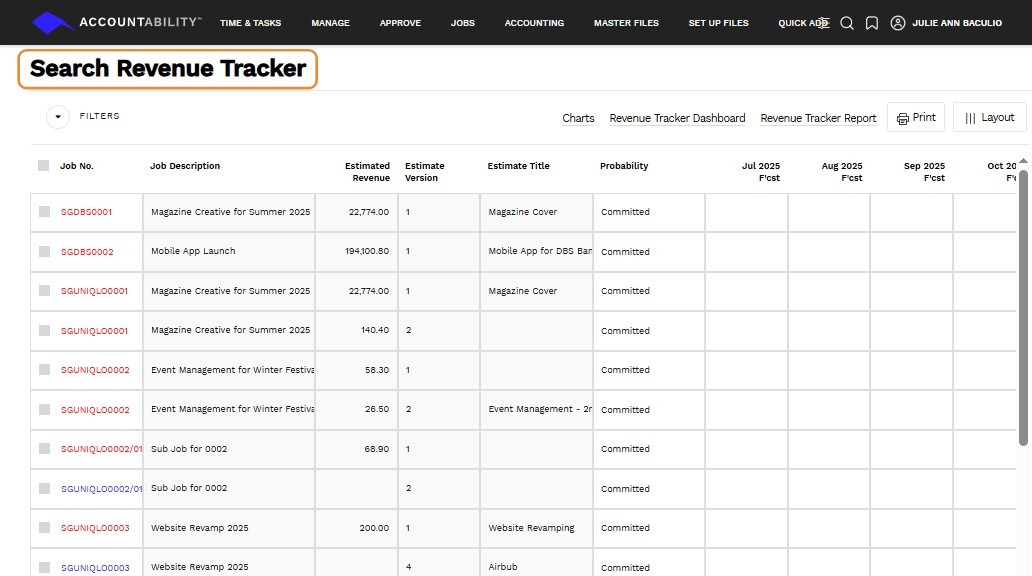
2. The Search Revenue Tracker landing page will be presented.
3. The following filters, buttons, and hyperlinks are available on this page:
Job No. - Enter or select a job number.
Job Description - Enter a job description.

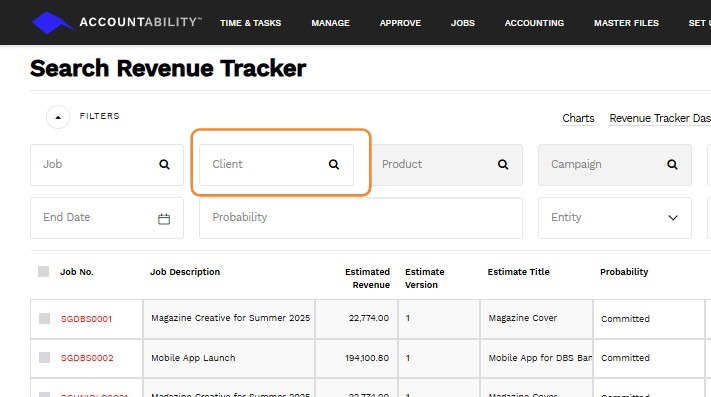
4. Client - Enter or select a client.
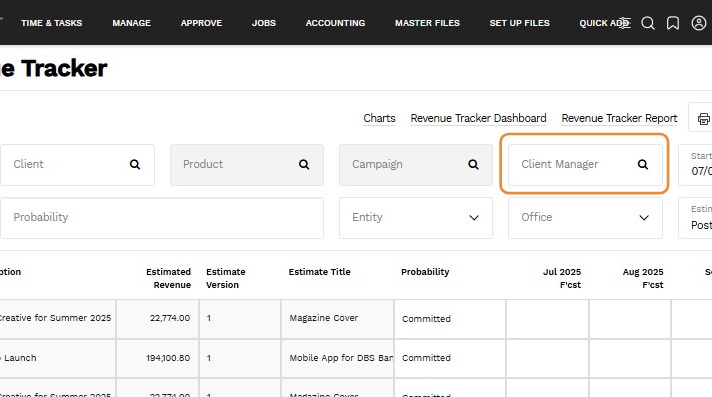
5. Client Manager - Enter or select the client manager.
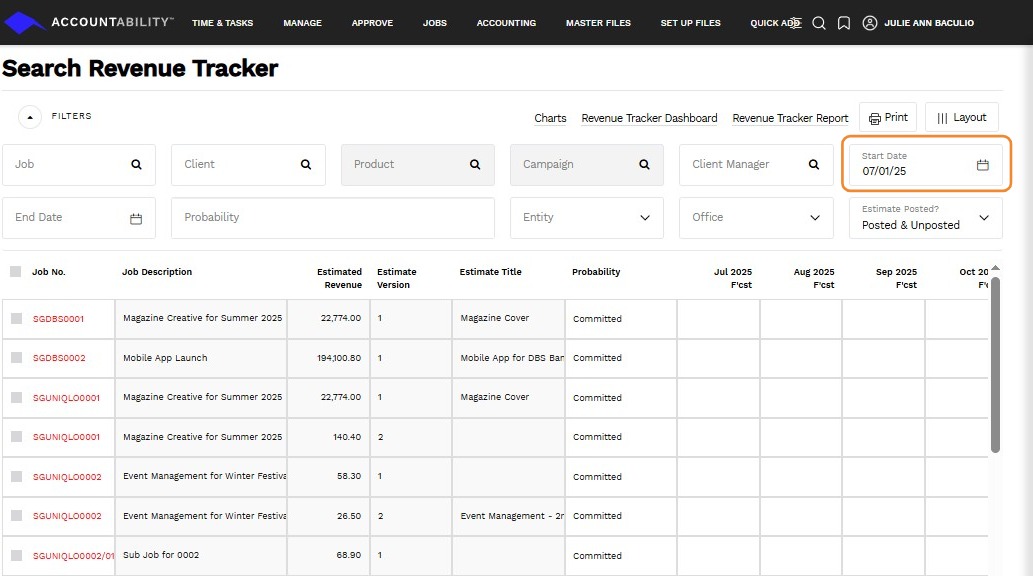
6. Start Date - Enter a start date.
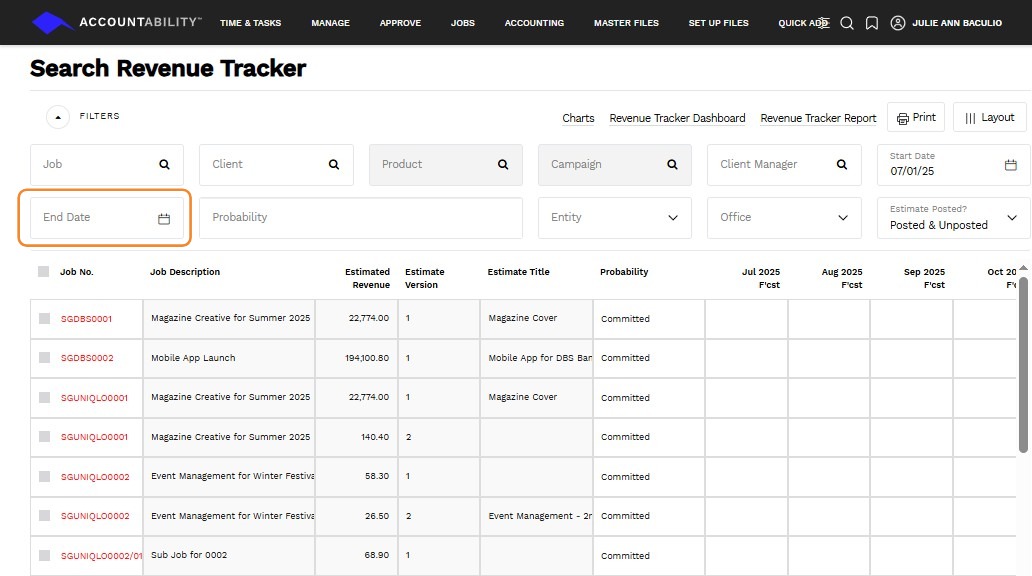
7. End Date - Enter an end date.
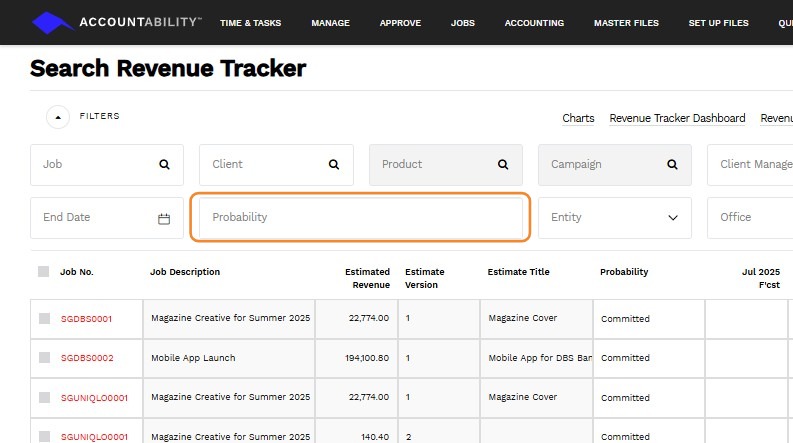
8. Probability - Select a probability status.
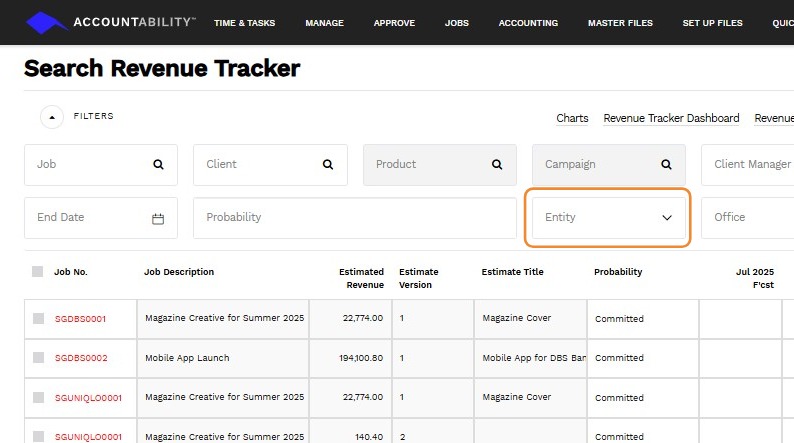
9. Entity - Choose an entity.
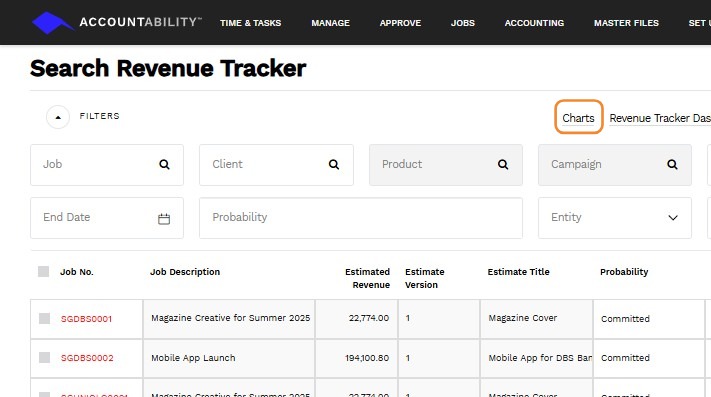
10. Charts - Select the type of chart you wish to view.
- Revenue Tracker by Month Next 12 Months
- Revenue Tracker by Client Next 12 Months
- Revenue Tracker by Job Manager Next 12 Months
- Revenue Tracker by Client Next 12 Months
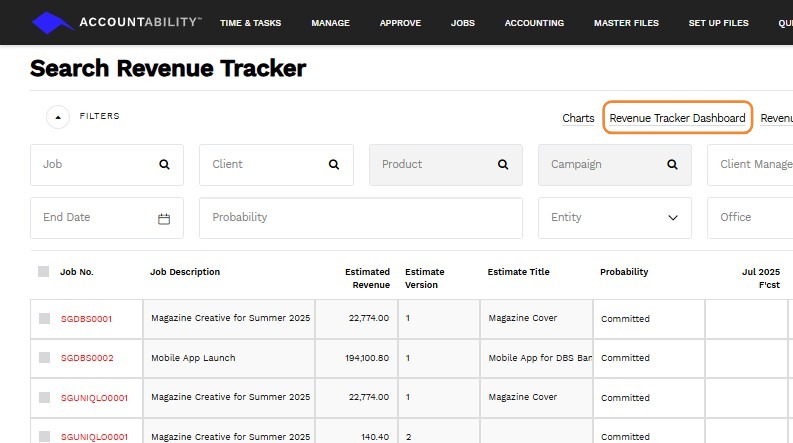
11. Revenue Tracker Dashboard - Directs you to the Revenue Tracker Dashboard.
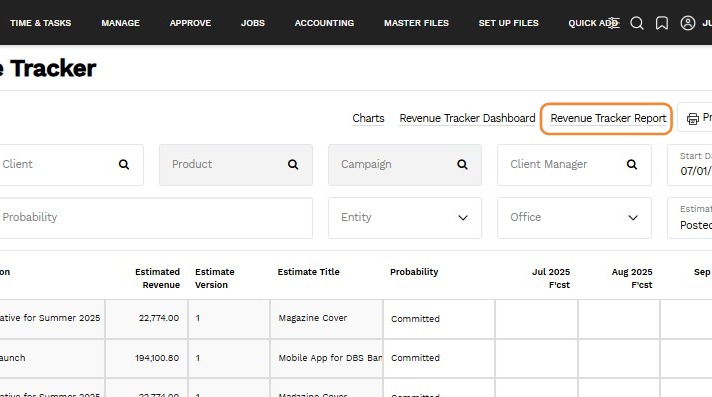
12. Revenue Tracker Report - Directs you to the revenue tracker reports selection page.