![AccountAbility_logo_primary_fullcolor-1.png]](https://knowledgebase.counta.com/hs-fs/hubfs/AccountAbility_logo_primary_fullcolor-1.png?height=40&name=AccountAbility_logo_primary_fullcolor-1.png)
Step by Step Guide:
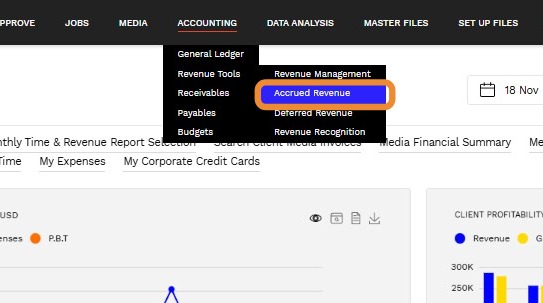
1. Go to Accounting > Revenue Tools >Accrued Revenue
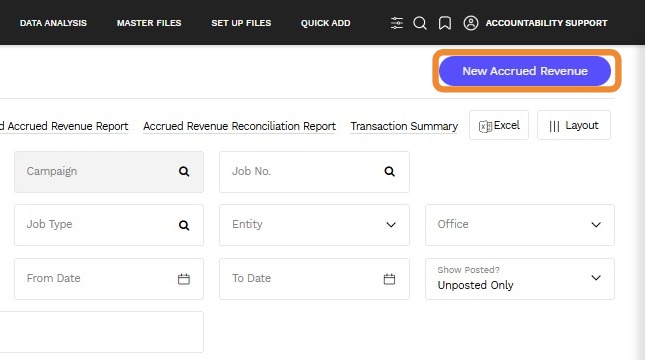
2. Click New Accrued Revenue
3. By default, the Add Estimate radio button will be selected.
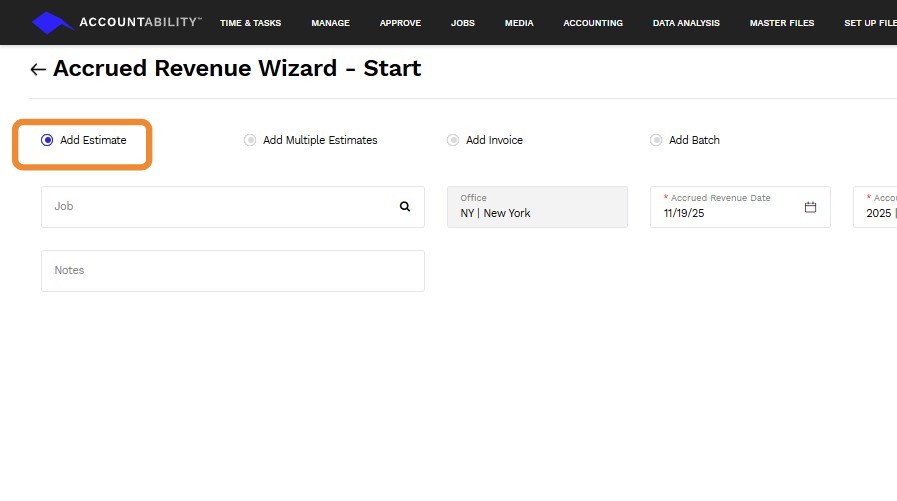
4. Click the Add Invoice radio button and enter or select the Job No from the dropdown menu.
Note:
The Office of the Job will automatically populate.
The date of the Accrued Revenue will default to today's date, which you can change if necessary
If required you can change the Accounting Year and/or Accounting Month.
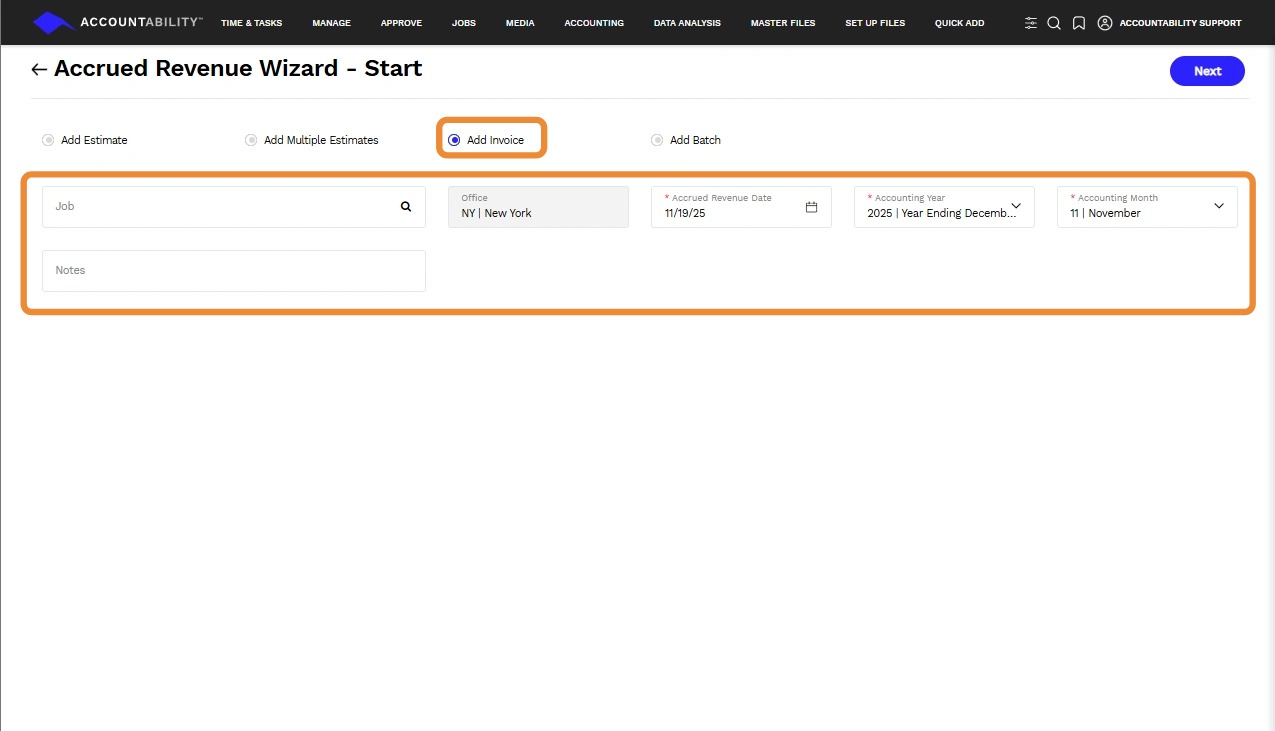
5. Click Next.
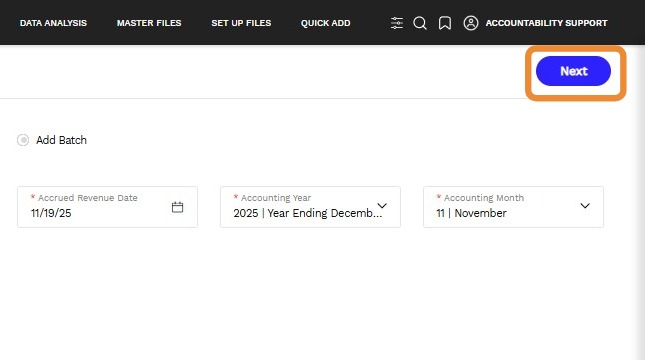
6. This will display a list of the approved Invoices for this Job No.
The Percentage of Each Line to Accrue field will display 100%. If you know you want to accrue less than 100% of the total invoice you can enter the percentage here. NB you don't need to do this at this stage as you can change the specific amounts in the following screen.
Click Next.
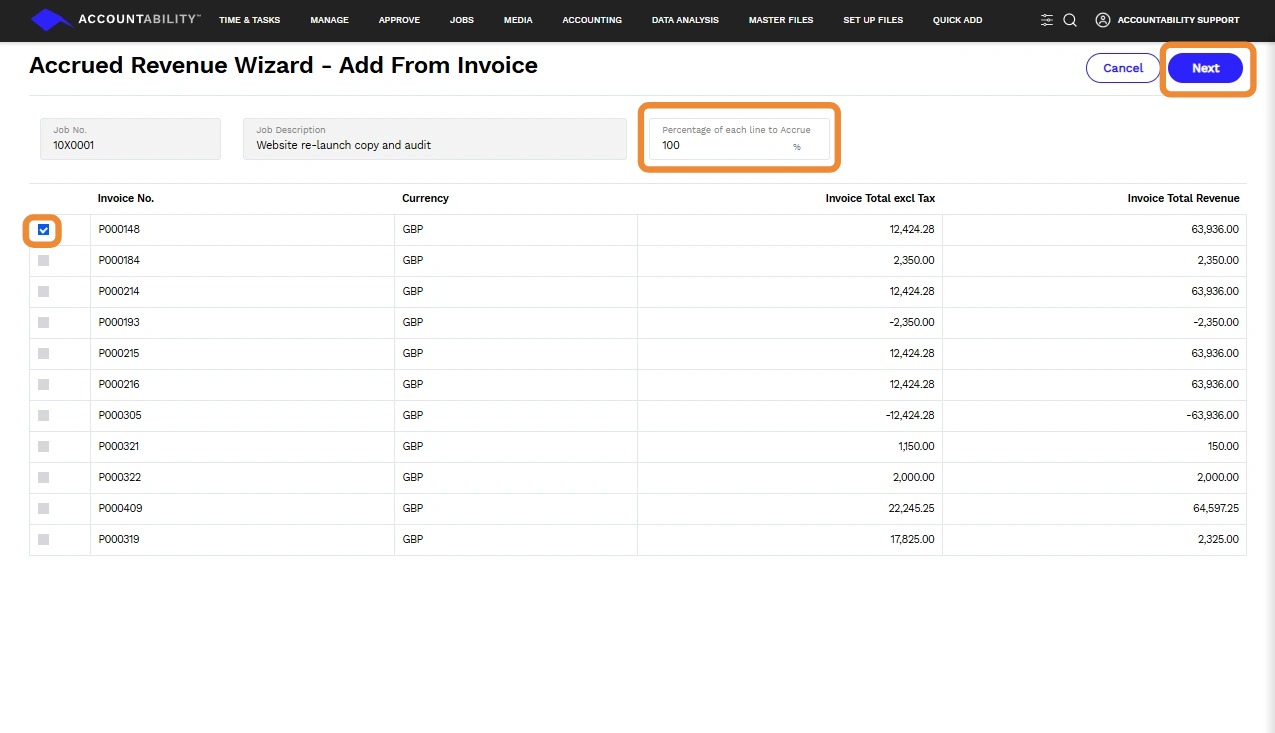
7. Check the box to the left of the Invoice you want to accrue the revenue from
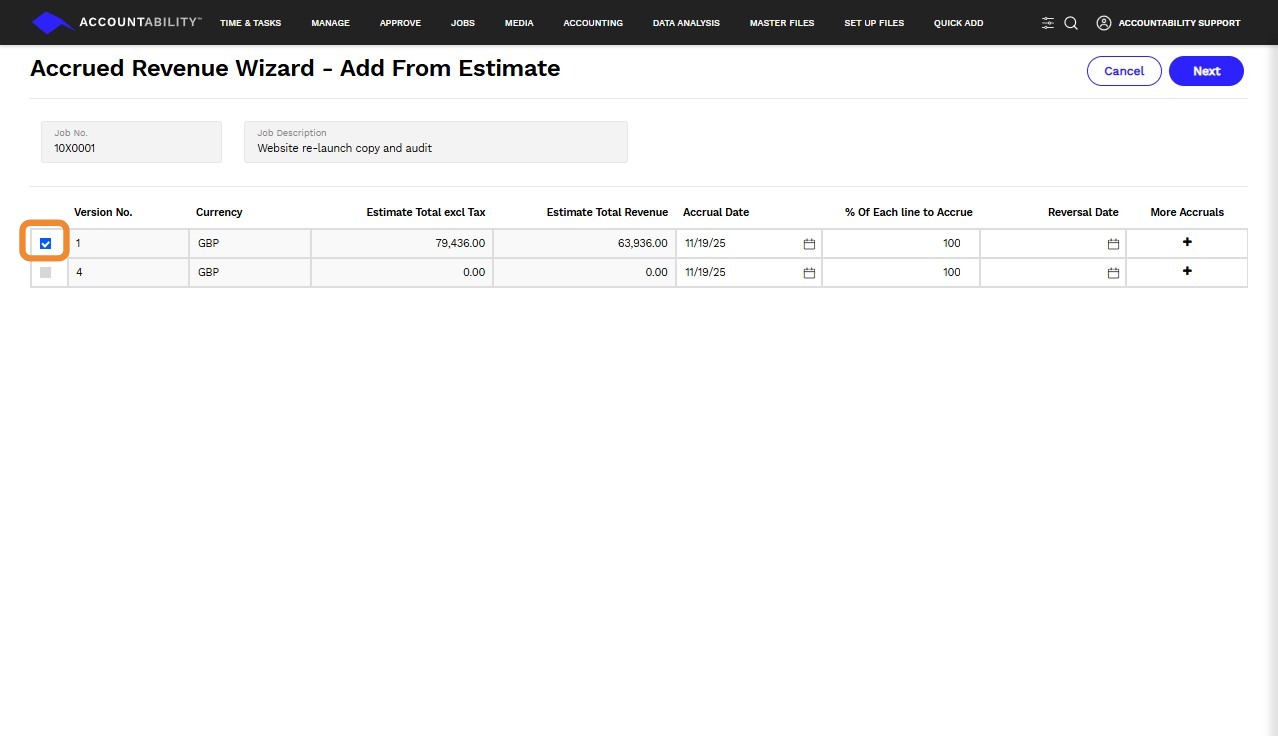
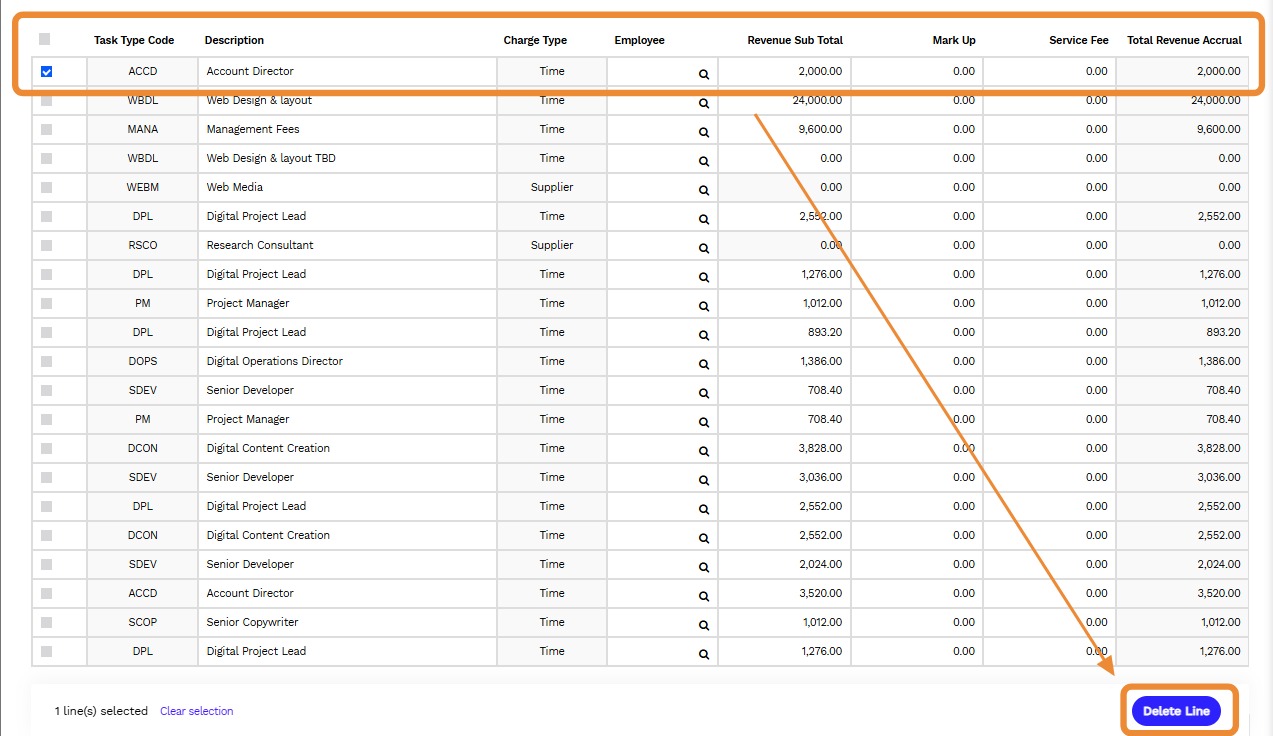
8. - This page lists the source transactions from the selected invoice, and displays the amounts to be accrued
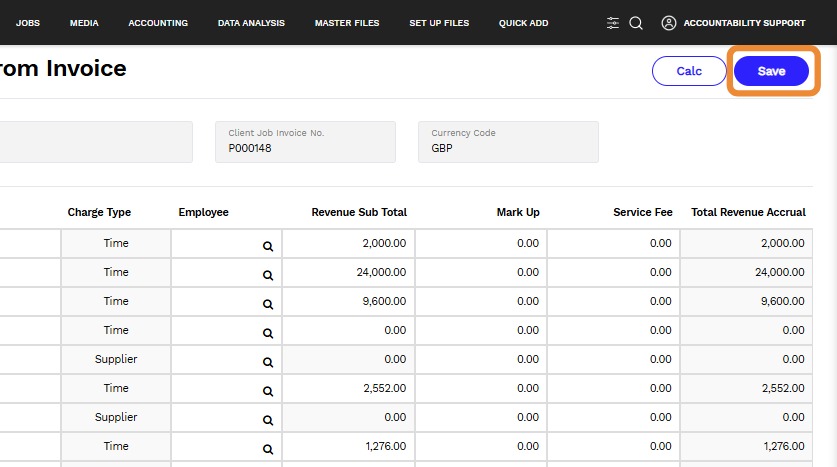
- Edit any amounts that you wish to change, for example you may wish to alter the amount of revenue to be accrued so that it is different to the amount of revenue recognised on the selected invoice
- If there are revenue lines from the source invoice that you don’t wish to accrue place a check/tick next to that line(s) and click Delete Line
9. Once you have confirmed that the amount of revenue to be accrued is correct, click the Save.