![AccountAbility_logo_primary_fullcolor-1.png]](https://knowledgebase.counta.com/hs-fs/hubfs/AccountAbility_logo_primary_fullcolor-1.png?height=40&name=AccountAbility_logo_primary_fullcolor-1.png)
Step by Step Guide:
How to create a client summary invoice
An agency can group invoices to produce a summary version for a quick snapshot of all open invoices for their clients.
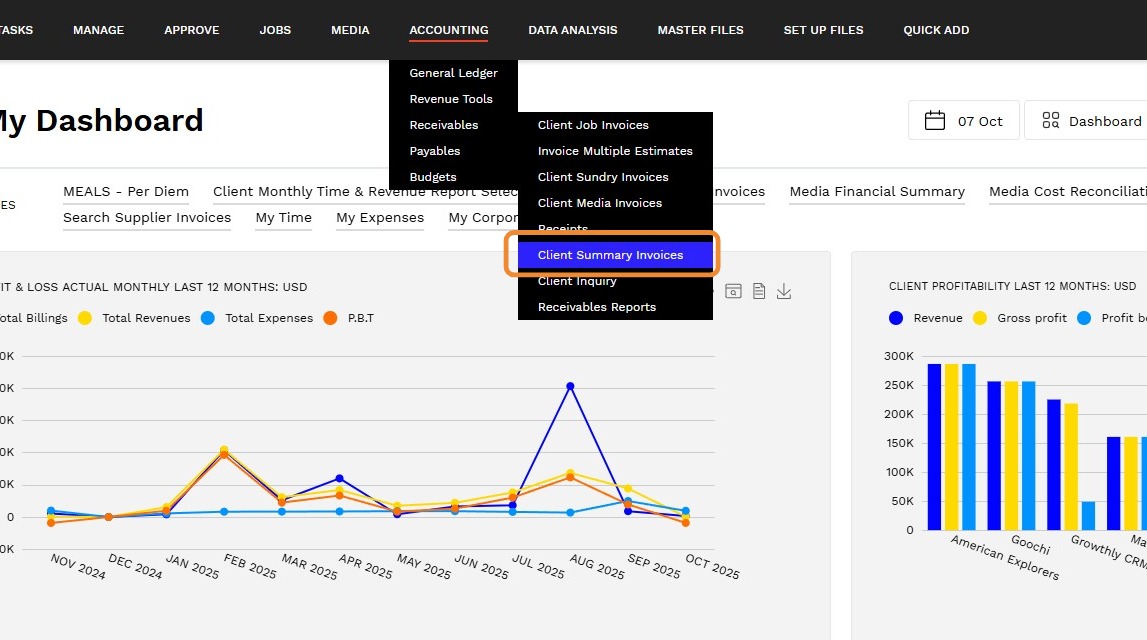
1. Navigate to ACCOUNTING > Receivables > Client Summary Invoices.
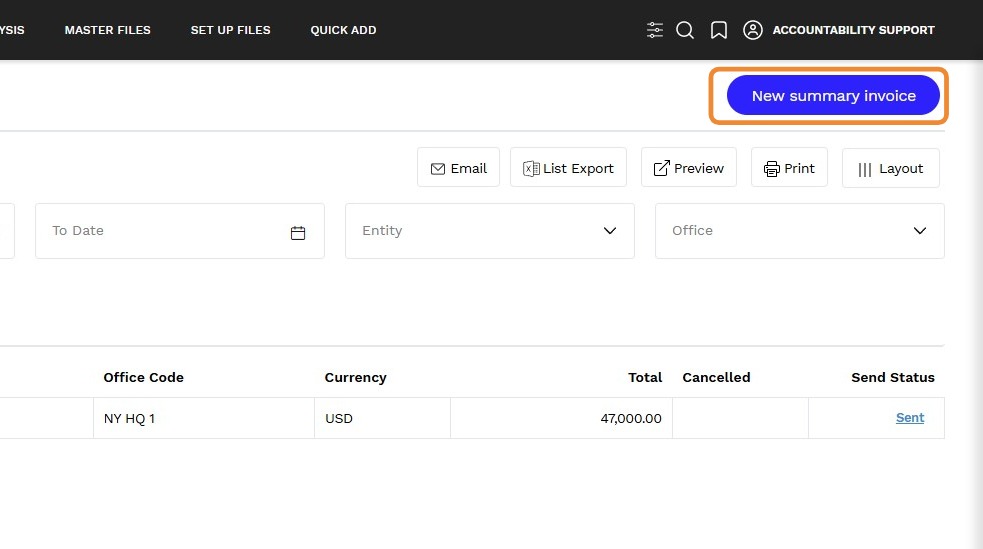
2. Click New summary invoice button.
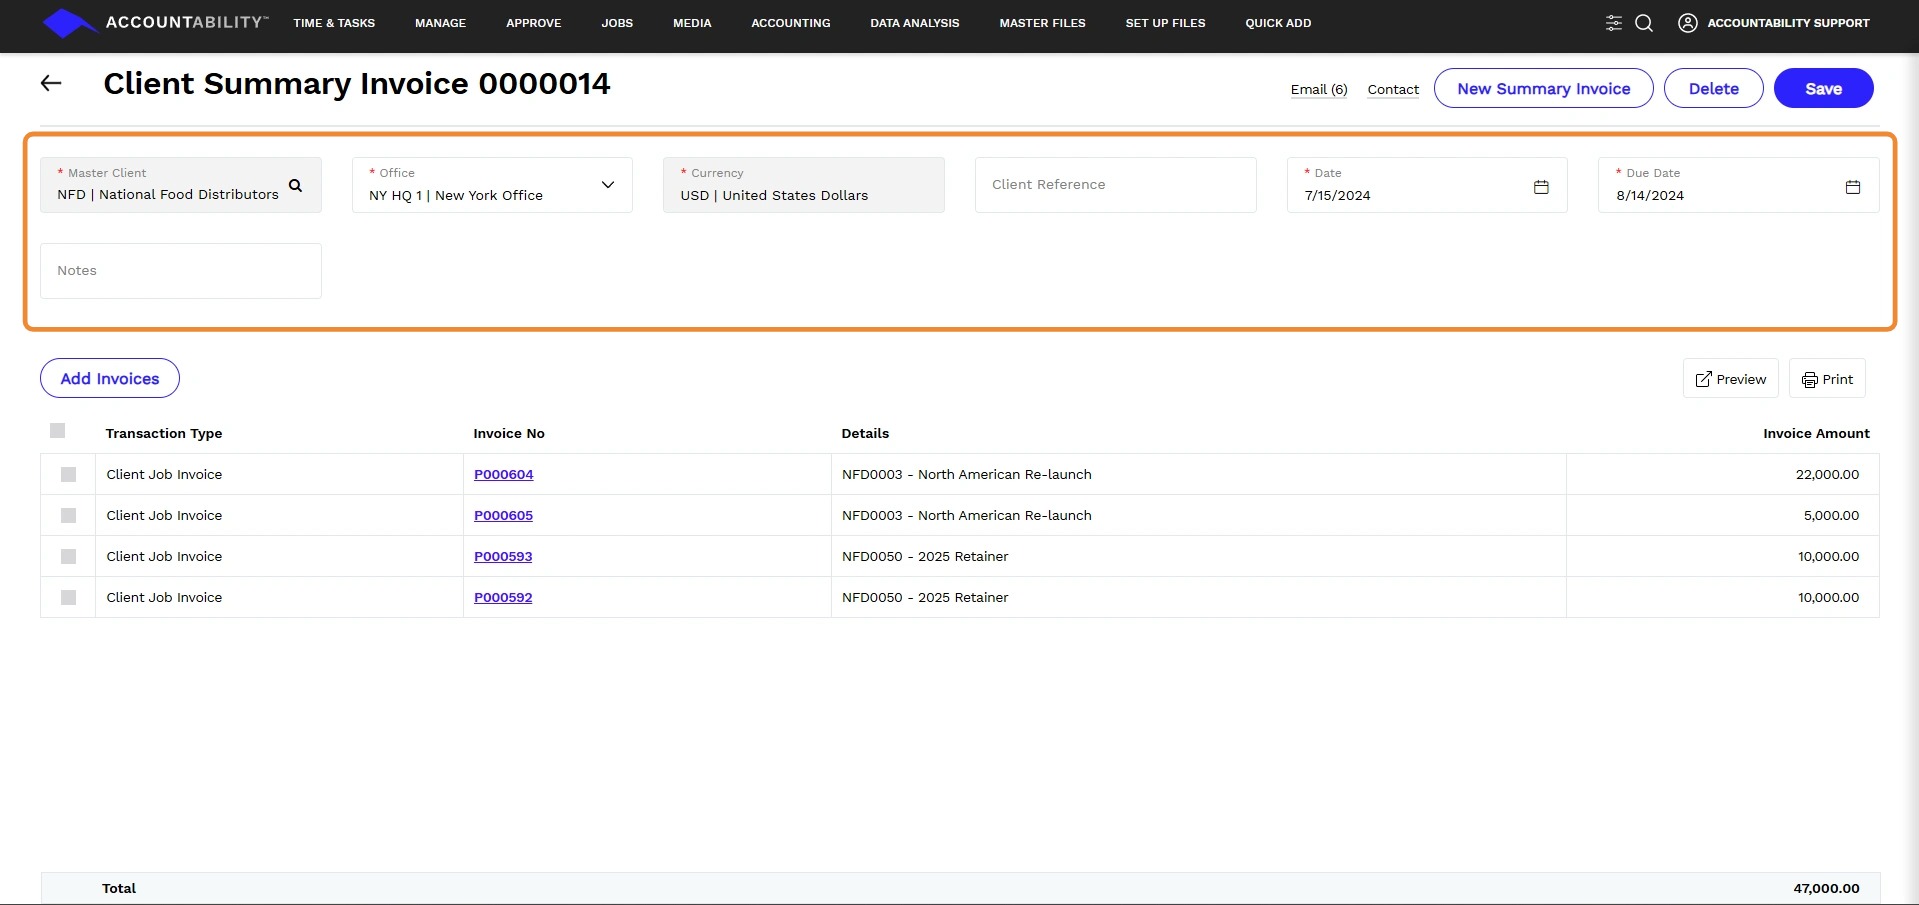
3. Enter the following details:
Master Client - Enter or search for the client code for this summary invoice
Office - Select the office for the system to use the appropriate Report Logo.
Click here for more information on setting up logos.
Currency - Select the currency for the summary invoice. Note: You will only be able to select approved invoices of the same currency.
Client Reference - Enter a client reference number to print on the summary invoice. This reference number will print below the client address - optional.
Date - Enter or click on the calendar icon to select a date for this invoice.
Due Date - Override or leave at the default due date that appears based on the client settings.
Notes - Enter up to 50 characters to be displayed on the summary invoice - optional
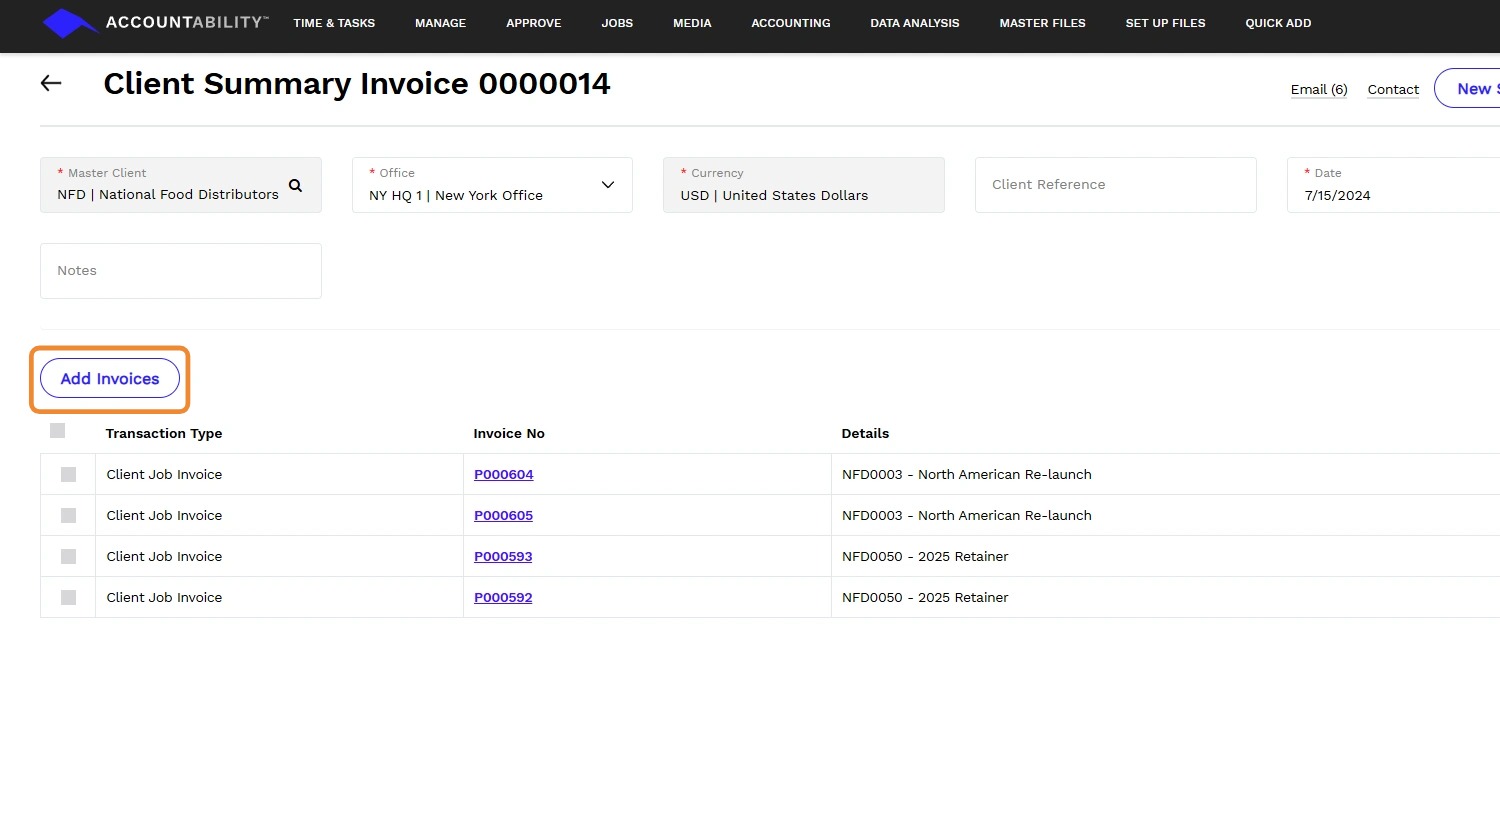
4. Click Add Invoices to link invoices to this summary invoice.
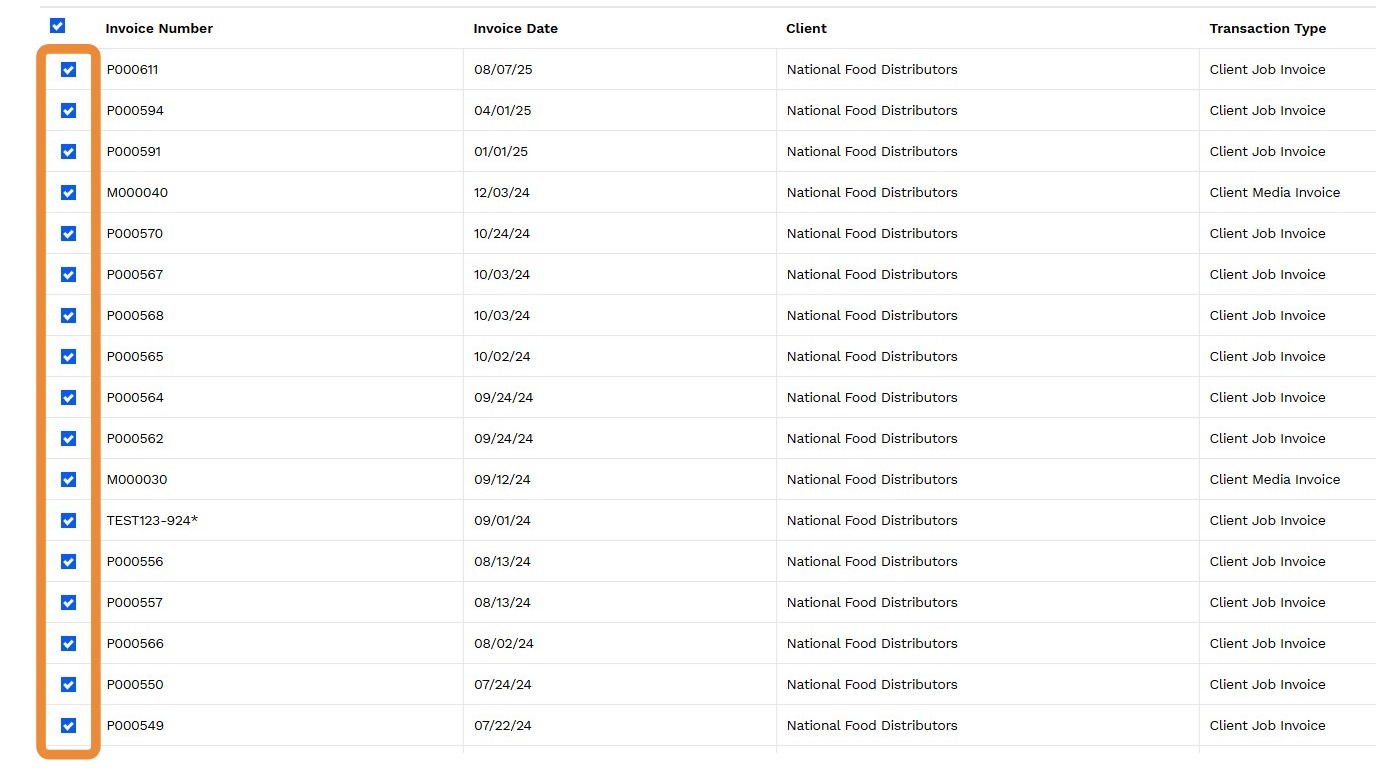
5. The system will direct you to a list of approved invoices for the client selected. Link the invoices to the summary invoice by checking the box on the left for each invoice.
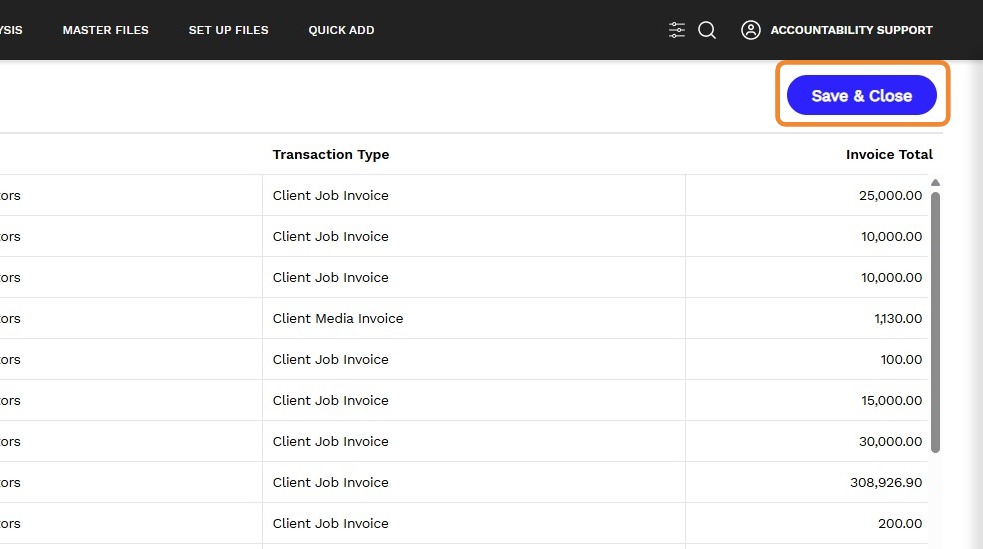
6. Click Save & Close
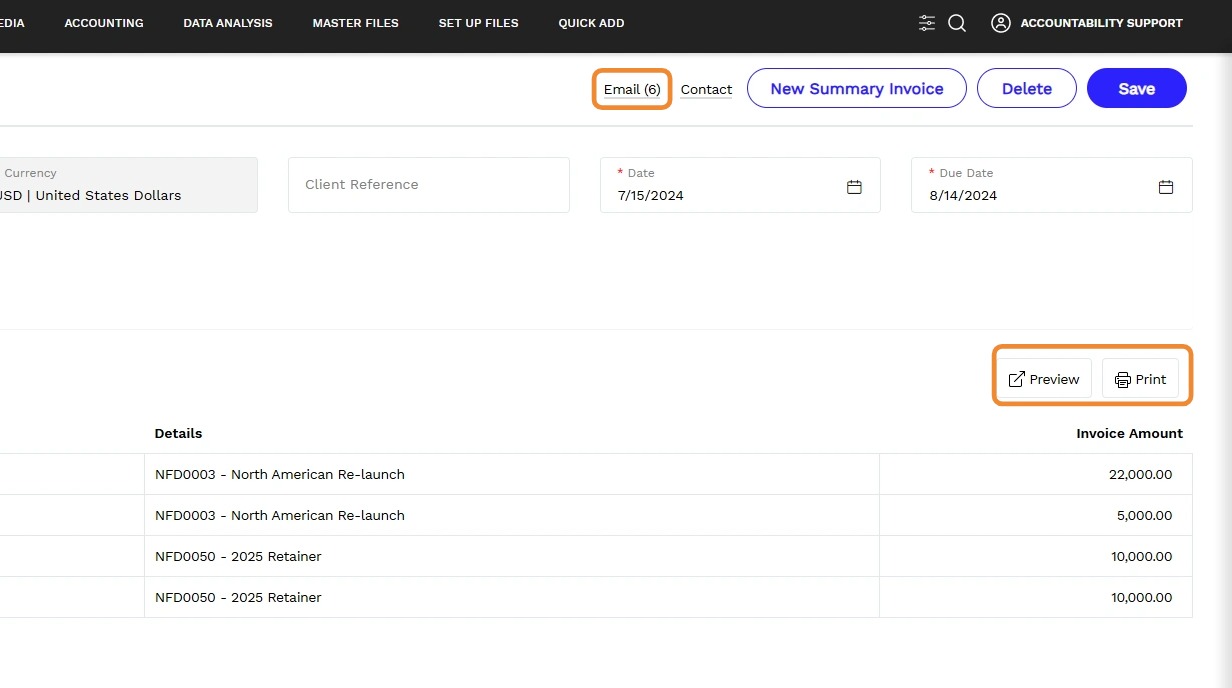
7. Click Email to send, Preview to view and download, or Print the client summary invoice.
Tip: Only approved invoices that have NOT previously been linked to a summary invoice will appear here. Unapproved or canceled invoices or those invoices that are currently linked to another summary invoice are ineligible to be included.
Tip: Click on the Contact link at the top right to view the default contact details for this client. If needed, you can redirect to another contact or create a new contact for this client from this page.