![AccountAbility_logo_primary_fullcolor-1.png]](https://knowledgebase.counta.com/hs-fs/hubfs/AccountAbility_logo_primary_fullcolor-1.png?height=40&name=AccountAbility_logo_primary_fullcolor-1.png)
Audience note: This guide is for the IT Admin at your agency who manages Claude's organization settings. Adding a custom connector requires admin access in Claude. Once this setup is complete, anyone at your agency with Counta access can securely connect by following the Connect to the Counta AI Connector in Claude guide.
Overview
Counta AI Connector, built on the Model Context Protocol (MCP), lets Claude securely connect to your Counta environment and access master data, transactions, and reports.
Before you begin:
- Ensure you have access to Counta and know your:
- Tenant ID
- Username (email address)
- Password or API Token
- Have your Counta AI Connector's server URL available for the environment you're setting up (Staging or Production)
- Have the OAuth Client ID and Client Secret provided by Counta
Environment note:
The setup process is the same for both Staging and Production environments. The only difference is the MCP Server URL and environment-specific credentials provided by your agency admin.
Steps
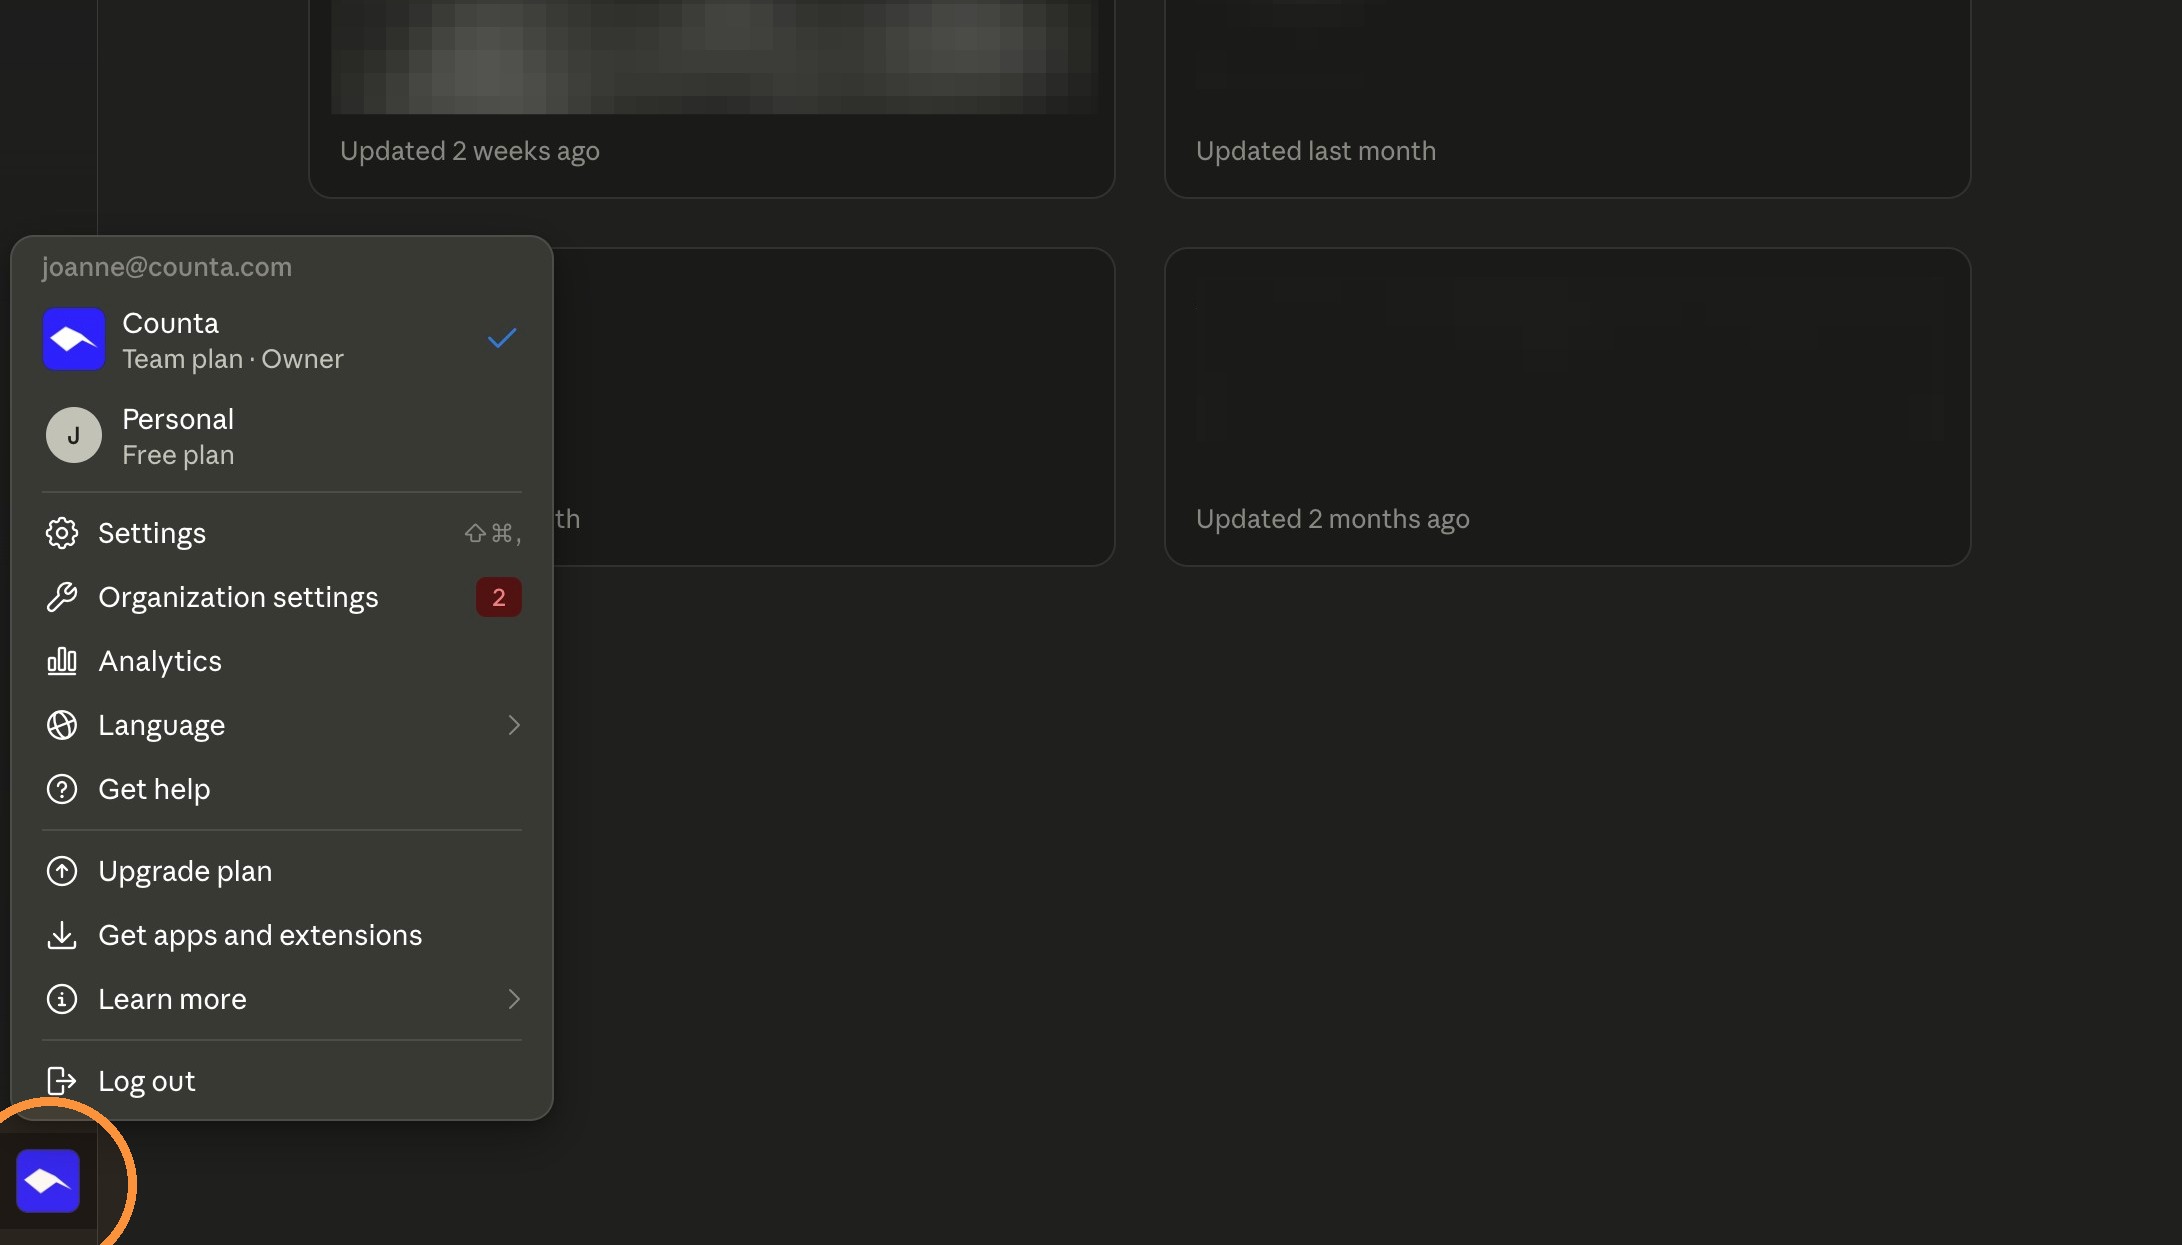
1. Click your organization profile icon in the bottom left corner
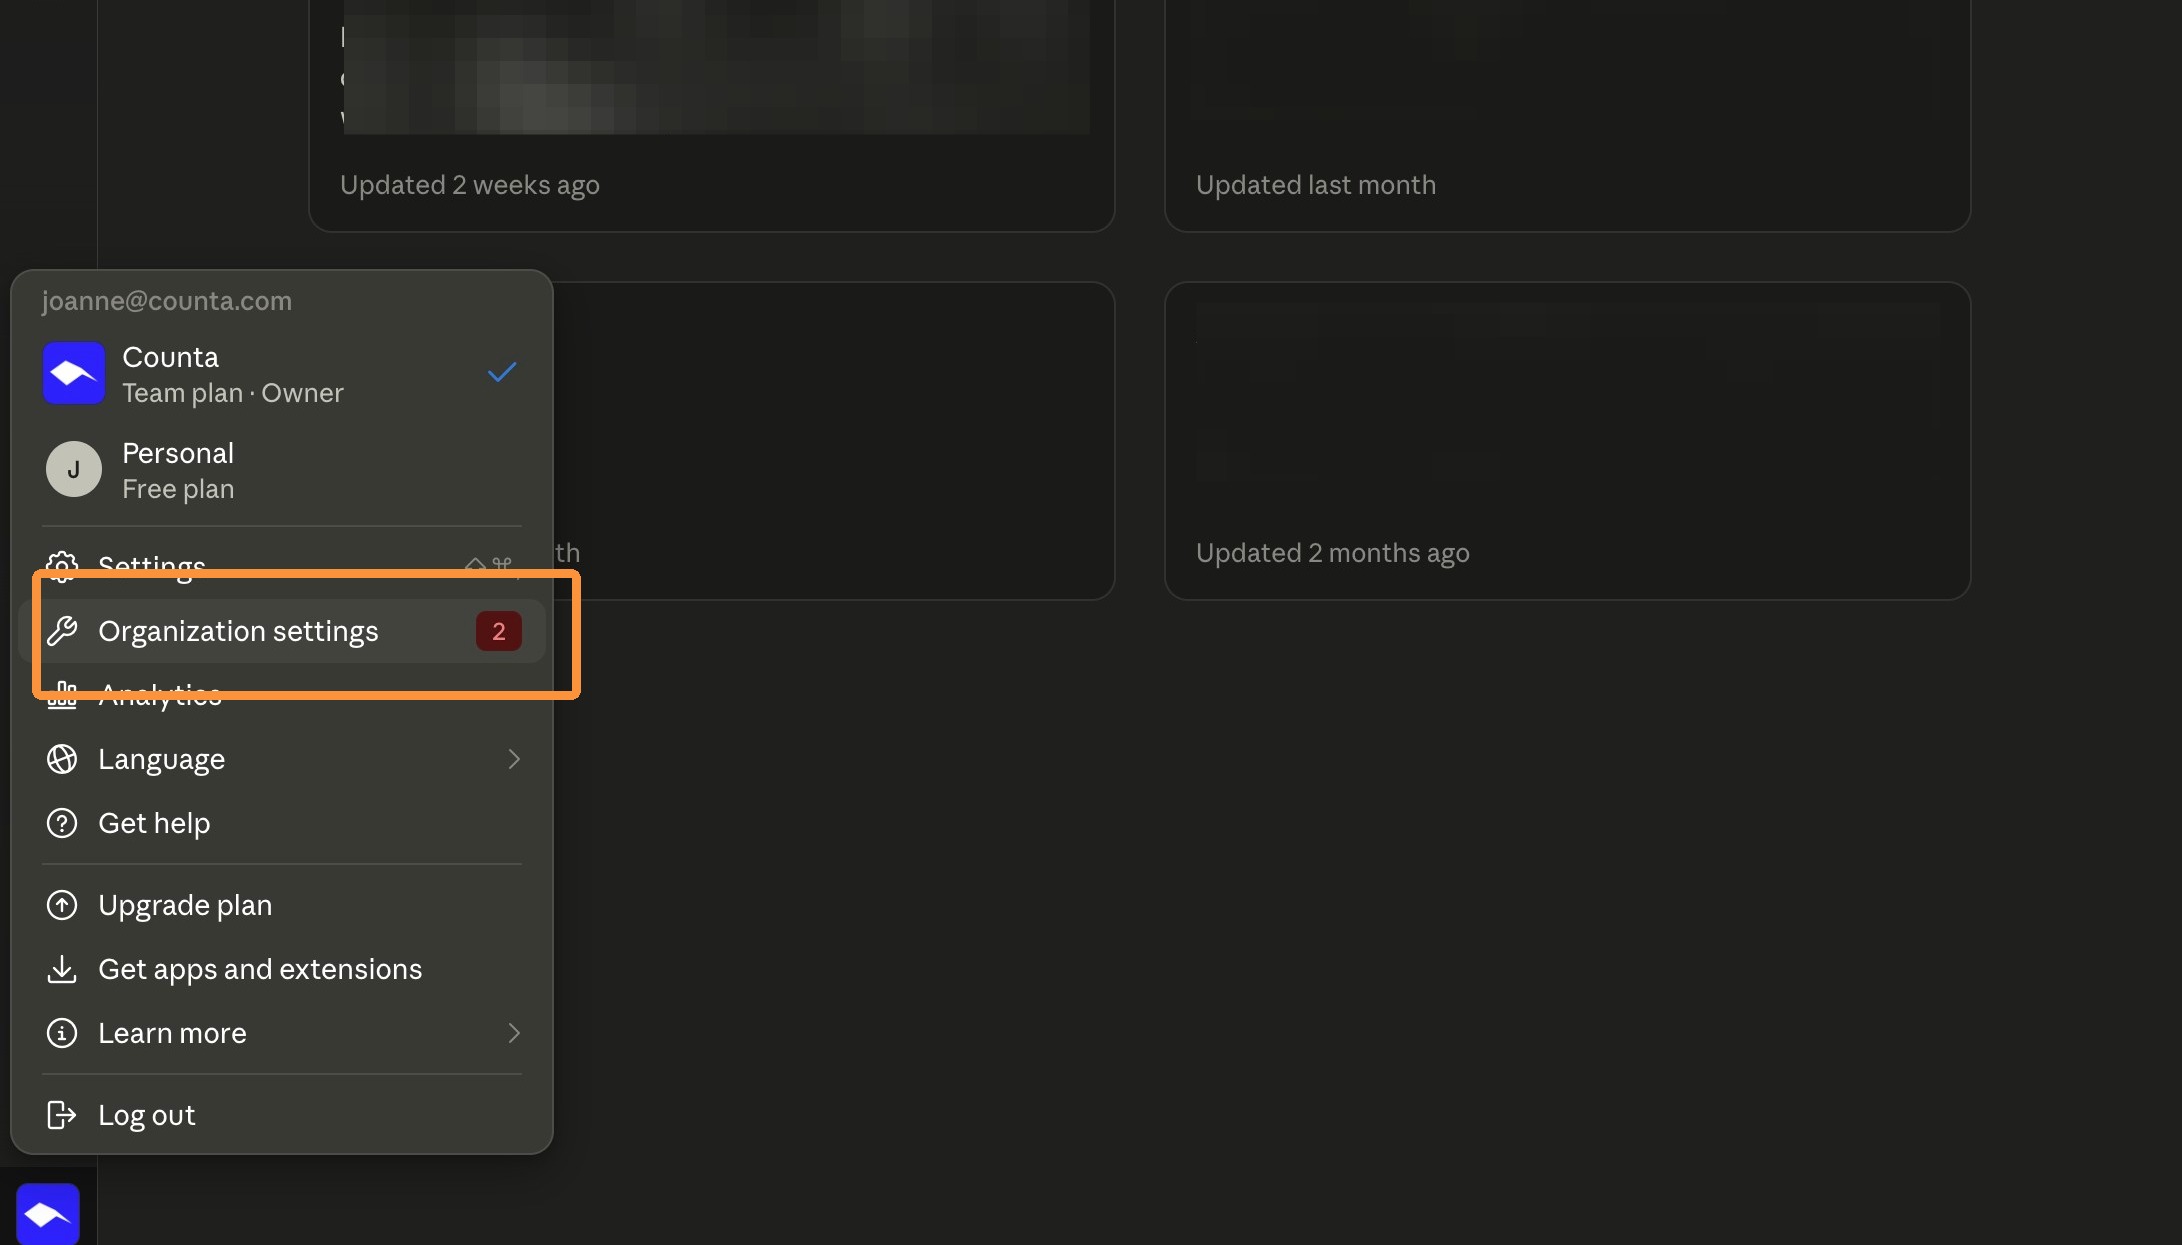
2. Select "Organization settings"
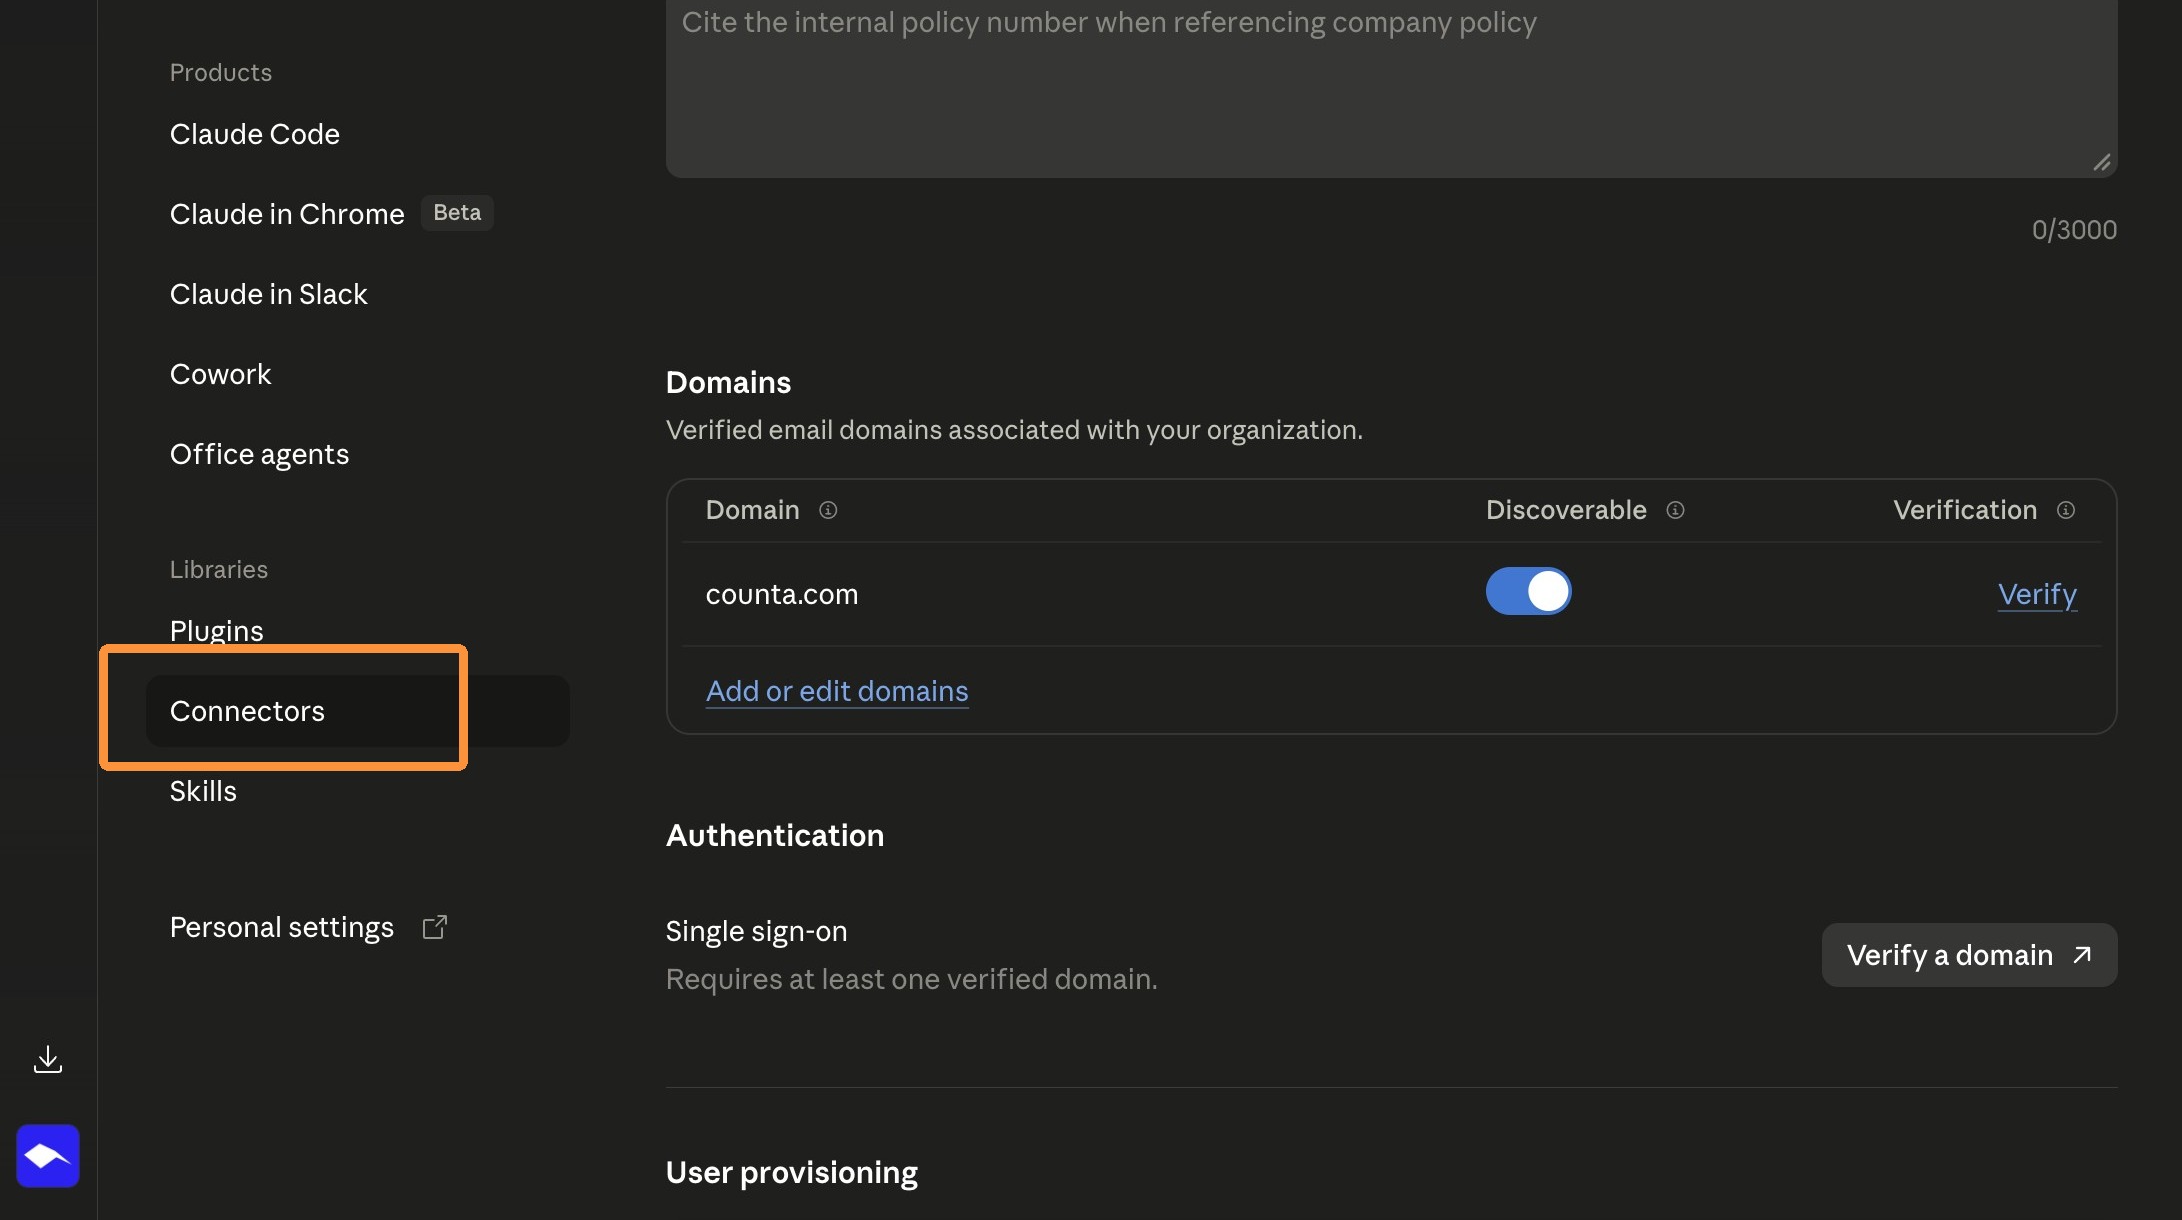
3. Click "Connectors"
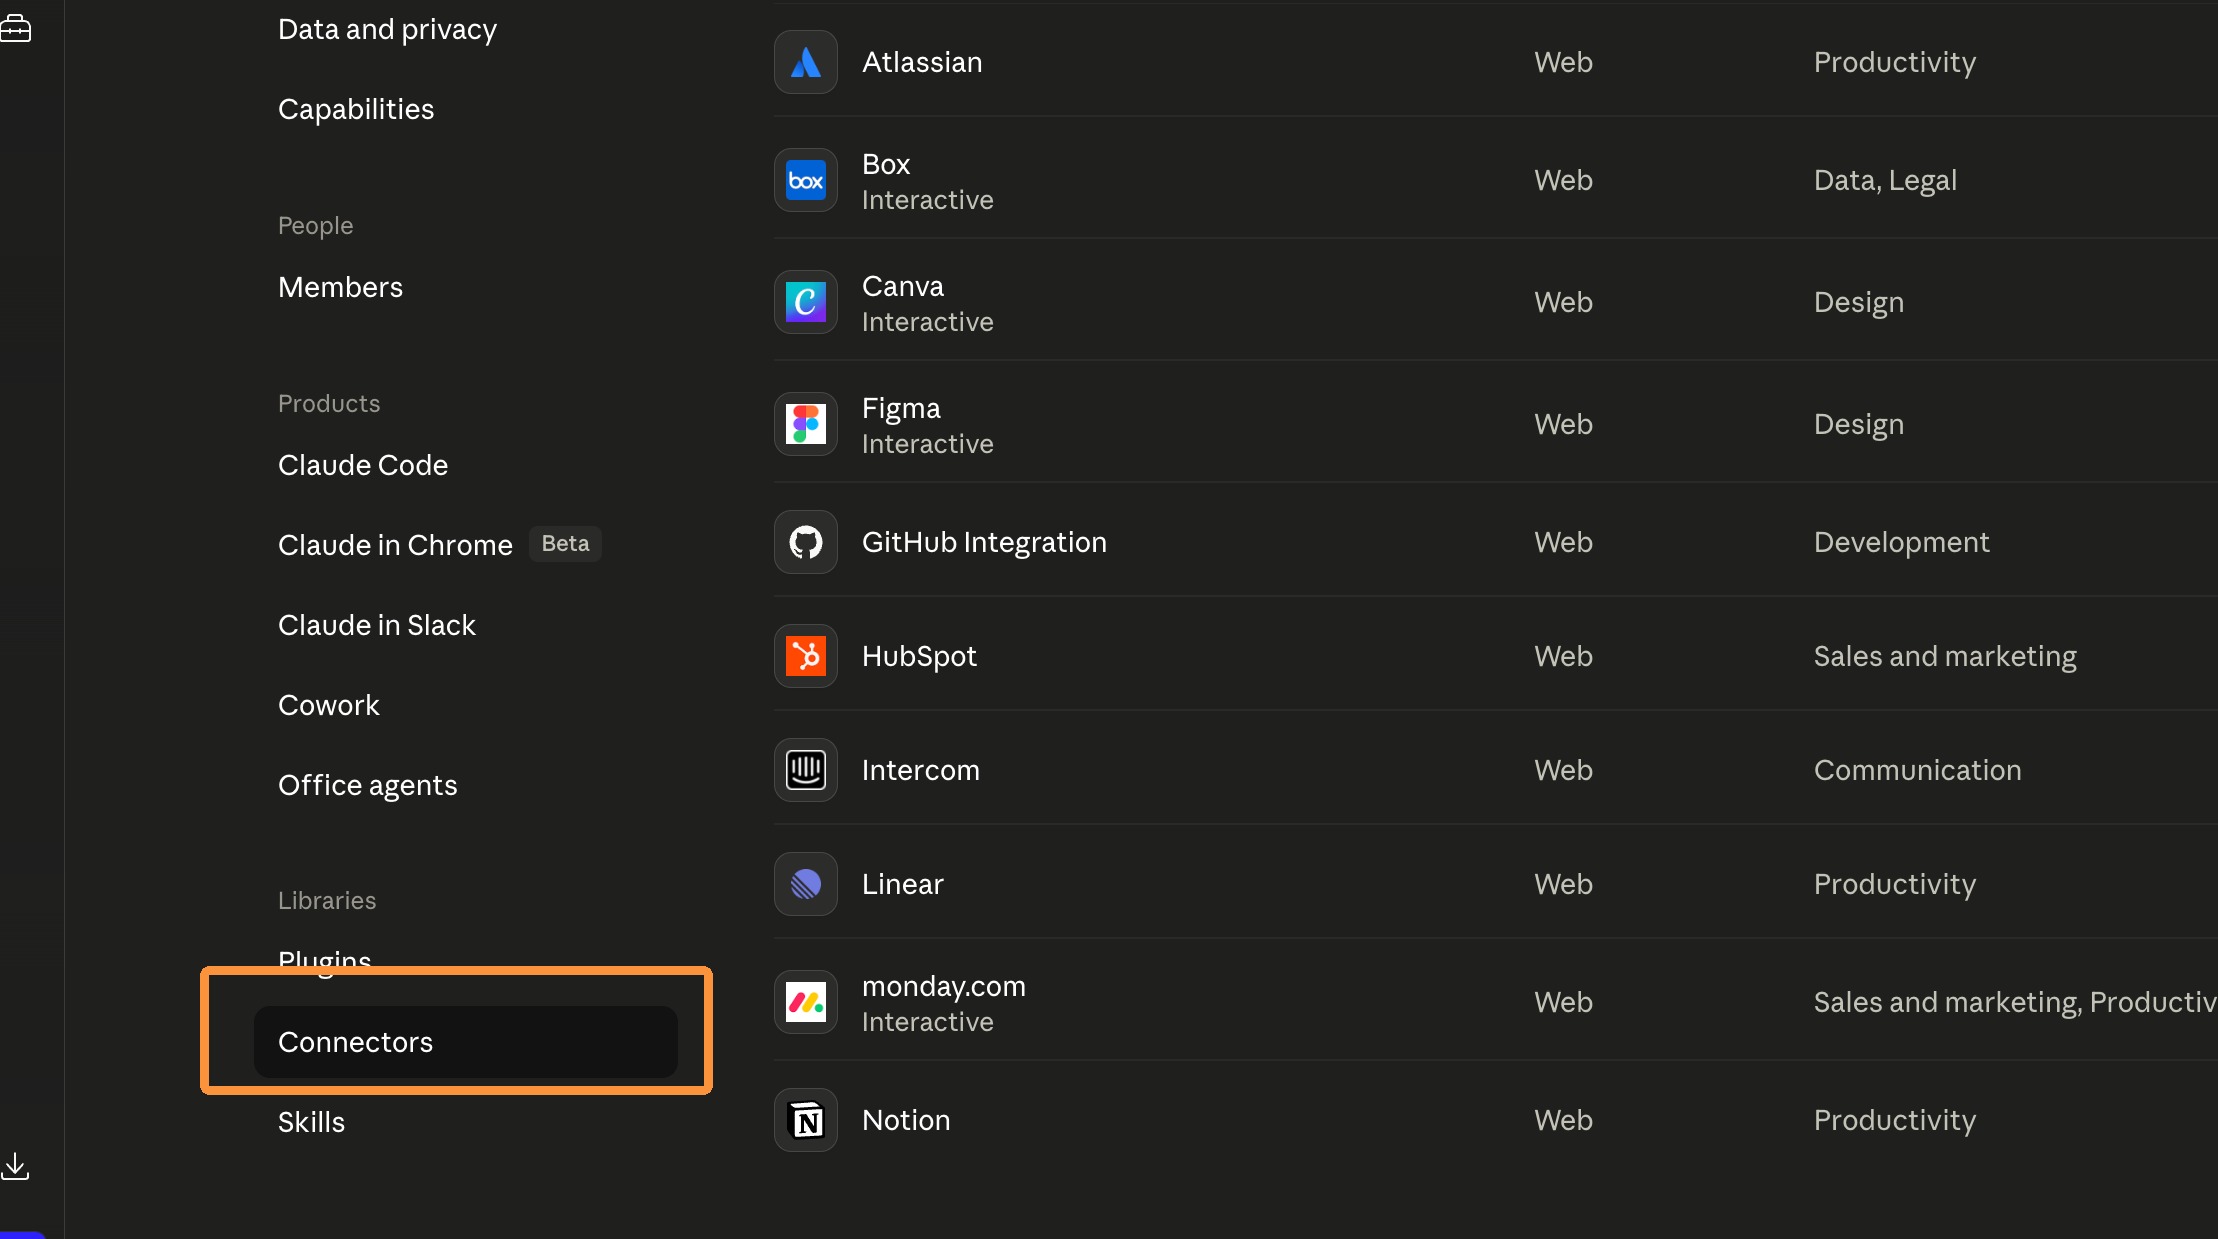
4. The Connectors page includes built-in integrations provided by Claude and allows administrators to create additional custom connectors for external services and MCP servers.
5. Now let's add a Counta MCP connector. Click "Add".
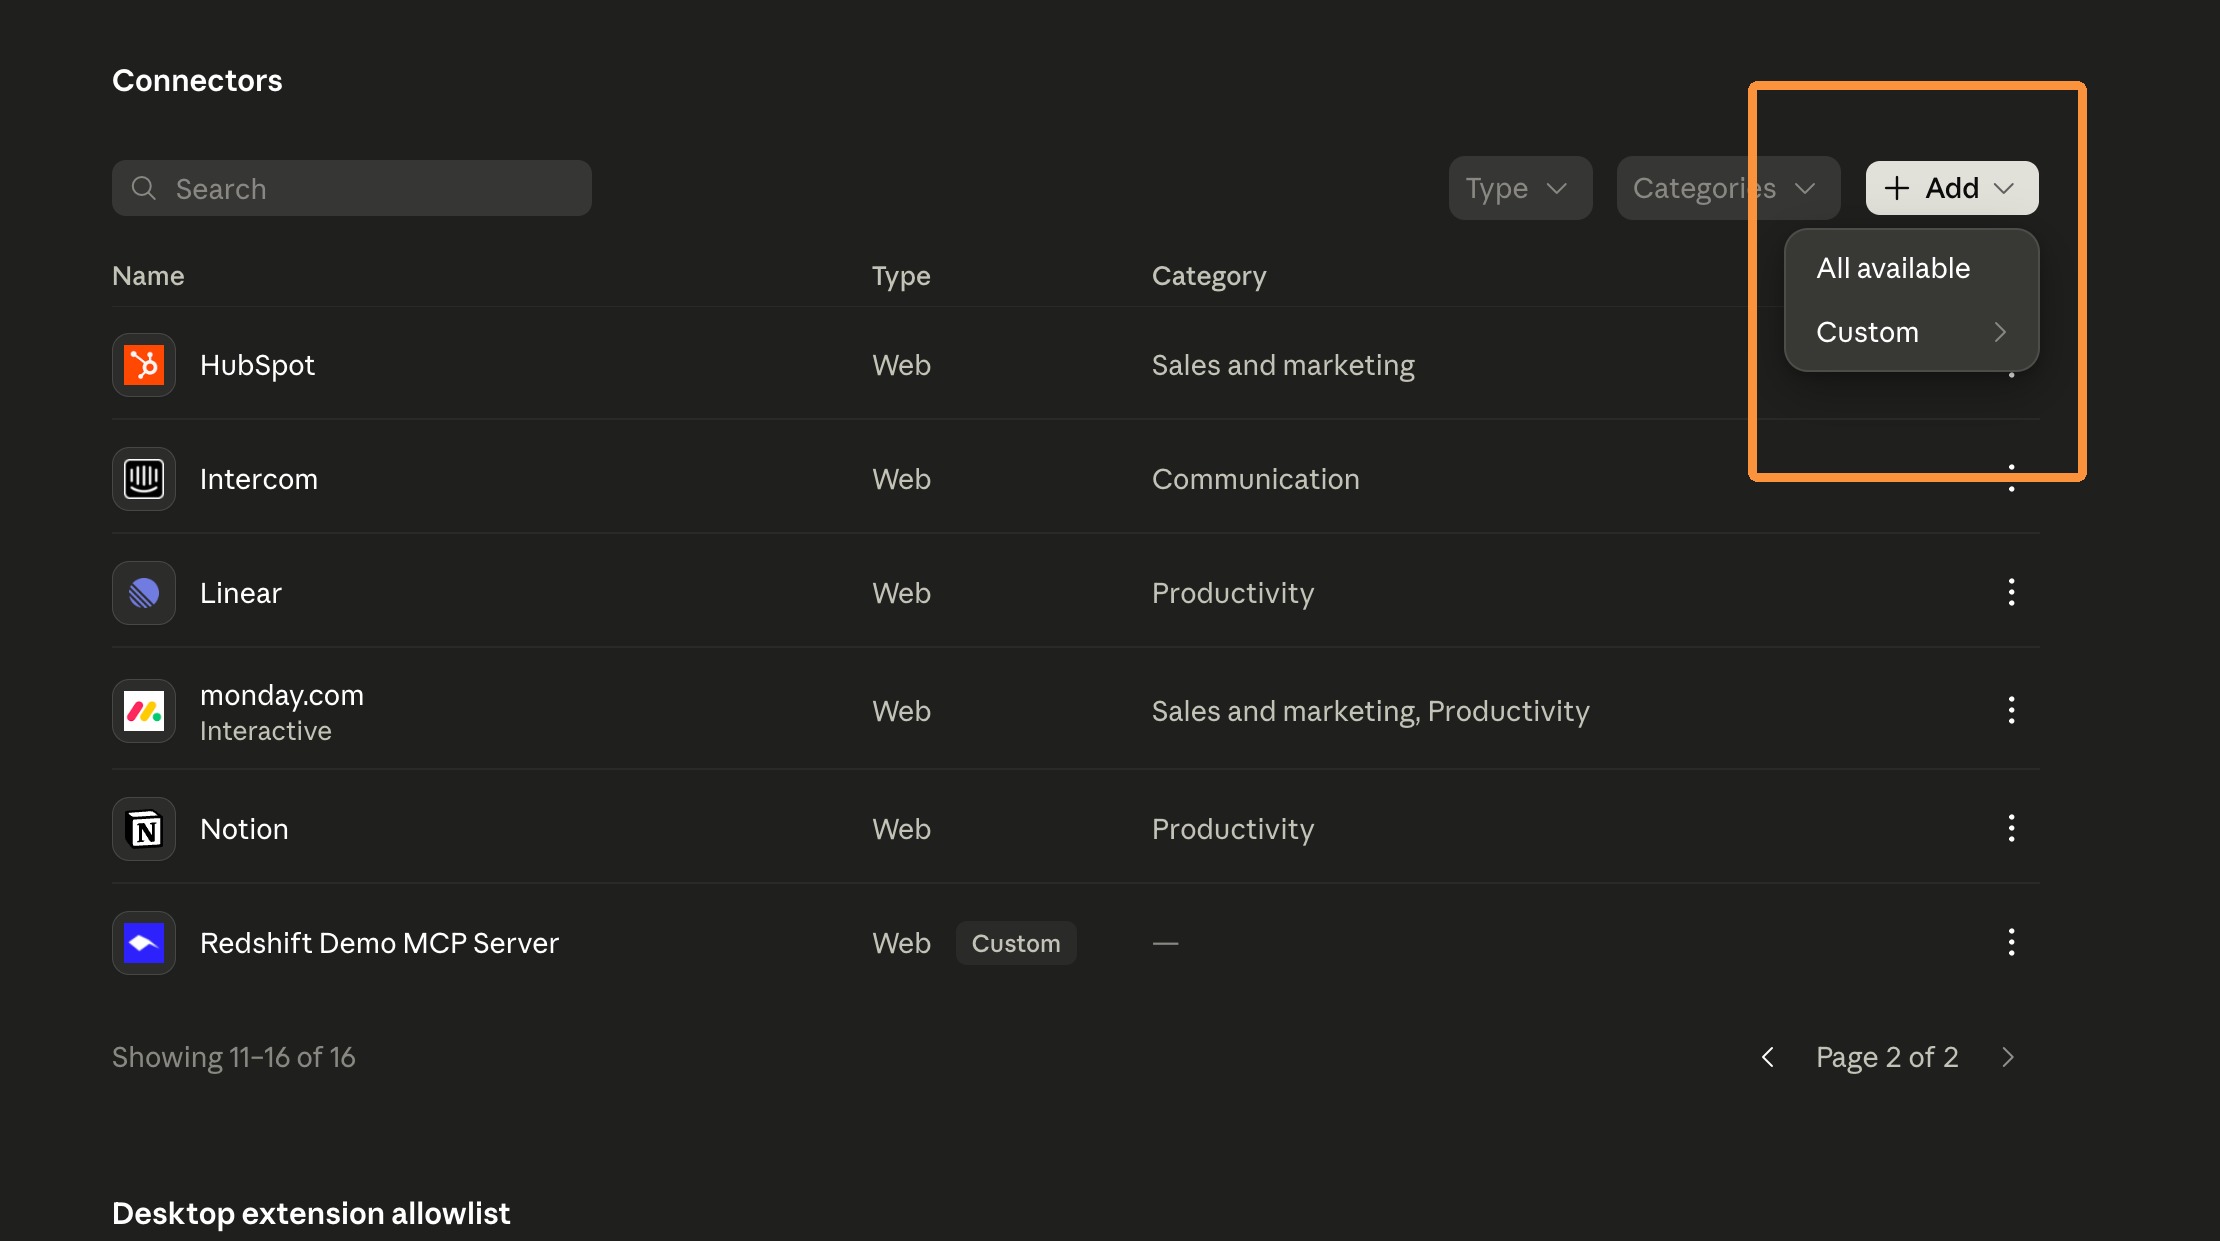
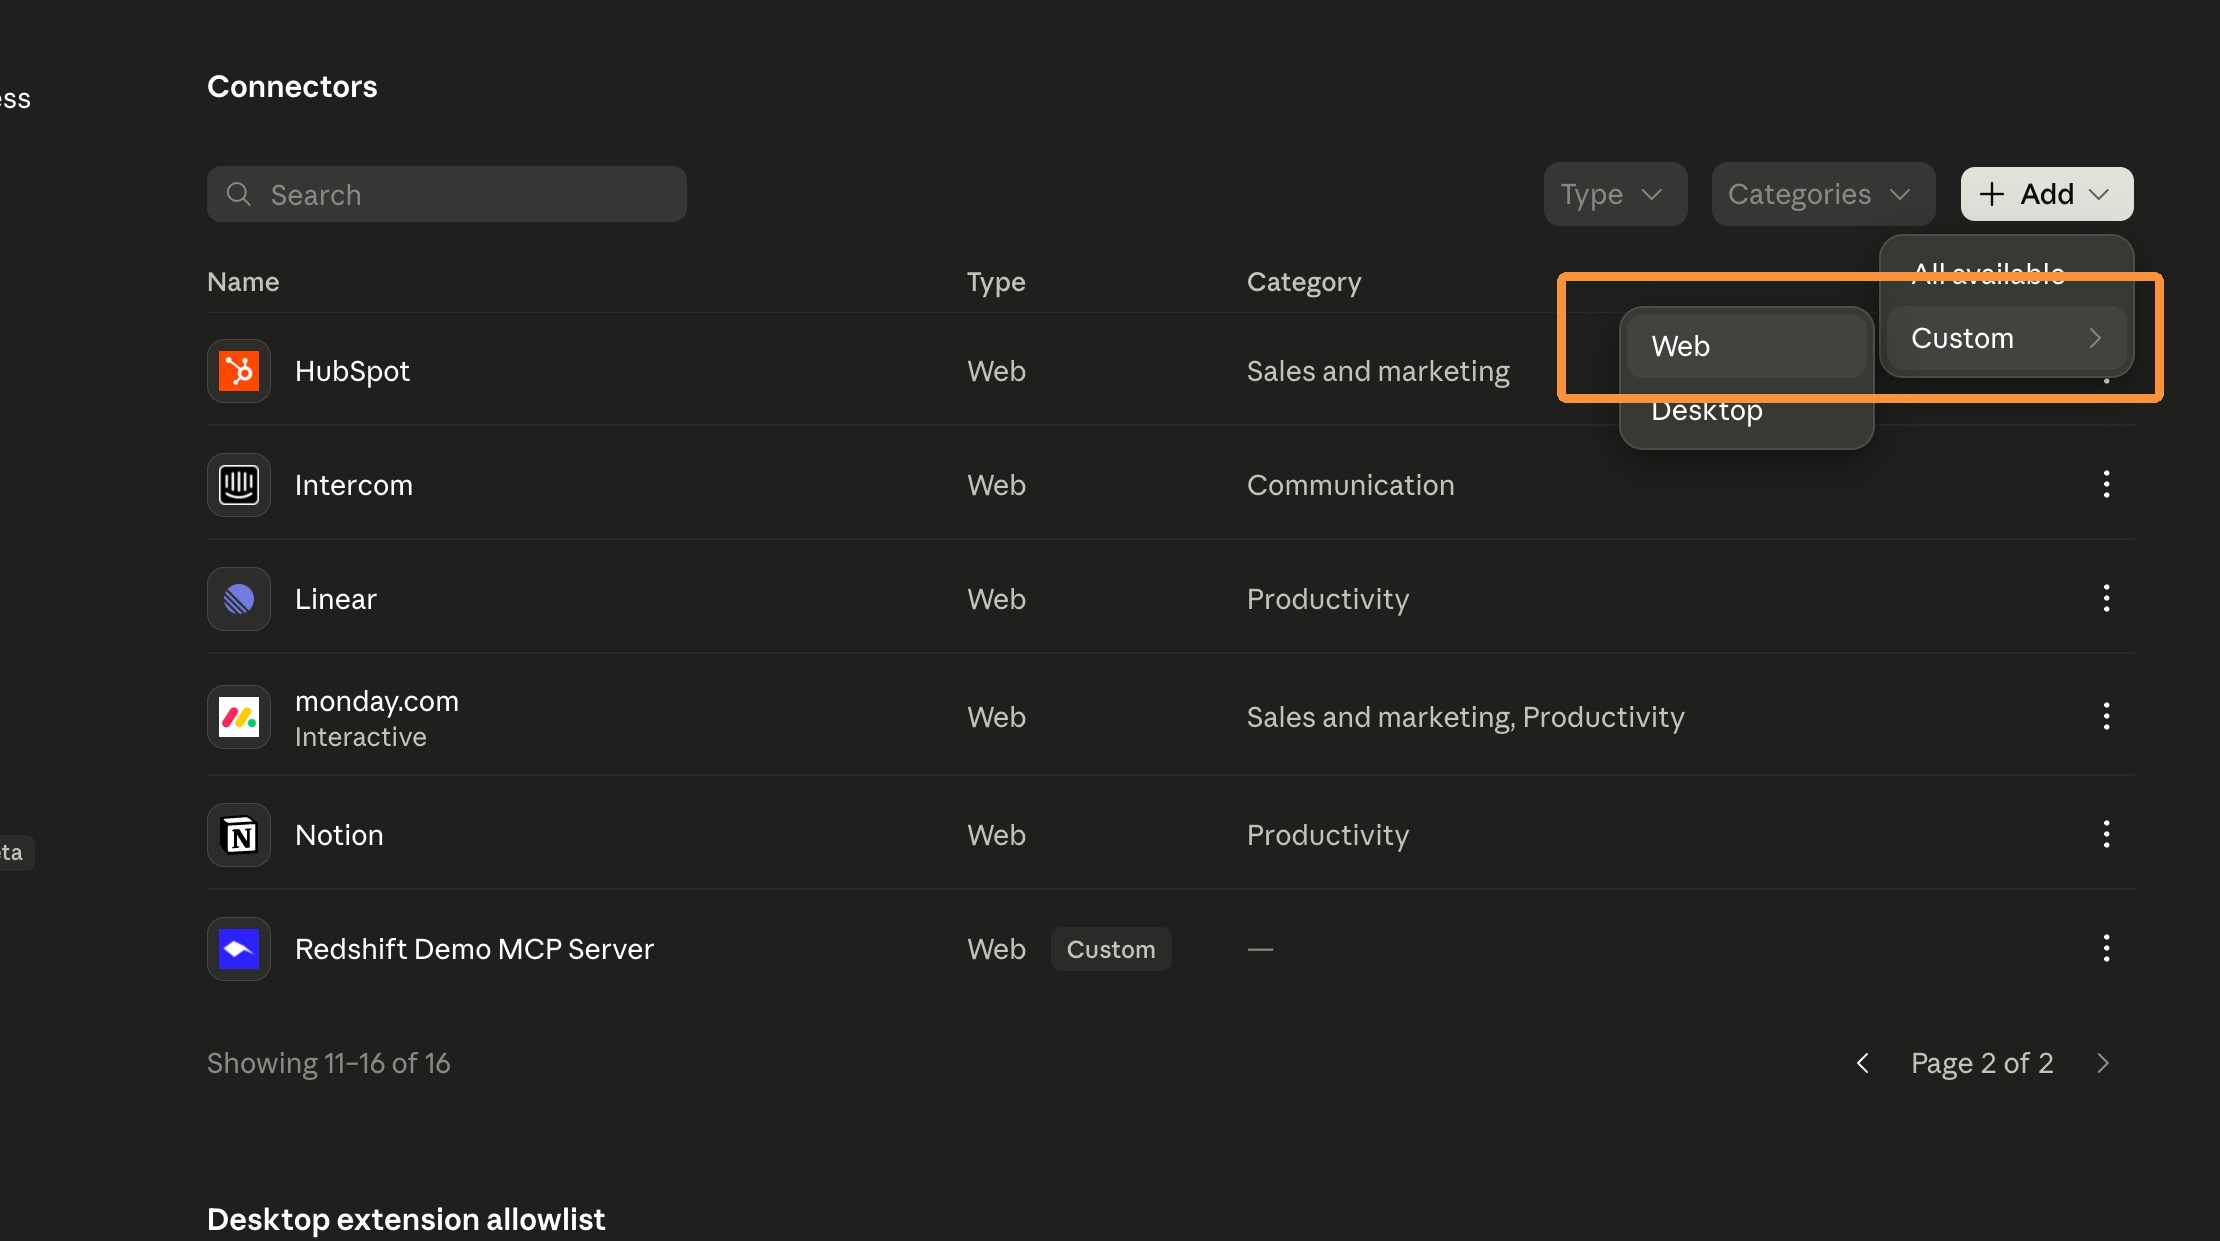
6. Select "Custom" then "Web" to add a custom connector.
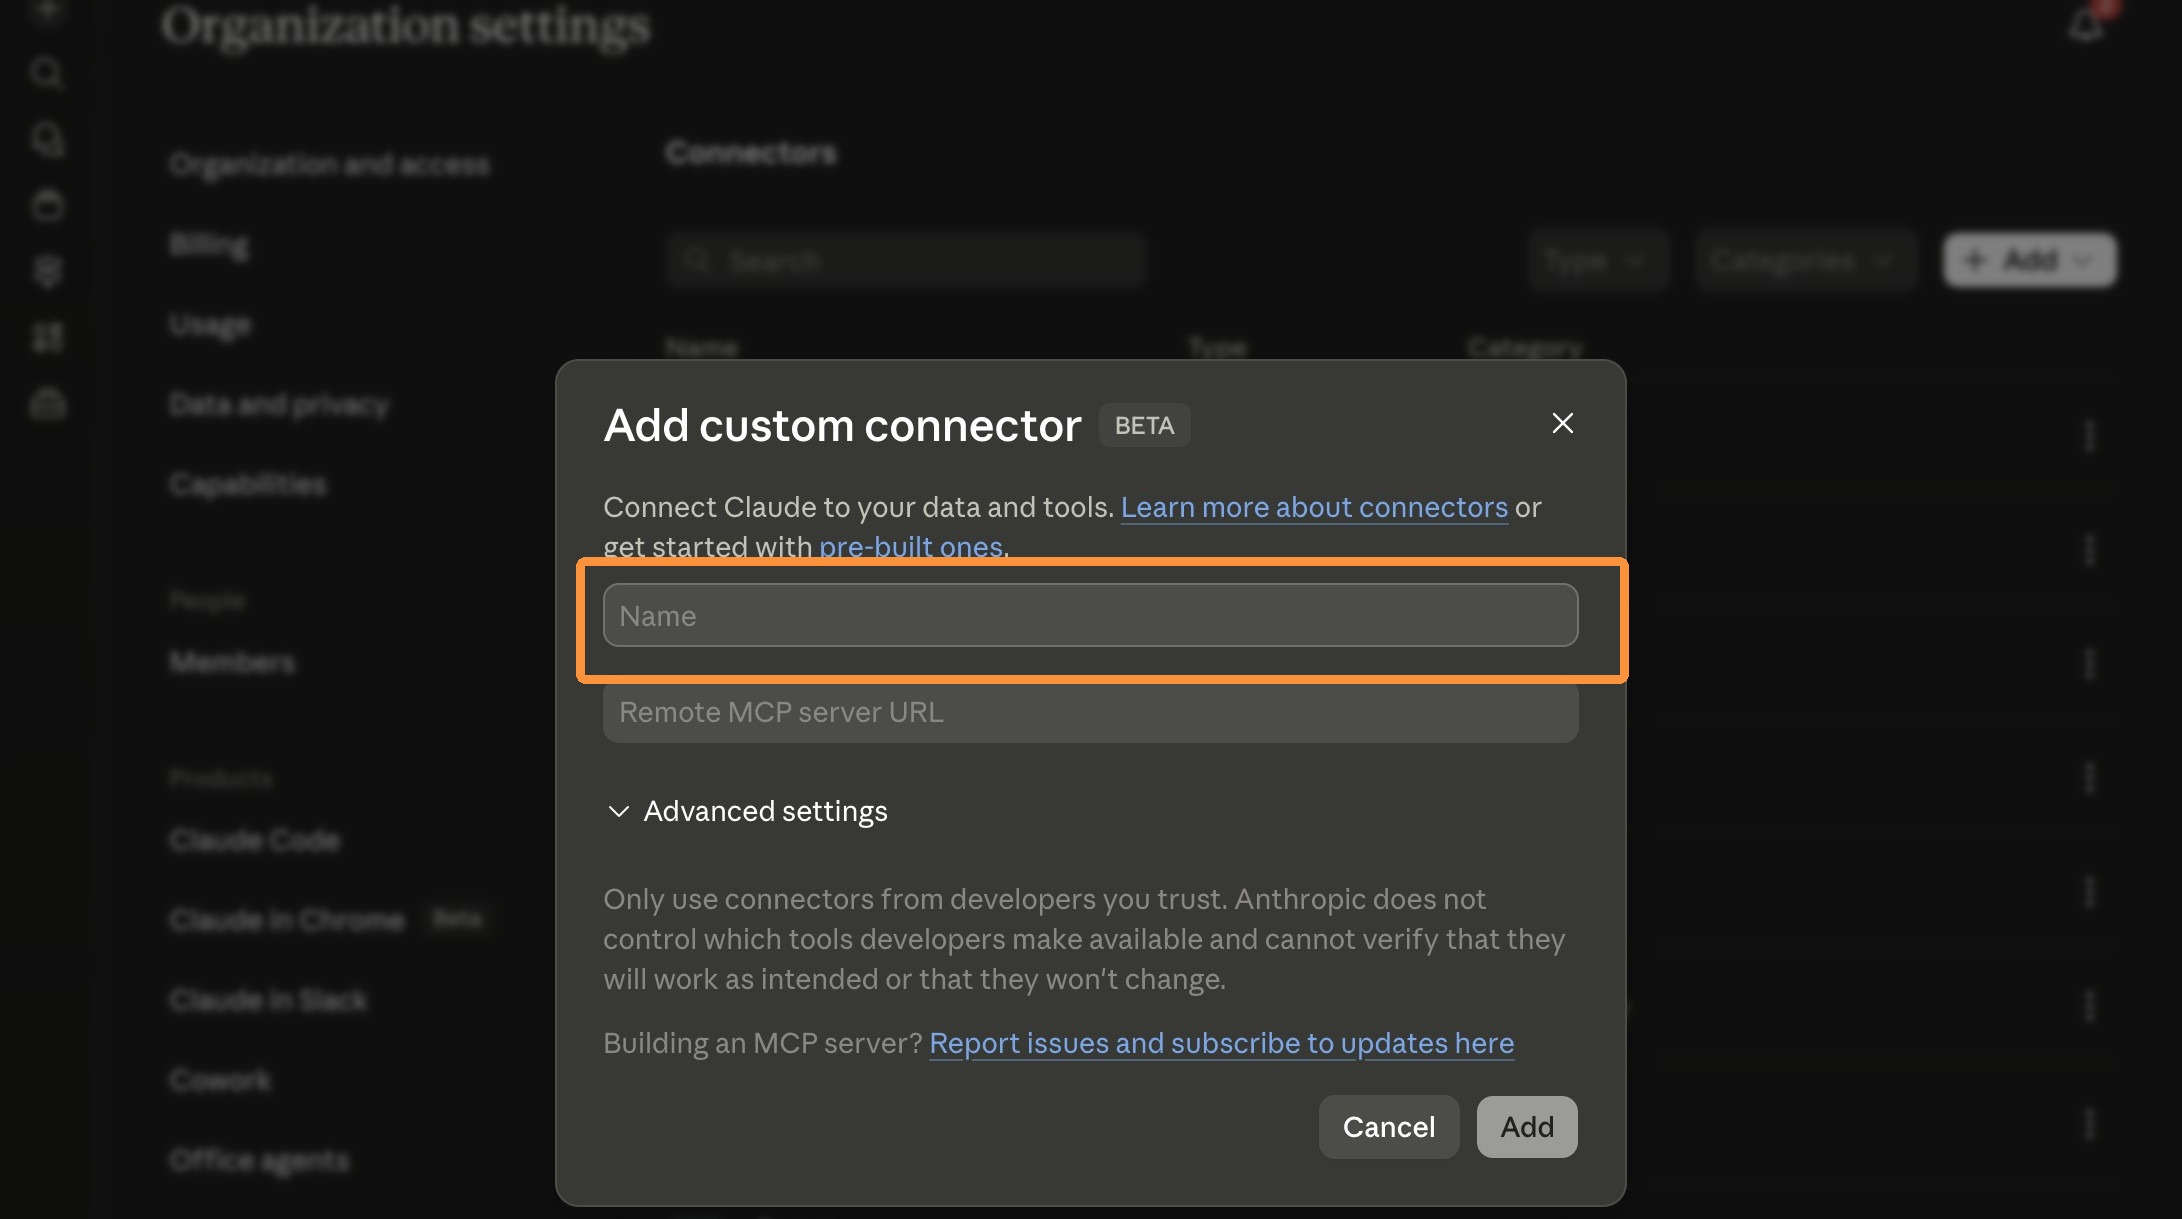
7. Add the Name for your custom Counta MCP connector. Tip: Add "Staging" or "Production" if your organization has access to both environments.
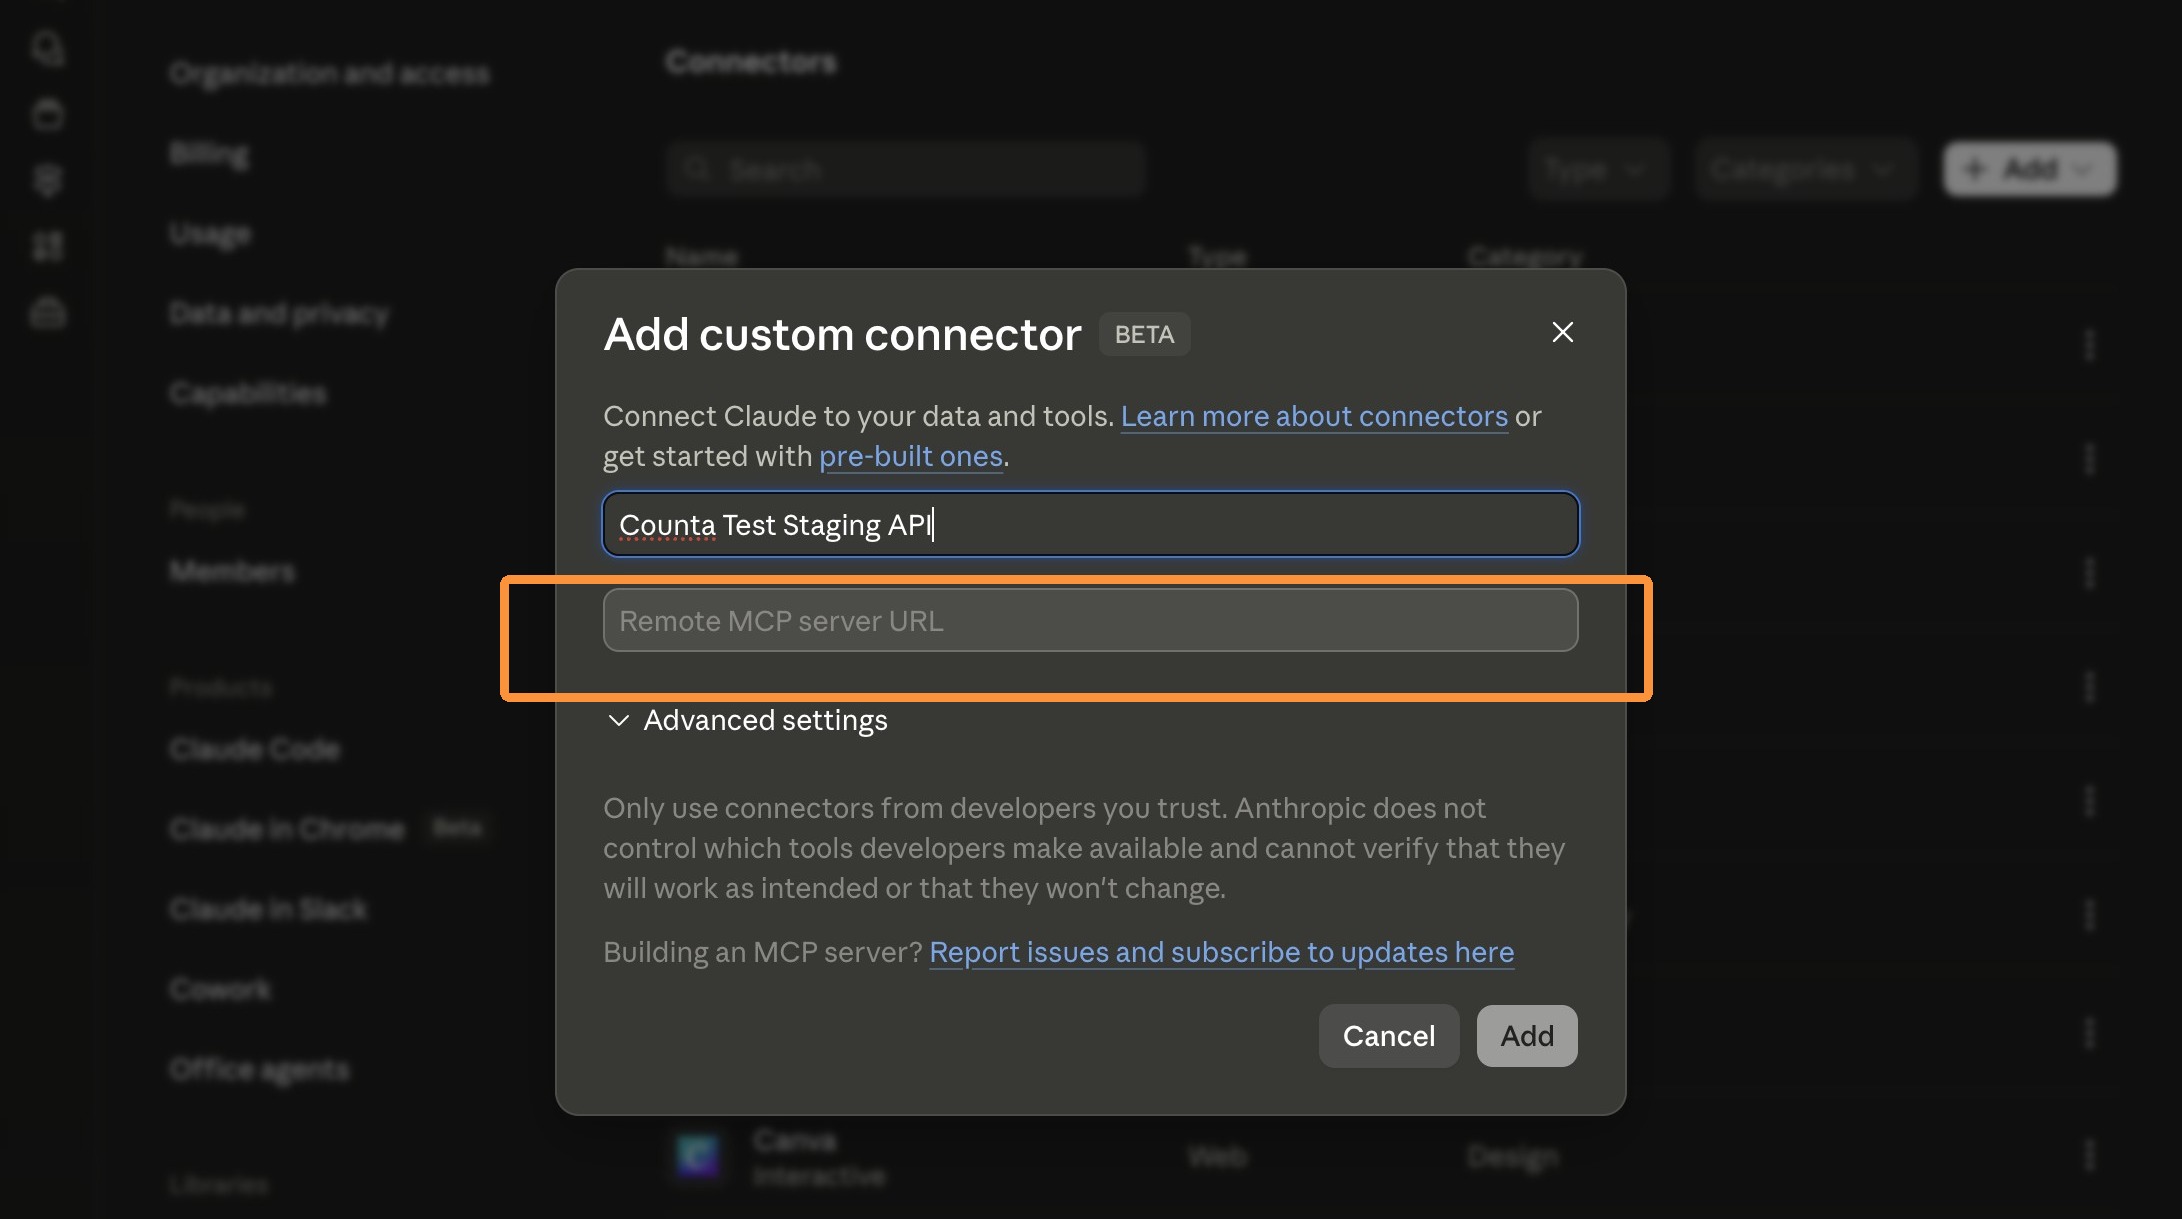
8. Add the Remote MCP server URL for the environment you want to connect to. For example: https://api-staging.accountabilityoneeu.com/v1/mcp
9. Click "Add"
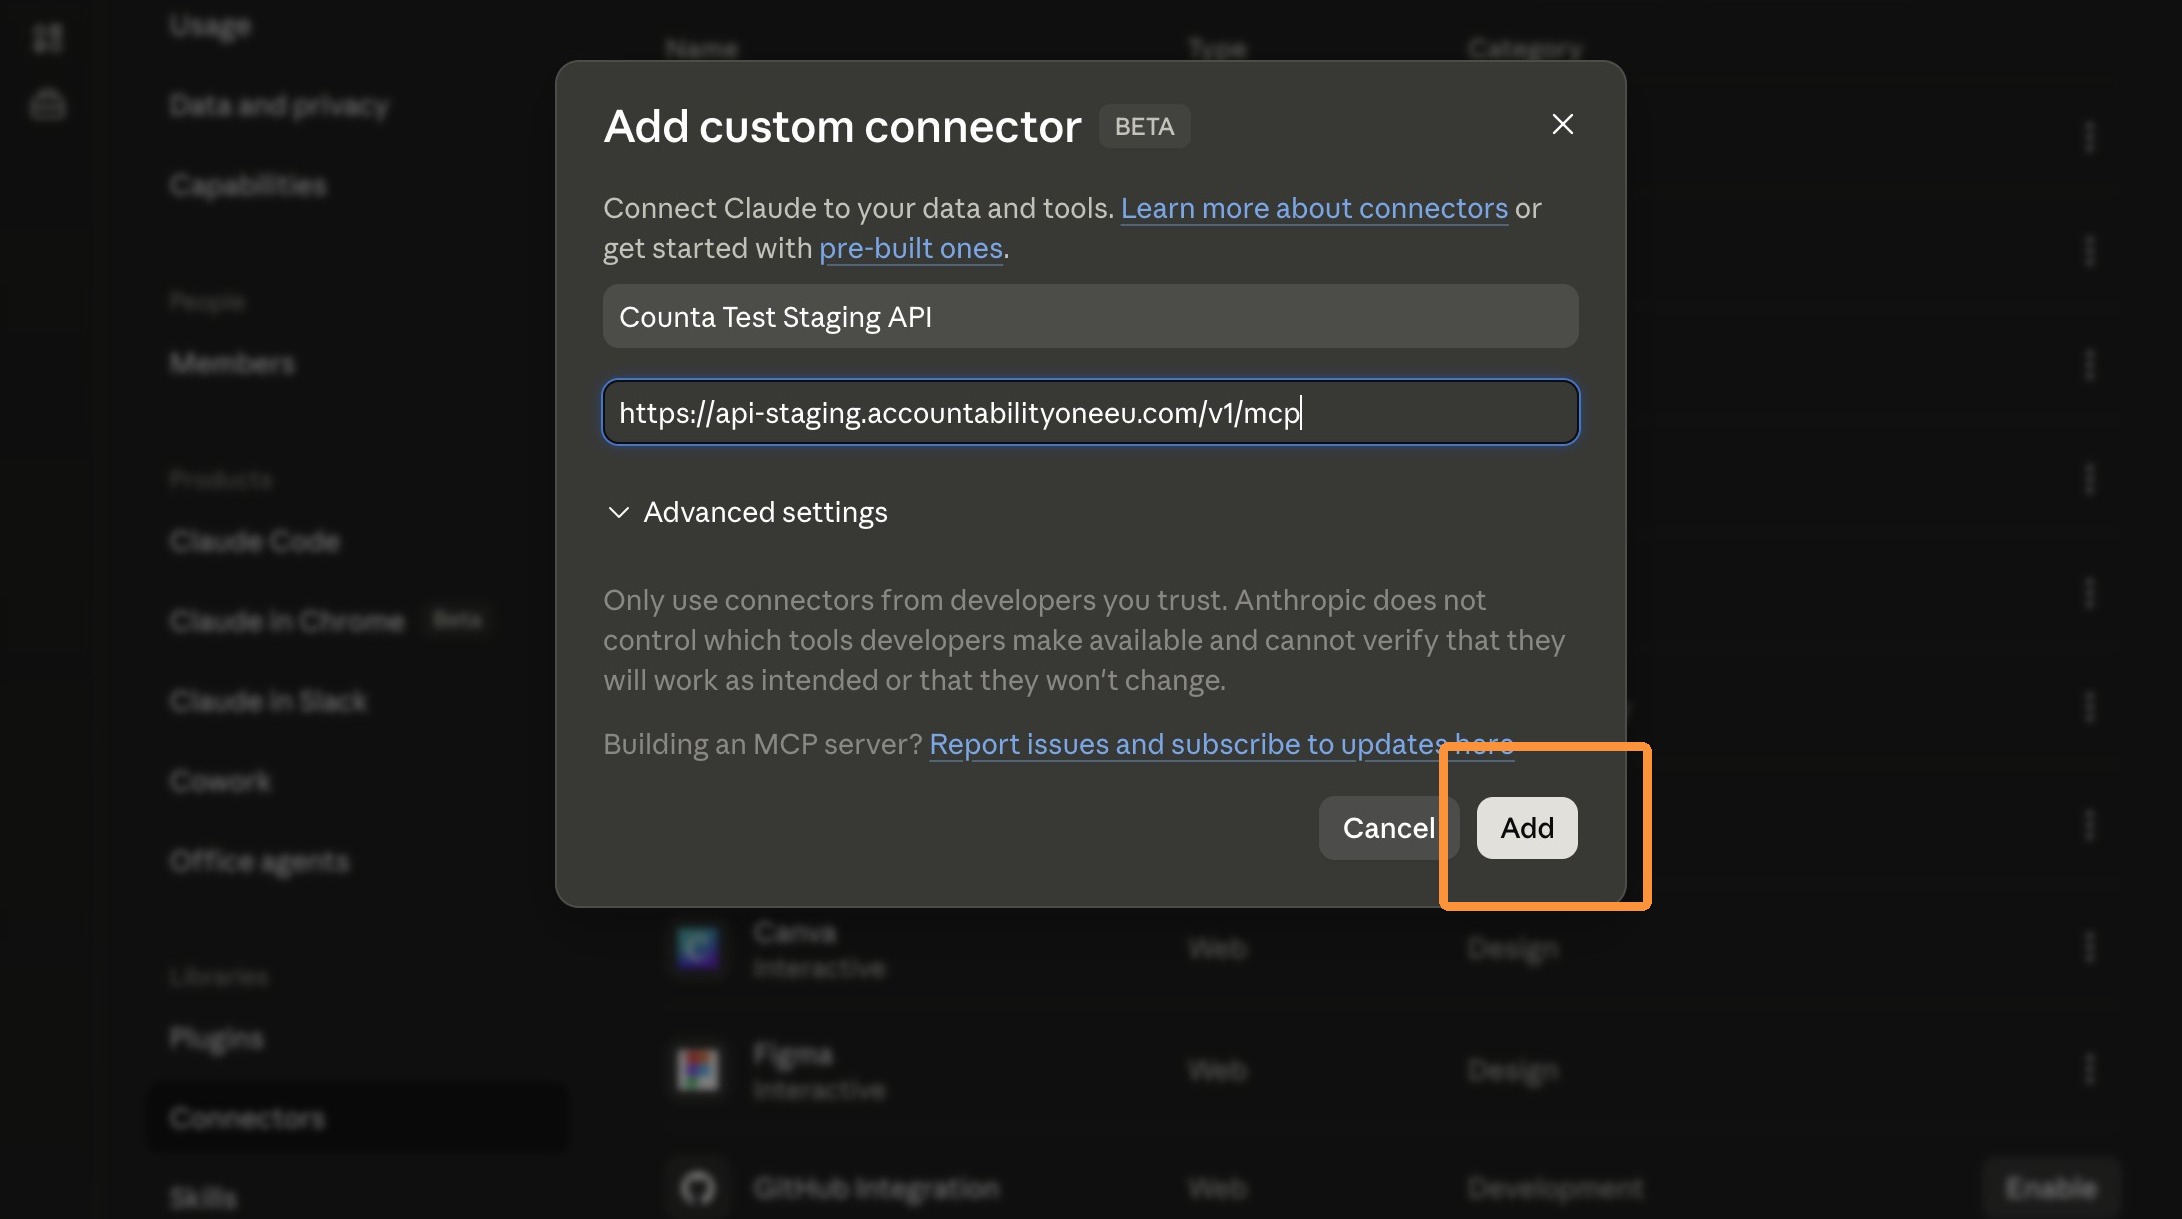
10. Expand "Advanced settings".
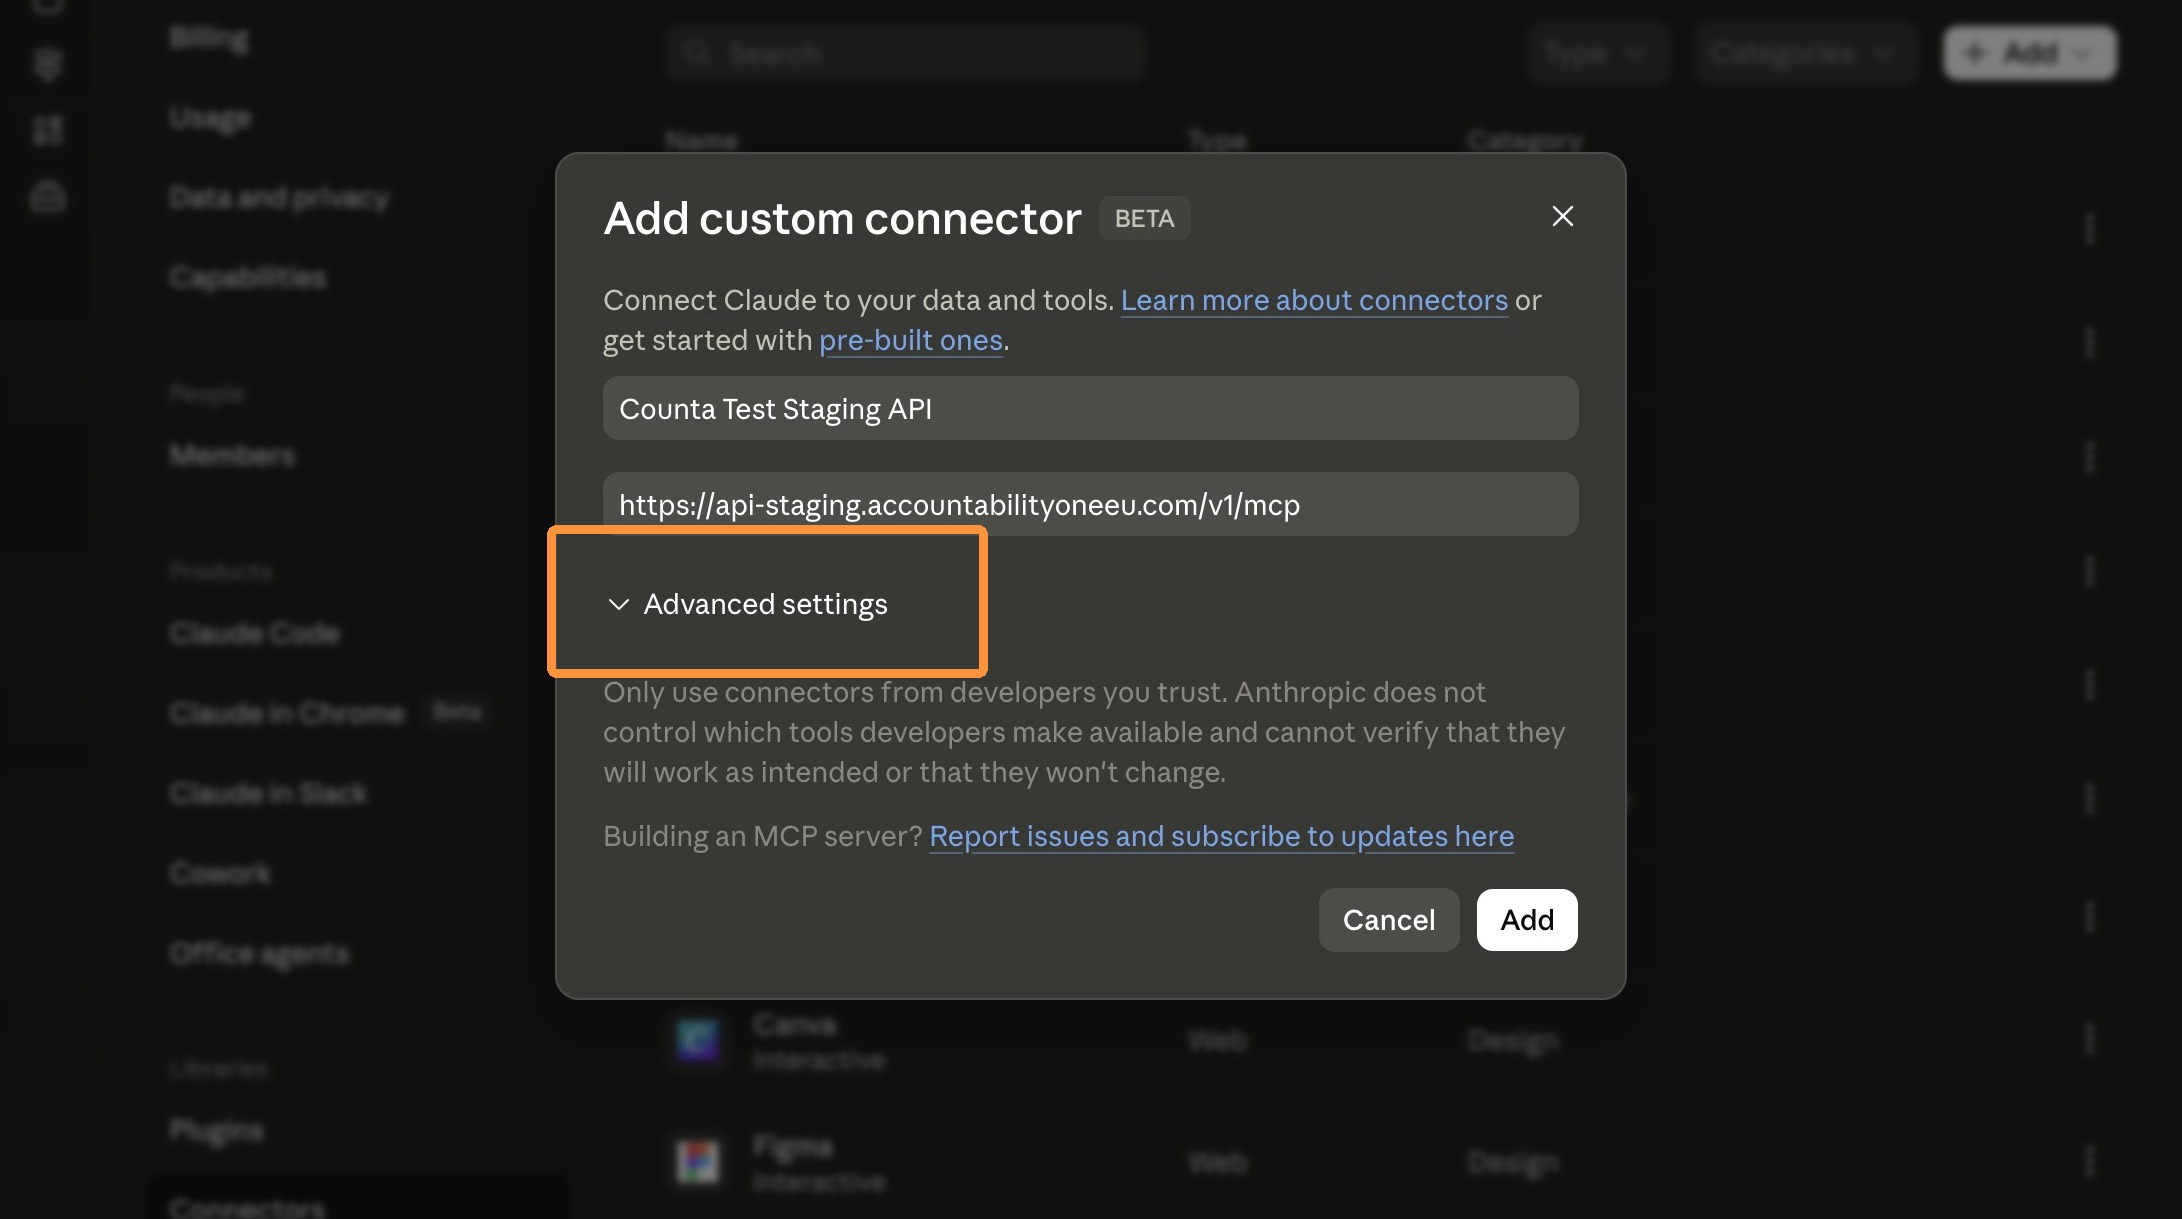
11. Enter the Claude client metadata values provided by Counta in the "OAuth Client ID (optional)" and "OAuth Client Secret (optional)" fields. These settings are used during the connector authorization process to help Claude identify and validate the connector configuration during setup.
Note: These values are part of the Claude connector configuration and are separate from tenant-specific credentials. Tenant information and user authentication are entered by each individual user during their own connect and authorize step, not here.
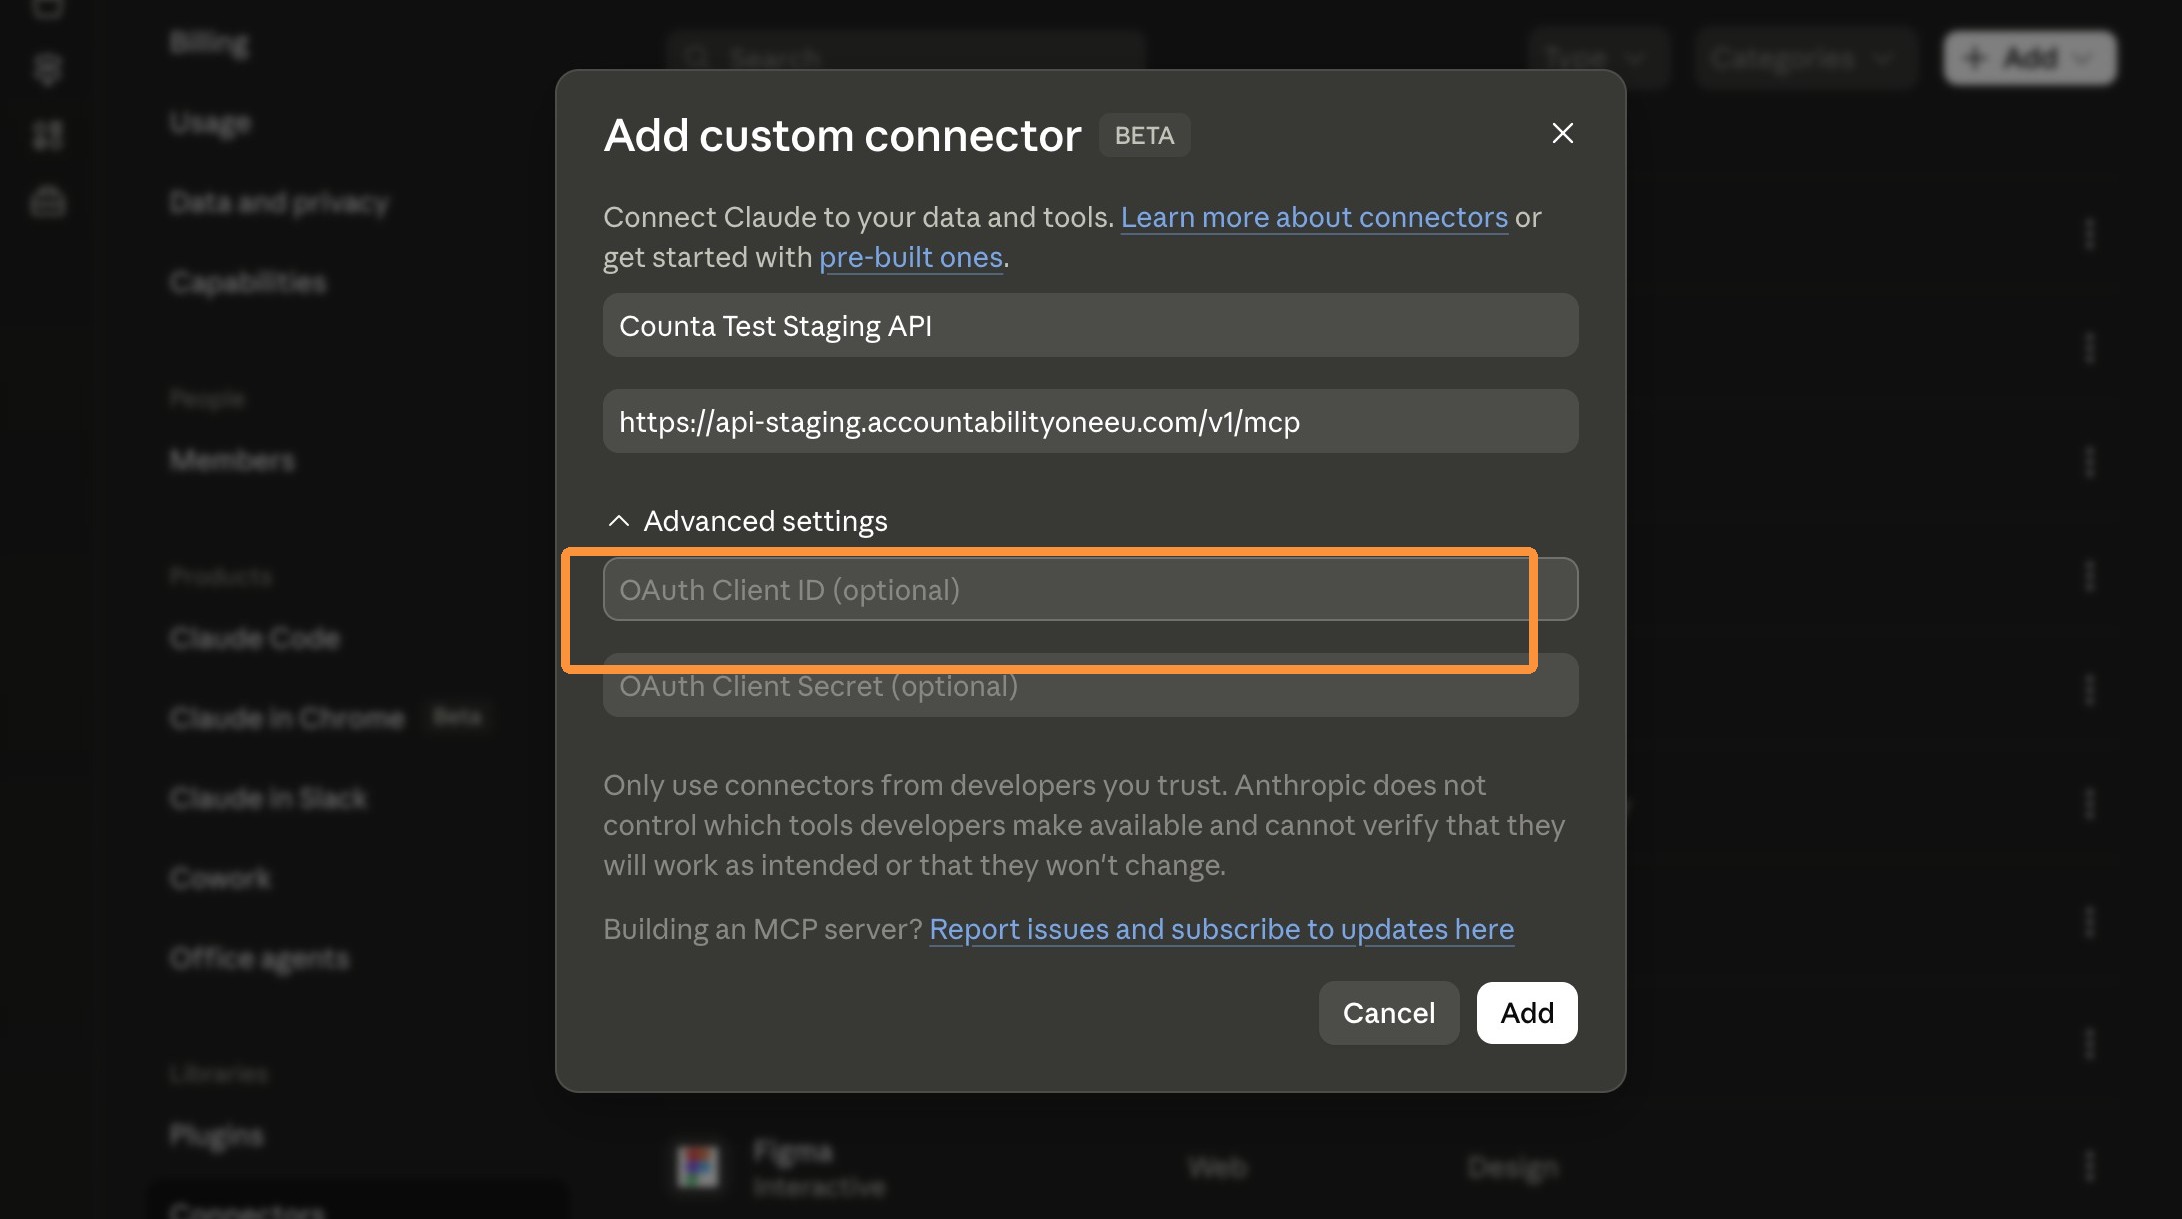
12. Click "Add" to complete the connector configuration.
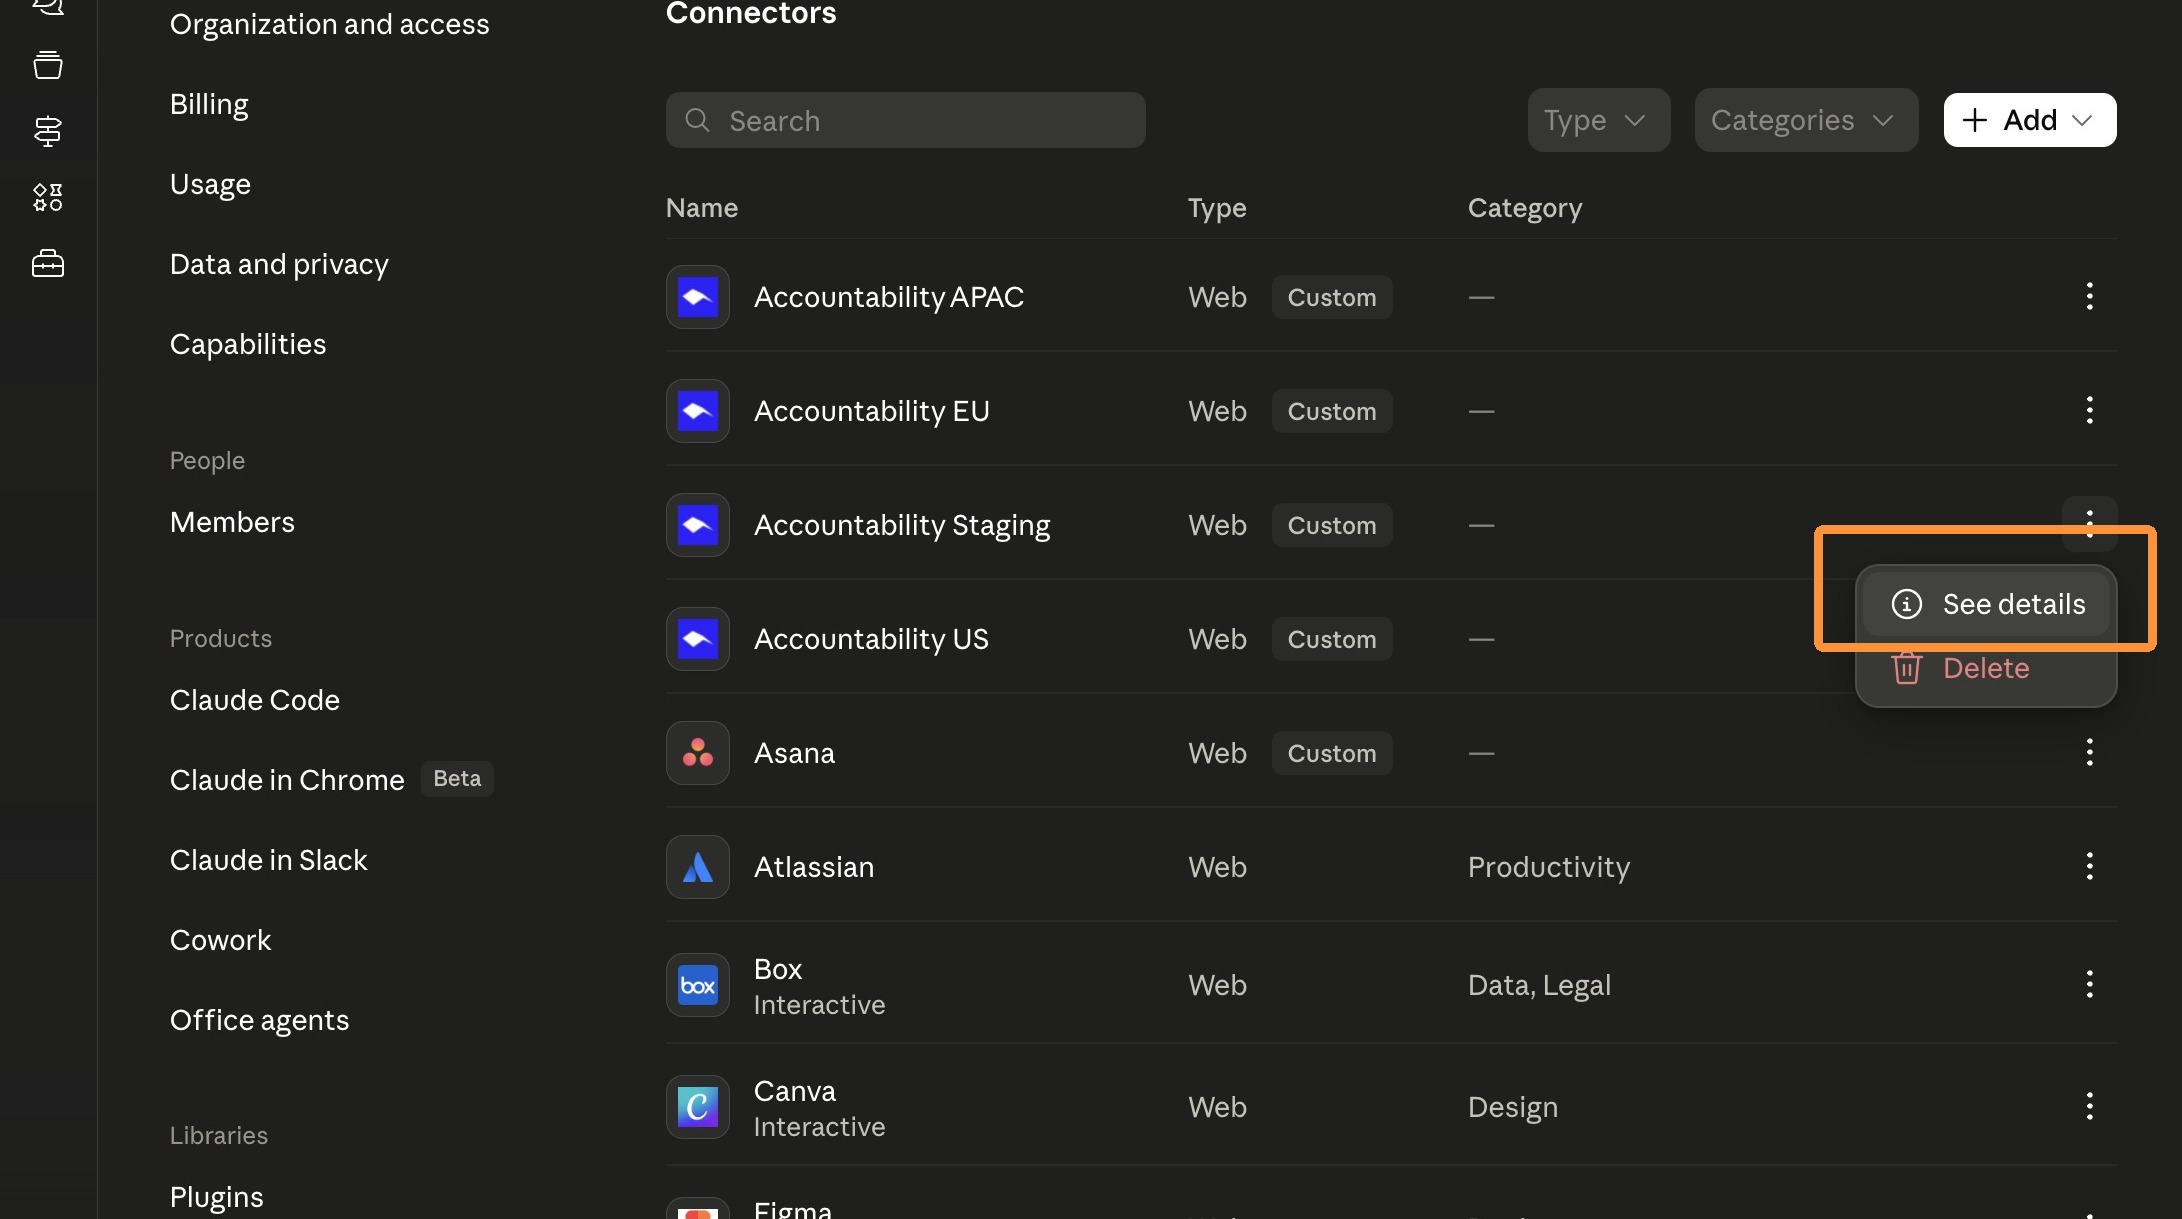
13. All custom connectors have a tag of "Custom" next to the "Type". To review the connector's configuration details, click on the 3 stacked dots and select "See details".
14. From the Connector details page, review "Tool permission restrictions." Tools are grouped as Read-only tools (Discover, Describe) and Write/delete tools (Execute). For each group, set the approval level to Always allow, Needs approval, or Never. We recommend setting Execute to Needs approval, so every create, update, or approval action in Counta requires the connecting user to confirm it before it runs. From the connector's details page, review "Tool permissions." Tools are grouped as Read-only tools (Discover, Describe) and Write/delete tools (Execute). For each group, set the approval level to Always allow, Ask, or Block. We recommend setting Execute to at least Ask, so every create, update, or approval action in Counta requires the connecting user to confirm it before it runs.
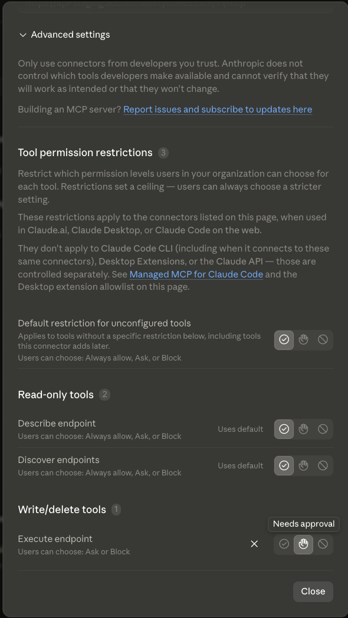
A user will only have write access to actions they already have write access to in Counta; the Execute tool cannot grant access beyond a user's existing Counta permissions. At the time of this publication, only time data is available for write access through the Connector.
Once the connector is added, we recommend testing it yourself first by following the Connect to the Counta AI Connector in Claude guide to authenticate with your own Counta credentials. This confirms the connector is set up correctly before anyone else relies on it.
Once you've confirmed it works, share the same guide with anyone at your agency who needs to connect their own account. Each person authenticates individually with their own Counta credentials; no further admin action is needed per user.