![AccountAbility_logo_primary_fullcolor-1.png]](https://knowledgebase.counta.com/hs-fs/hubfs/AccountAbility_logo_primary_fullcolor-1.png?height=40&name=AccountAbility_logo_primary_fullcolor-1.png)
Step by Step Guide:
How To Create And Edit Employees
This guide walks you through the steps to create, update, and manage employee records in Accountability, including access rights, working hours, and departmental restrictions.
Create a New Employee
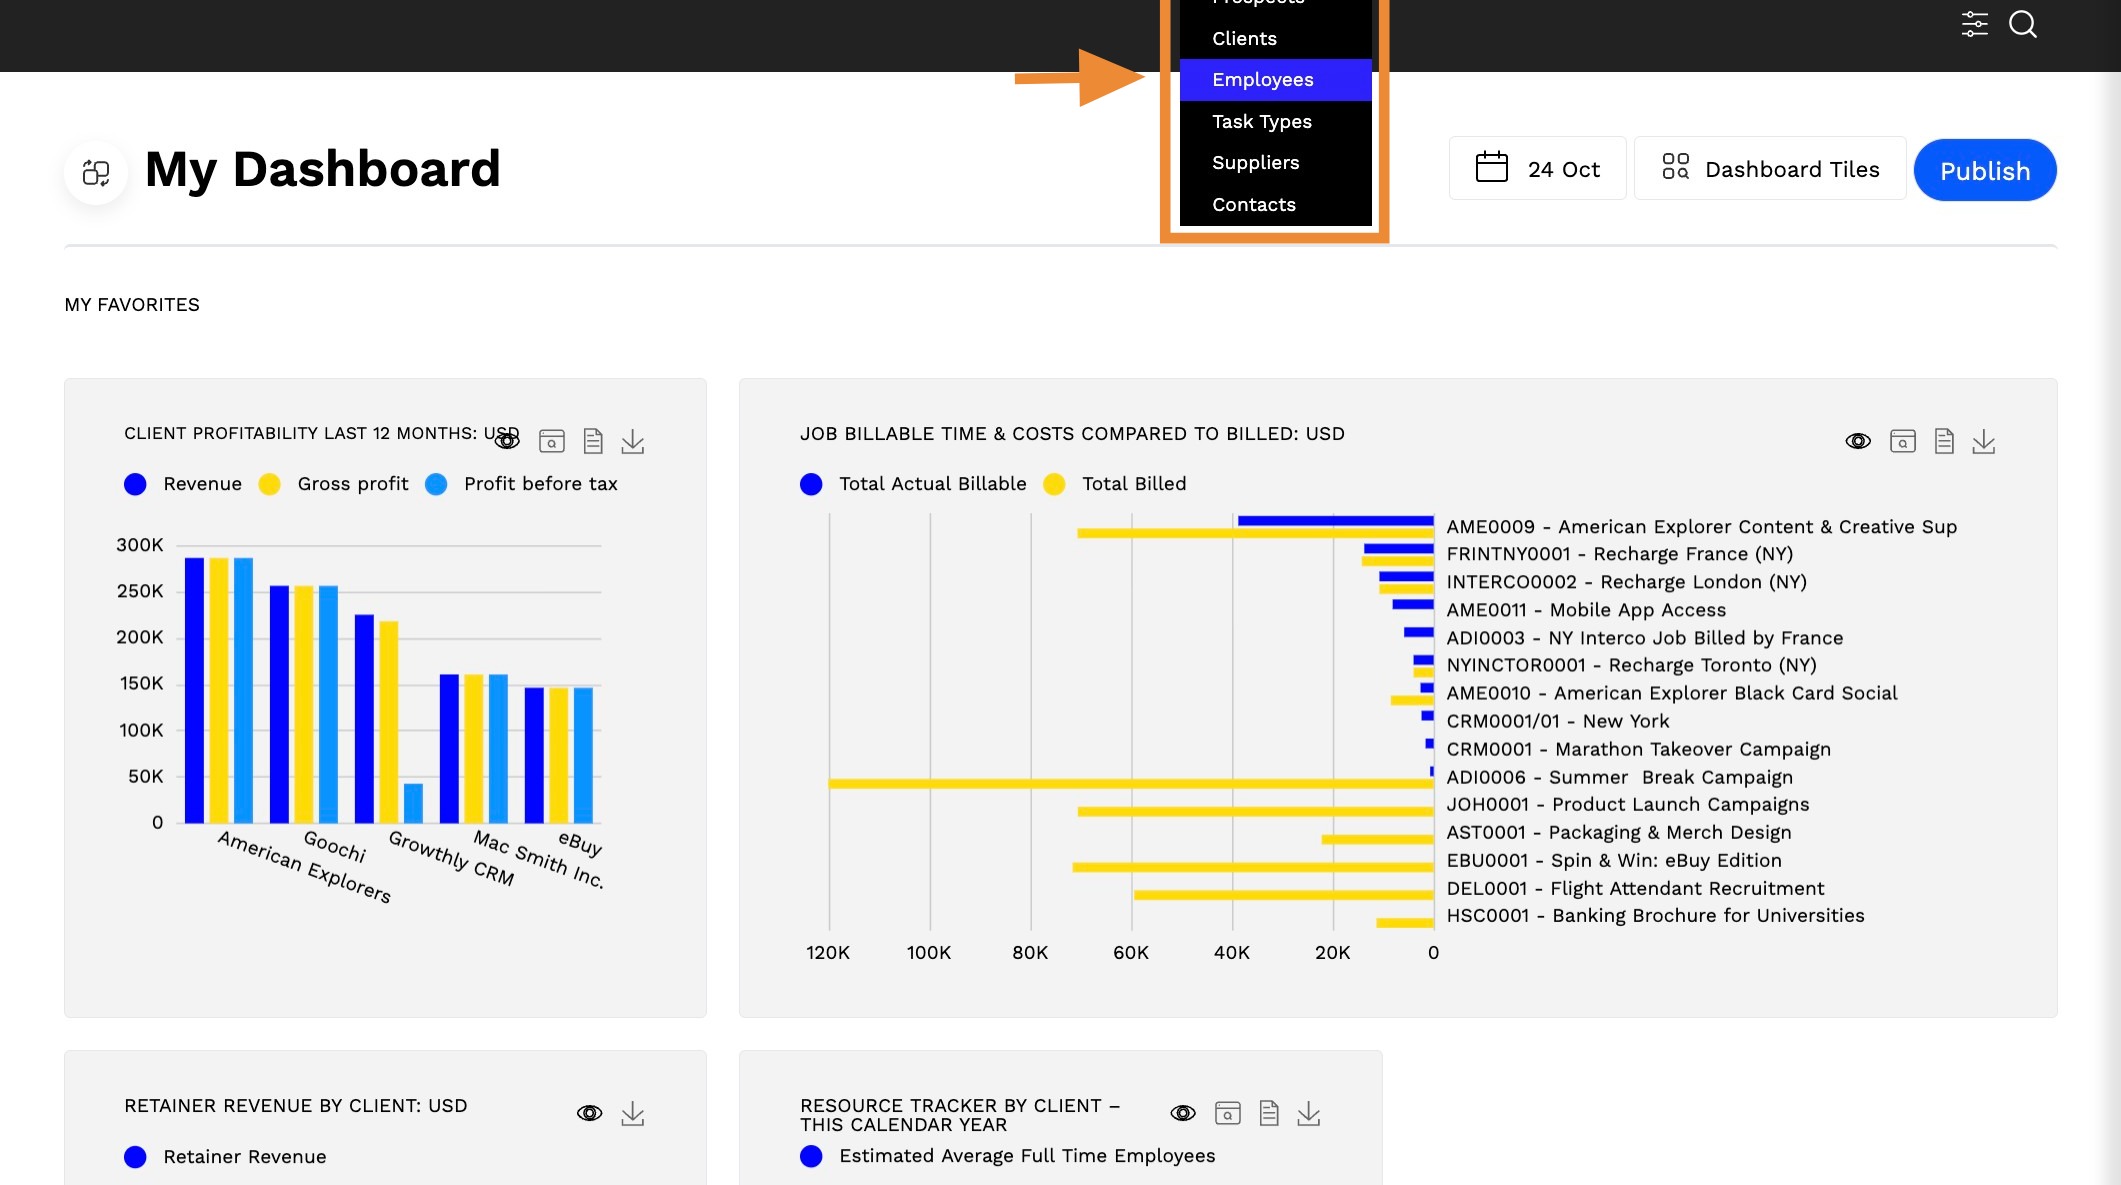
1. Select Master Files > Employees.

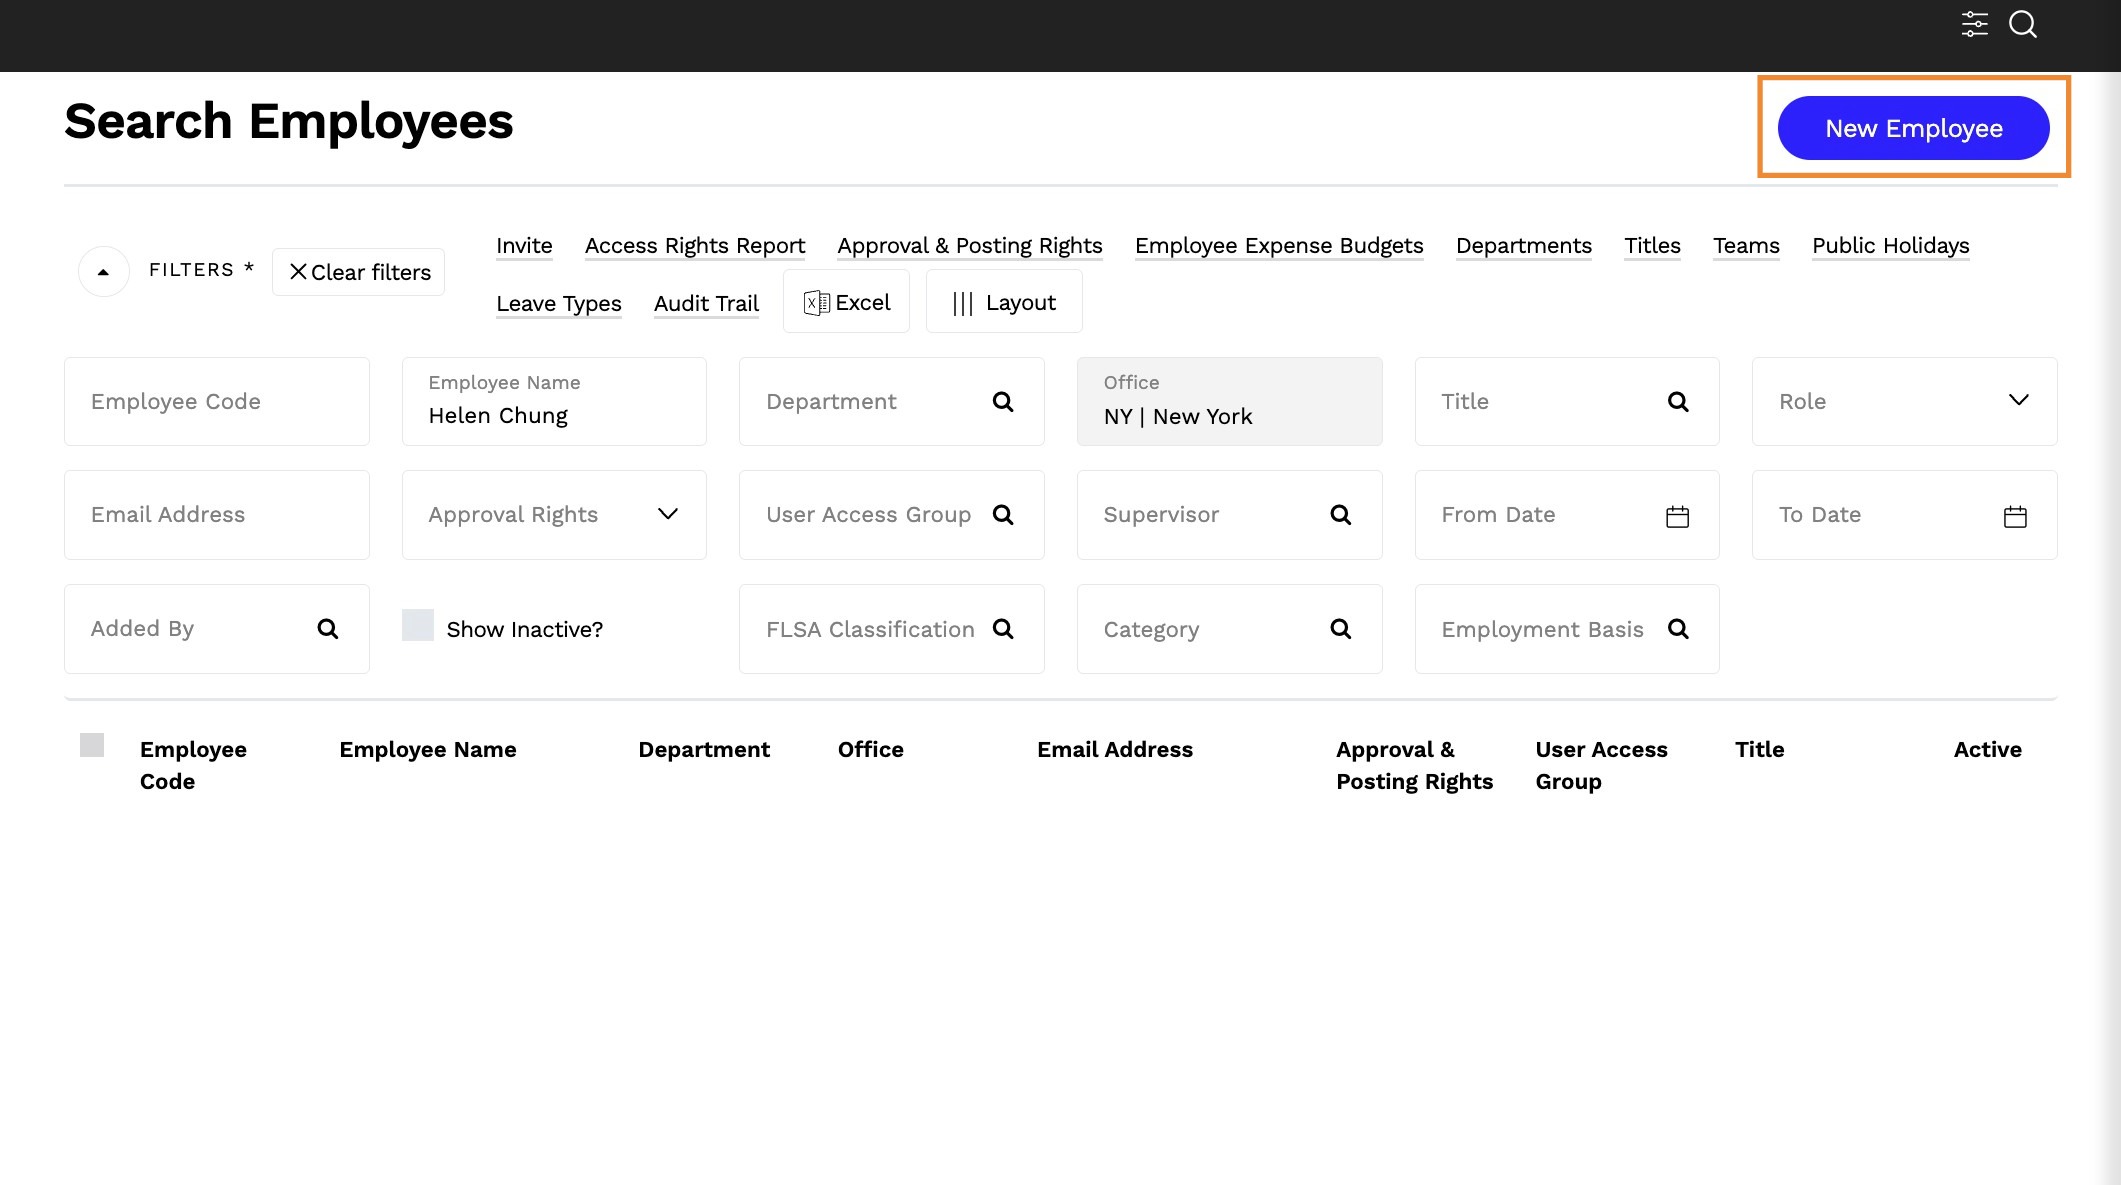
2. Select NEW EMPLOYEE.
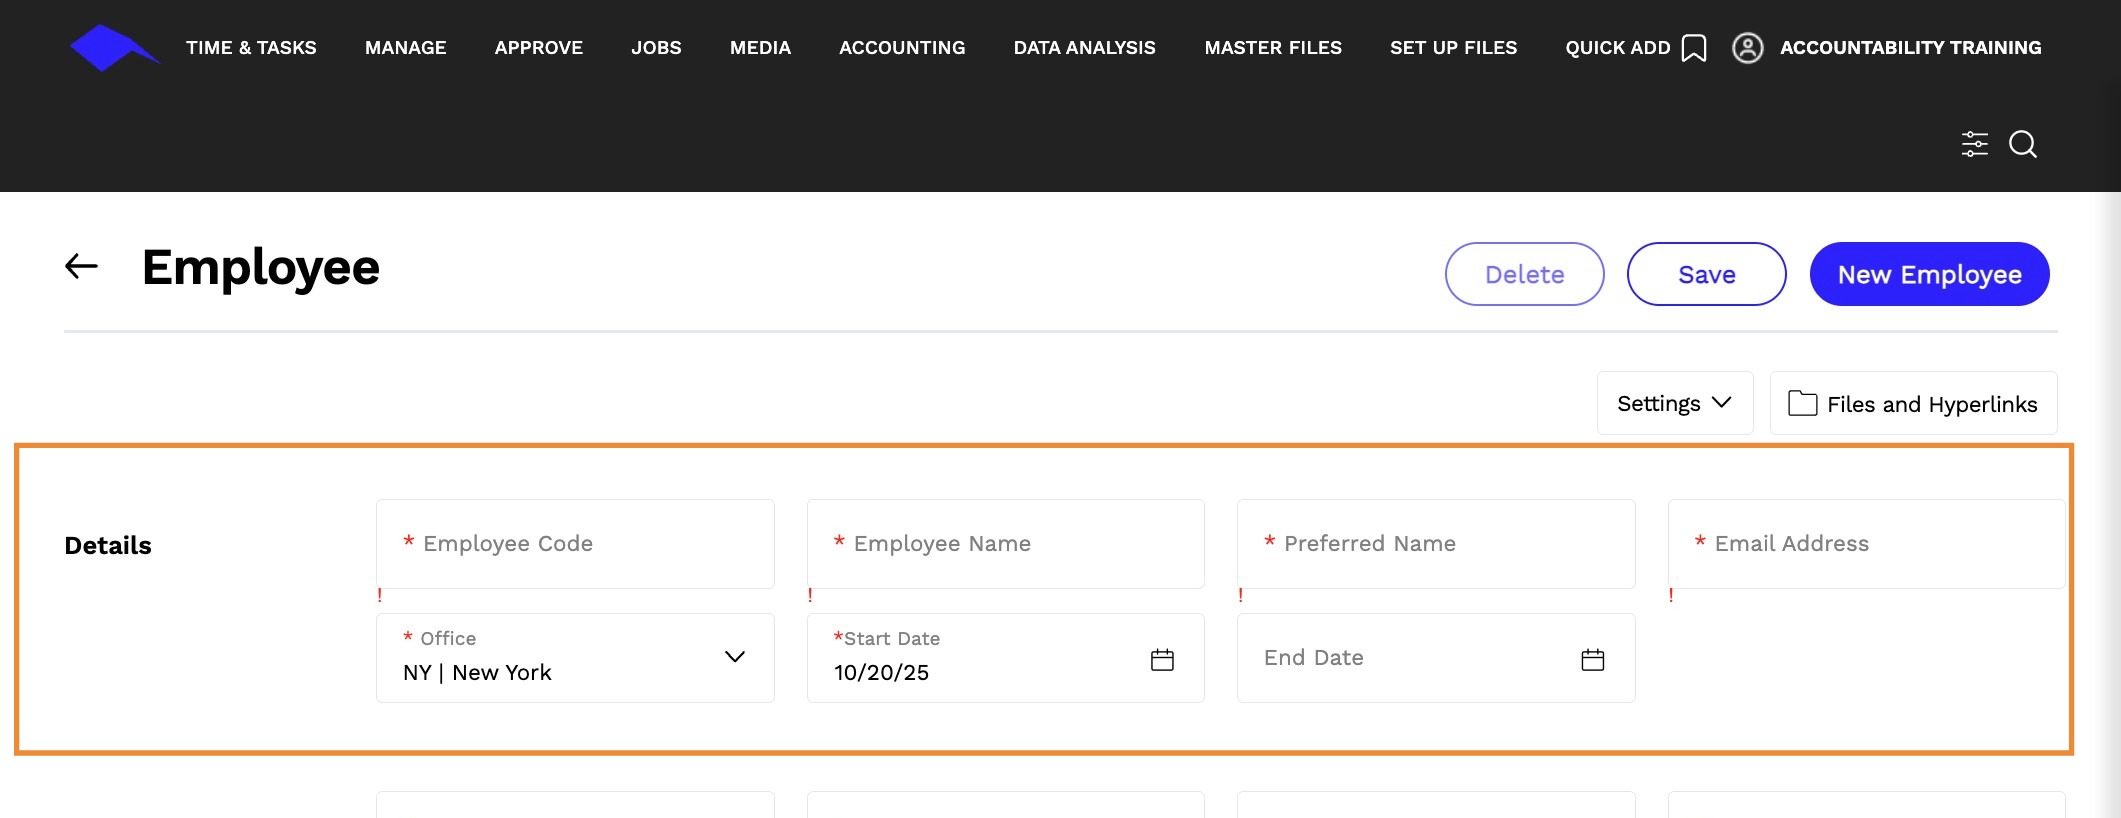
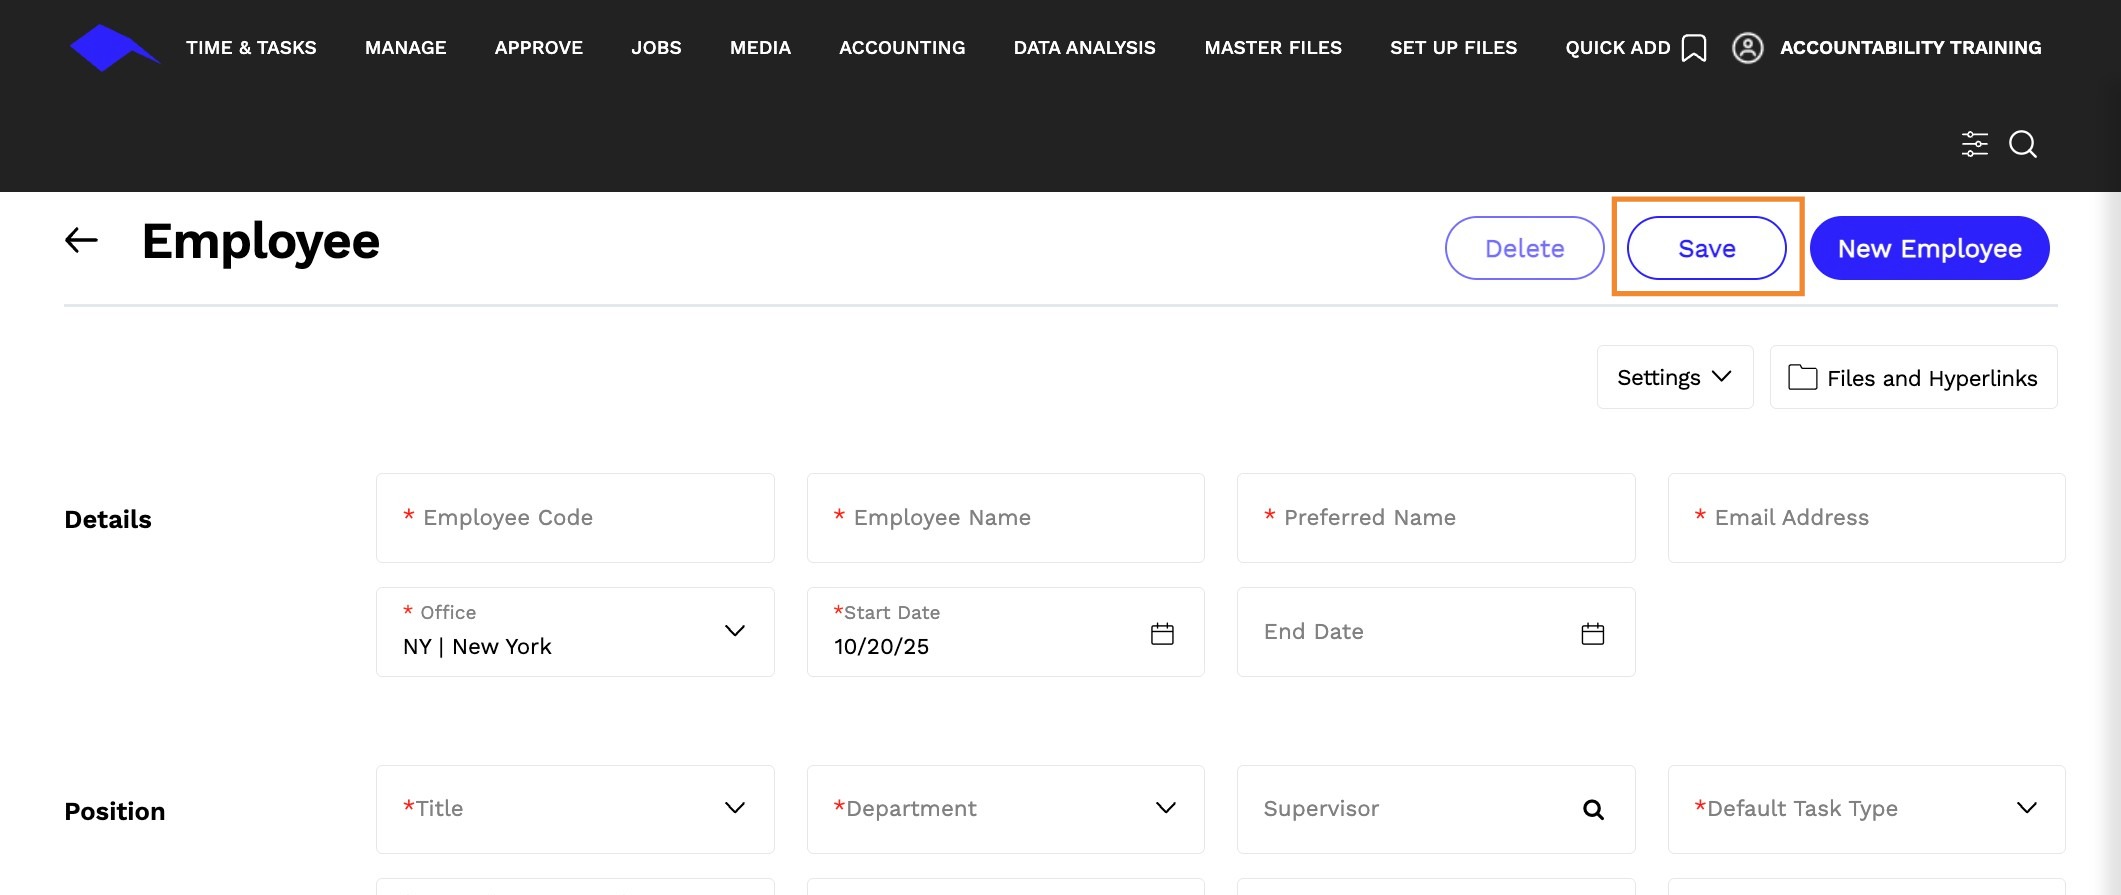
3. Enter the following information for DETAILS.
Employee Code - Alpha or numeric can be used.
Tip:
- It is suggested to limit the code from 3-6 characters in length.
- The code structure should be applied consistently.
- The assigned code also acts as the Employee's user code when logging in to Accountability.
Employee Name - Enter the employee's name.
Preferred Name - Enter the employee's preferred name.
Email Address- Enter the employee's email address.
Office- Assign the employee's default office.
Start Date- Enter the employee's start date
End Date- End Date Enter the employee's last date. Optional
Note: The employee's end date will remove the employee's access to the system.
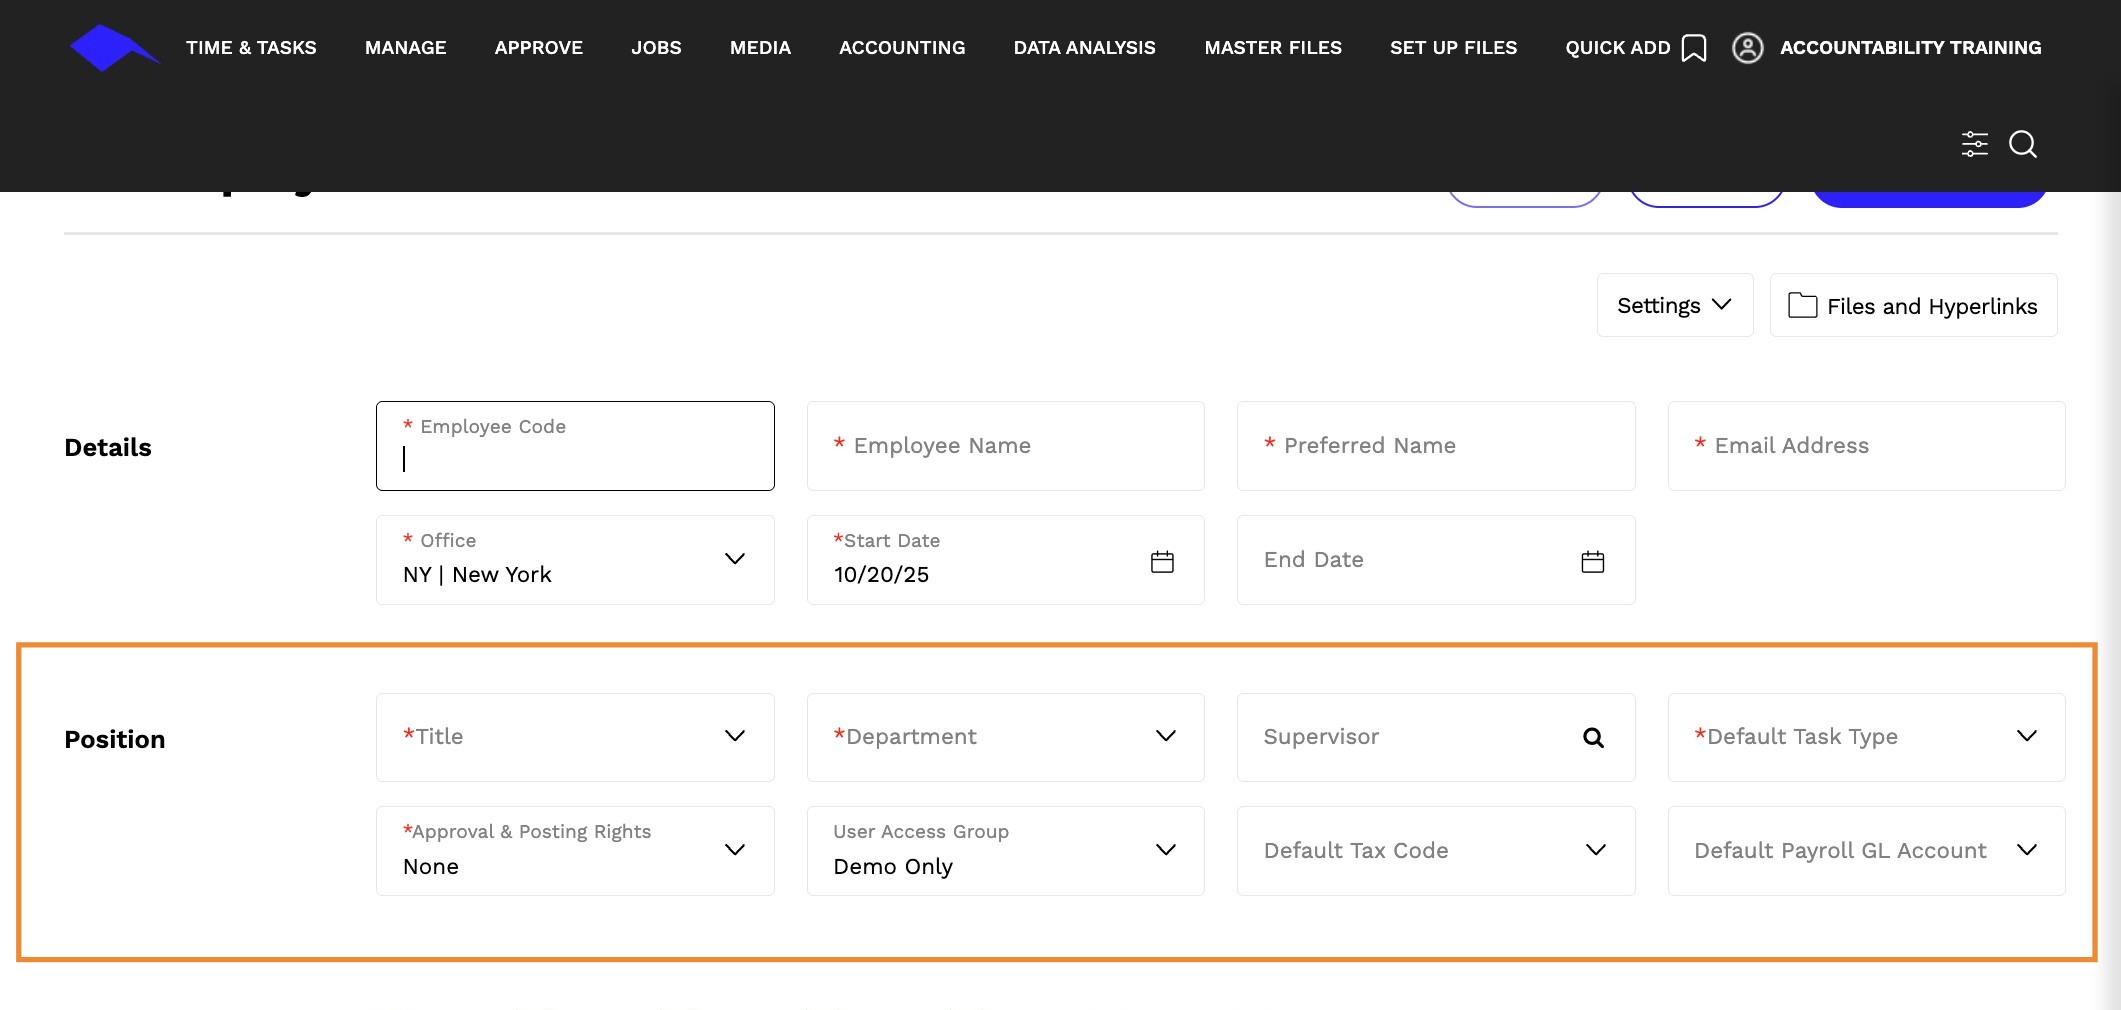
4. Enter the following information for POSITION.
Title- Select a title. Primarily allows report filtering/selection for timesheet data and is also required for Resource Tracking. Learn how to create a title by clicking.
Department- Select a department. Primarily allows report filtering/selection for timesheet data. Learn how to create a department by clicking.
Supervisor- Enter or select the employee's supervisor. - Optional
Default Task Type- Select a task type. Determines the default for the employee when they are entering their timesheets through MY TIME.
Approval & Posting Rights- There are three options available for employee approval rights:
- None - the employee has no rights to approve system transactions
- Defined - the employee has some approval rights. Tip: approval rights can be assigned by clicking the Approval Rights hyperlink at the top of the page
- Unrestricted - the employee is able to approve any type of system transaction they are able to access.
User Access Group- Determines the system functions employees will be able to access, and the type of access permitted. - Optional. Learn how to manage user access groups by clicking.
Default Tax Code- Use the drop down box to select the employees default tax code.
Default Payroll GL Account- Admins can set the default GL account for employees' actual cost to appear in Payroll Budget. - Optional
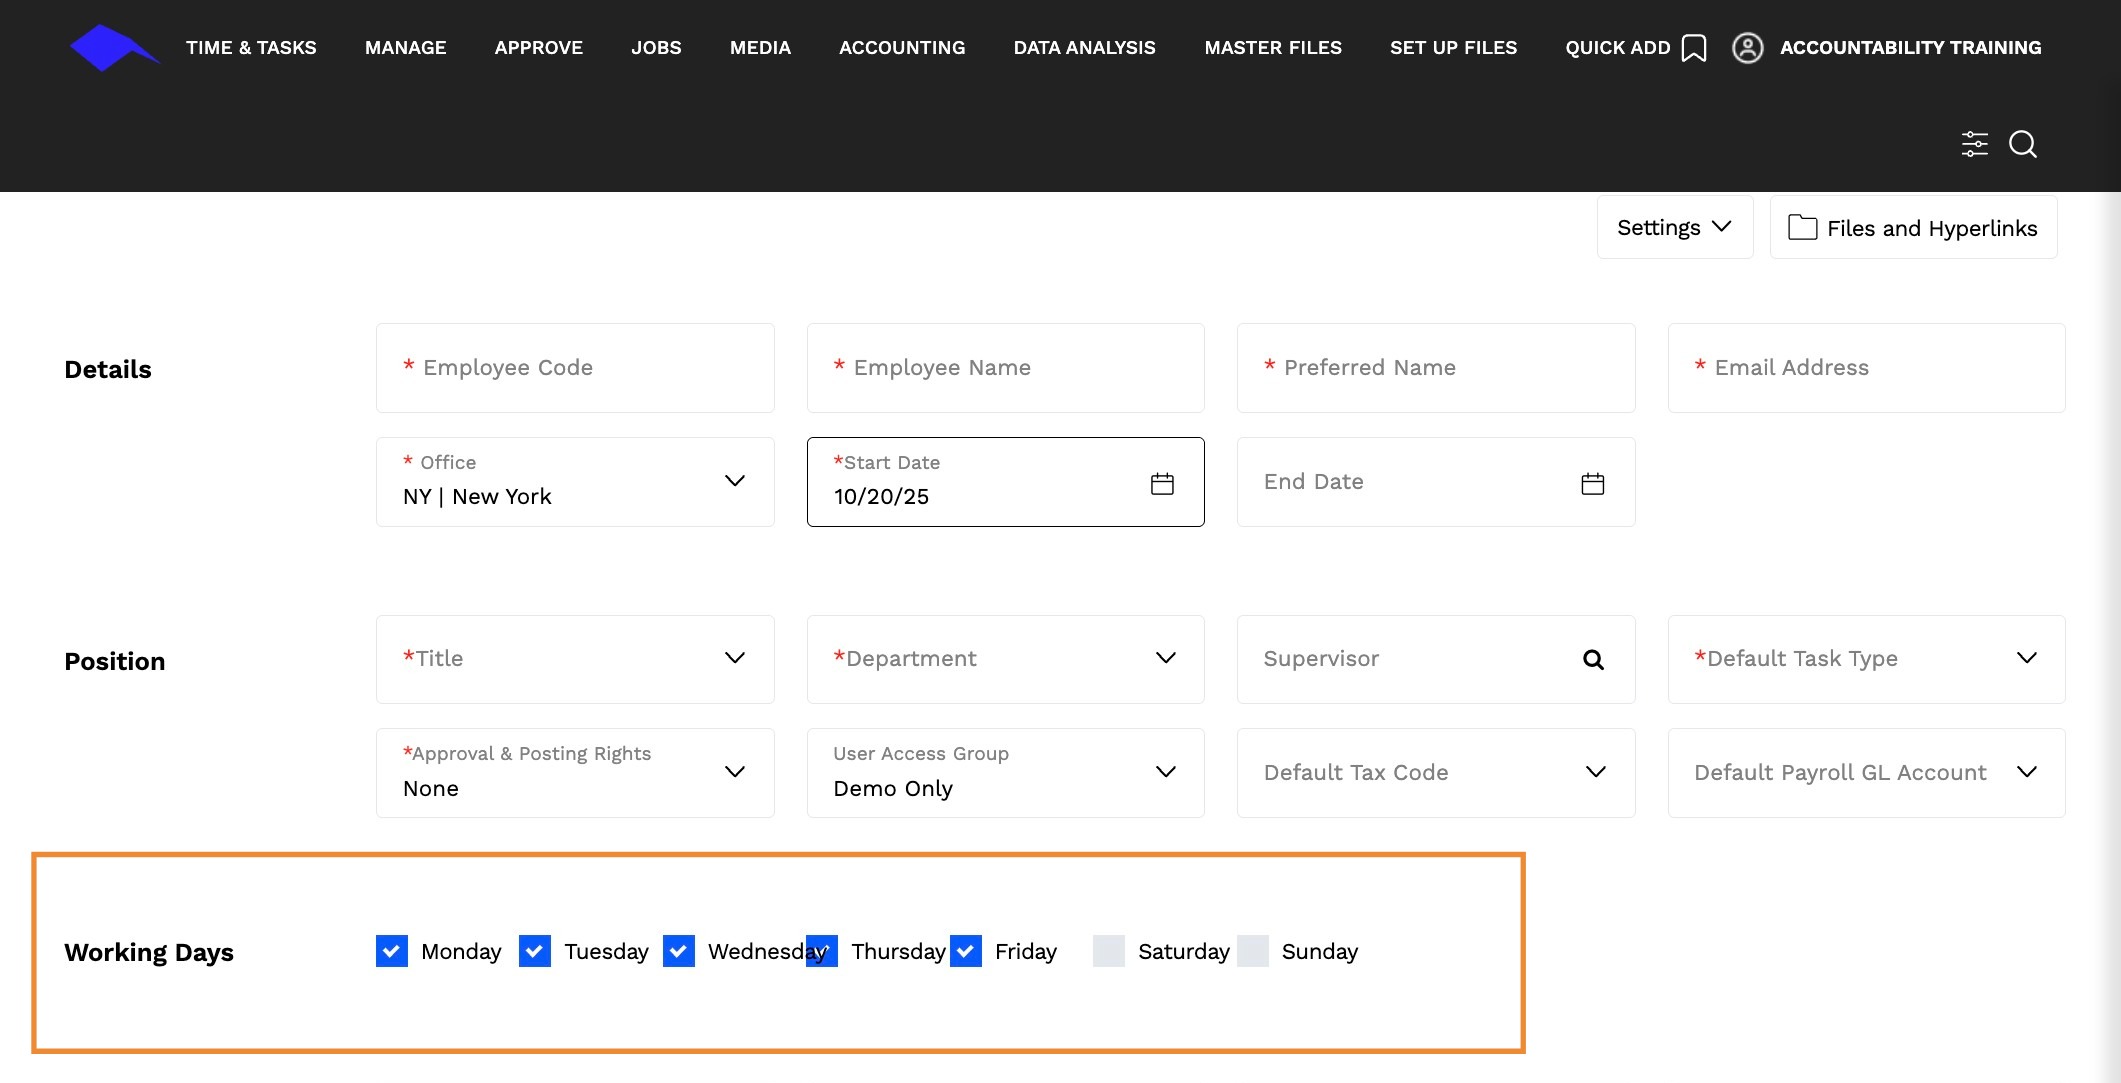
5. Use the check the box for the employees default Working Days.
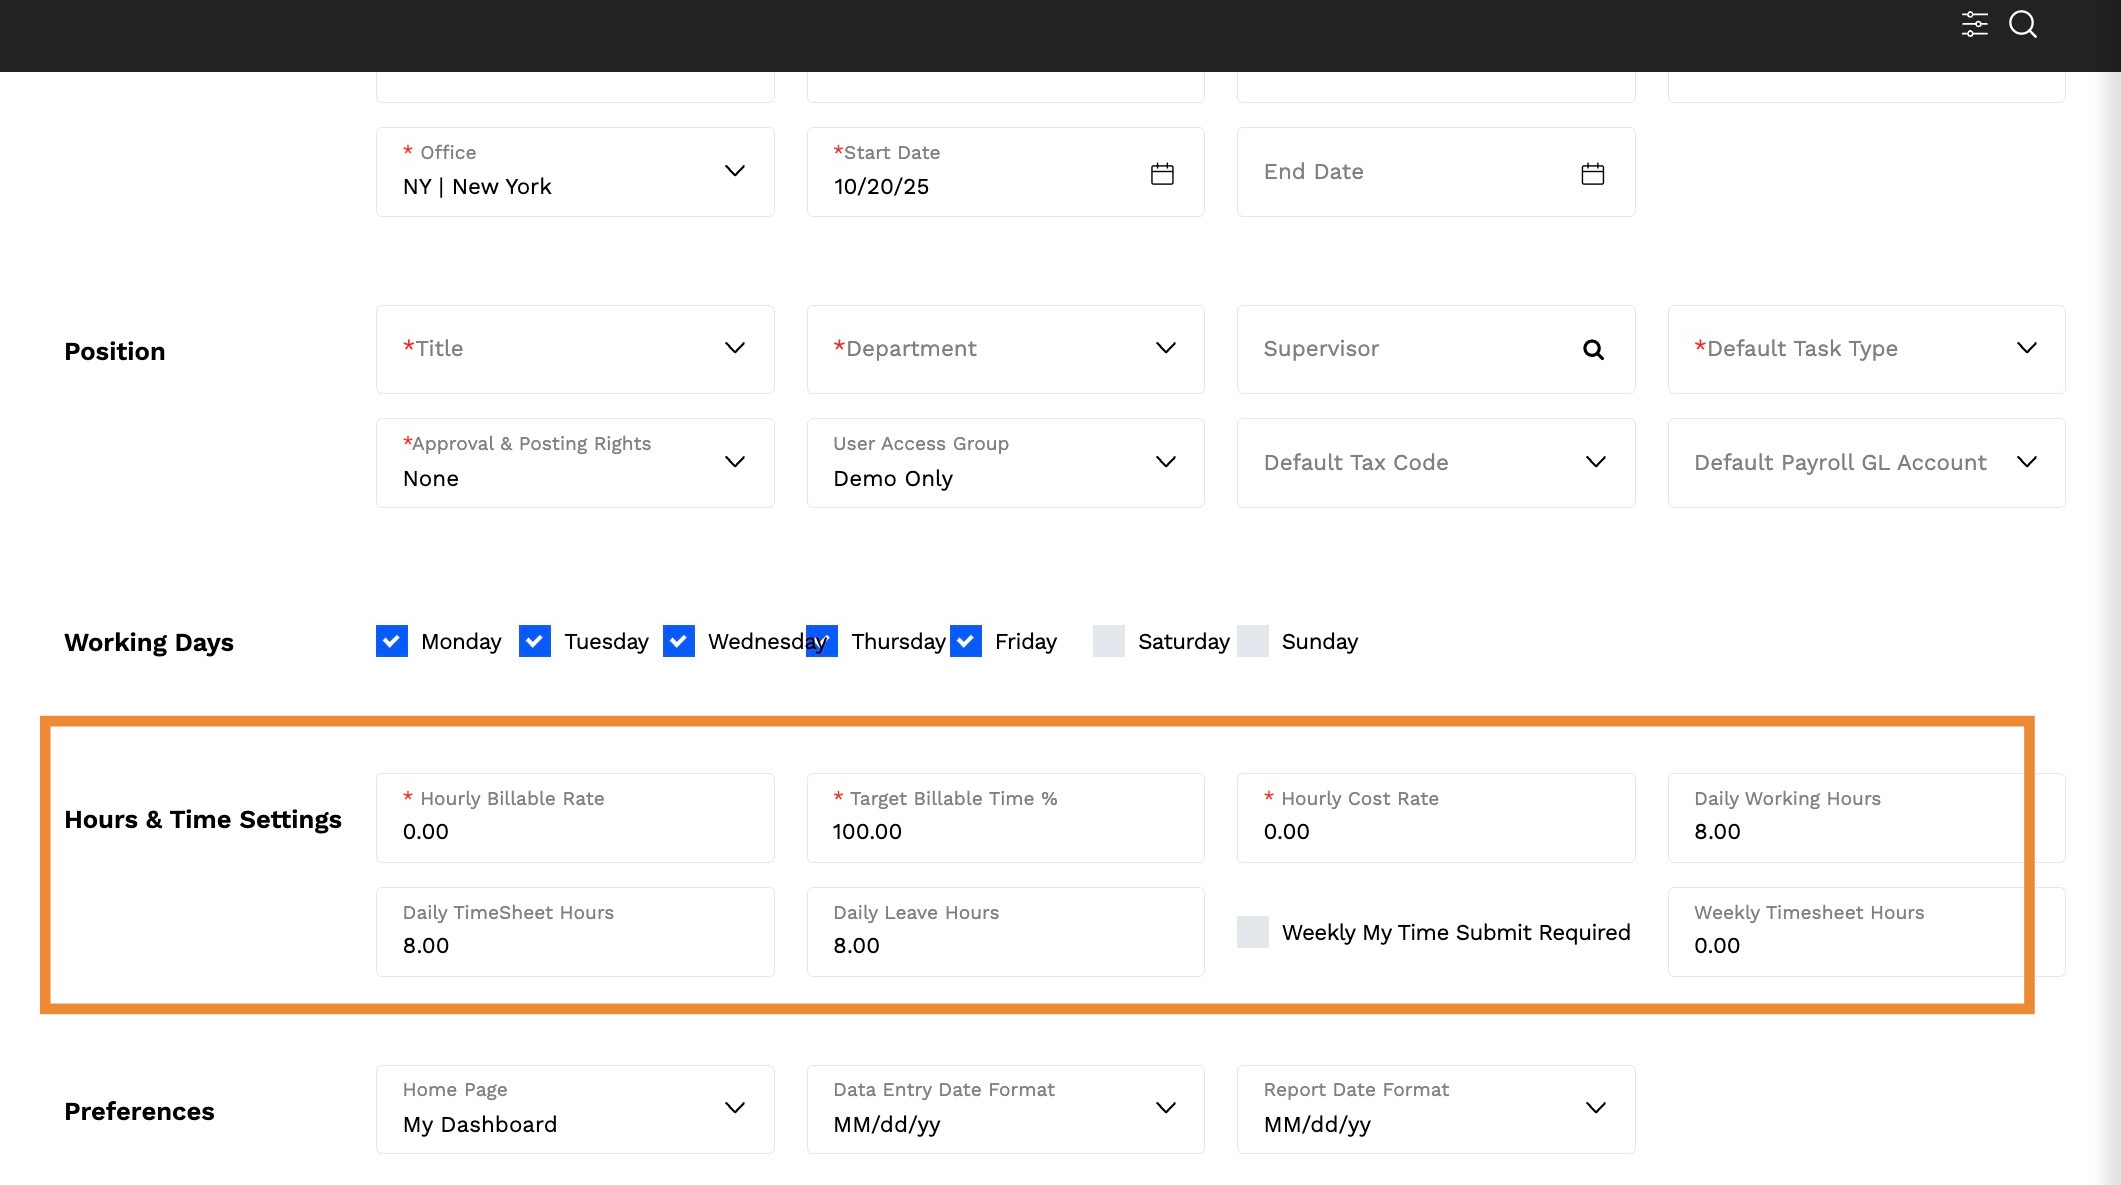
6. Enter the following information for Hours and Time Settings.
Daily Hours- The expected number of hours the employee will work for each working day. - Optional
Daily Timesheet Hours- The number of hours the employee will be required to enter time for each working day. This will drive the Missing Time Report and Utilization reporting. - Optional
Hourly Billable Rate- Enter the default hourly rate for billable time performed by the employee. This will only be applied to client-specific or task-type specific time entered in the Employee Code of the Estimate.
Hourly Cost Rate- Enter the hourly cost rate for the employee.
Target Billable Time %- Enter the expected % of time worked by the employee will be billable to clients and is used in various utilization calculations.
Weekly My Time Submit Required- Check to enable employees to submit their timesheets on a weekly basis.
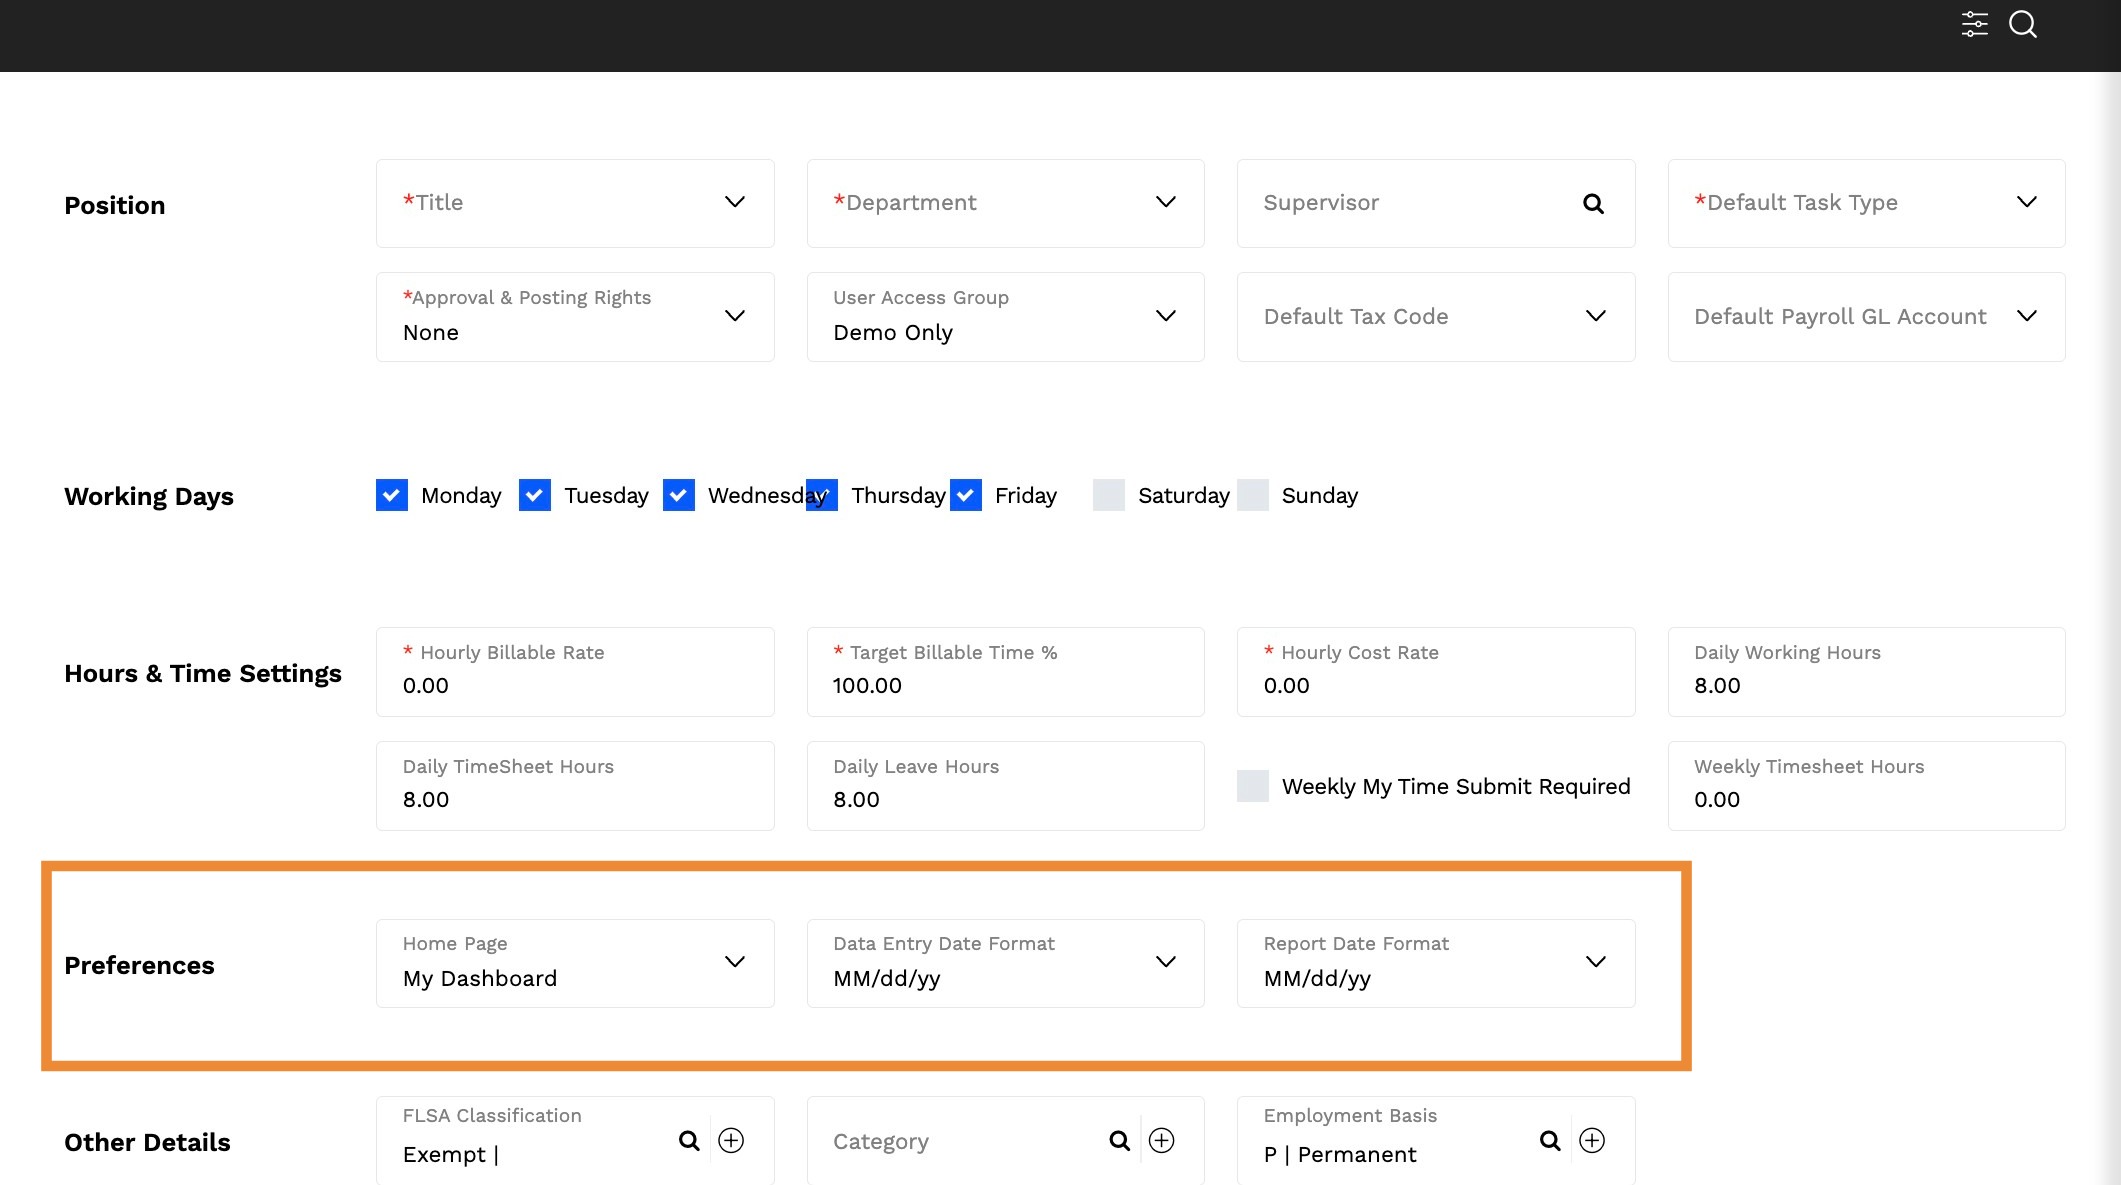
7. Enter the following information for PREFERENCES.
Home Page- The page that will present when an employee logs in. -Optional. Employees can manage this setting by going to User Name Profile>My Settings
Data Entry Date Format- Personalize the date format that will apply to data entered by the employee. - Optional
Report Date Format String- Personalize the date format that will apply for reports run by the employee. - Optional
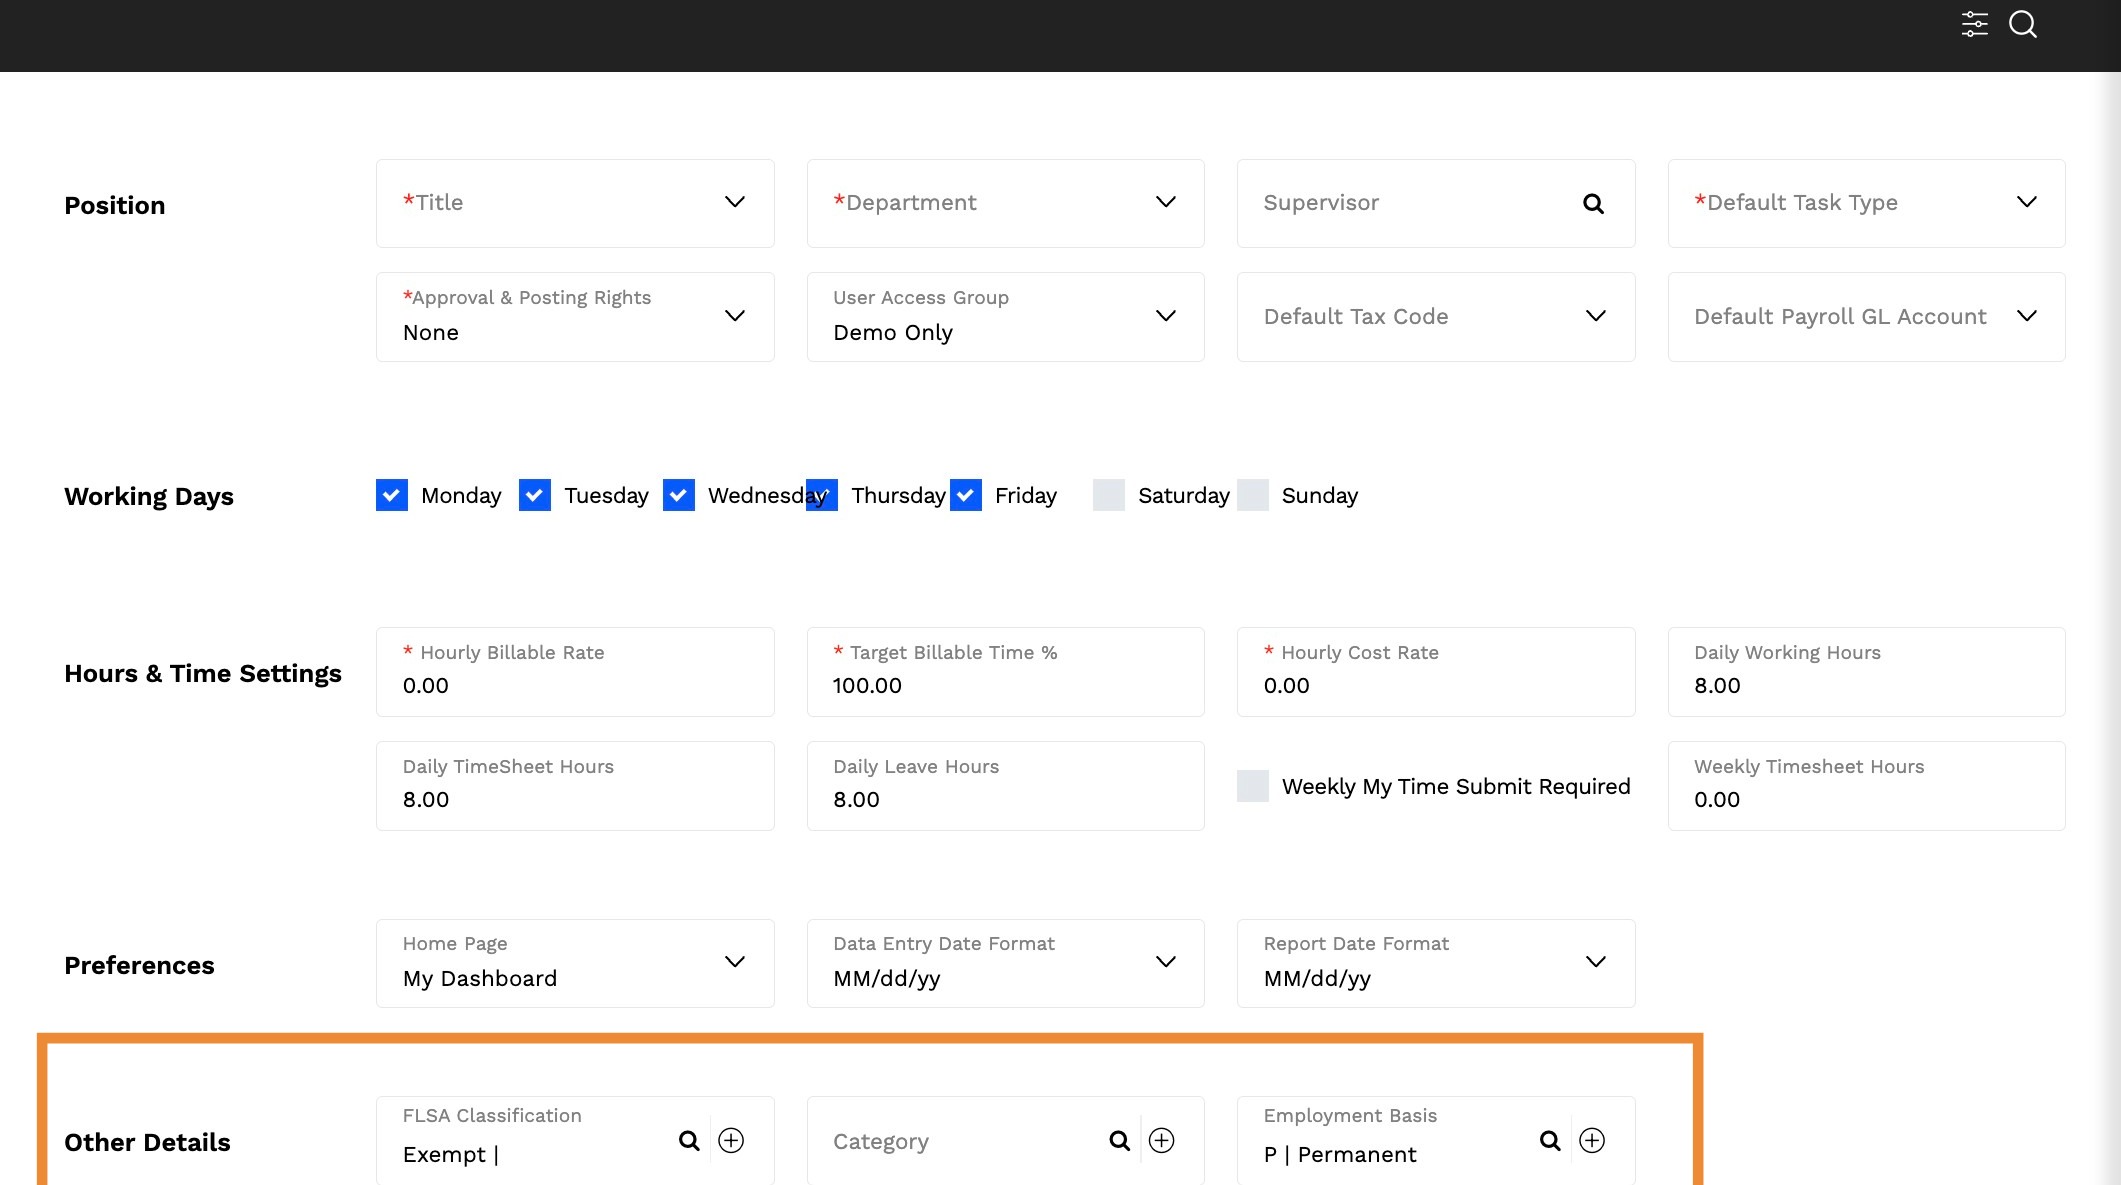
8. Other Details show all of your agency-defined fields.
9. Click SAVE.
Create additional Employee settings
10. Select Master Files > Employees.
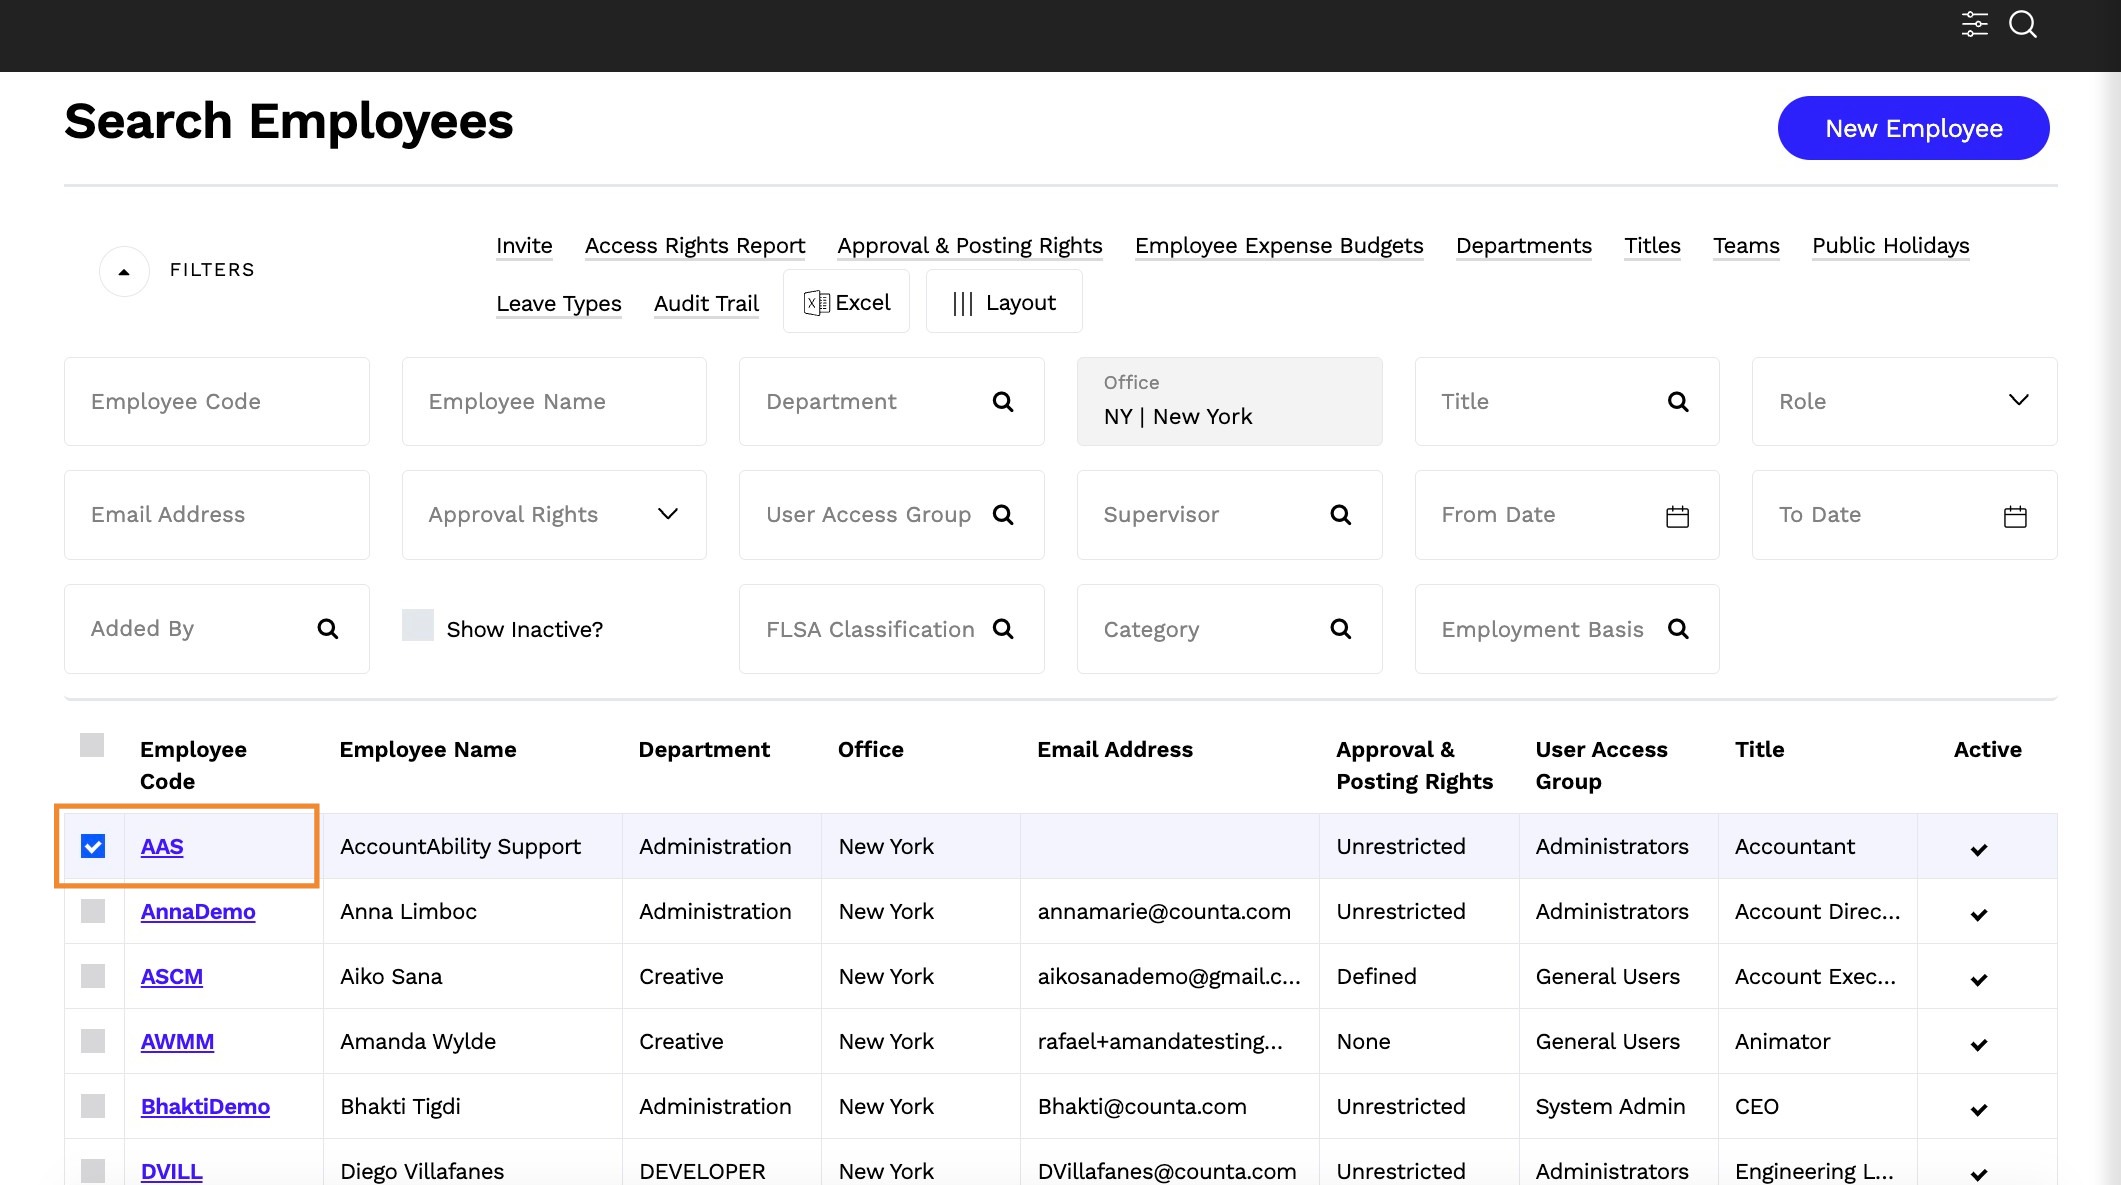
11. Select an Employee Code.
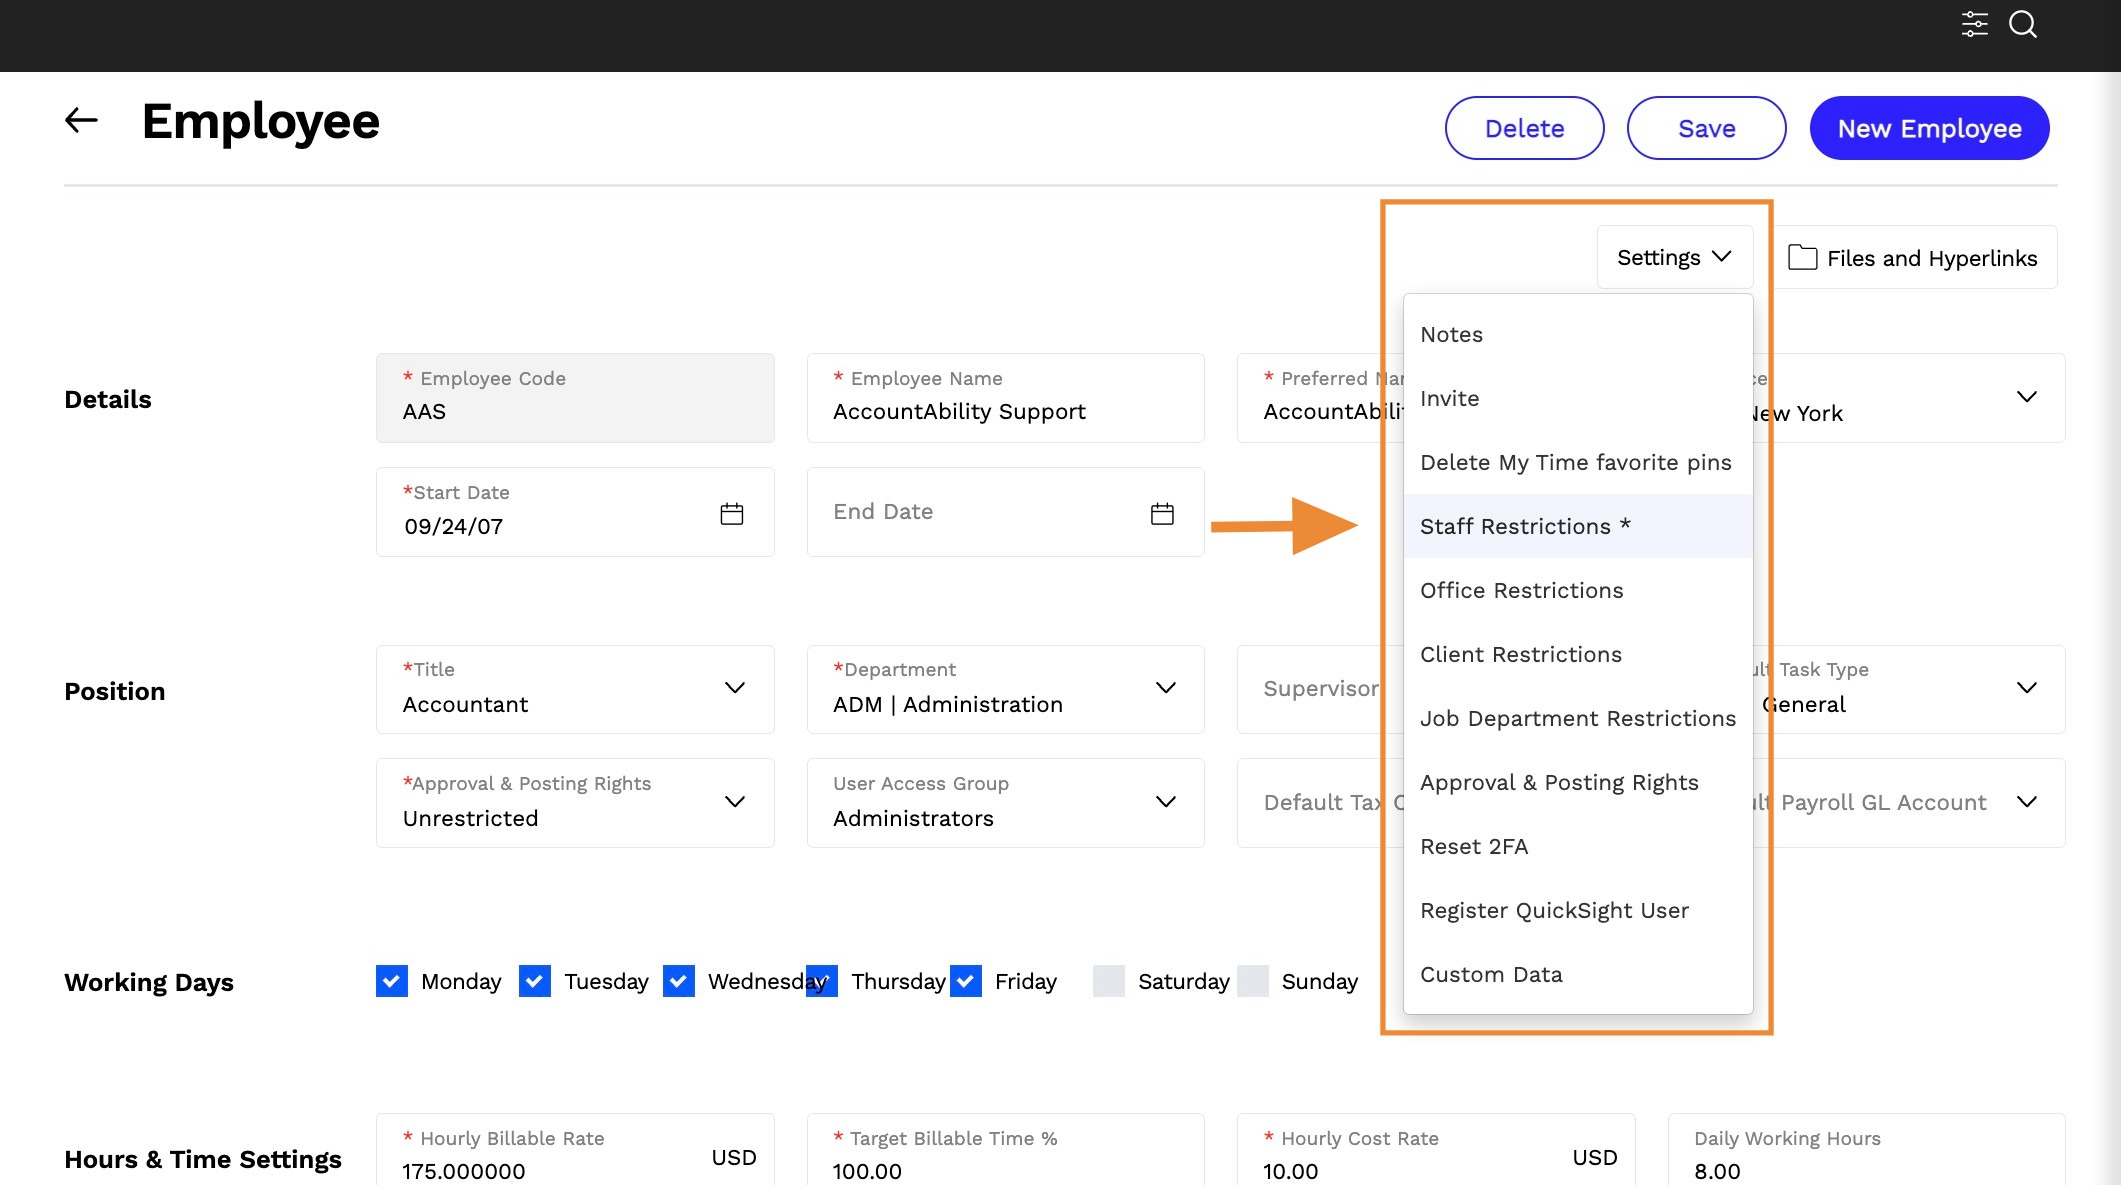
12. Click on Settings > Staff Restriction.
13. On the Staff Access Restrictions page, check the box to the left of APPLY RESTRICTIONS TO DEPARTMENTS
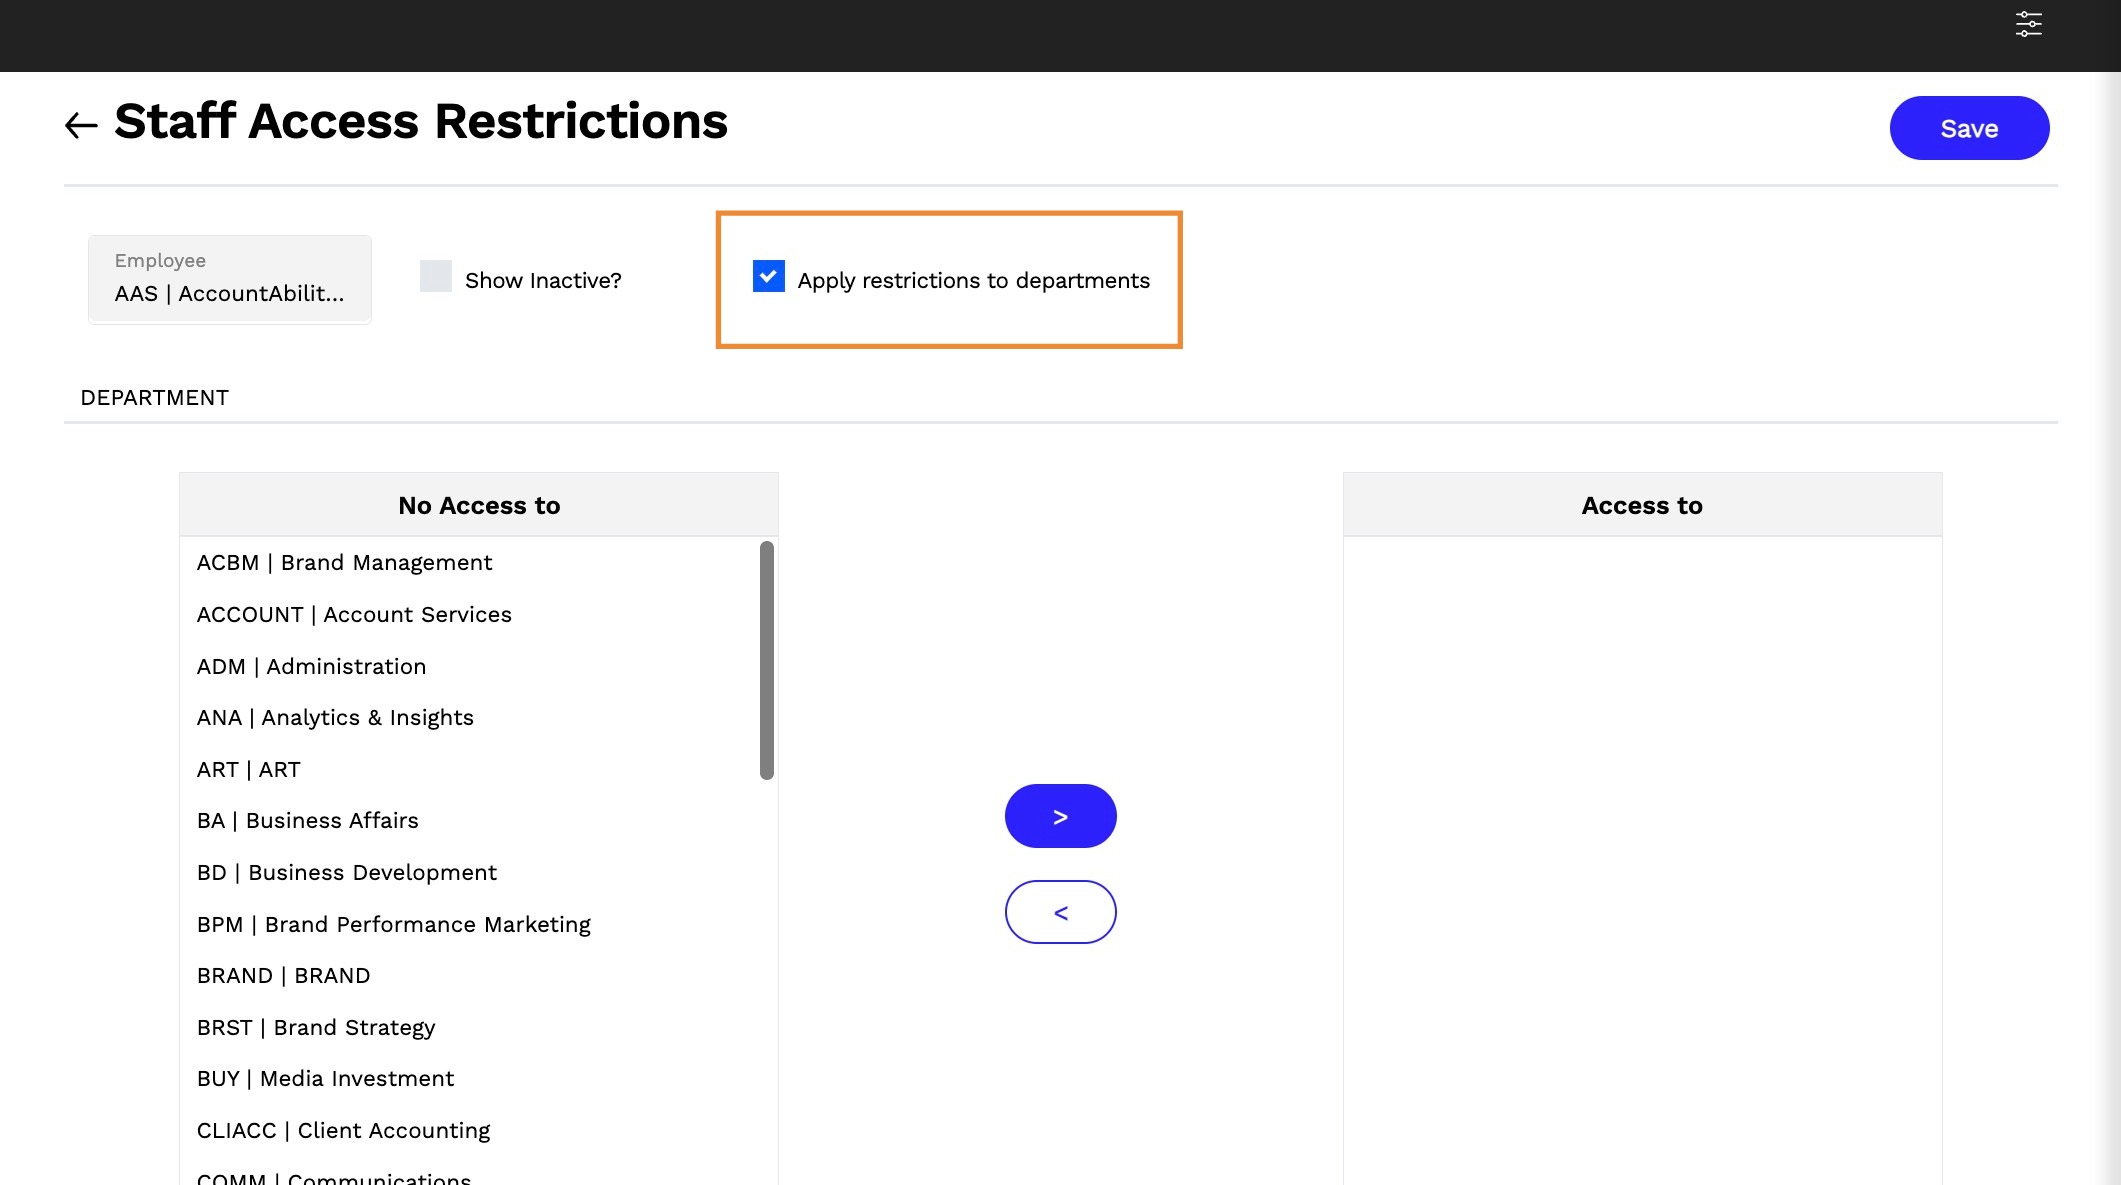
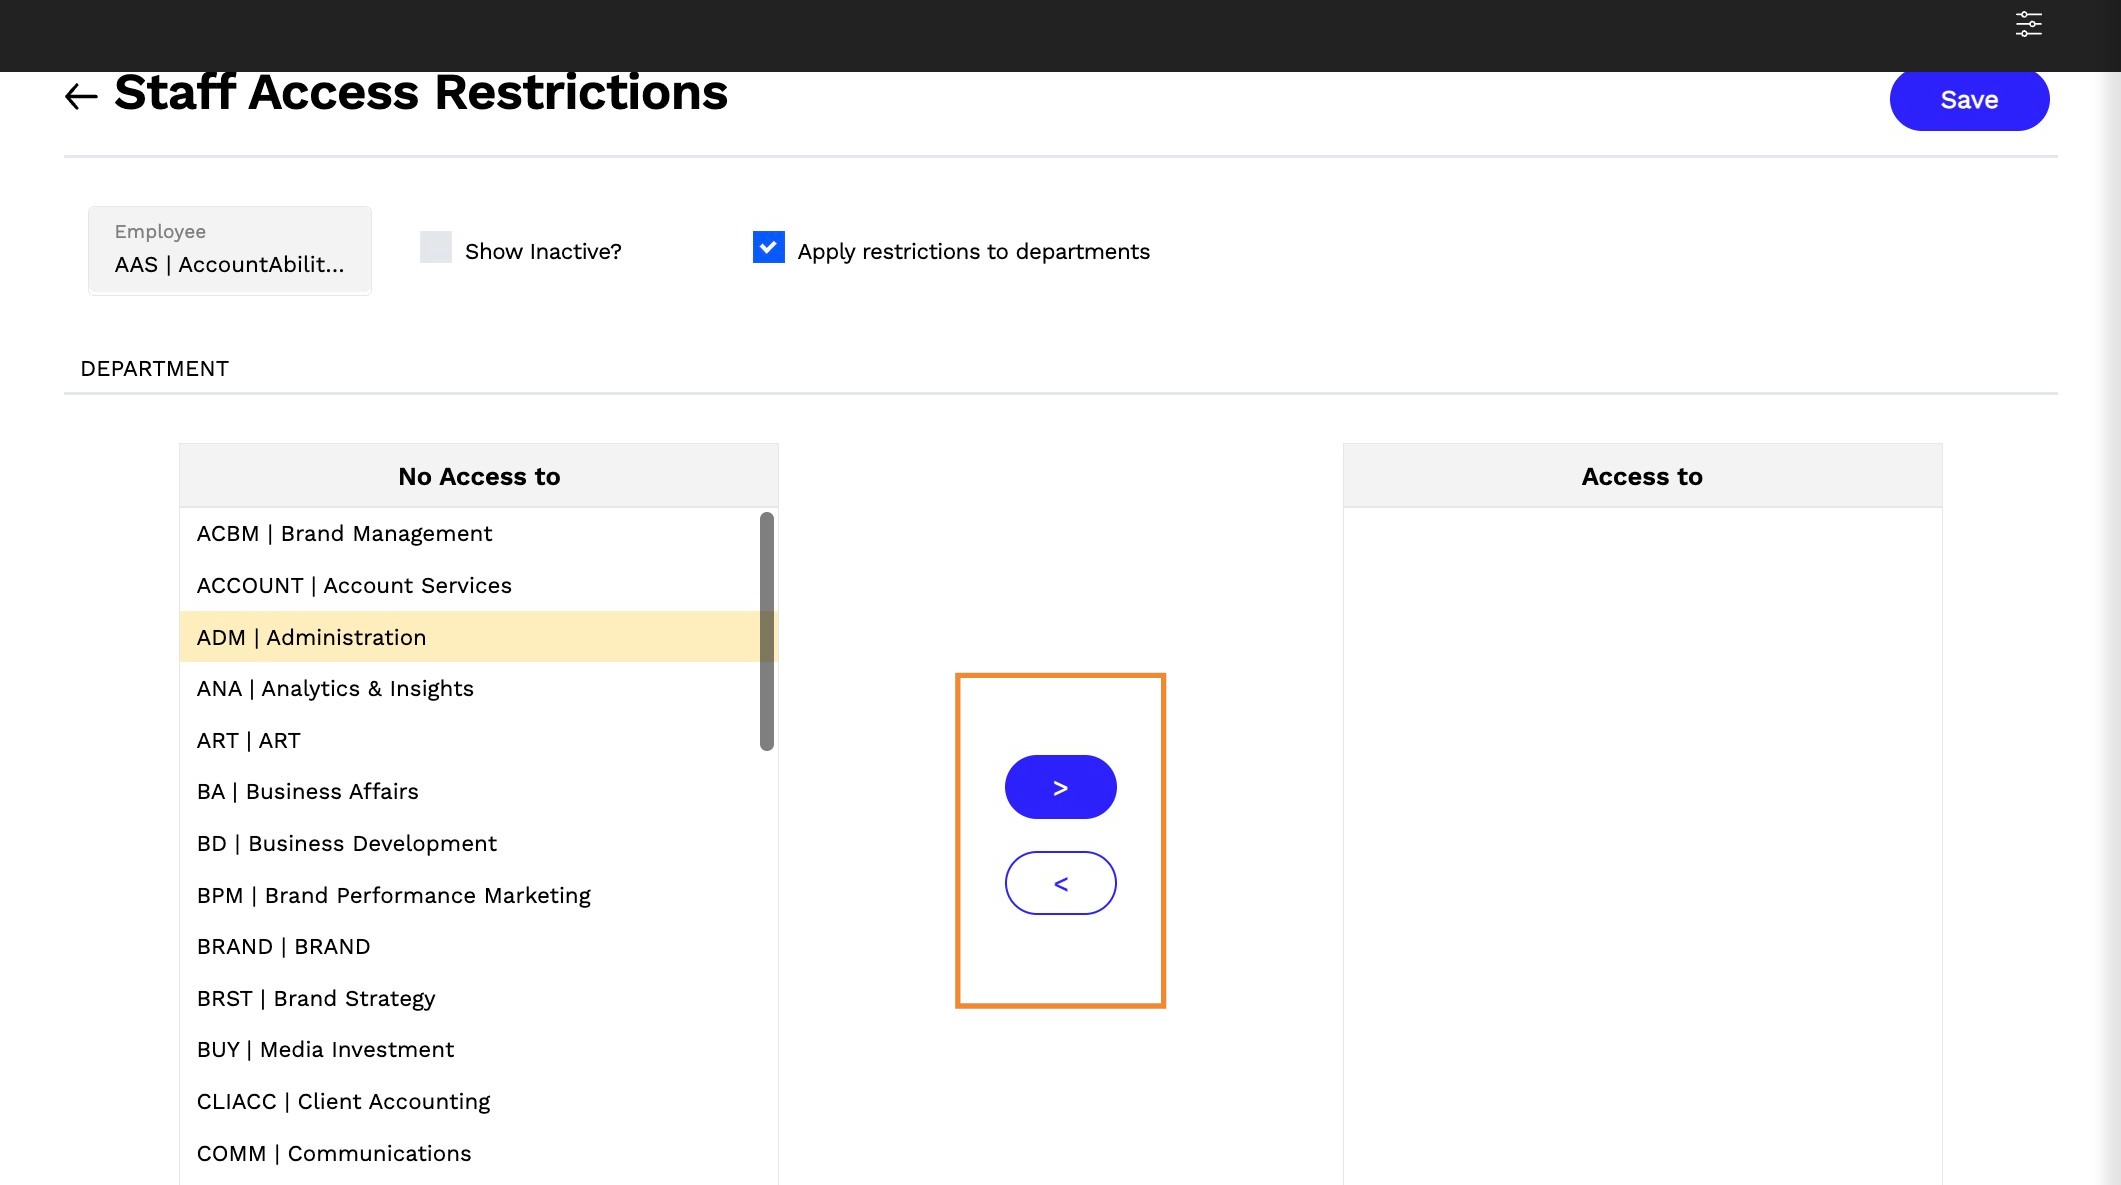
14. On the department restrictions page use the > symbol to grant access and < to remove access to a department.
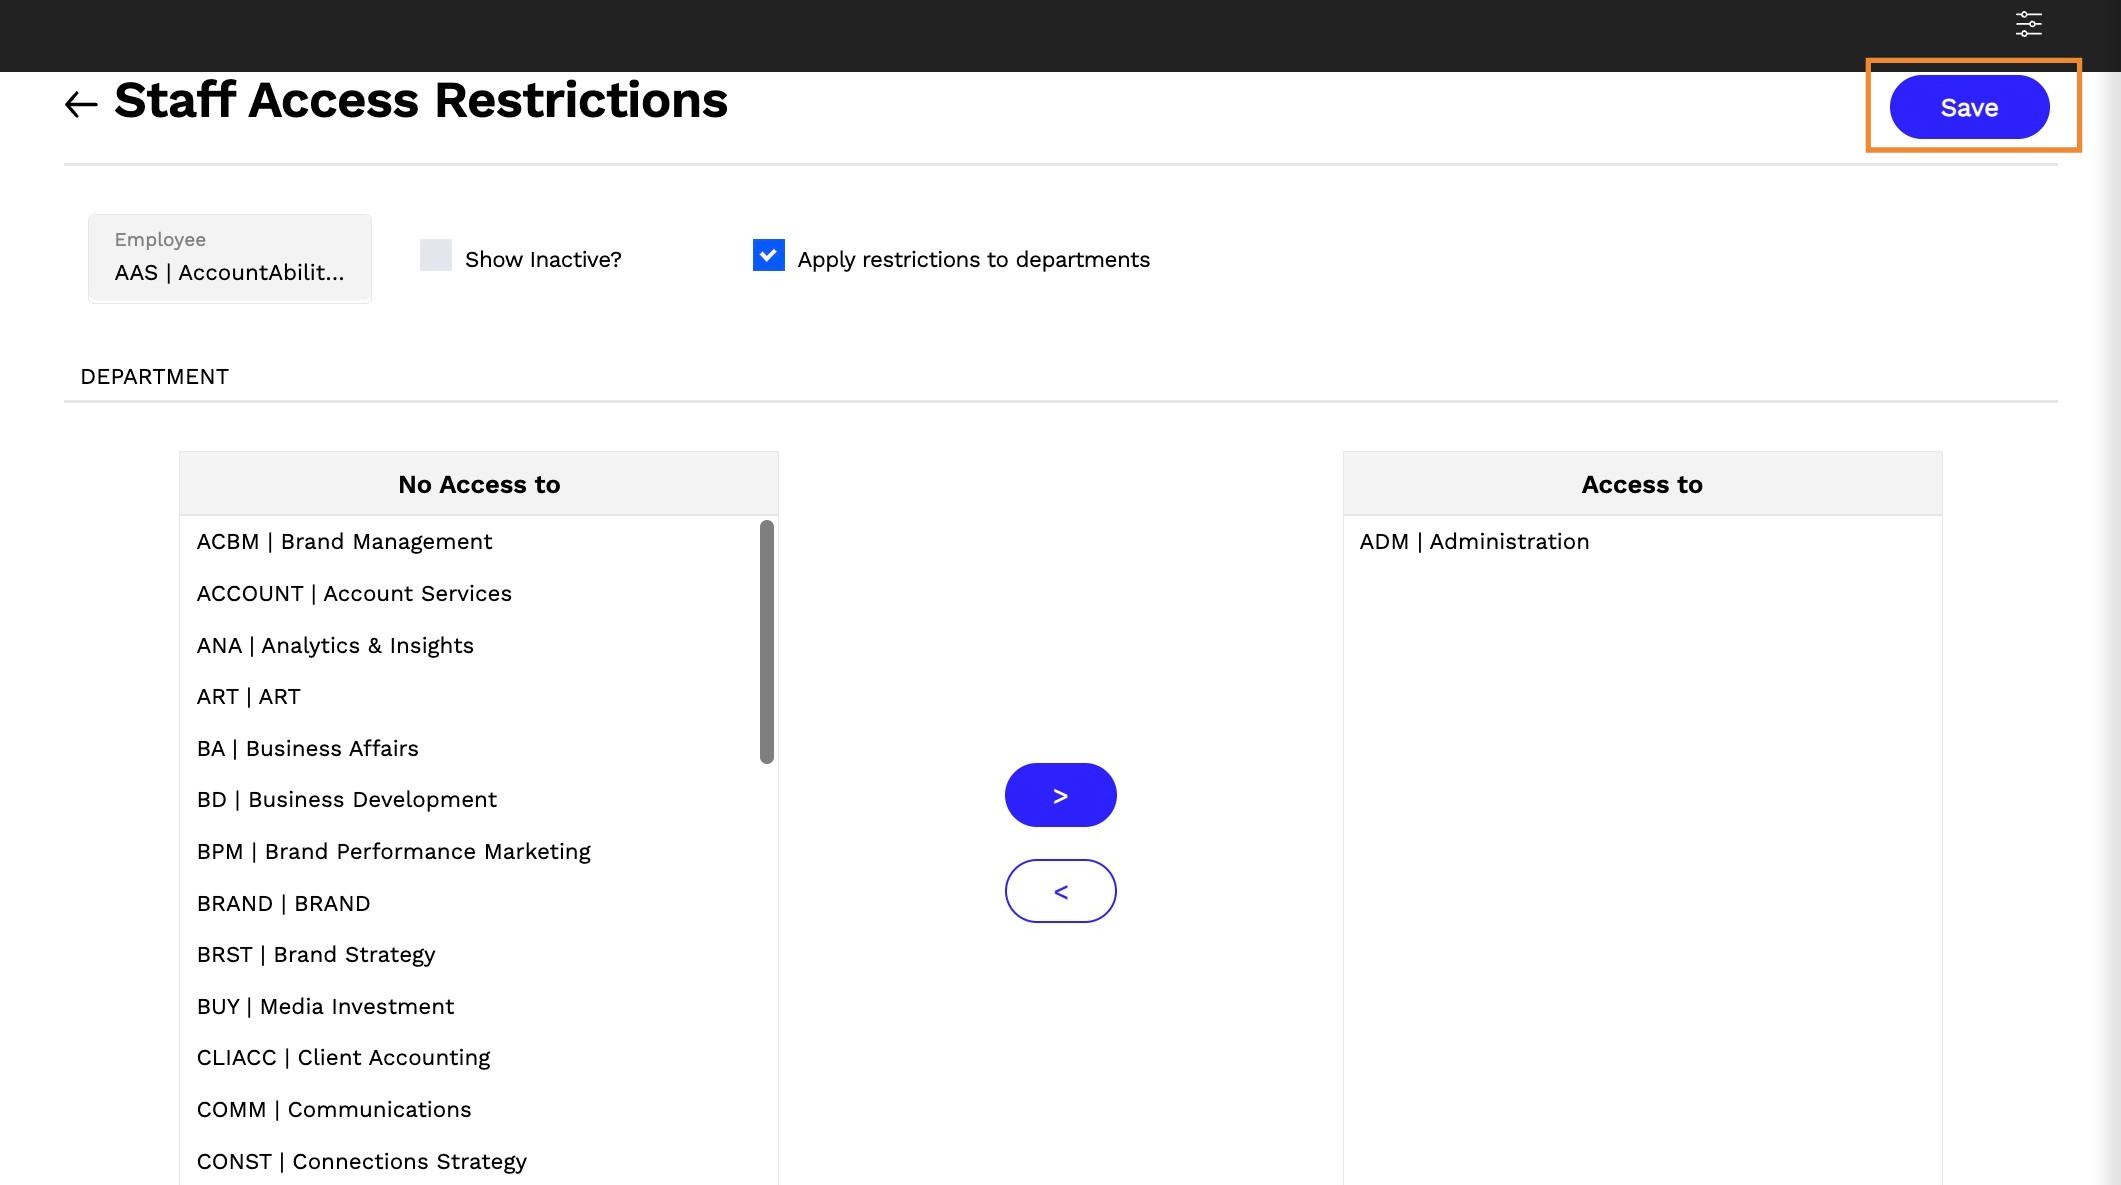
15. Select SAVE.
Add or Remove Office Restrictions
16. Select Master Files > Employees.
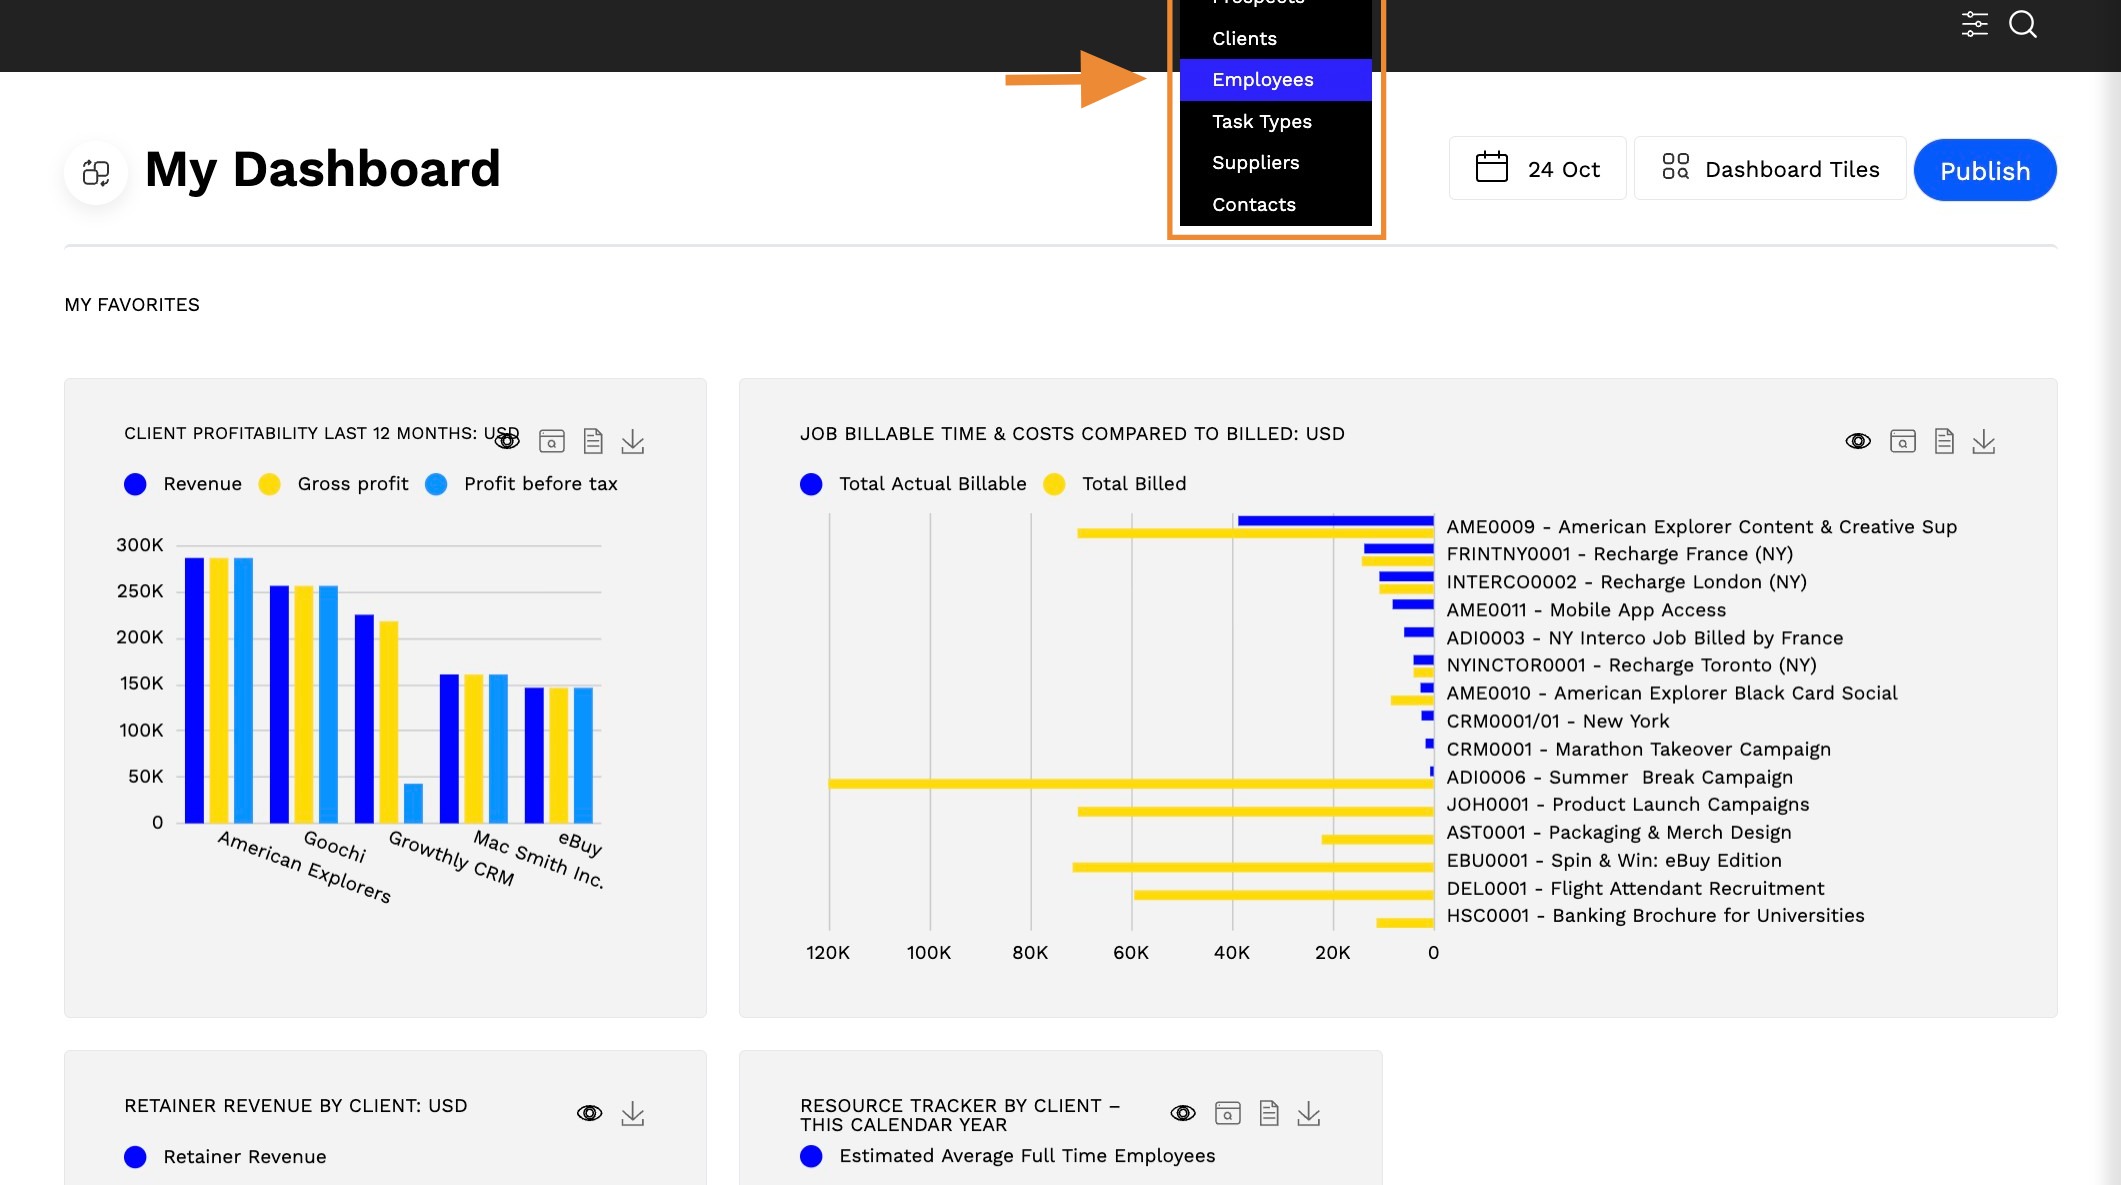
17. Select the employee code hyperlink
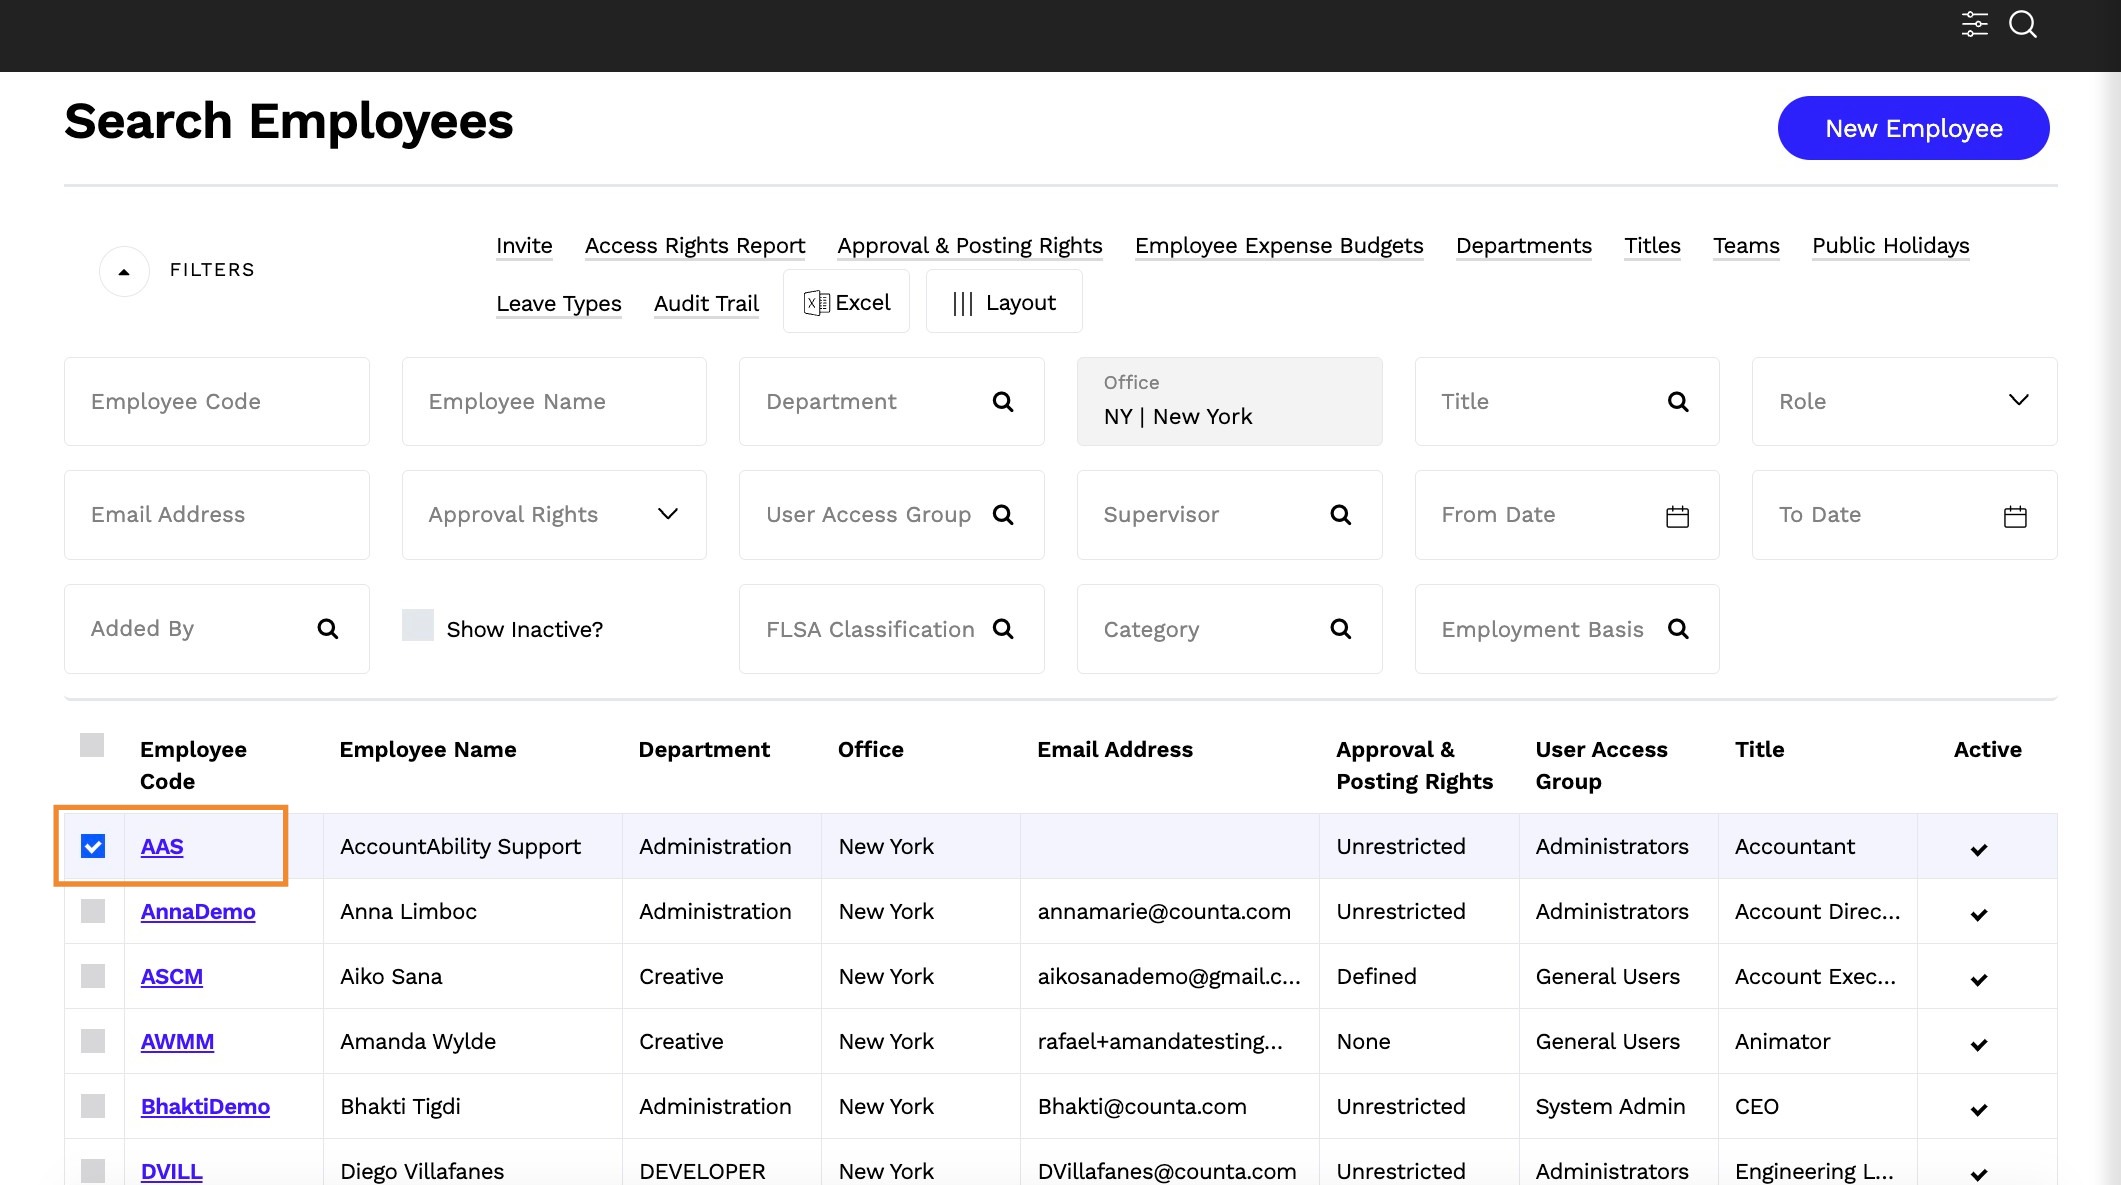
18. On the Employee landing page select Settings > Office Restrictions
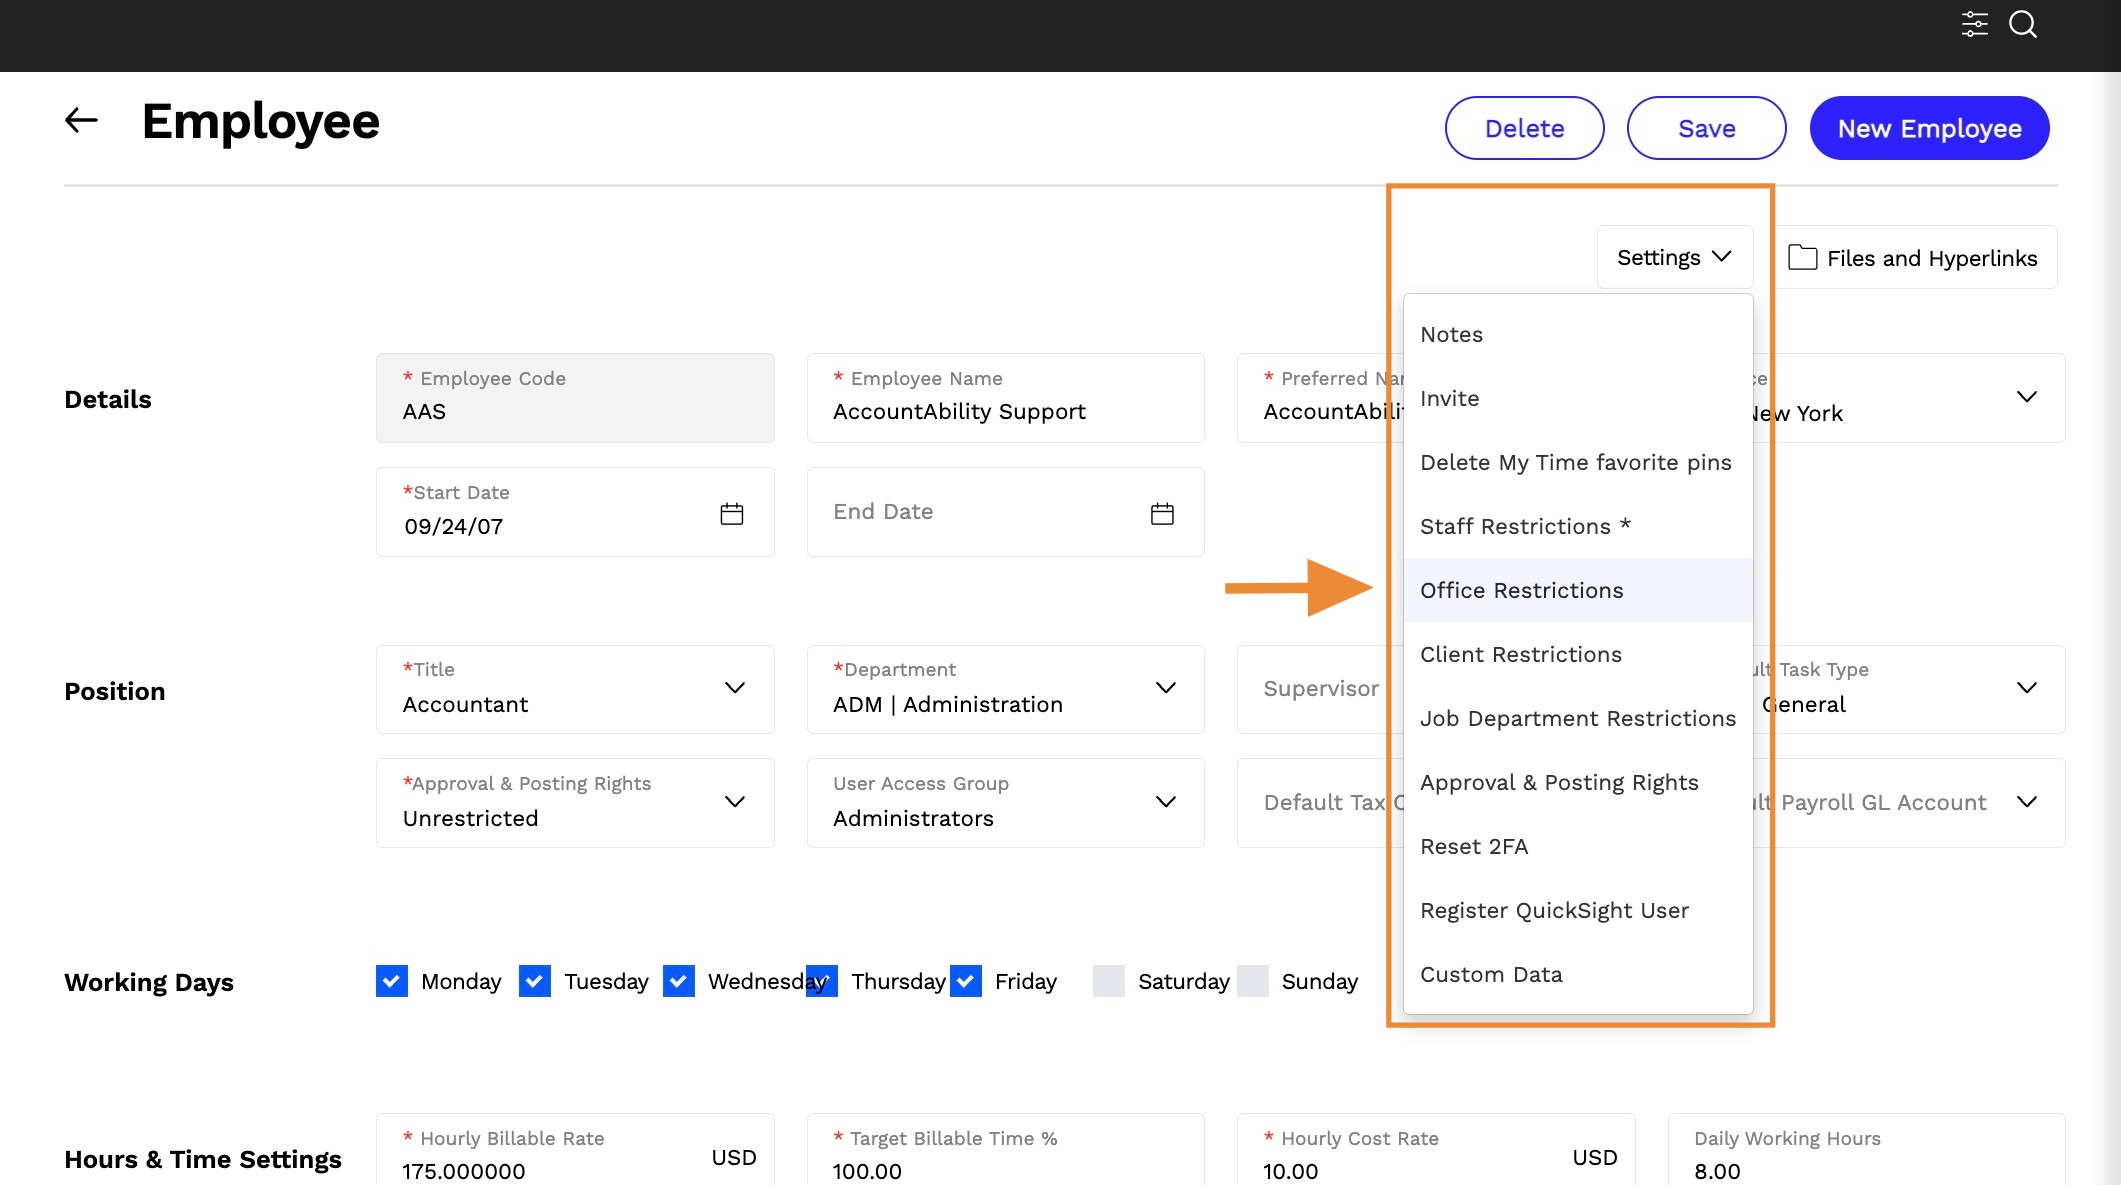
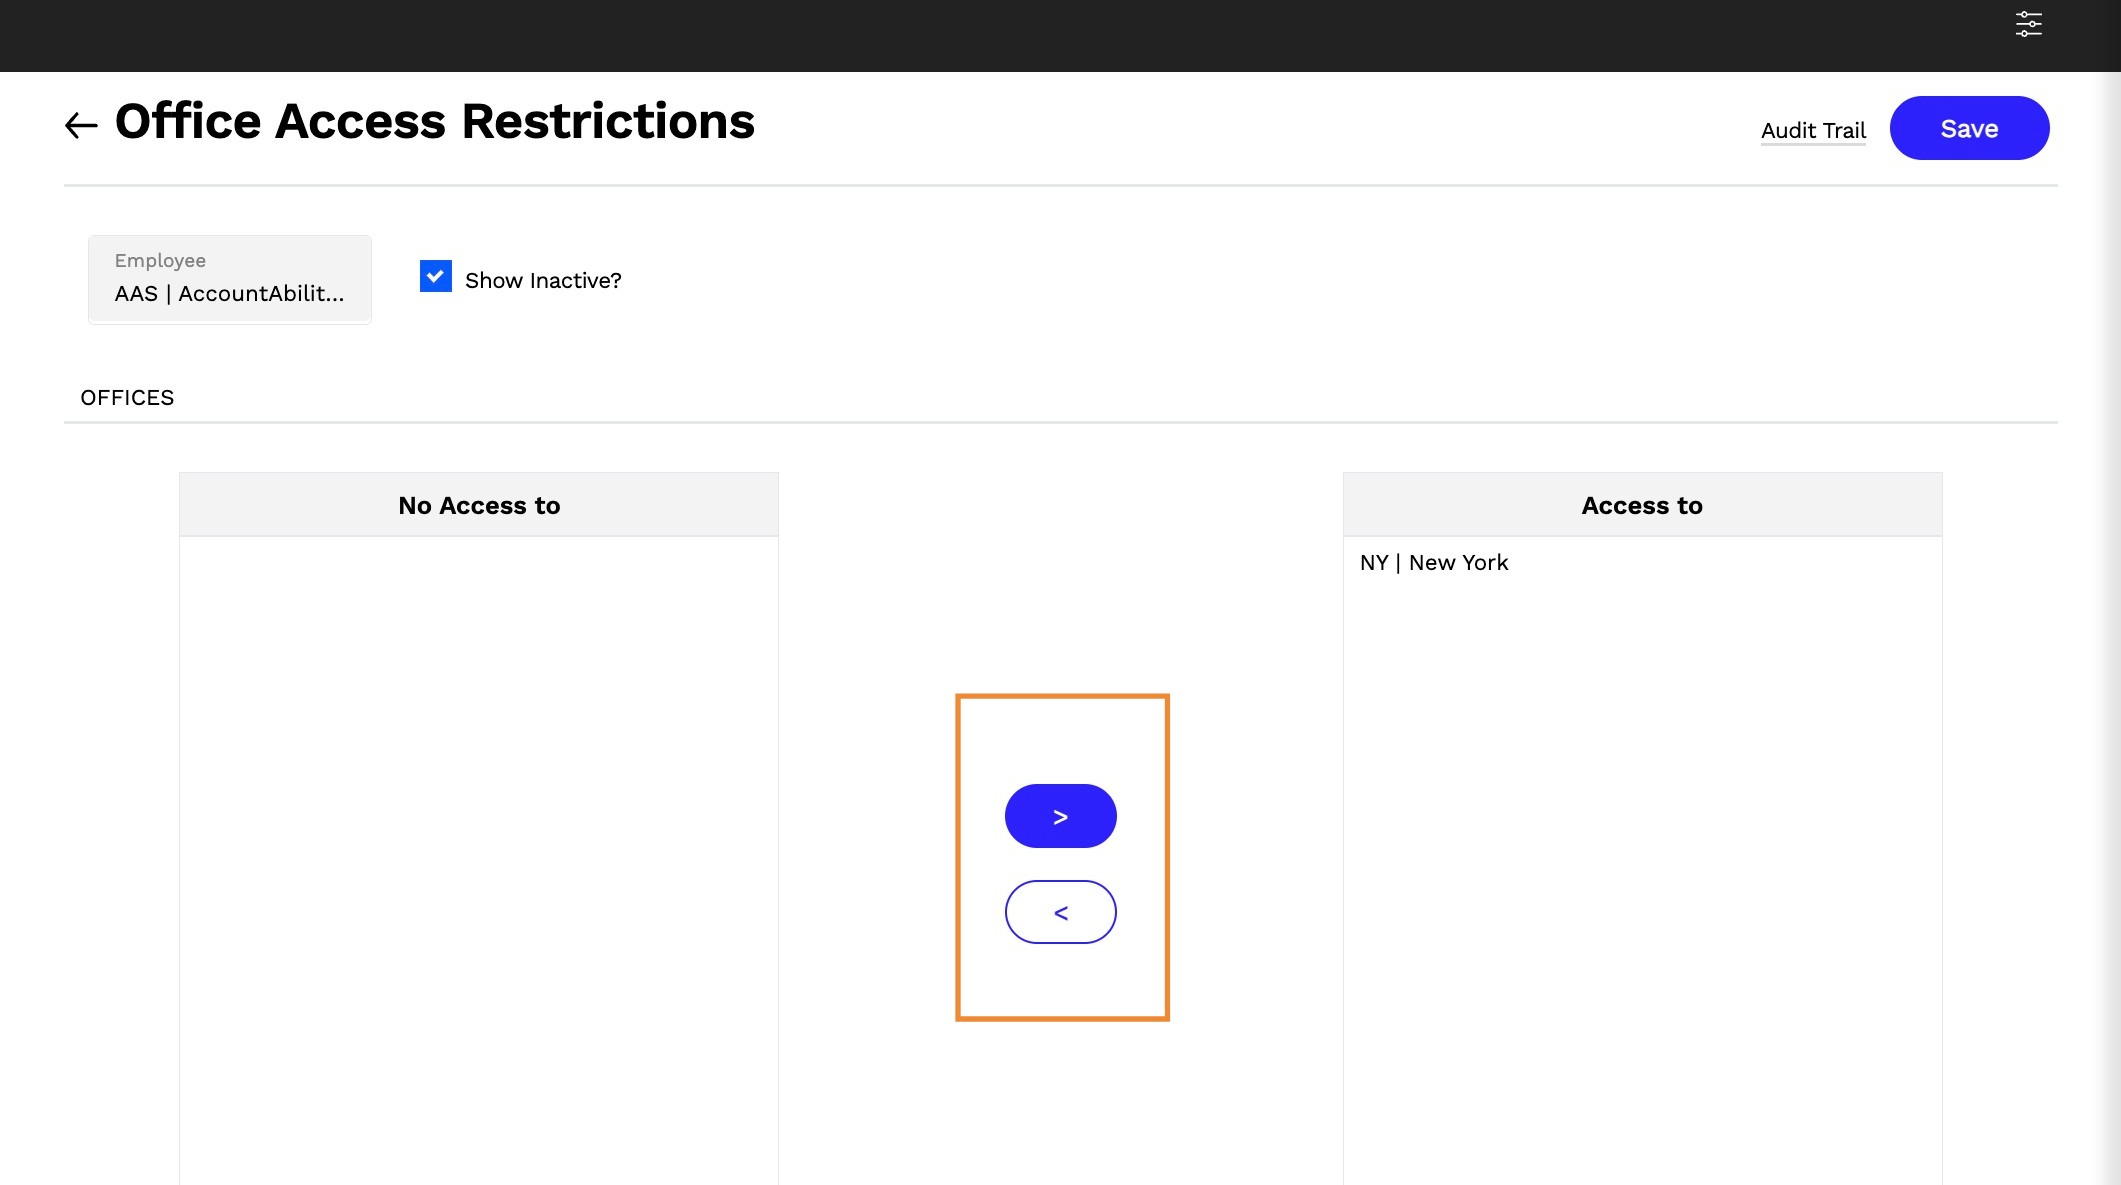
19. On the Office Access Restrictions page use the > symbol to grant access and < to remove access to an office.
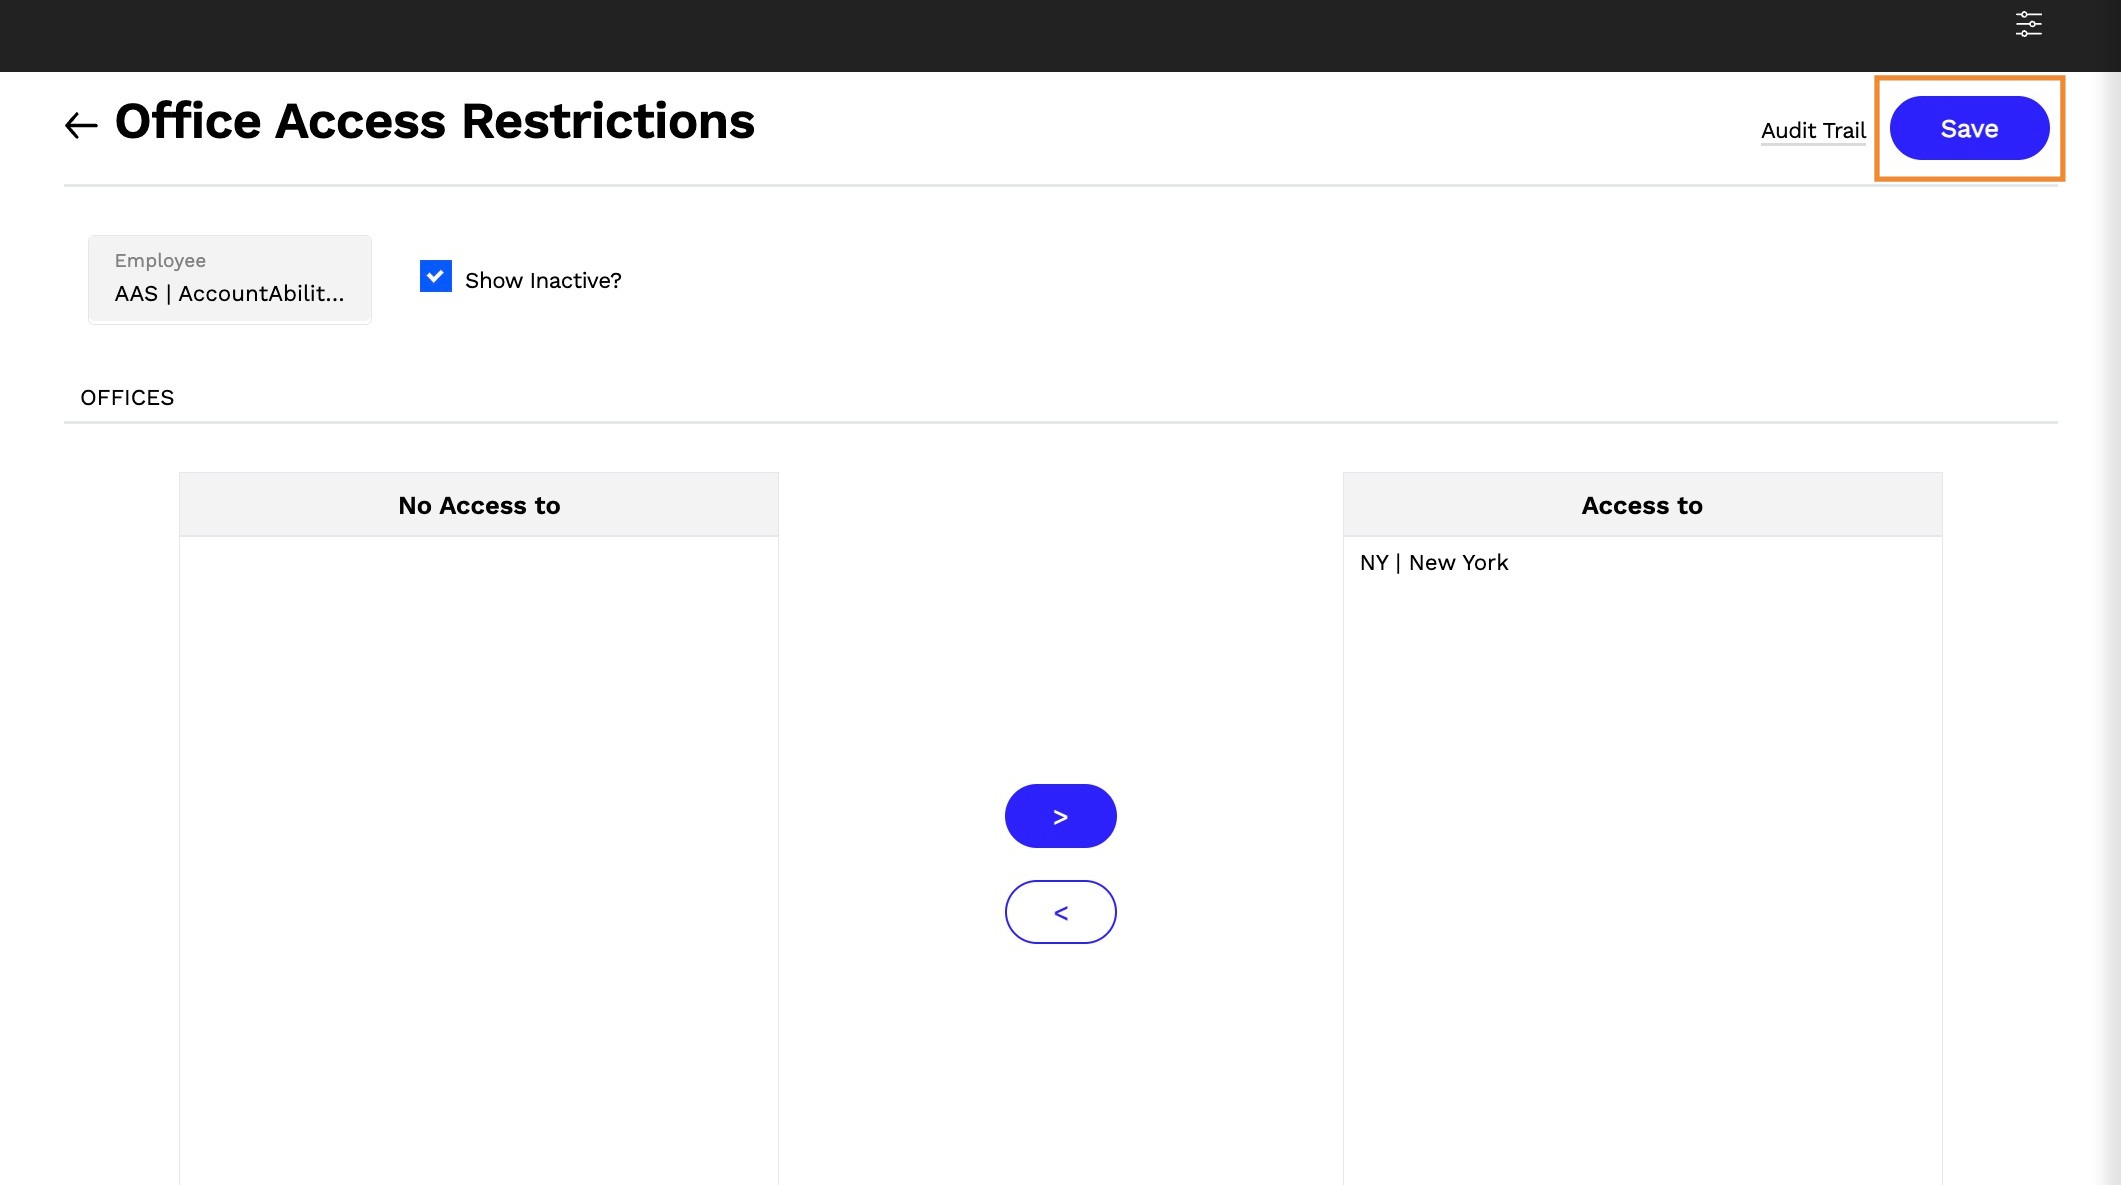
20. Select Save.
Tip: The office in italics represents the employees default office
Add or Remove Client Restrictions
21. Select Master Files > Employees.
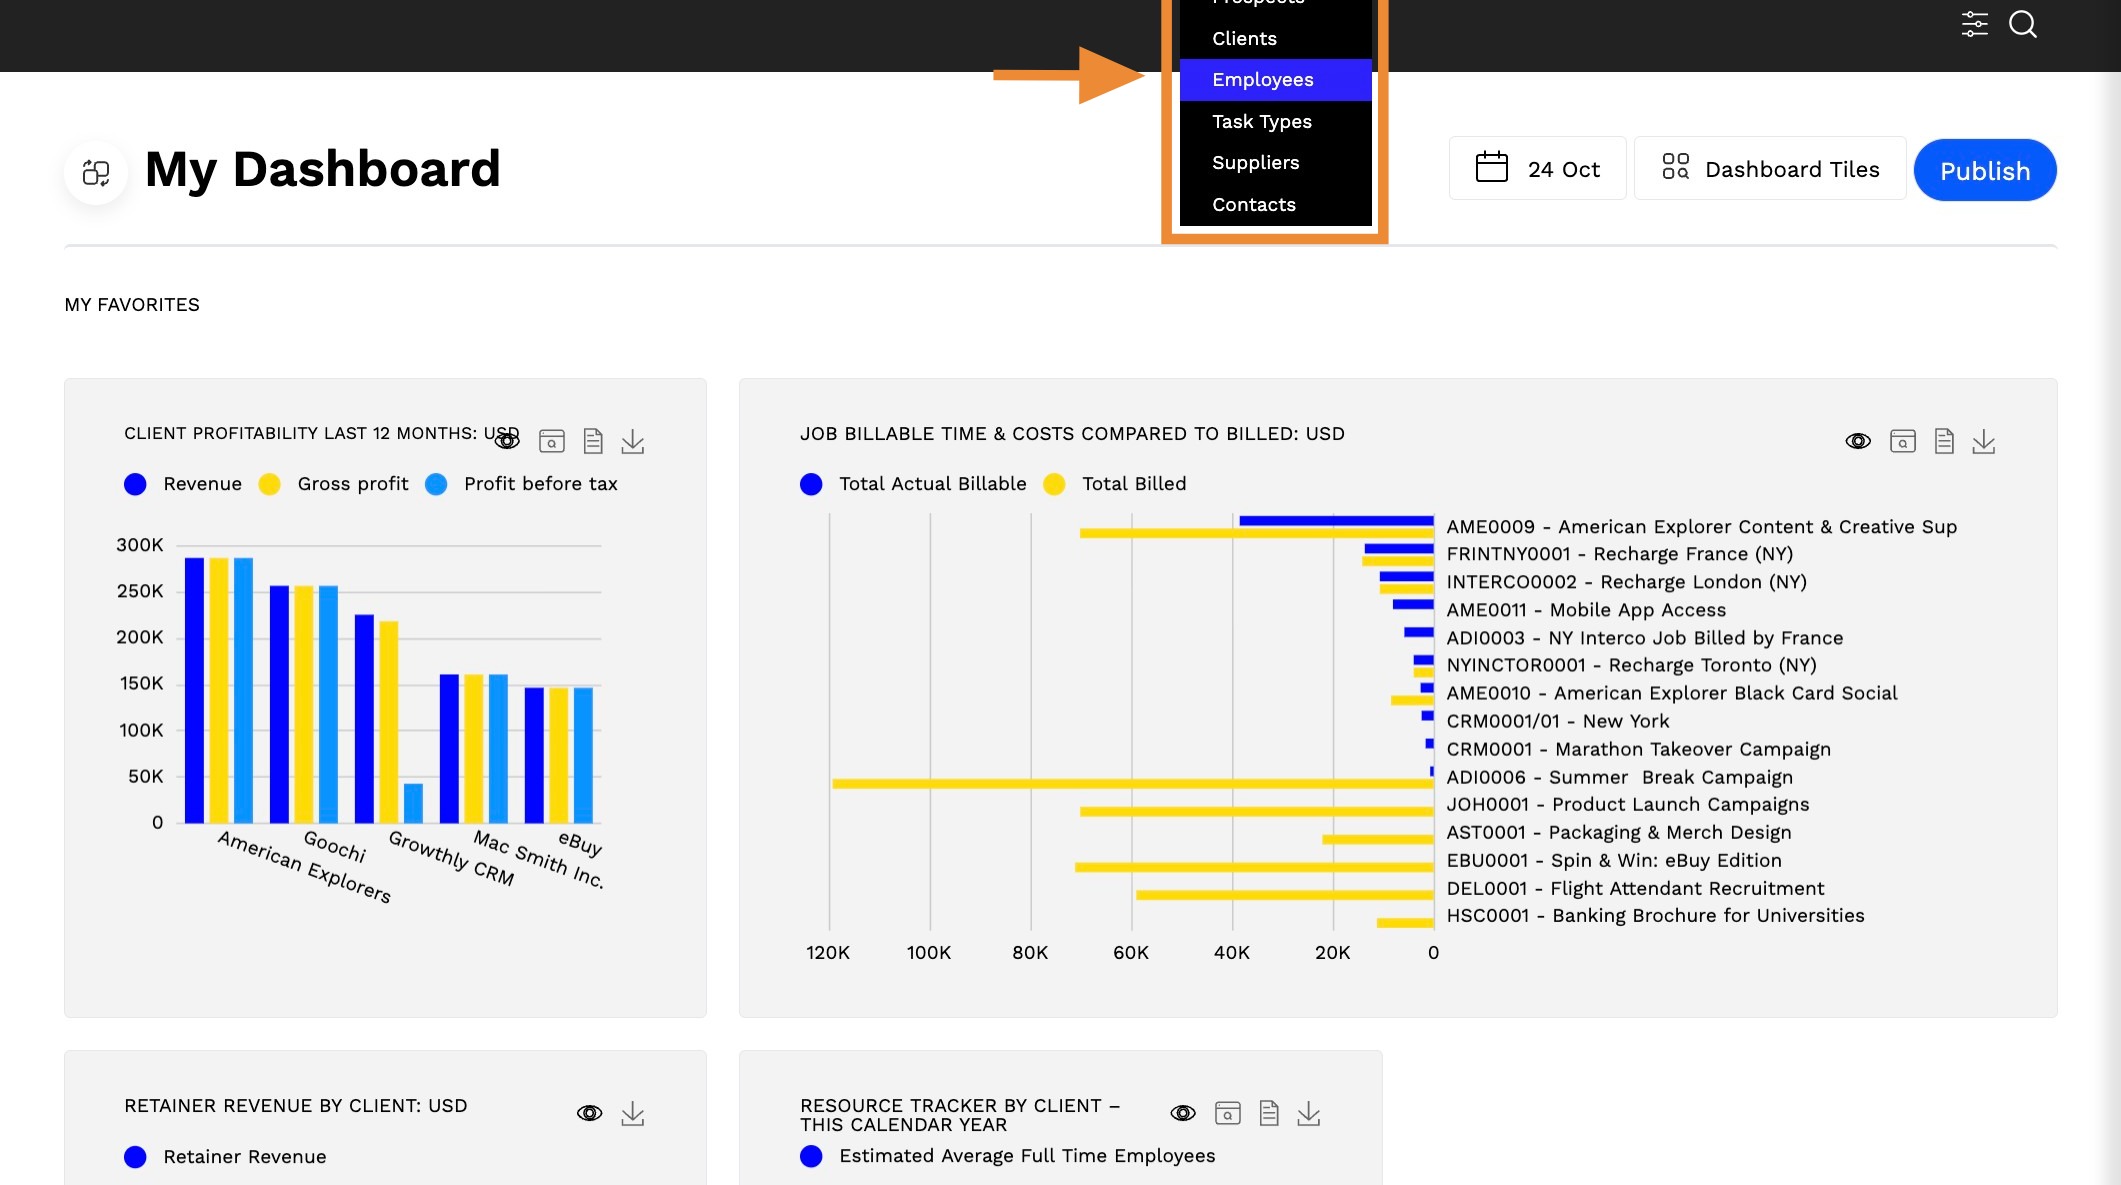
22. Select an Employee Code.
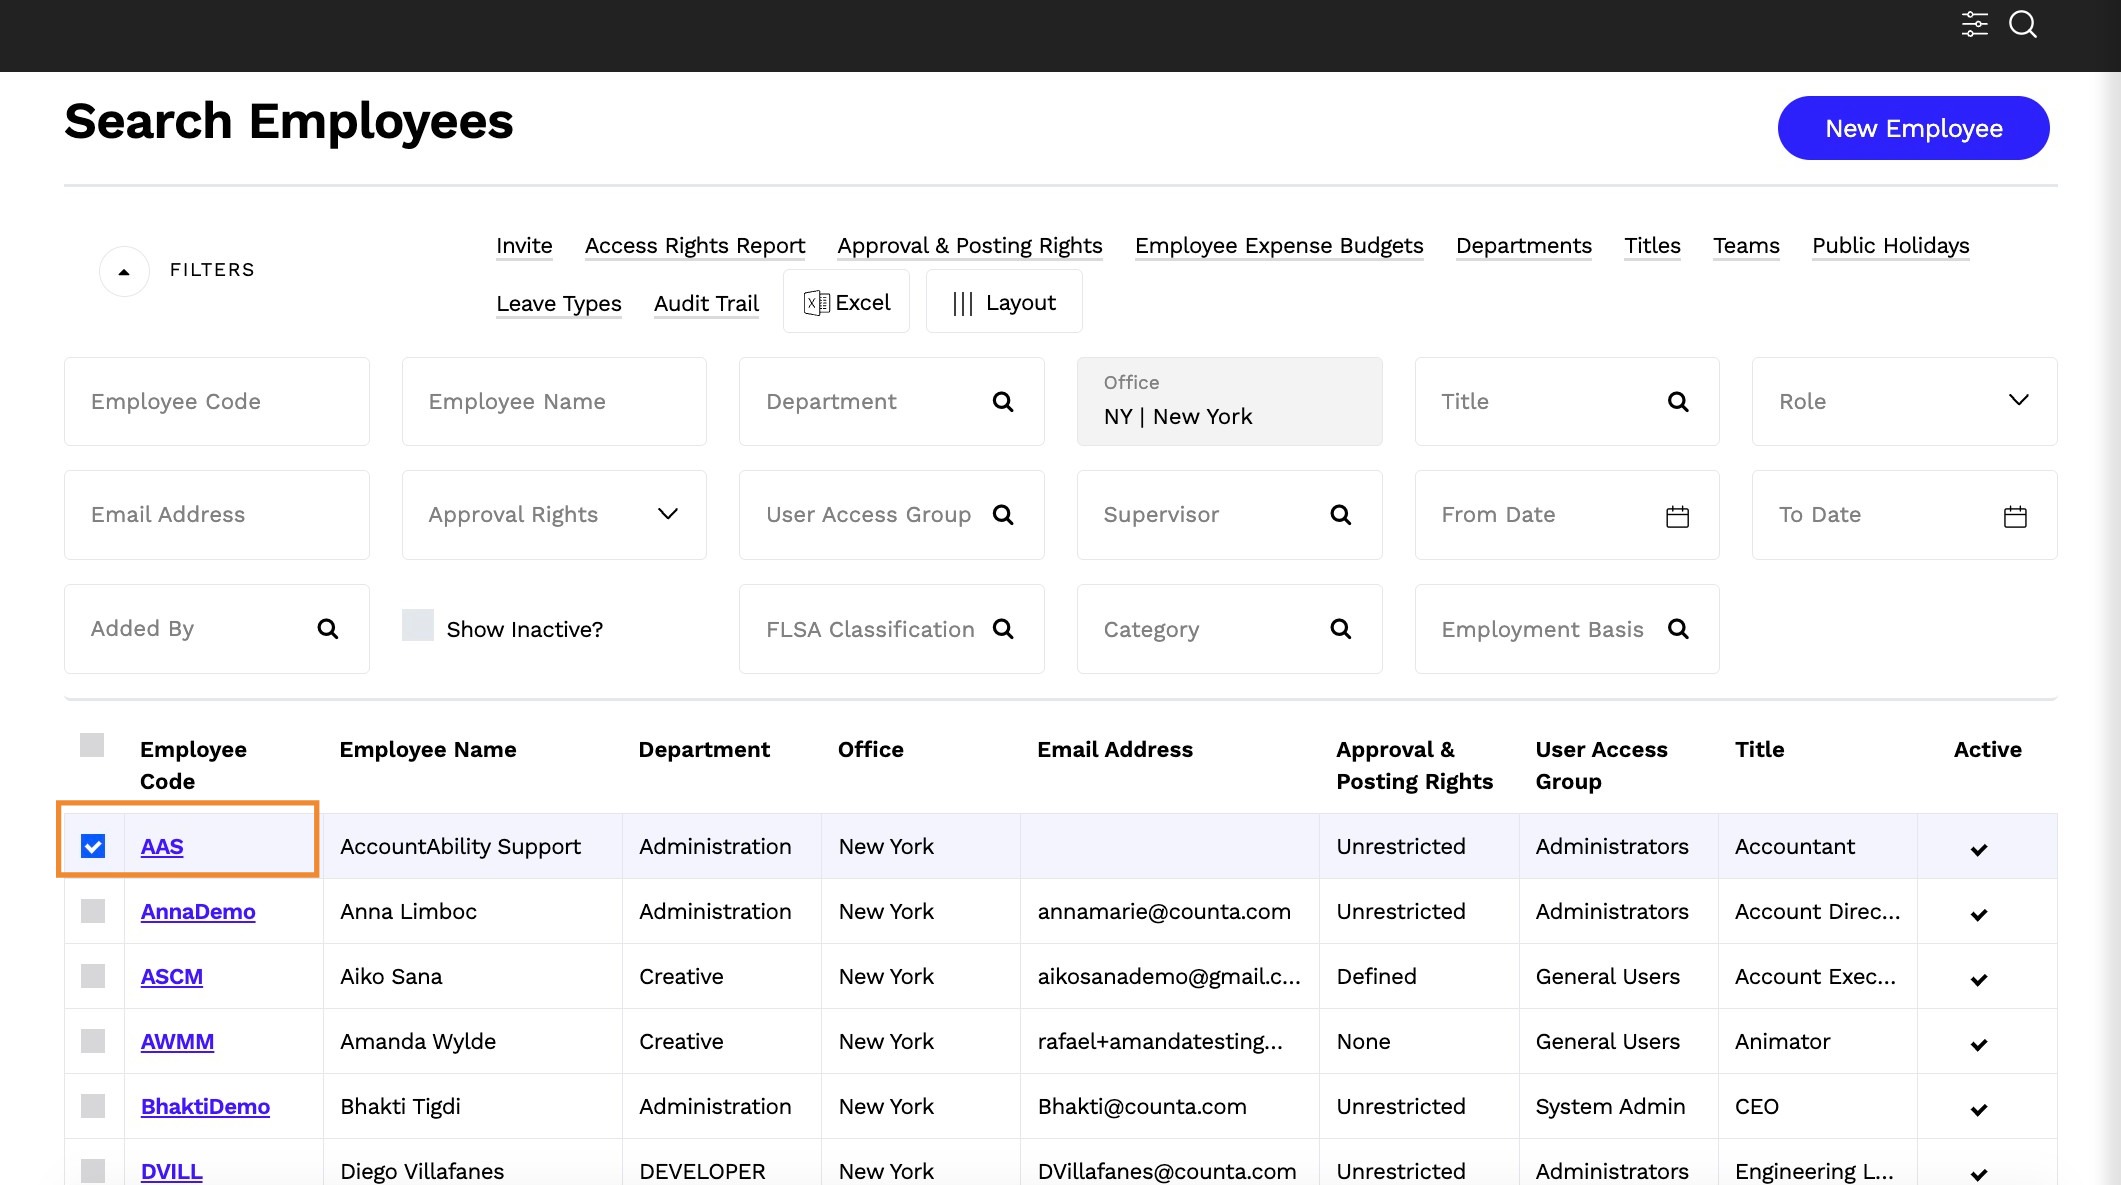
23. Click on Settings > Client Restrictions
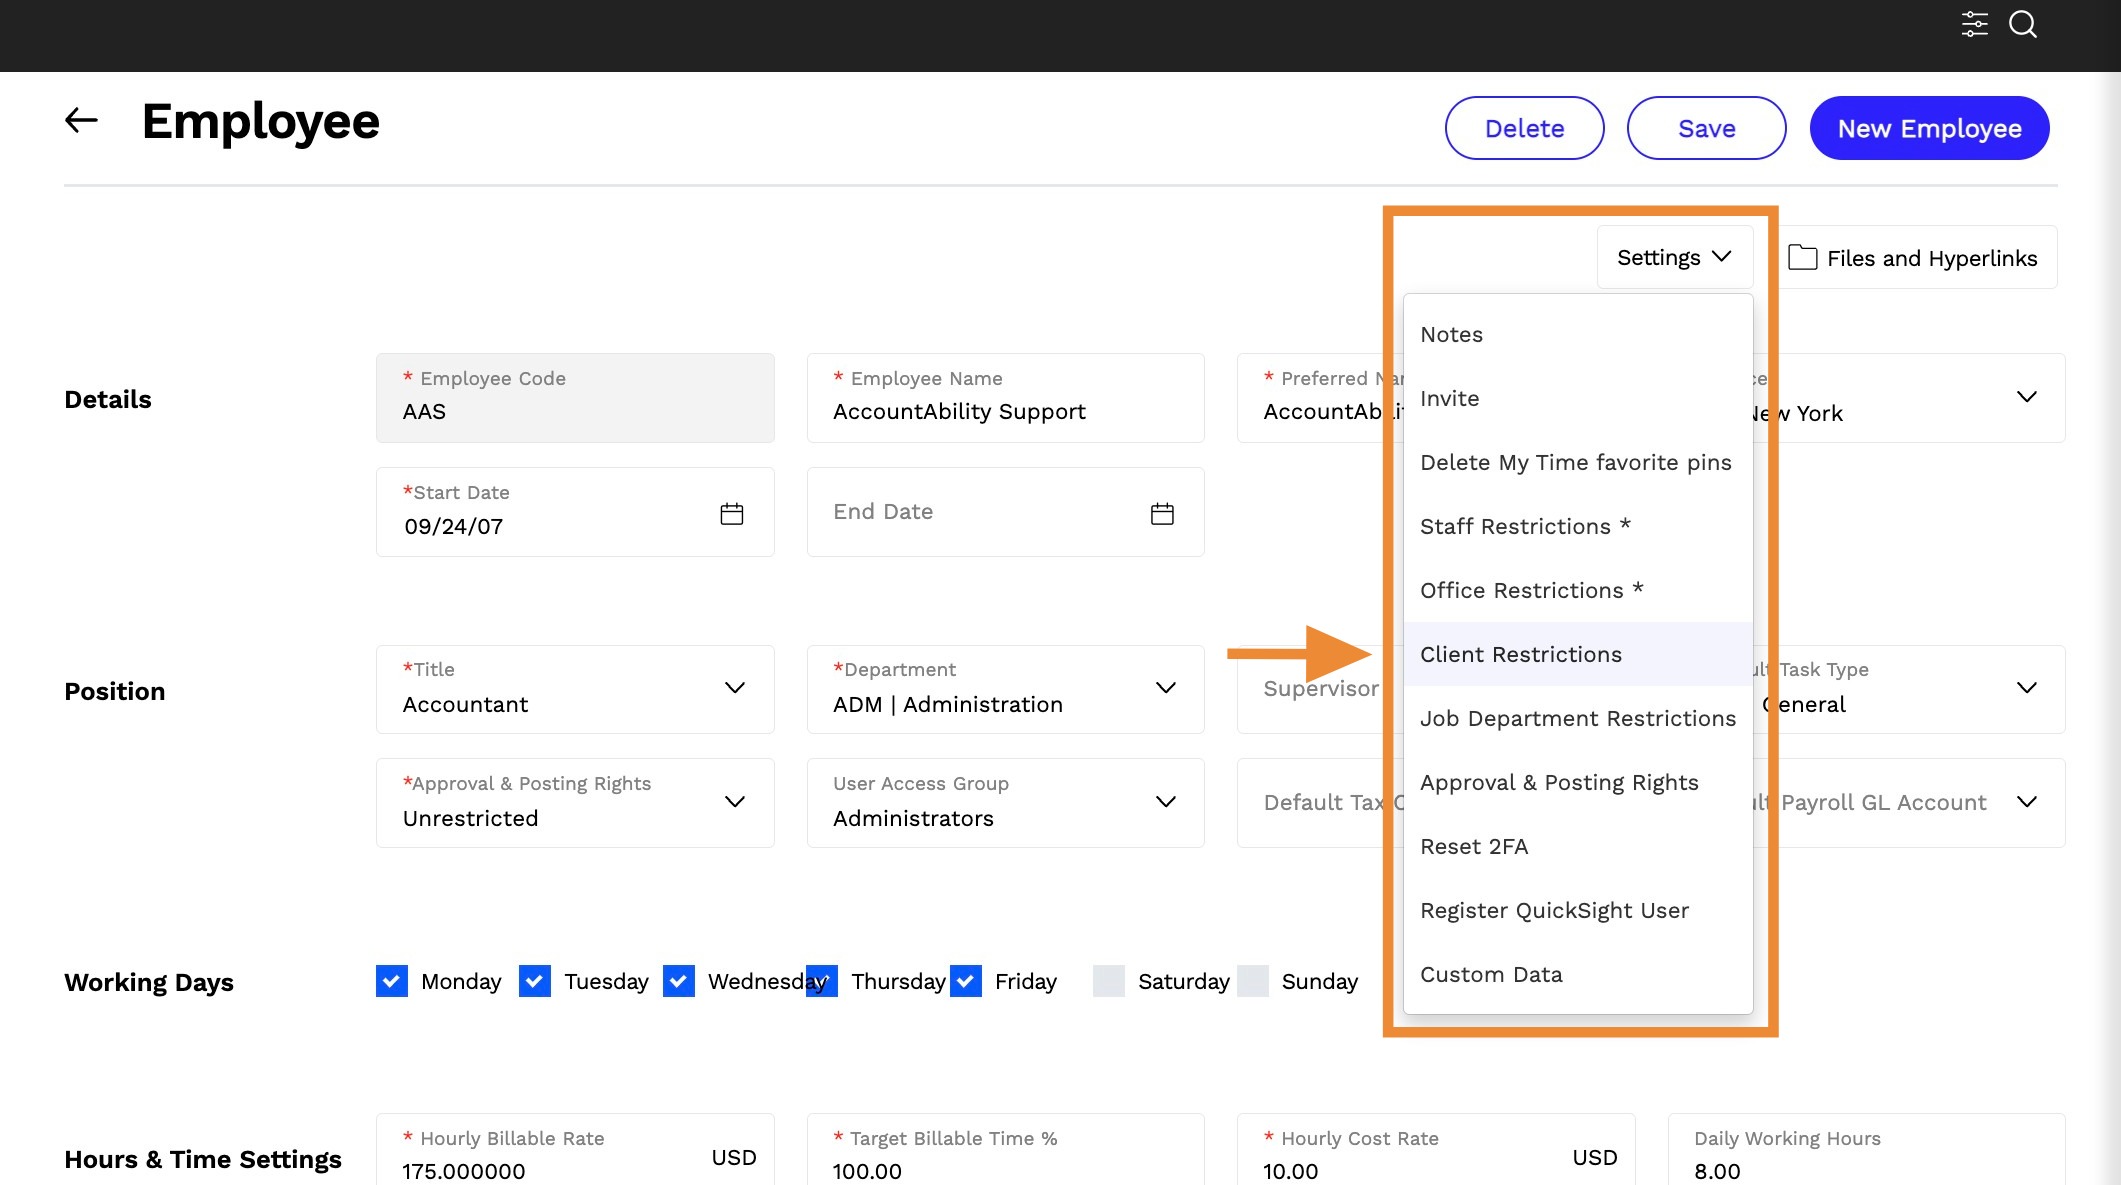
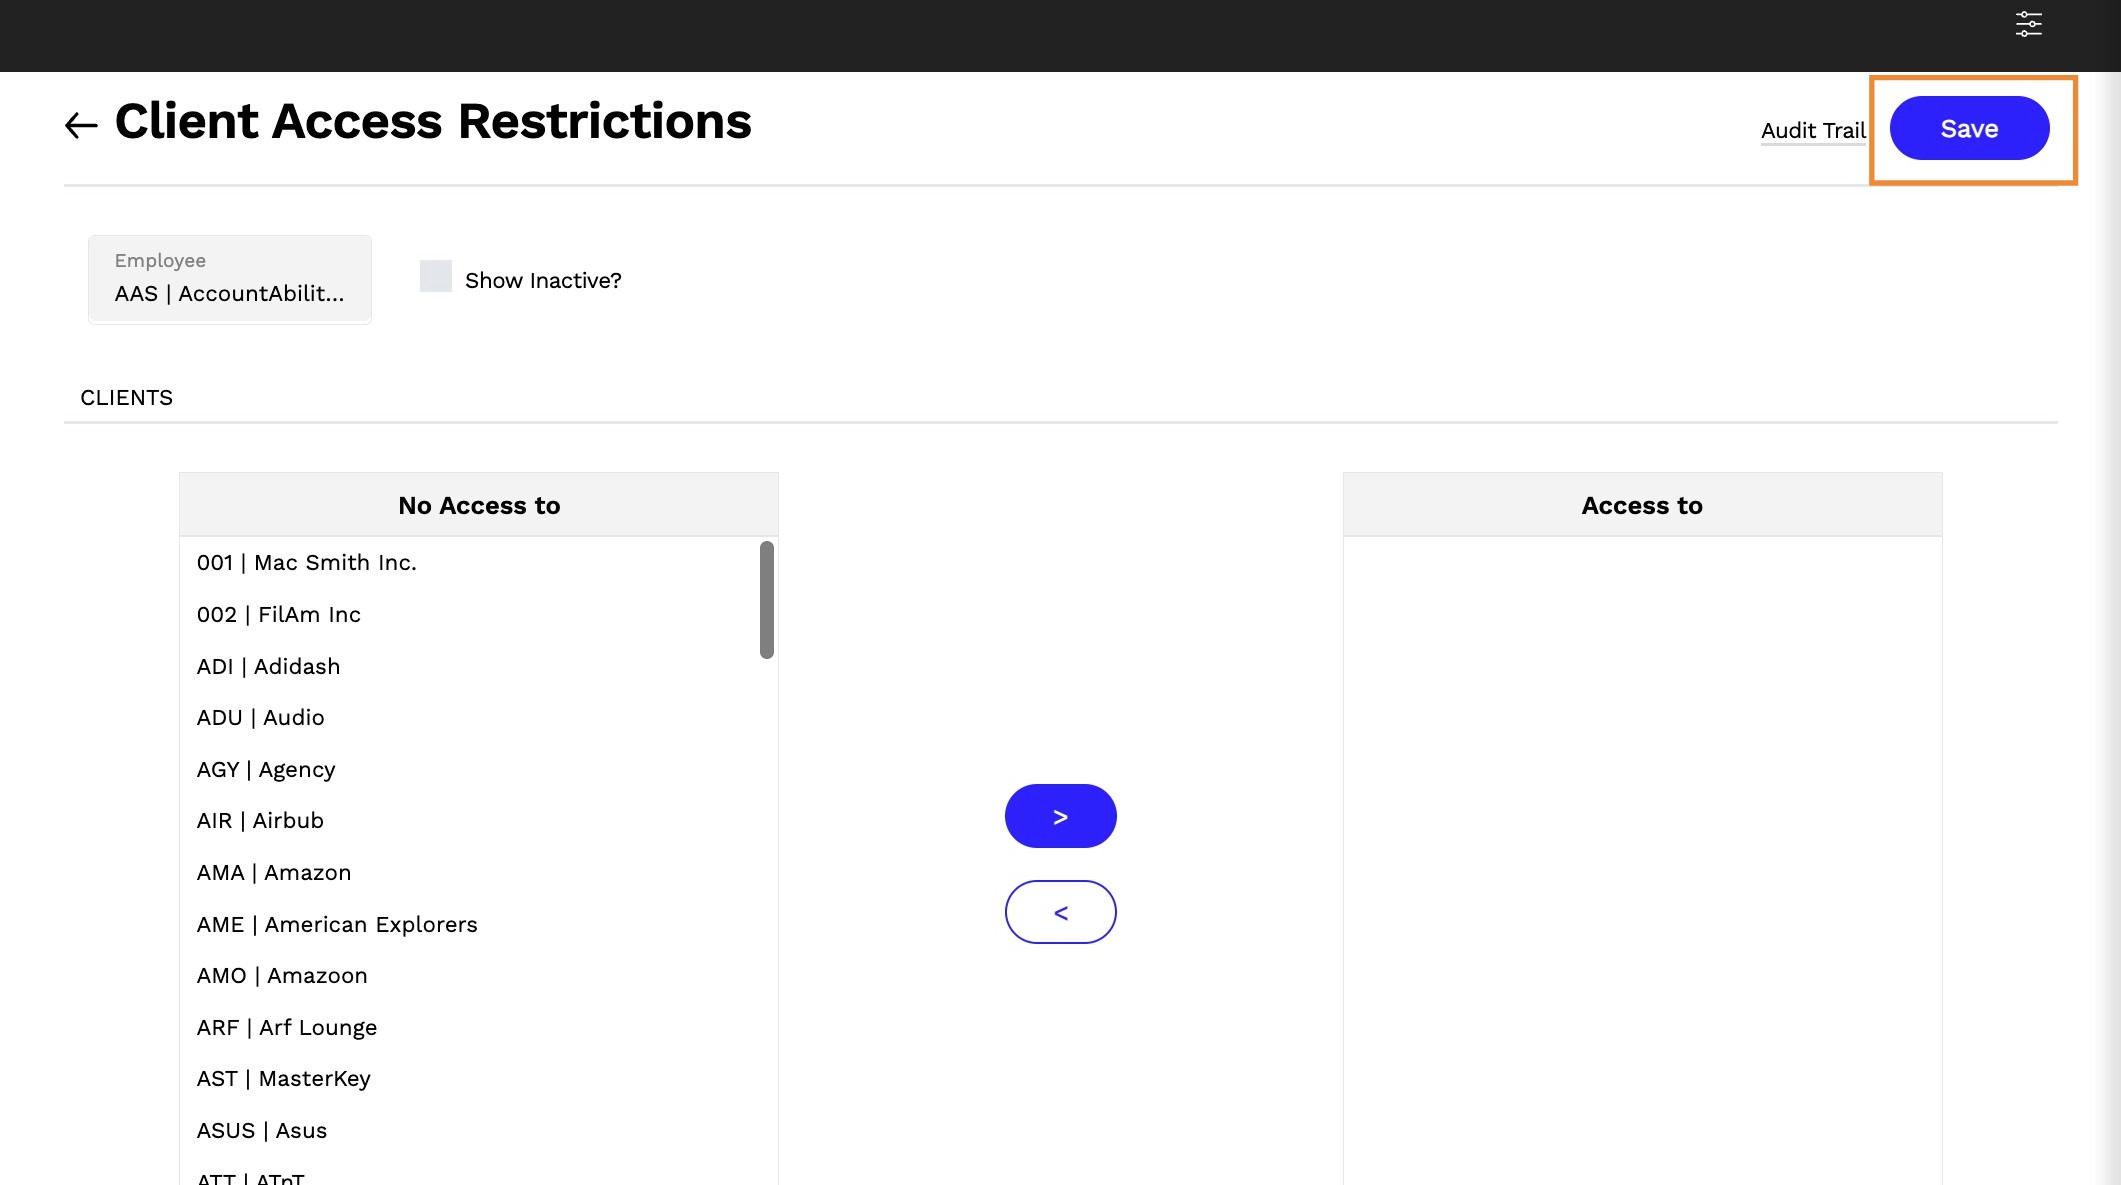
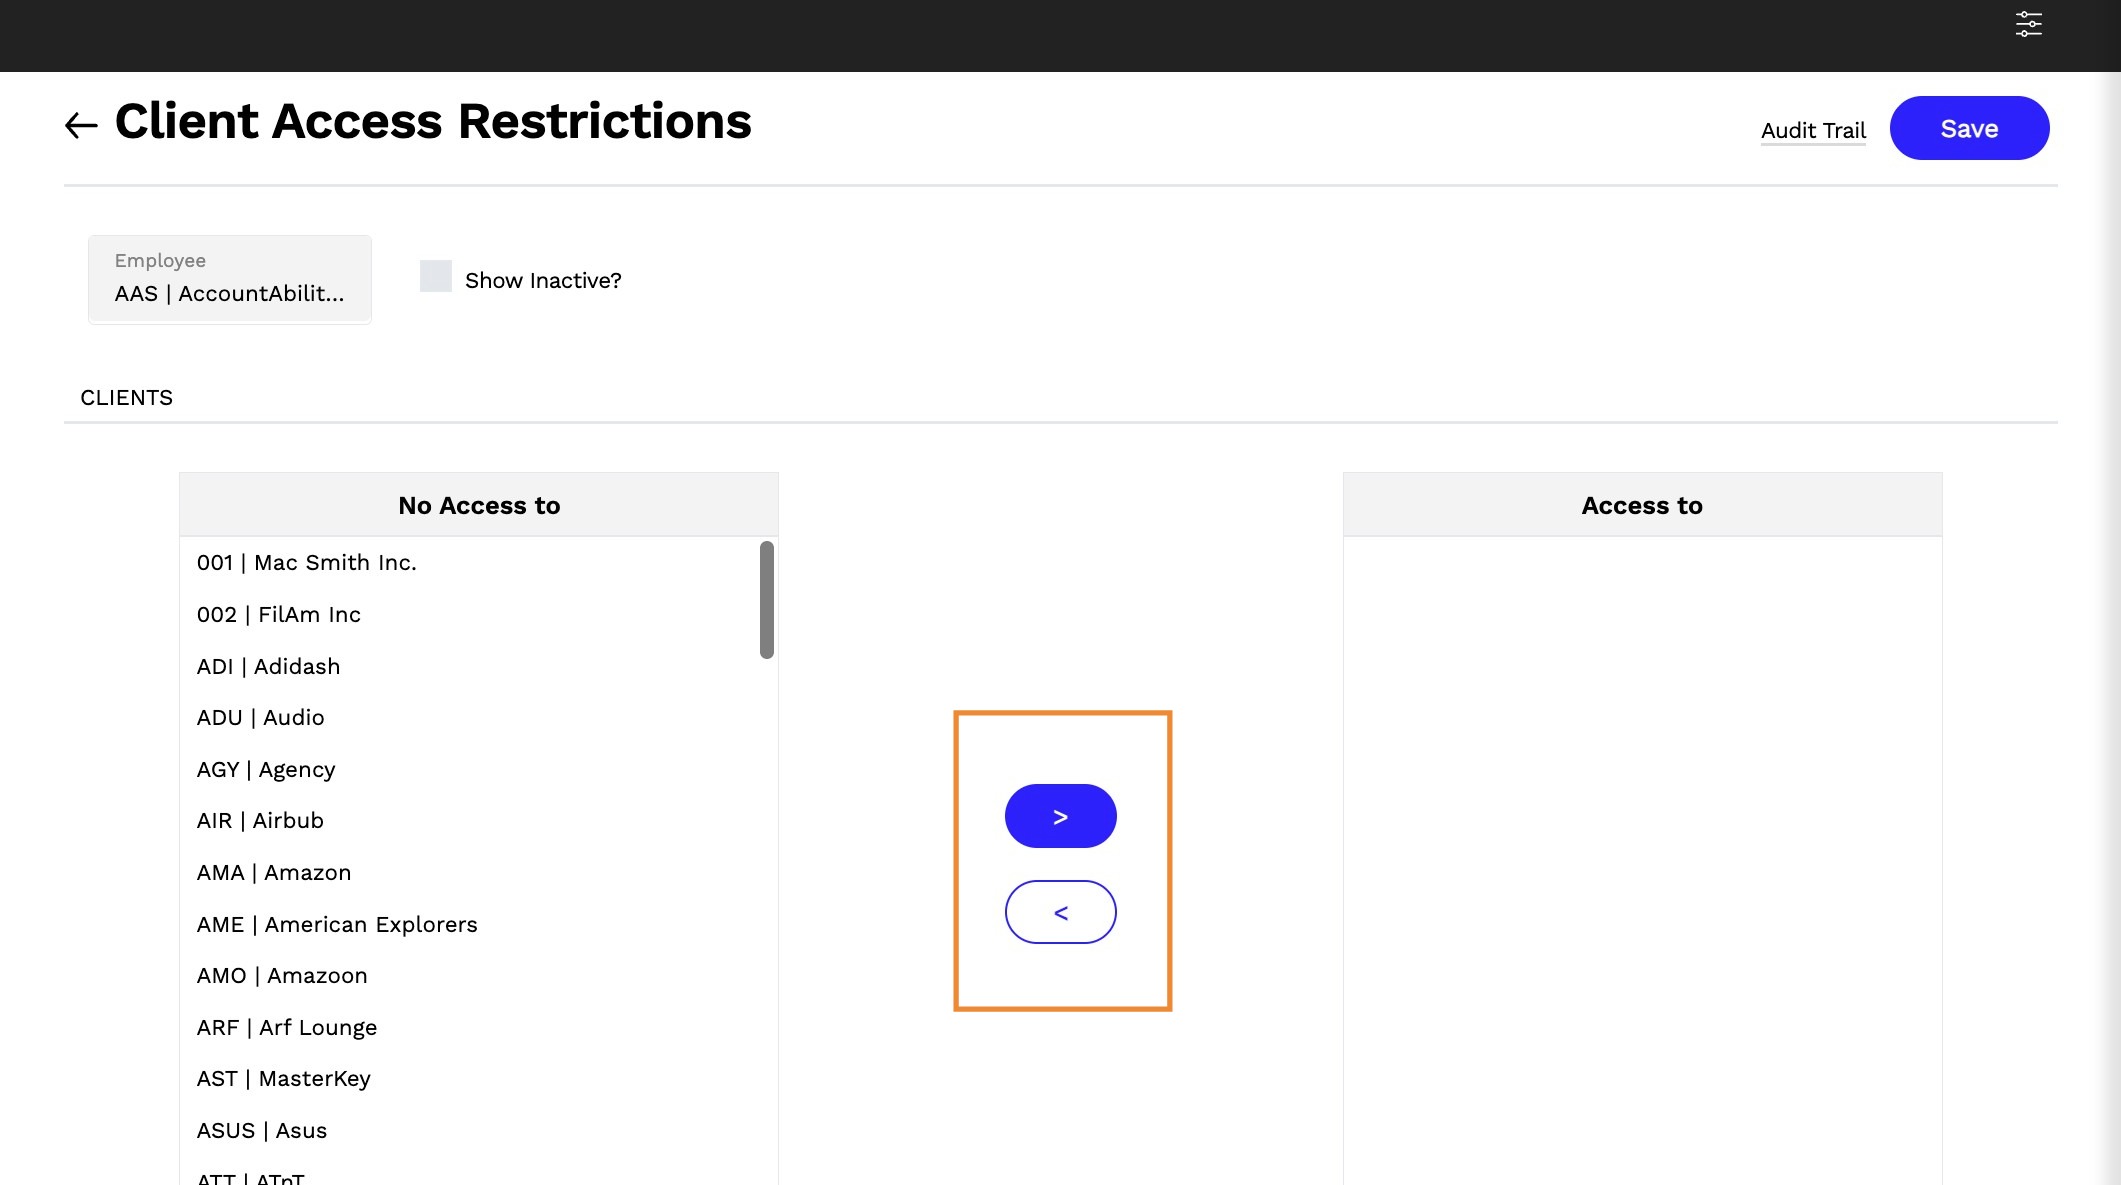
24. On the Client Access Restrictions page, check the box to the left of No Restrictions currently applied, check to apply restrictions.
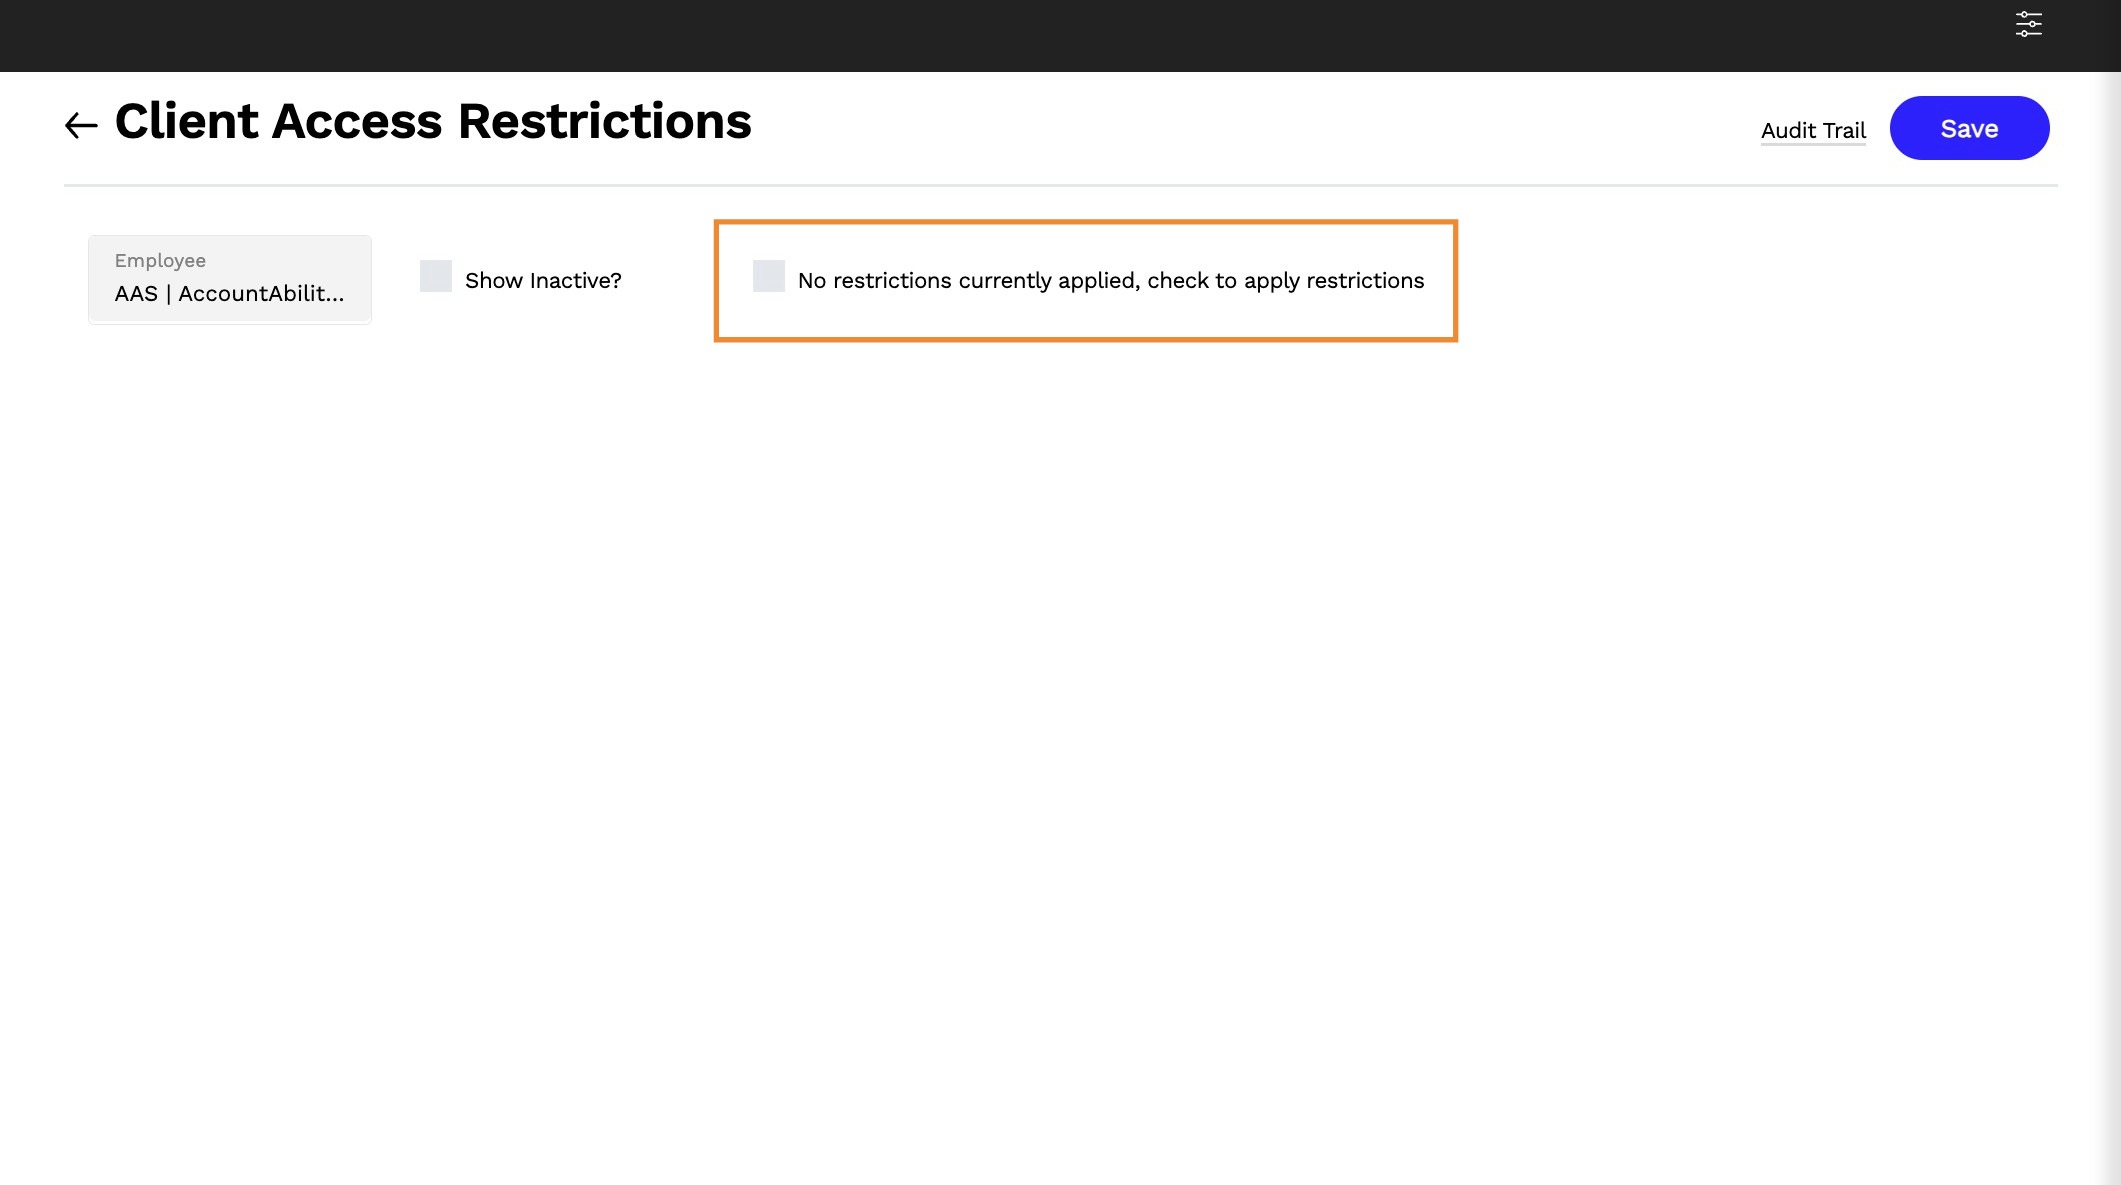
25. On the Client Access Restrictions page use the > symbol to grant access and < to remove access to a client.
26. Select SAVE.