![AccountAbility_logo_primary_fullcolor-1.png]](https://knowledgebase.counta.com/hs-fs/hubfs/AccountAbility_logo_primary_fullcolor-1.png?height=40&name=AccountAbility_logo_primary_fullcolor-1.png)
Browsing Inventory Locations
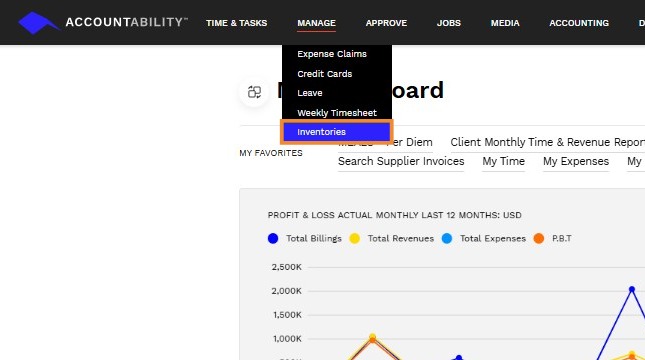
1. Navigate to Manage > Inventories.
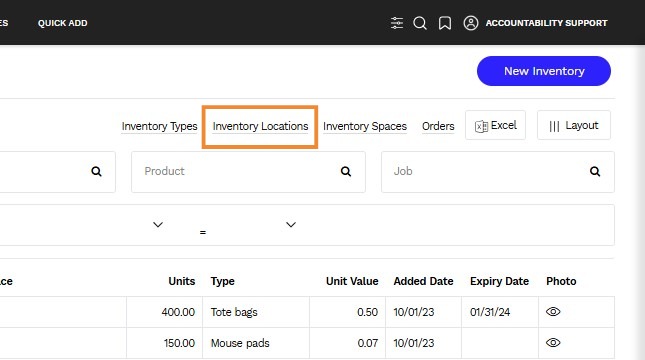
2. Click on the Inventory Locations hyperlink.
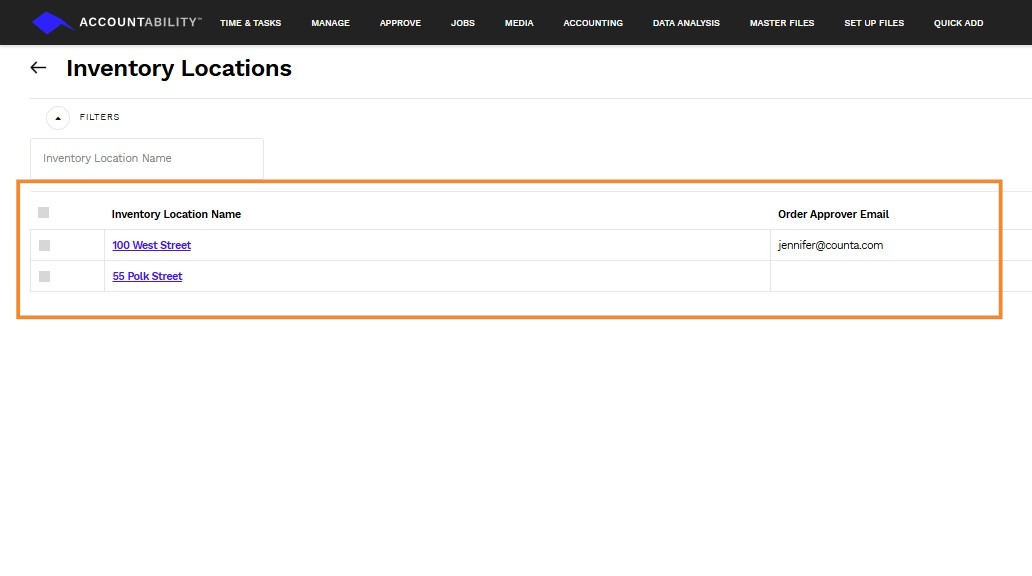
3. The screen will list all current inventory locations, such as different warehouses or storage areas. Click on the Inventory Location Name to review the existing location.
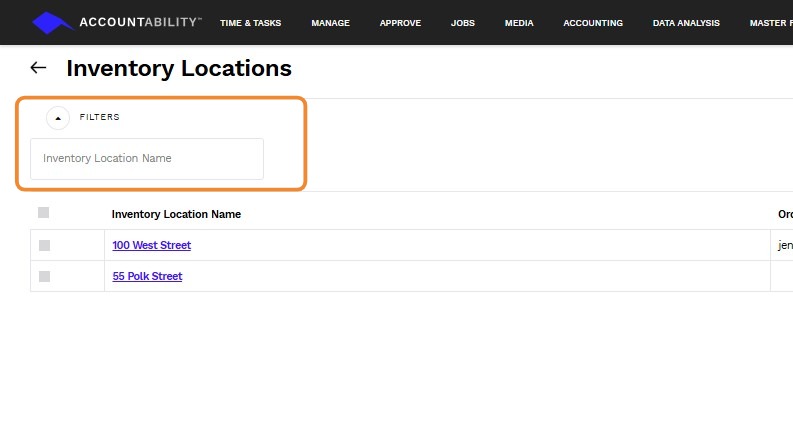
4. Use filters to search for a specific location if needed.
Creating a New Inventory Location
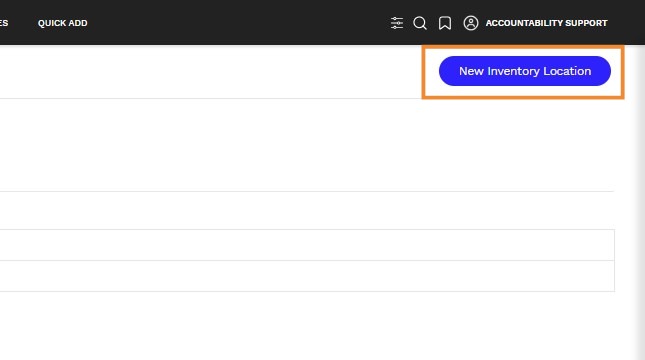
5. Click the New Inventory Location button.
6. Input a descriptive name in the Inventory Location Name field to identify the new location. And enter the Order Approver Email.
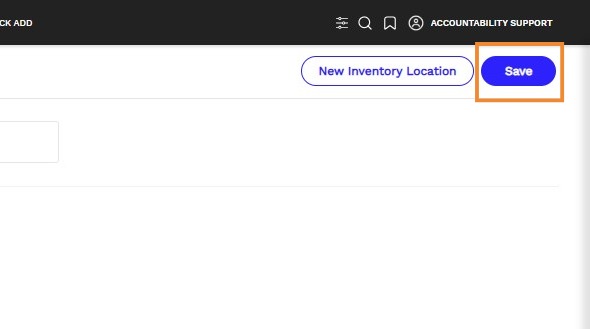
7. Select Save to add the location to the system.
Tip: After Creation:
- The newly created location will be added to the inventory locations list.
- To add more locations, click on New Inventory Location.