Step by Step Guide:
Various client facing outputs including Estimates, Project Estimates, Purchase Orders, Production, Media and Sundry Invoices, Remittances and Statements can display your company logo and other details, as a Header and/or Footer logo.
To add a new logo :
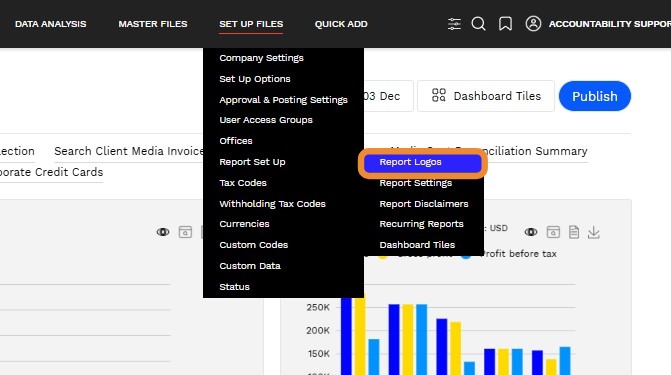
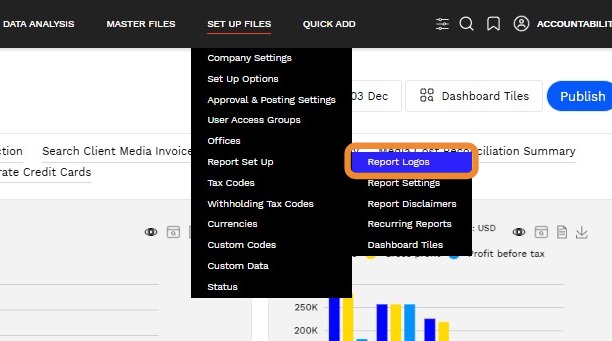
1. Navigate to SET UP FILES > Report Setup > Report Logos.
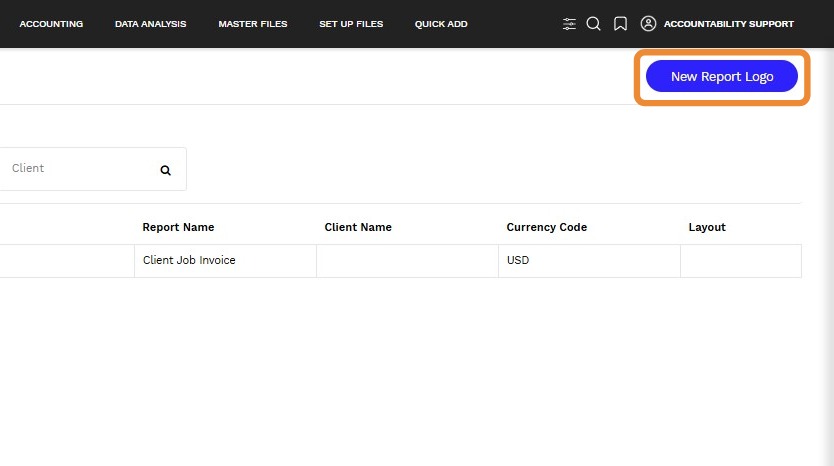
2. Click New Report Logo button.
3. - Select an Office.
- Select a Report, if a report is not selected the logo will display on all of the reports.
- Select a Client if applicable.
- Select your Currency.
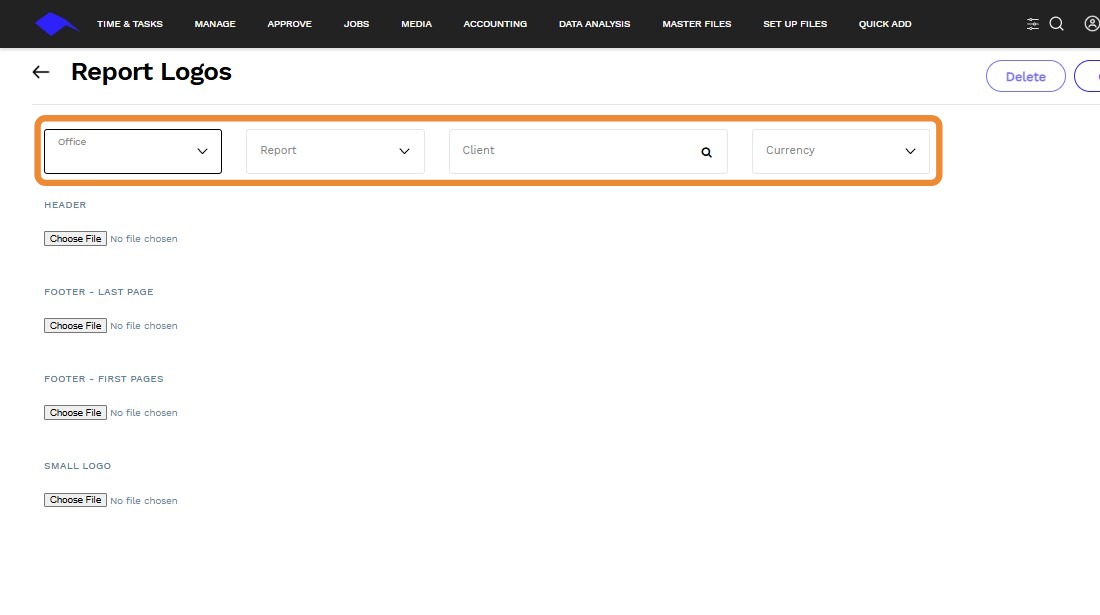
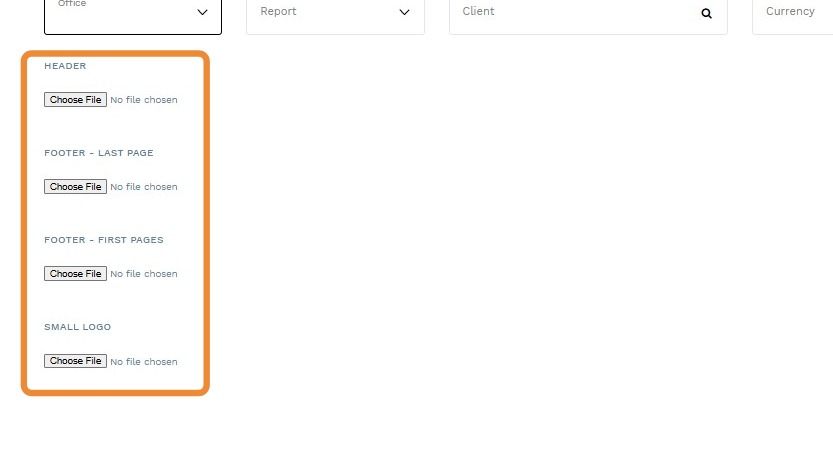
4. Add a Logo:
- Header Logo - Under HEADER, click on Choose File and select the logo file to load, and then click Save and this will display the logo. NB you must have a HEADER Logo if you want to add a FOOTER logo.
- Footer Last Page - Under FOOTER - LAST PAGE click on Choose File and select the logo file to load, and then click Save and this will display the logo.
- Footer First Pages - Under FOOTER - FIRST PAGES click on Choose File and select the logo file to load, and then click Save and this will display the logo.
- Small Logo - Under SMALL LOGO click on Choose File and select the logo file to load, and then click Save and this will display the logo.
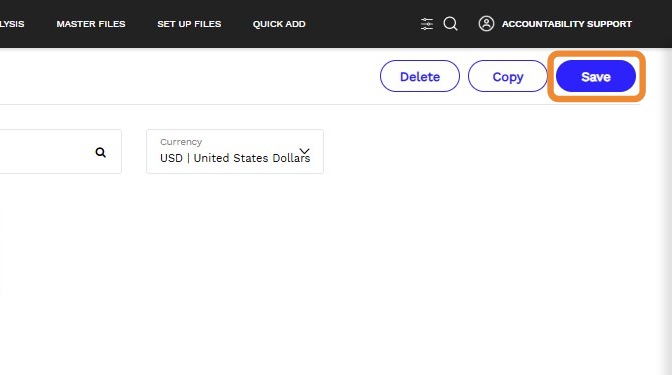
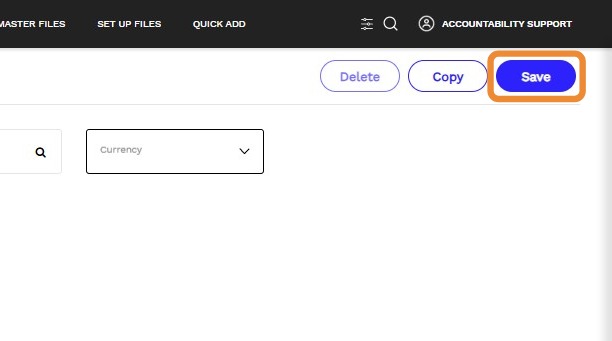
5. Click Save.
Tip: The Logo file itself can be either .jpeg or .png format and the file size should be as small as possible – generally less than 200 KB, as the smaller the file the faster it loads.
The required width is 2300 pixels and height can vary from 300 – 500 pixels. The higher the logo the more page area it will occupy.
To edit an existing logo:
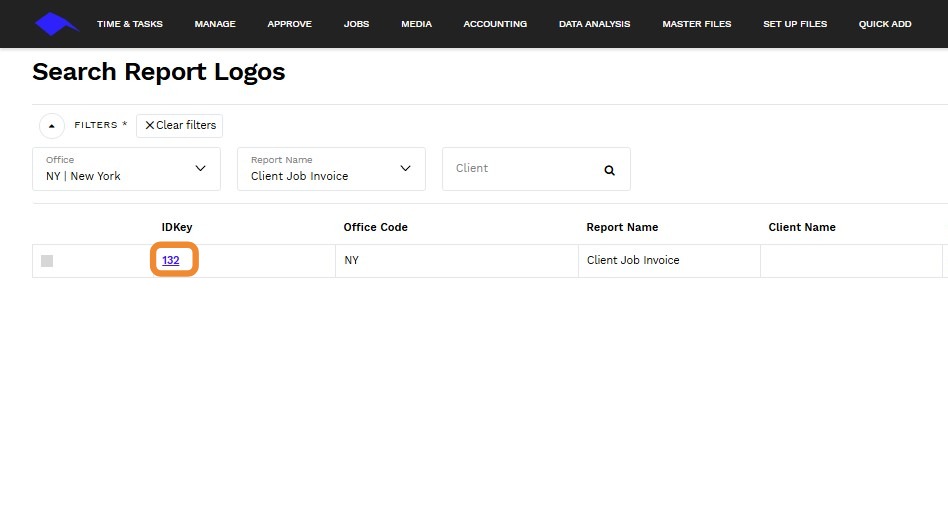
6. Navigate to SET UP FILES > Report Setup > Report Logos.
7. Click on the IDKey for the Logo version you wish to edit.
8. Select the Logo you want to edit, click on Choose File and select the new logo file to load, and then click Save and this will display the new logo

9. Click Save.