![AccountAbility_logo_primary_fullcolor-1.png]](https://knowledgebase.counta.com/hs-fs/hubfs/AccountAbility_logo_primary_fullcolor-1.png?height=40&name=AccountAbility_logo_primary_fullcolor-1.png)
Step by Step Guide:
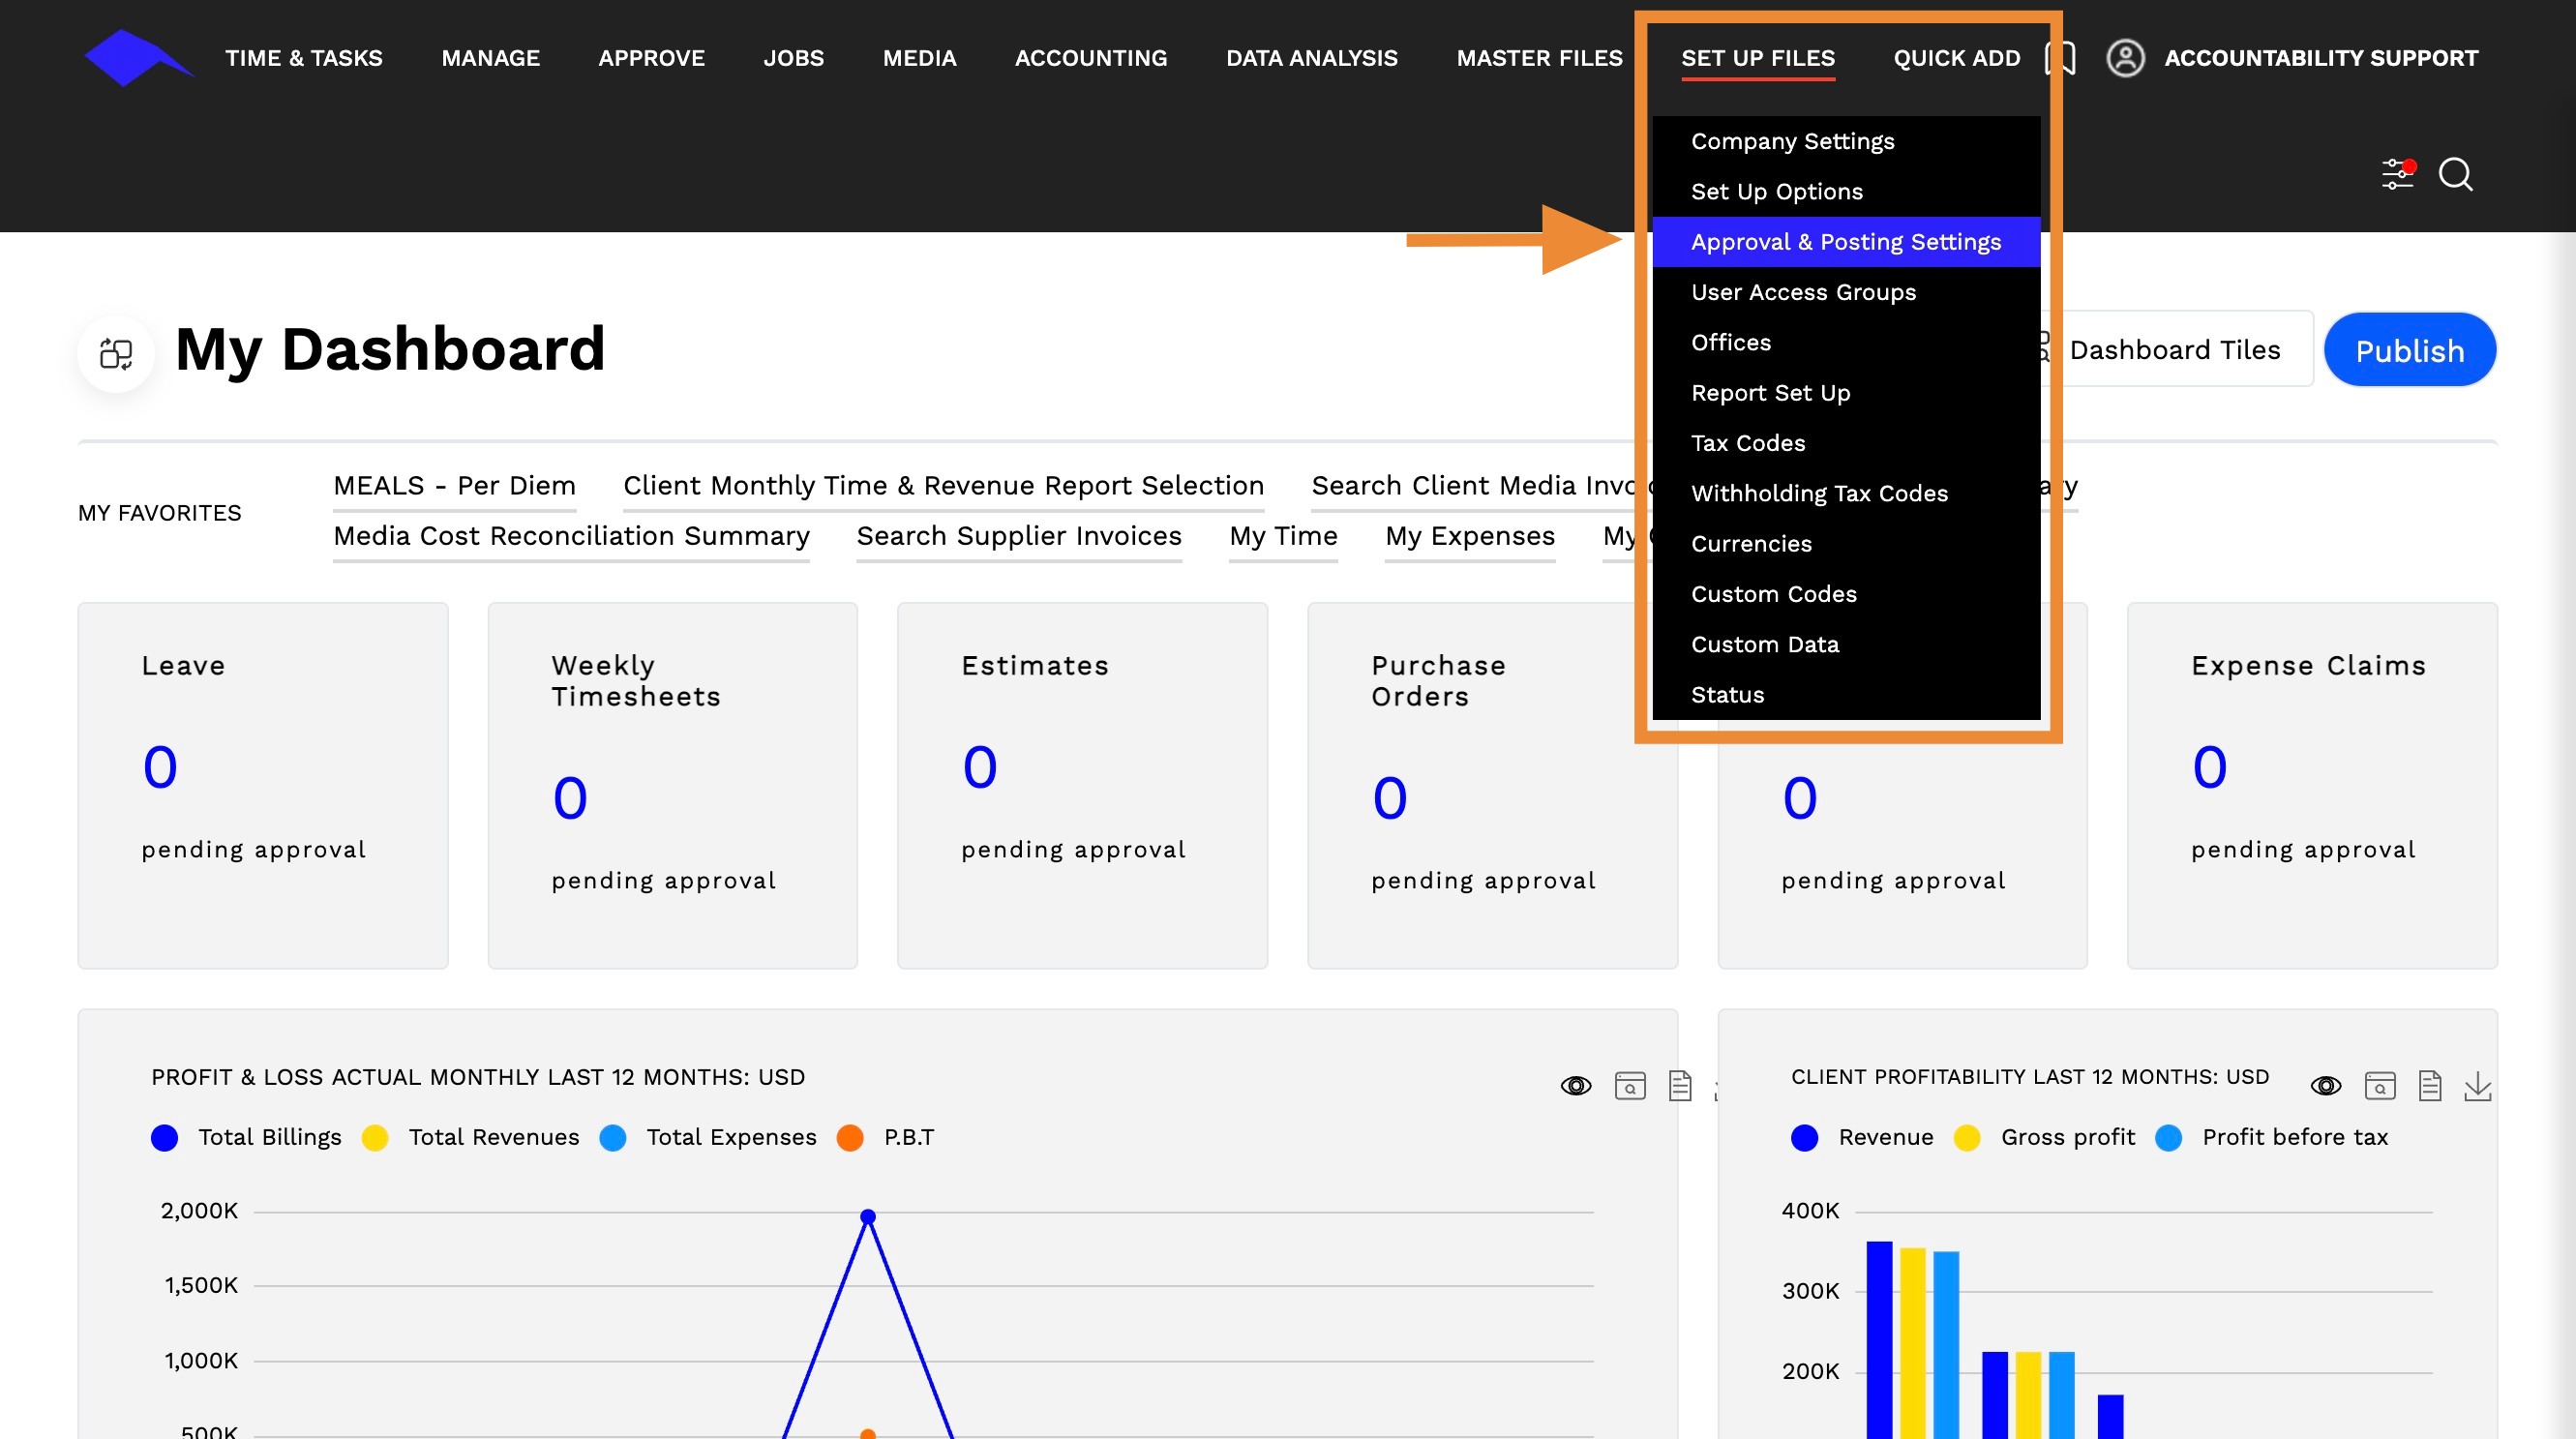
1. Navigate to Set Up Files > Approval & Posting Settings
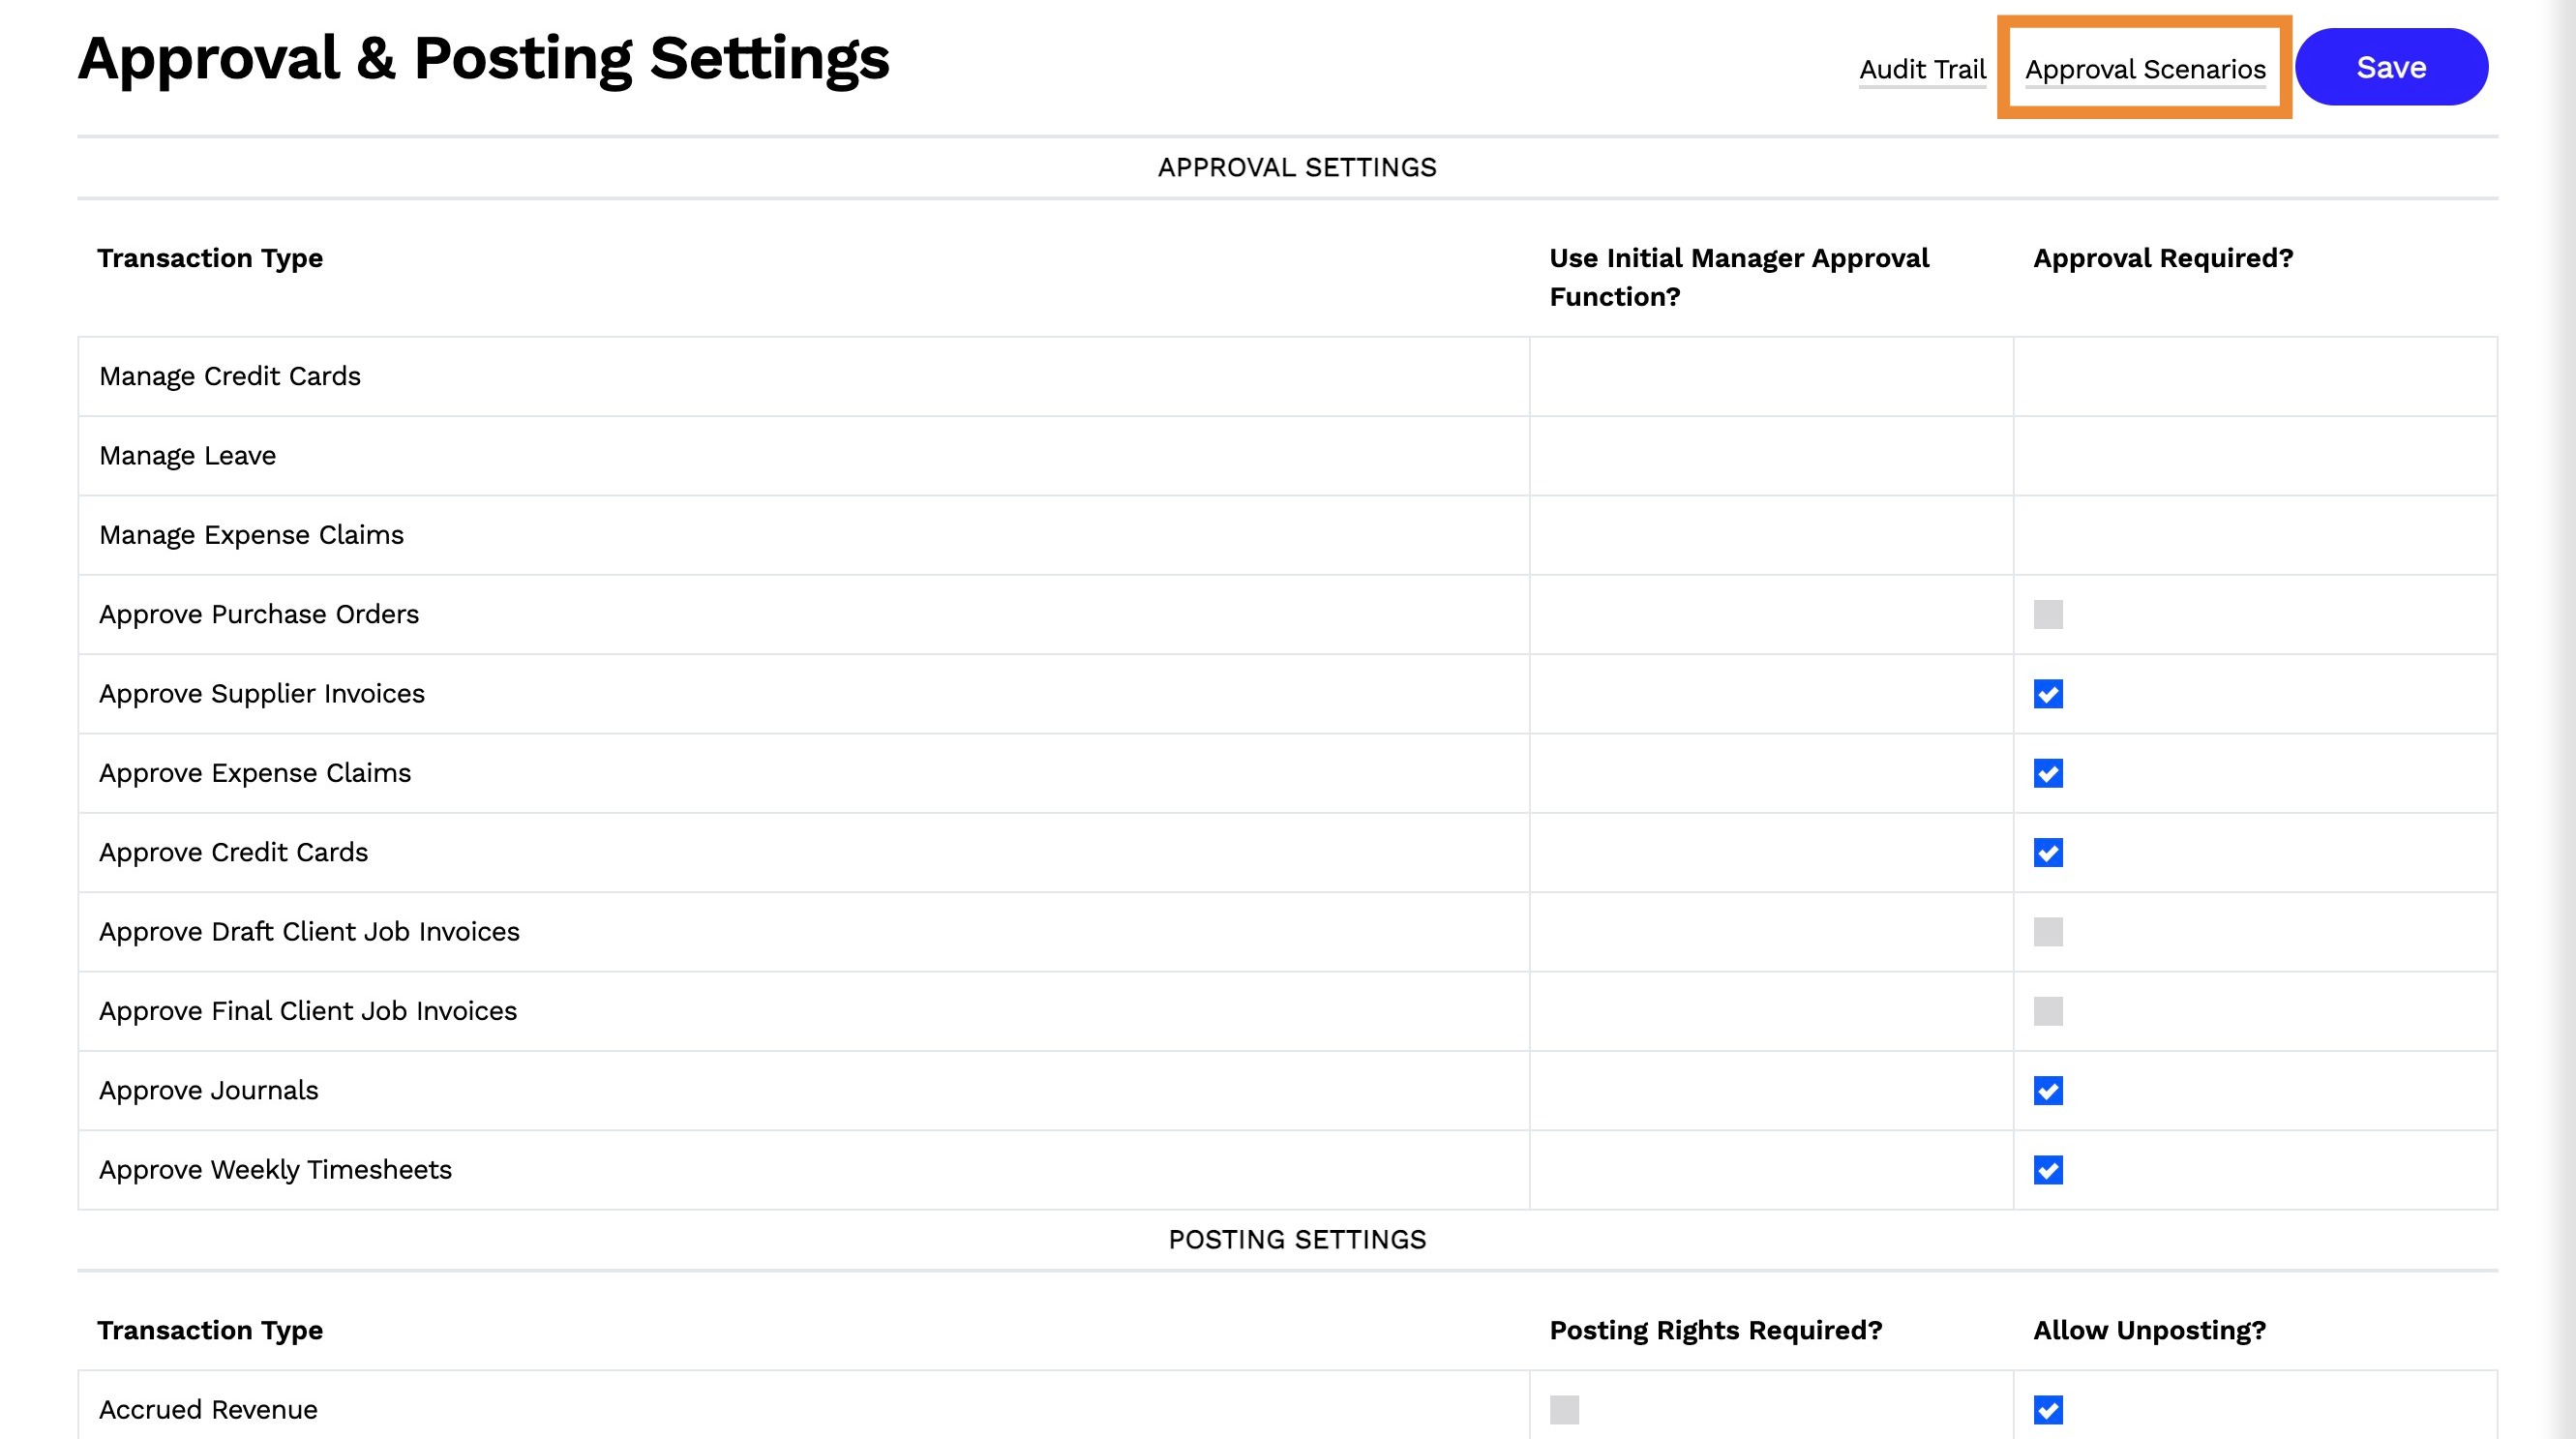
2. Click on Approval Scenarios on the top right side of the page.
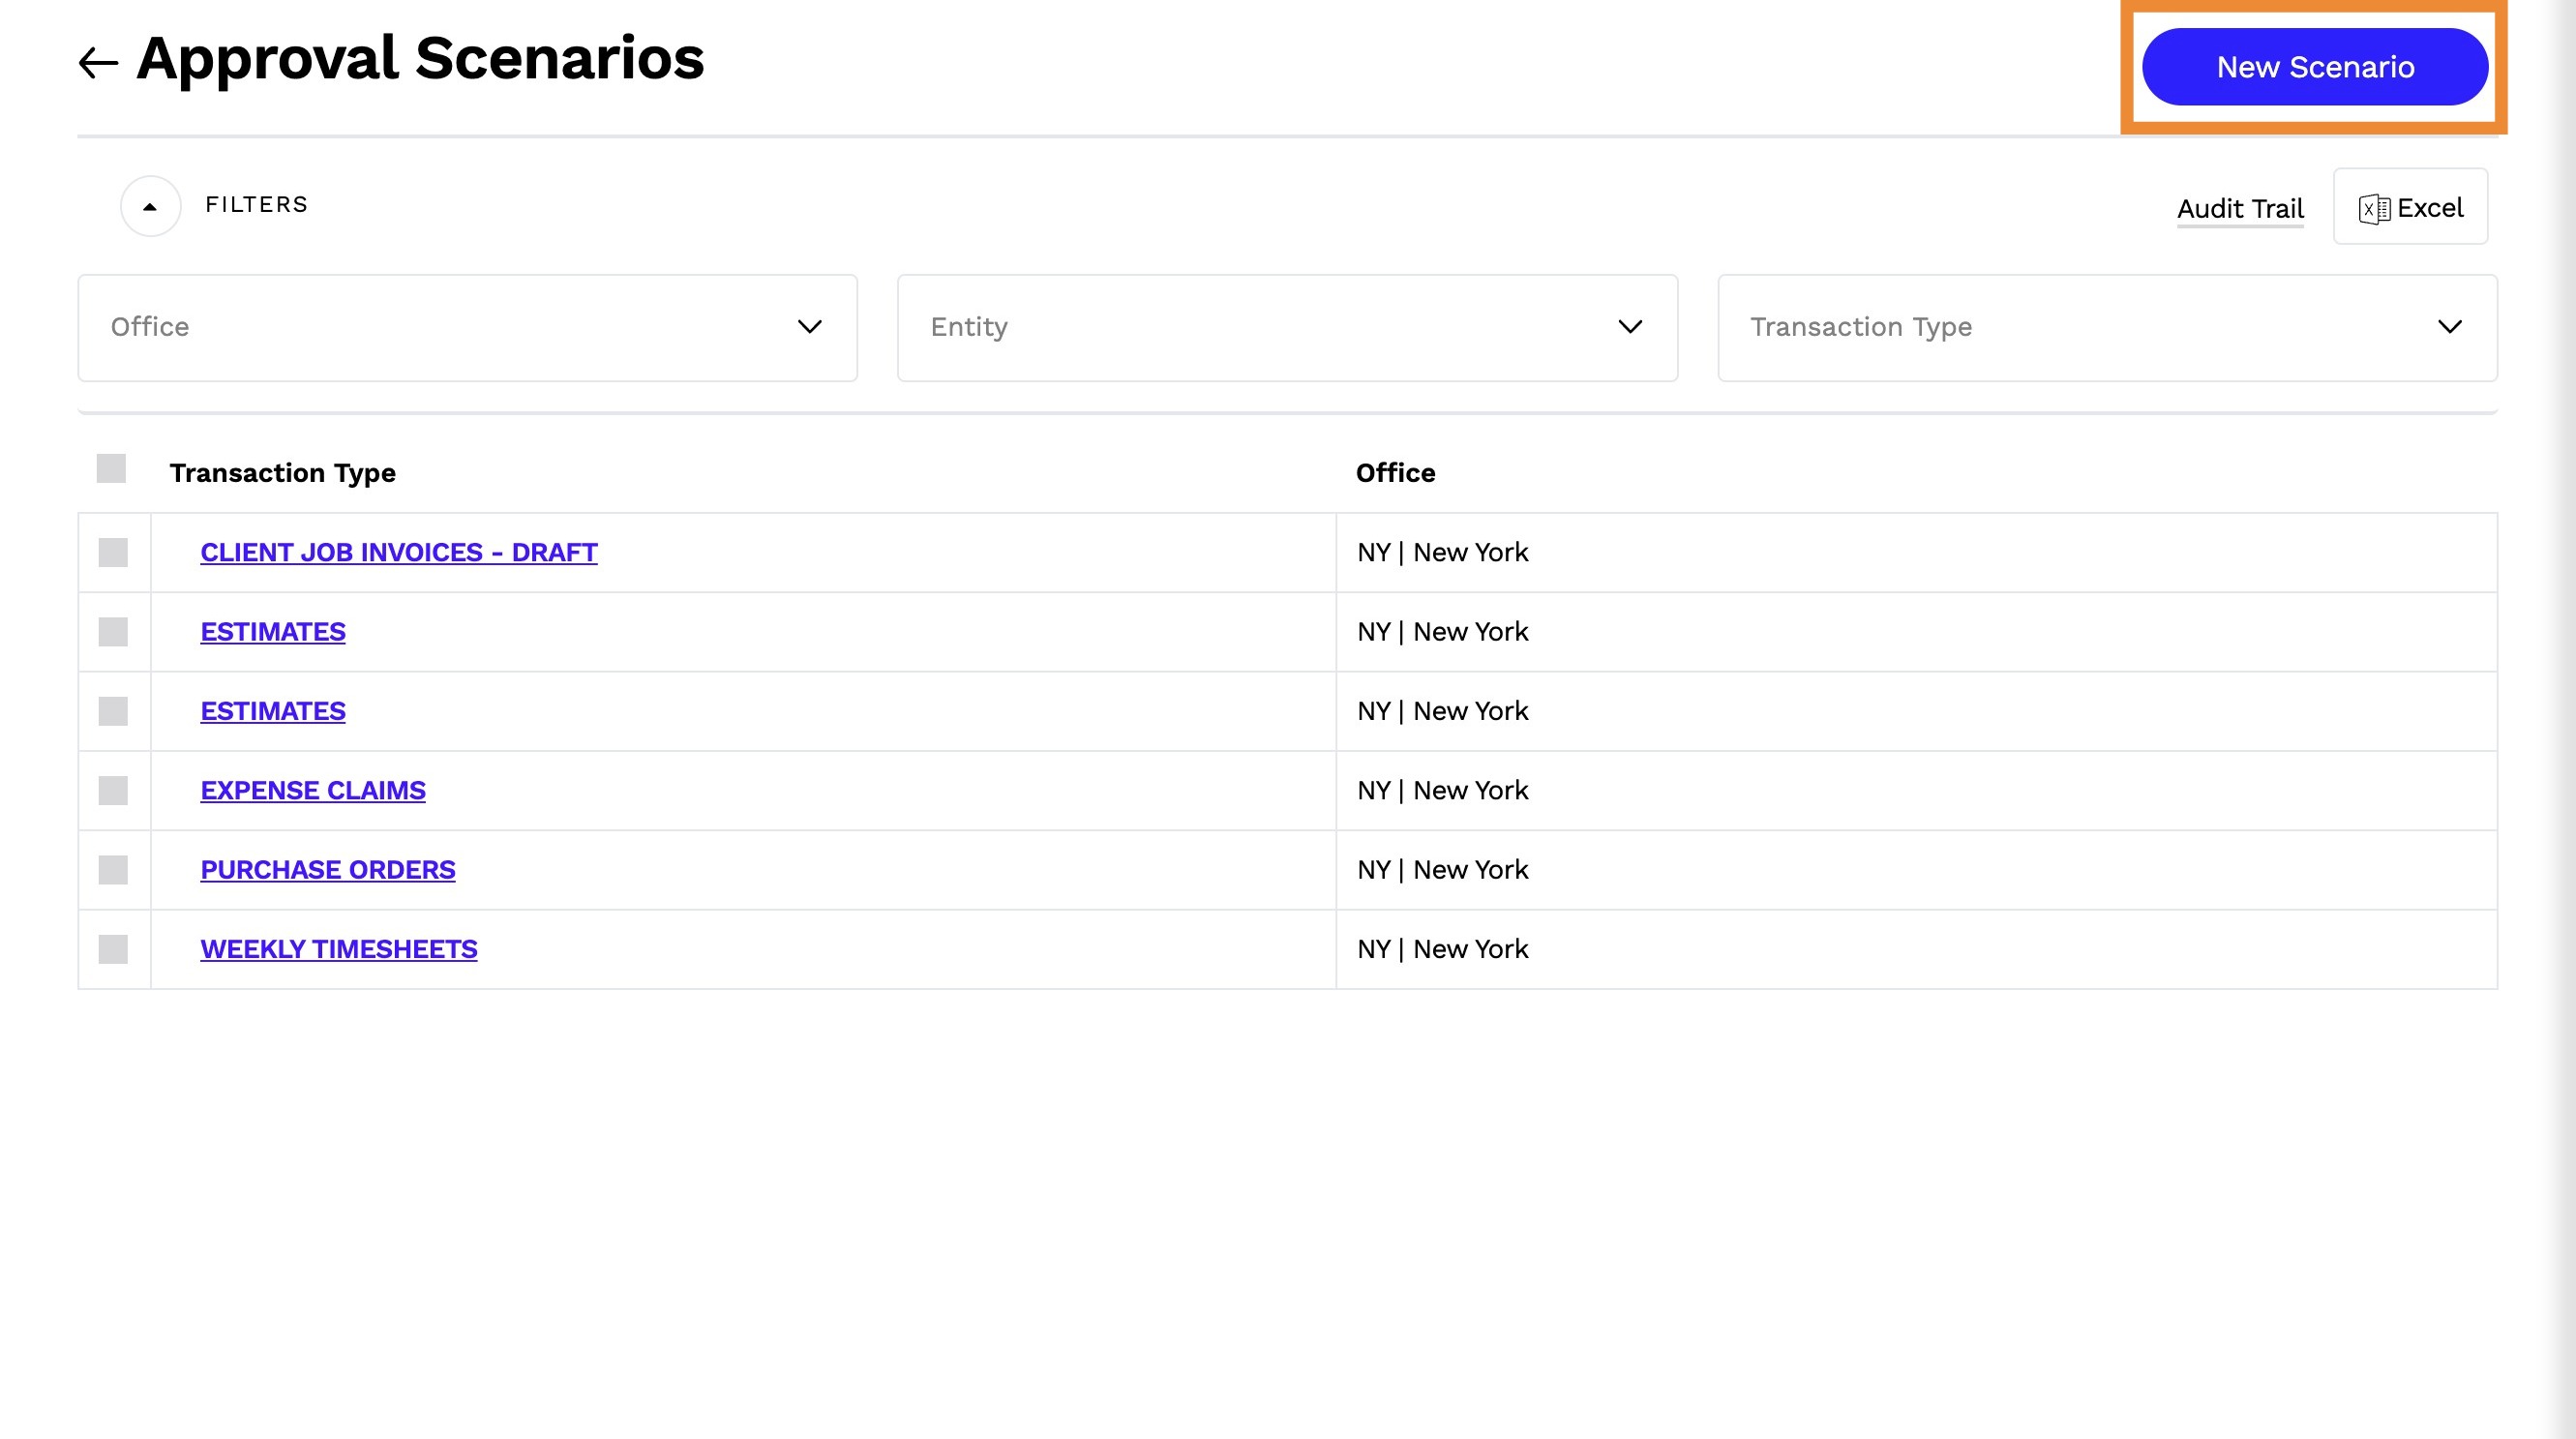
3. Click New Scenario
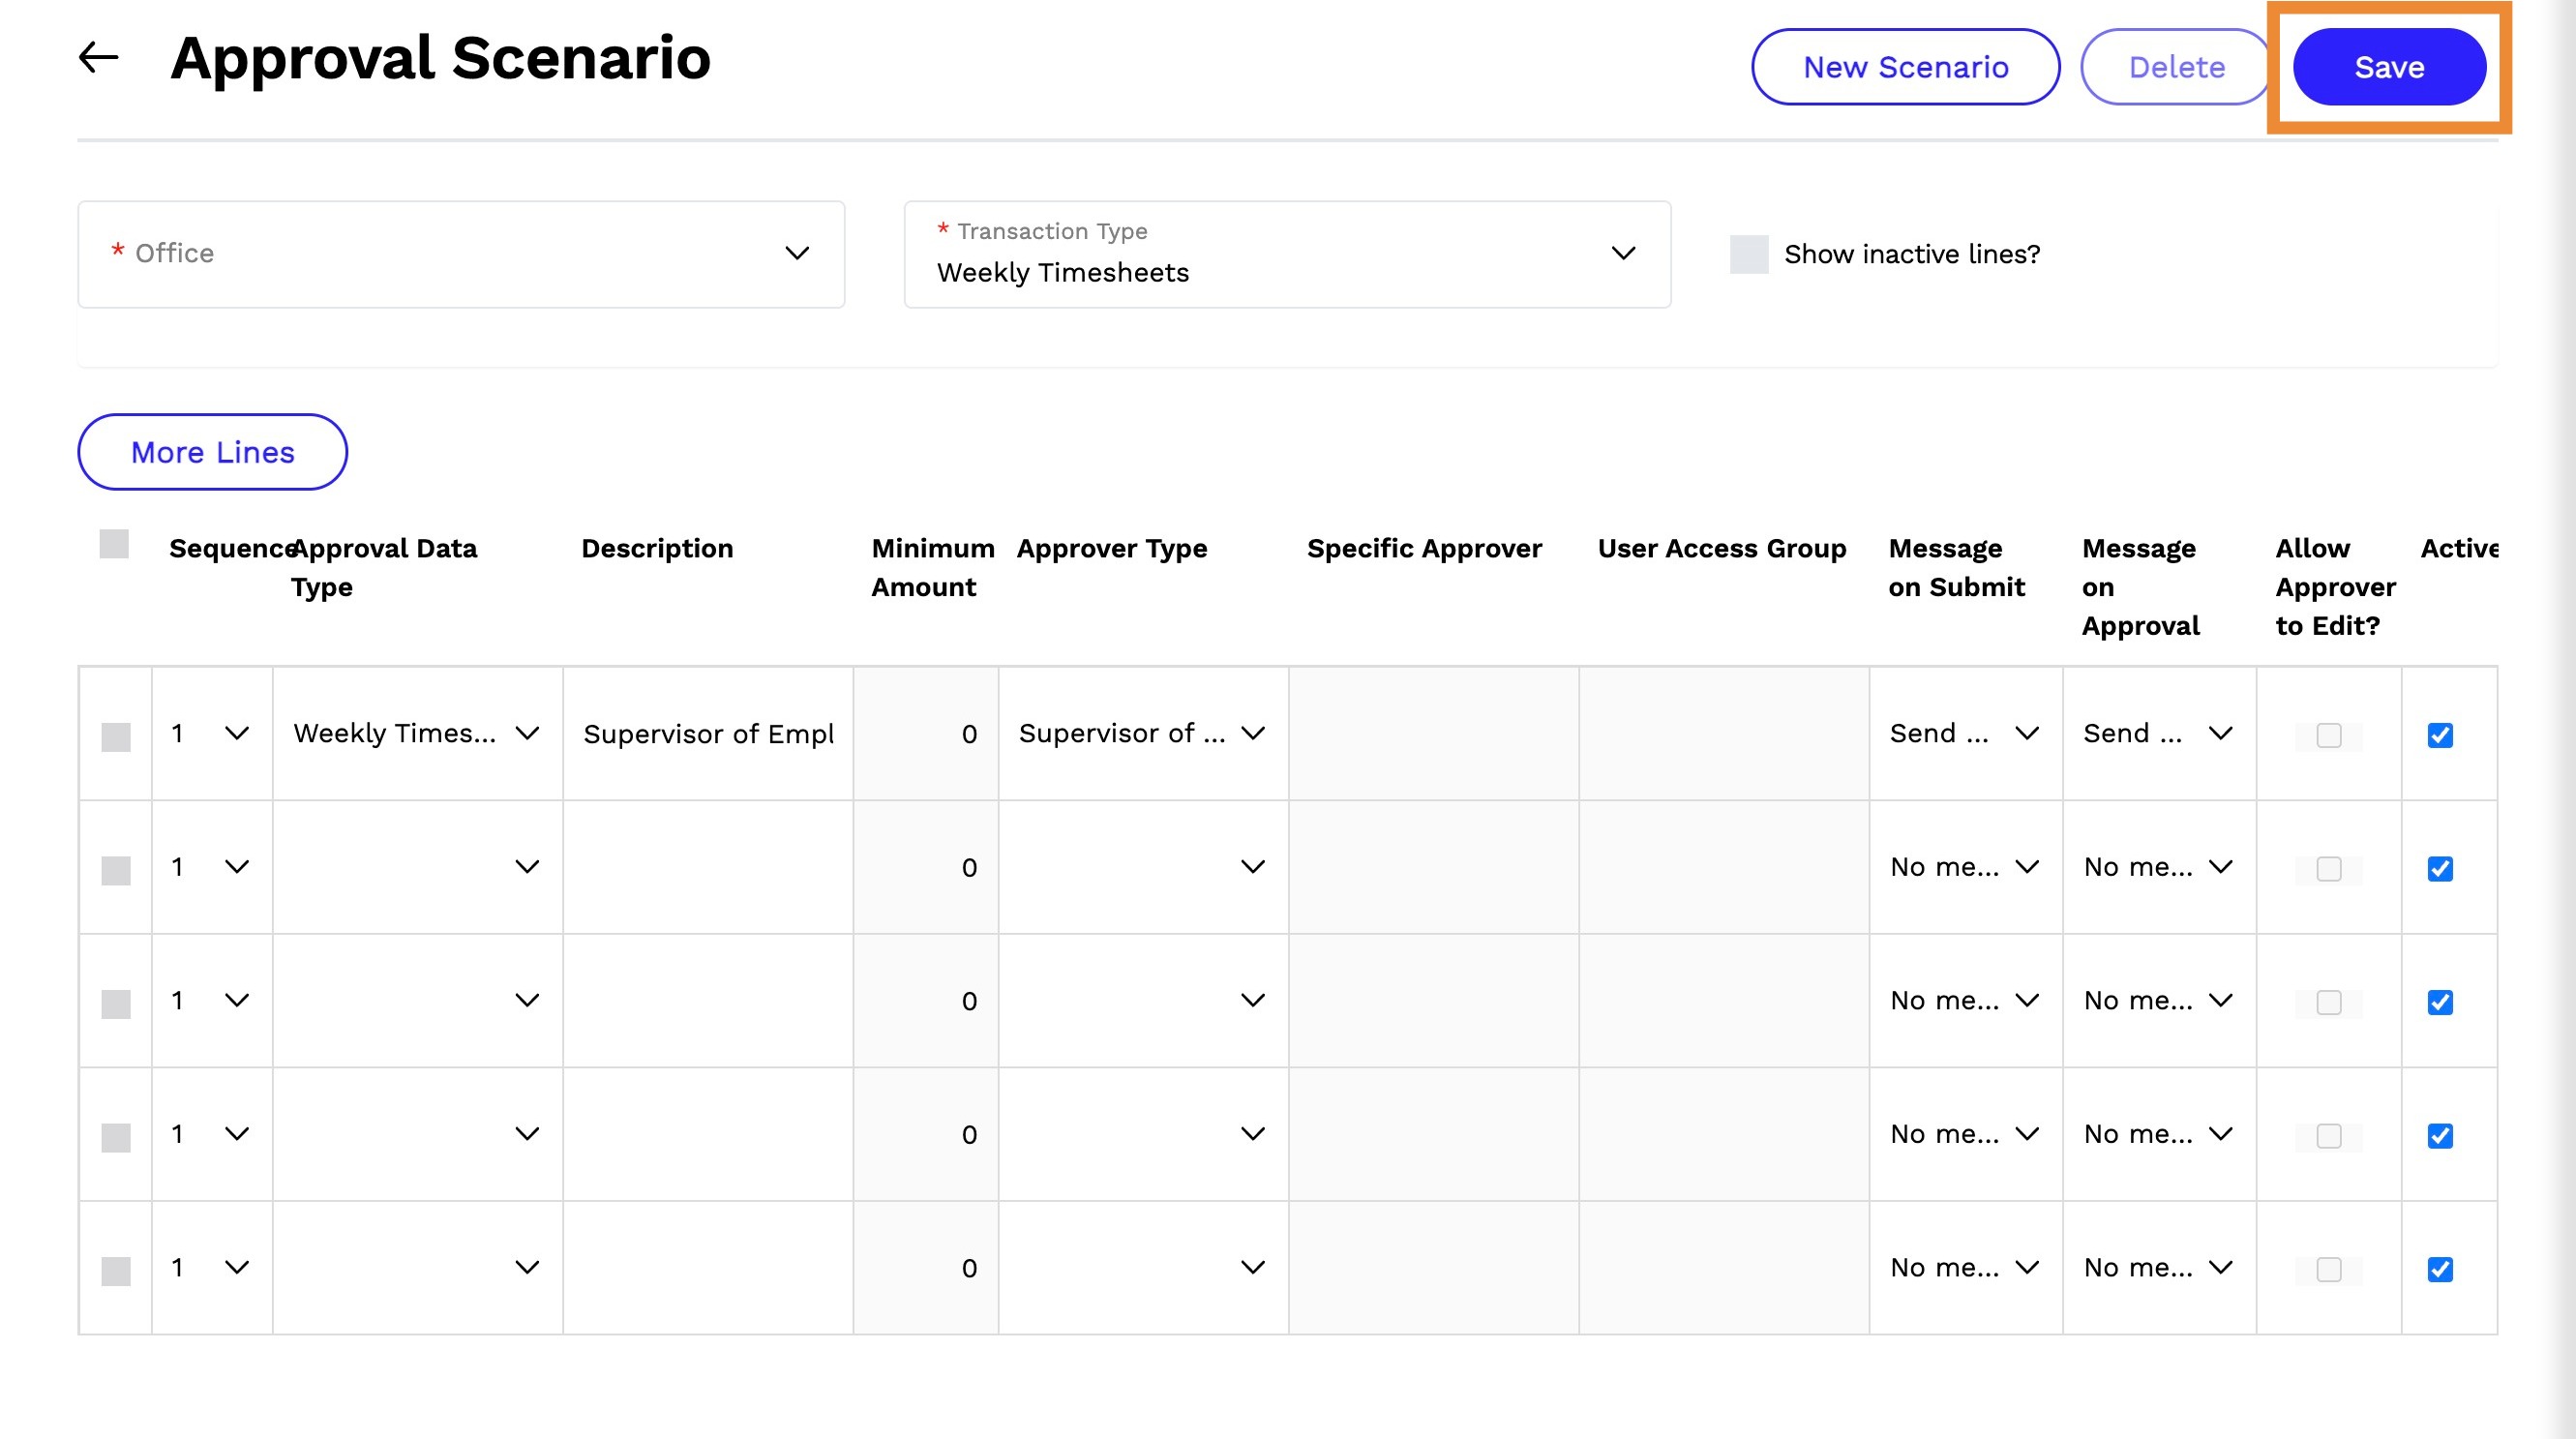
4. Enter the following information.
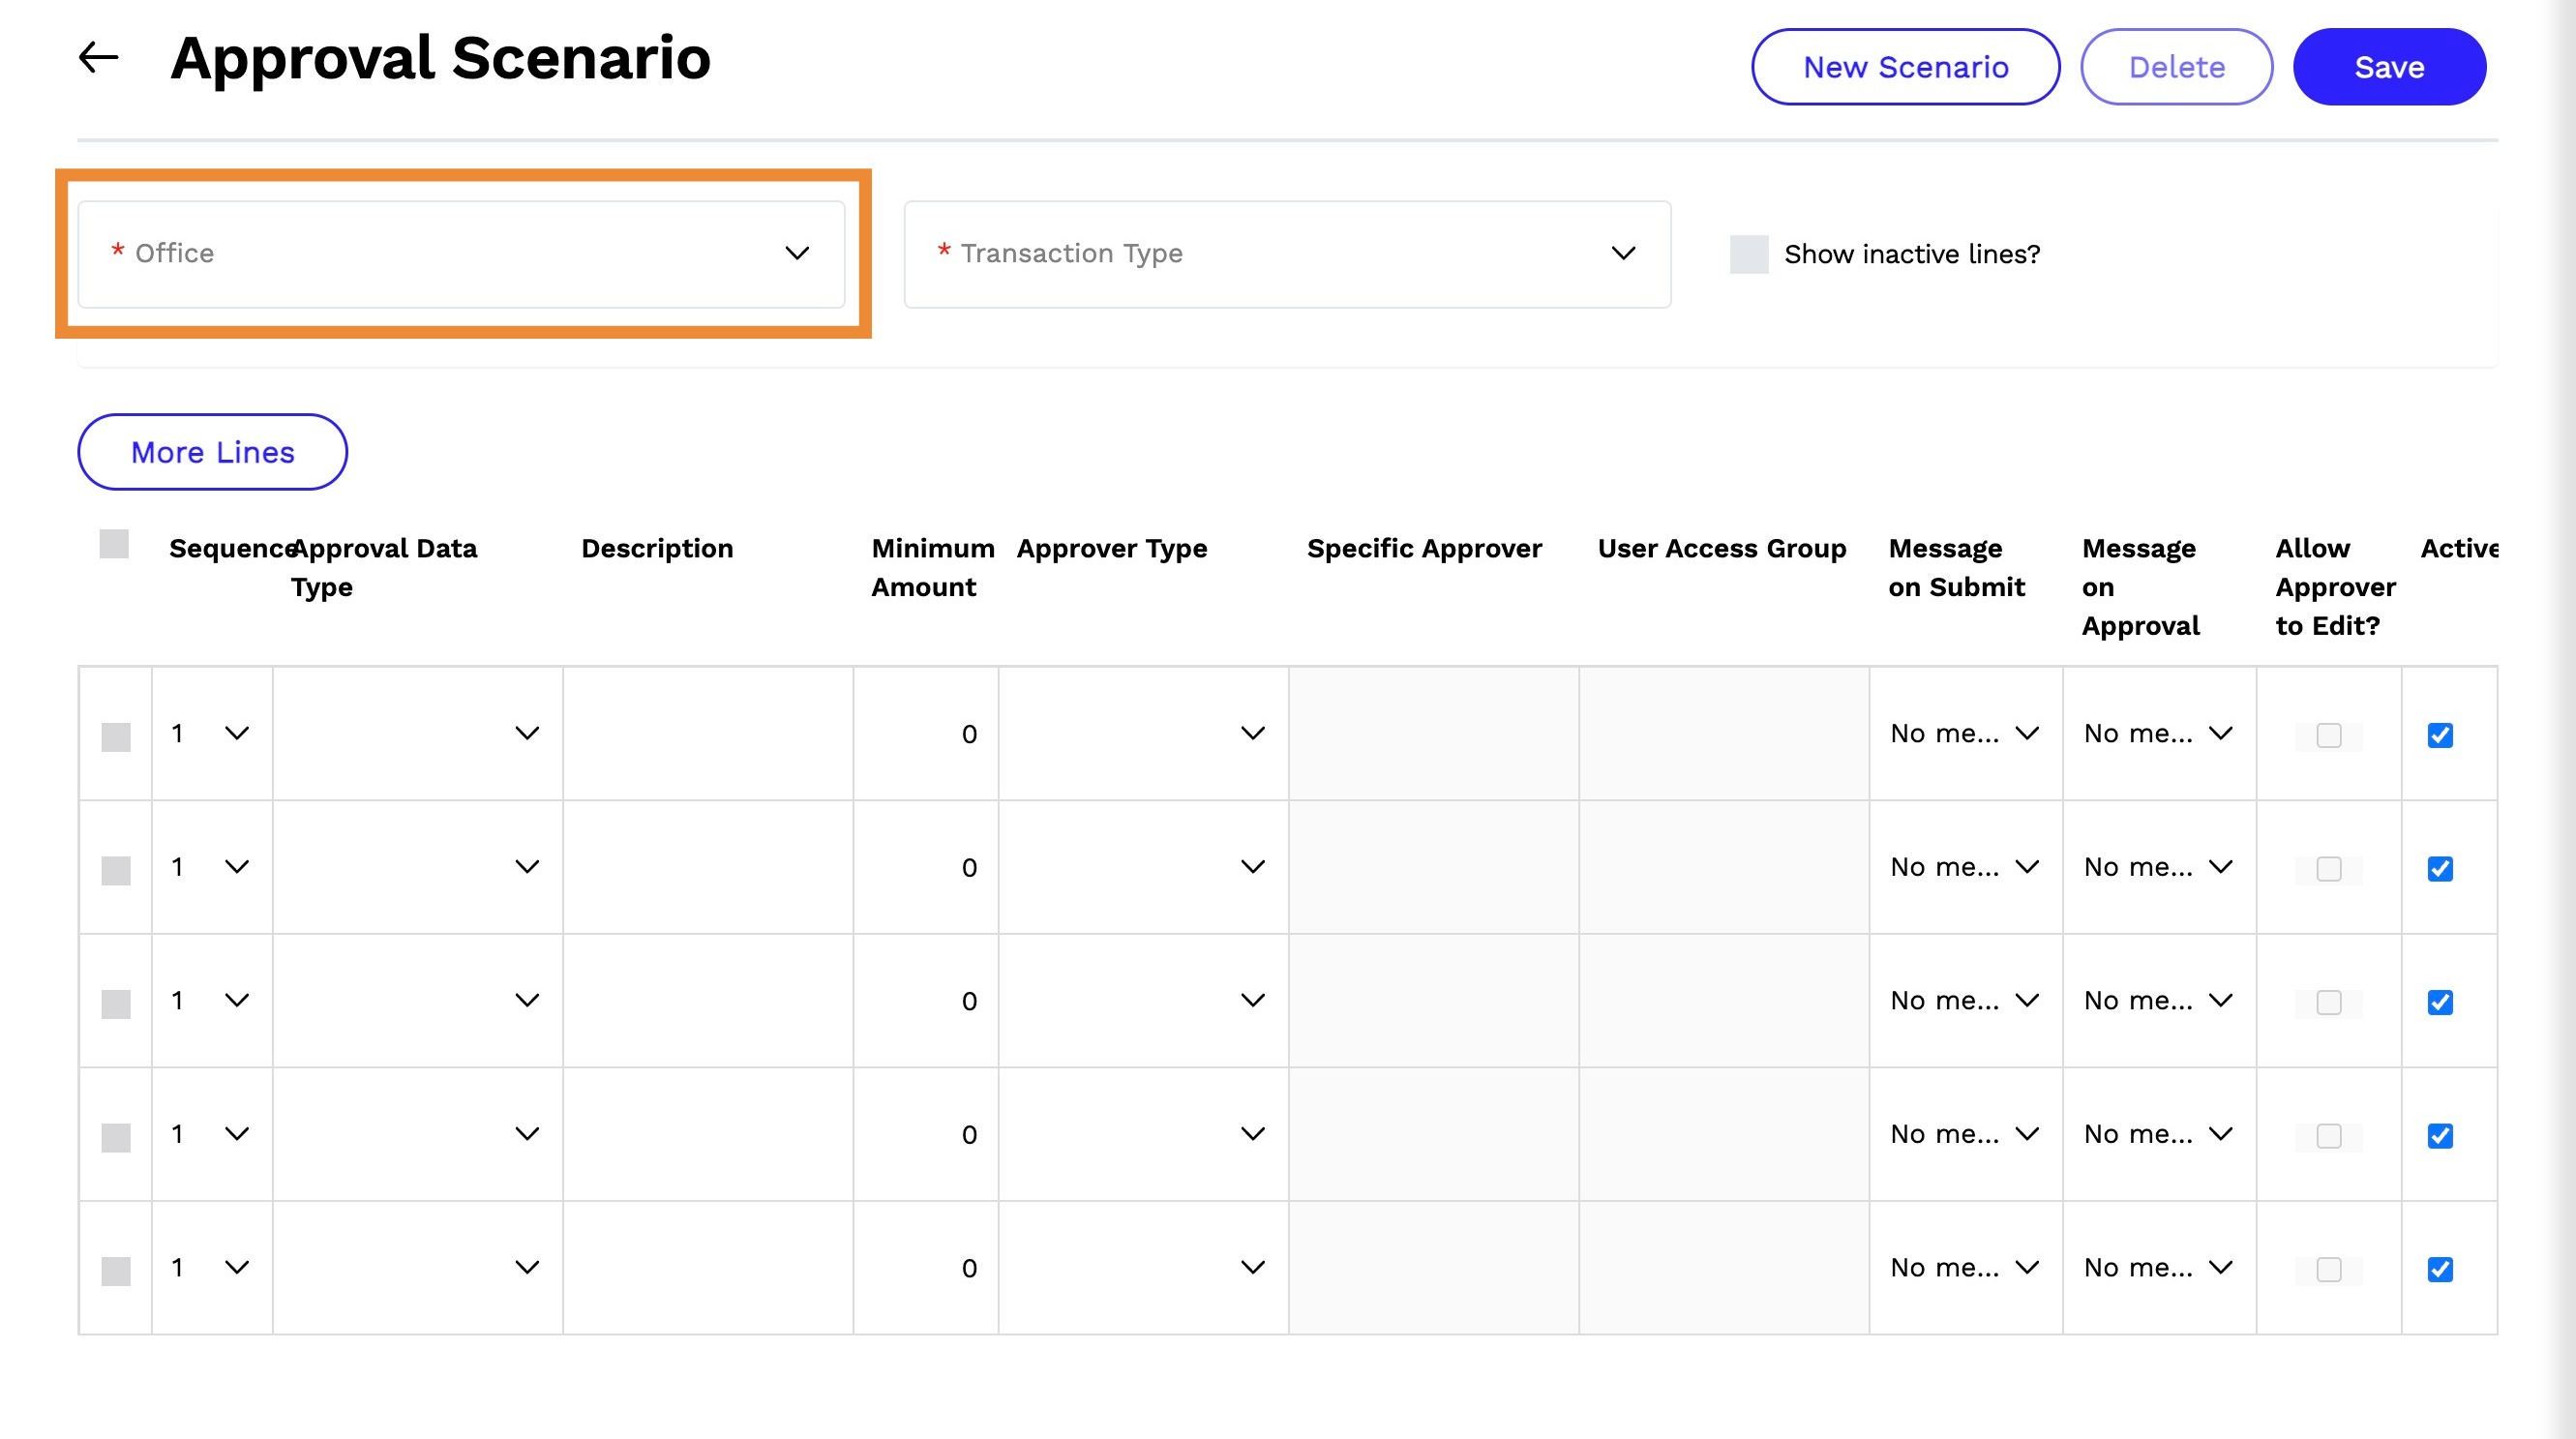
Office - Select an office.
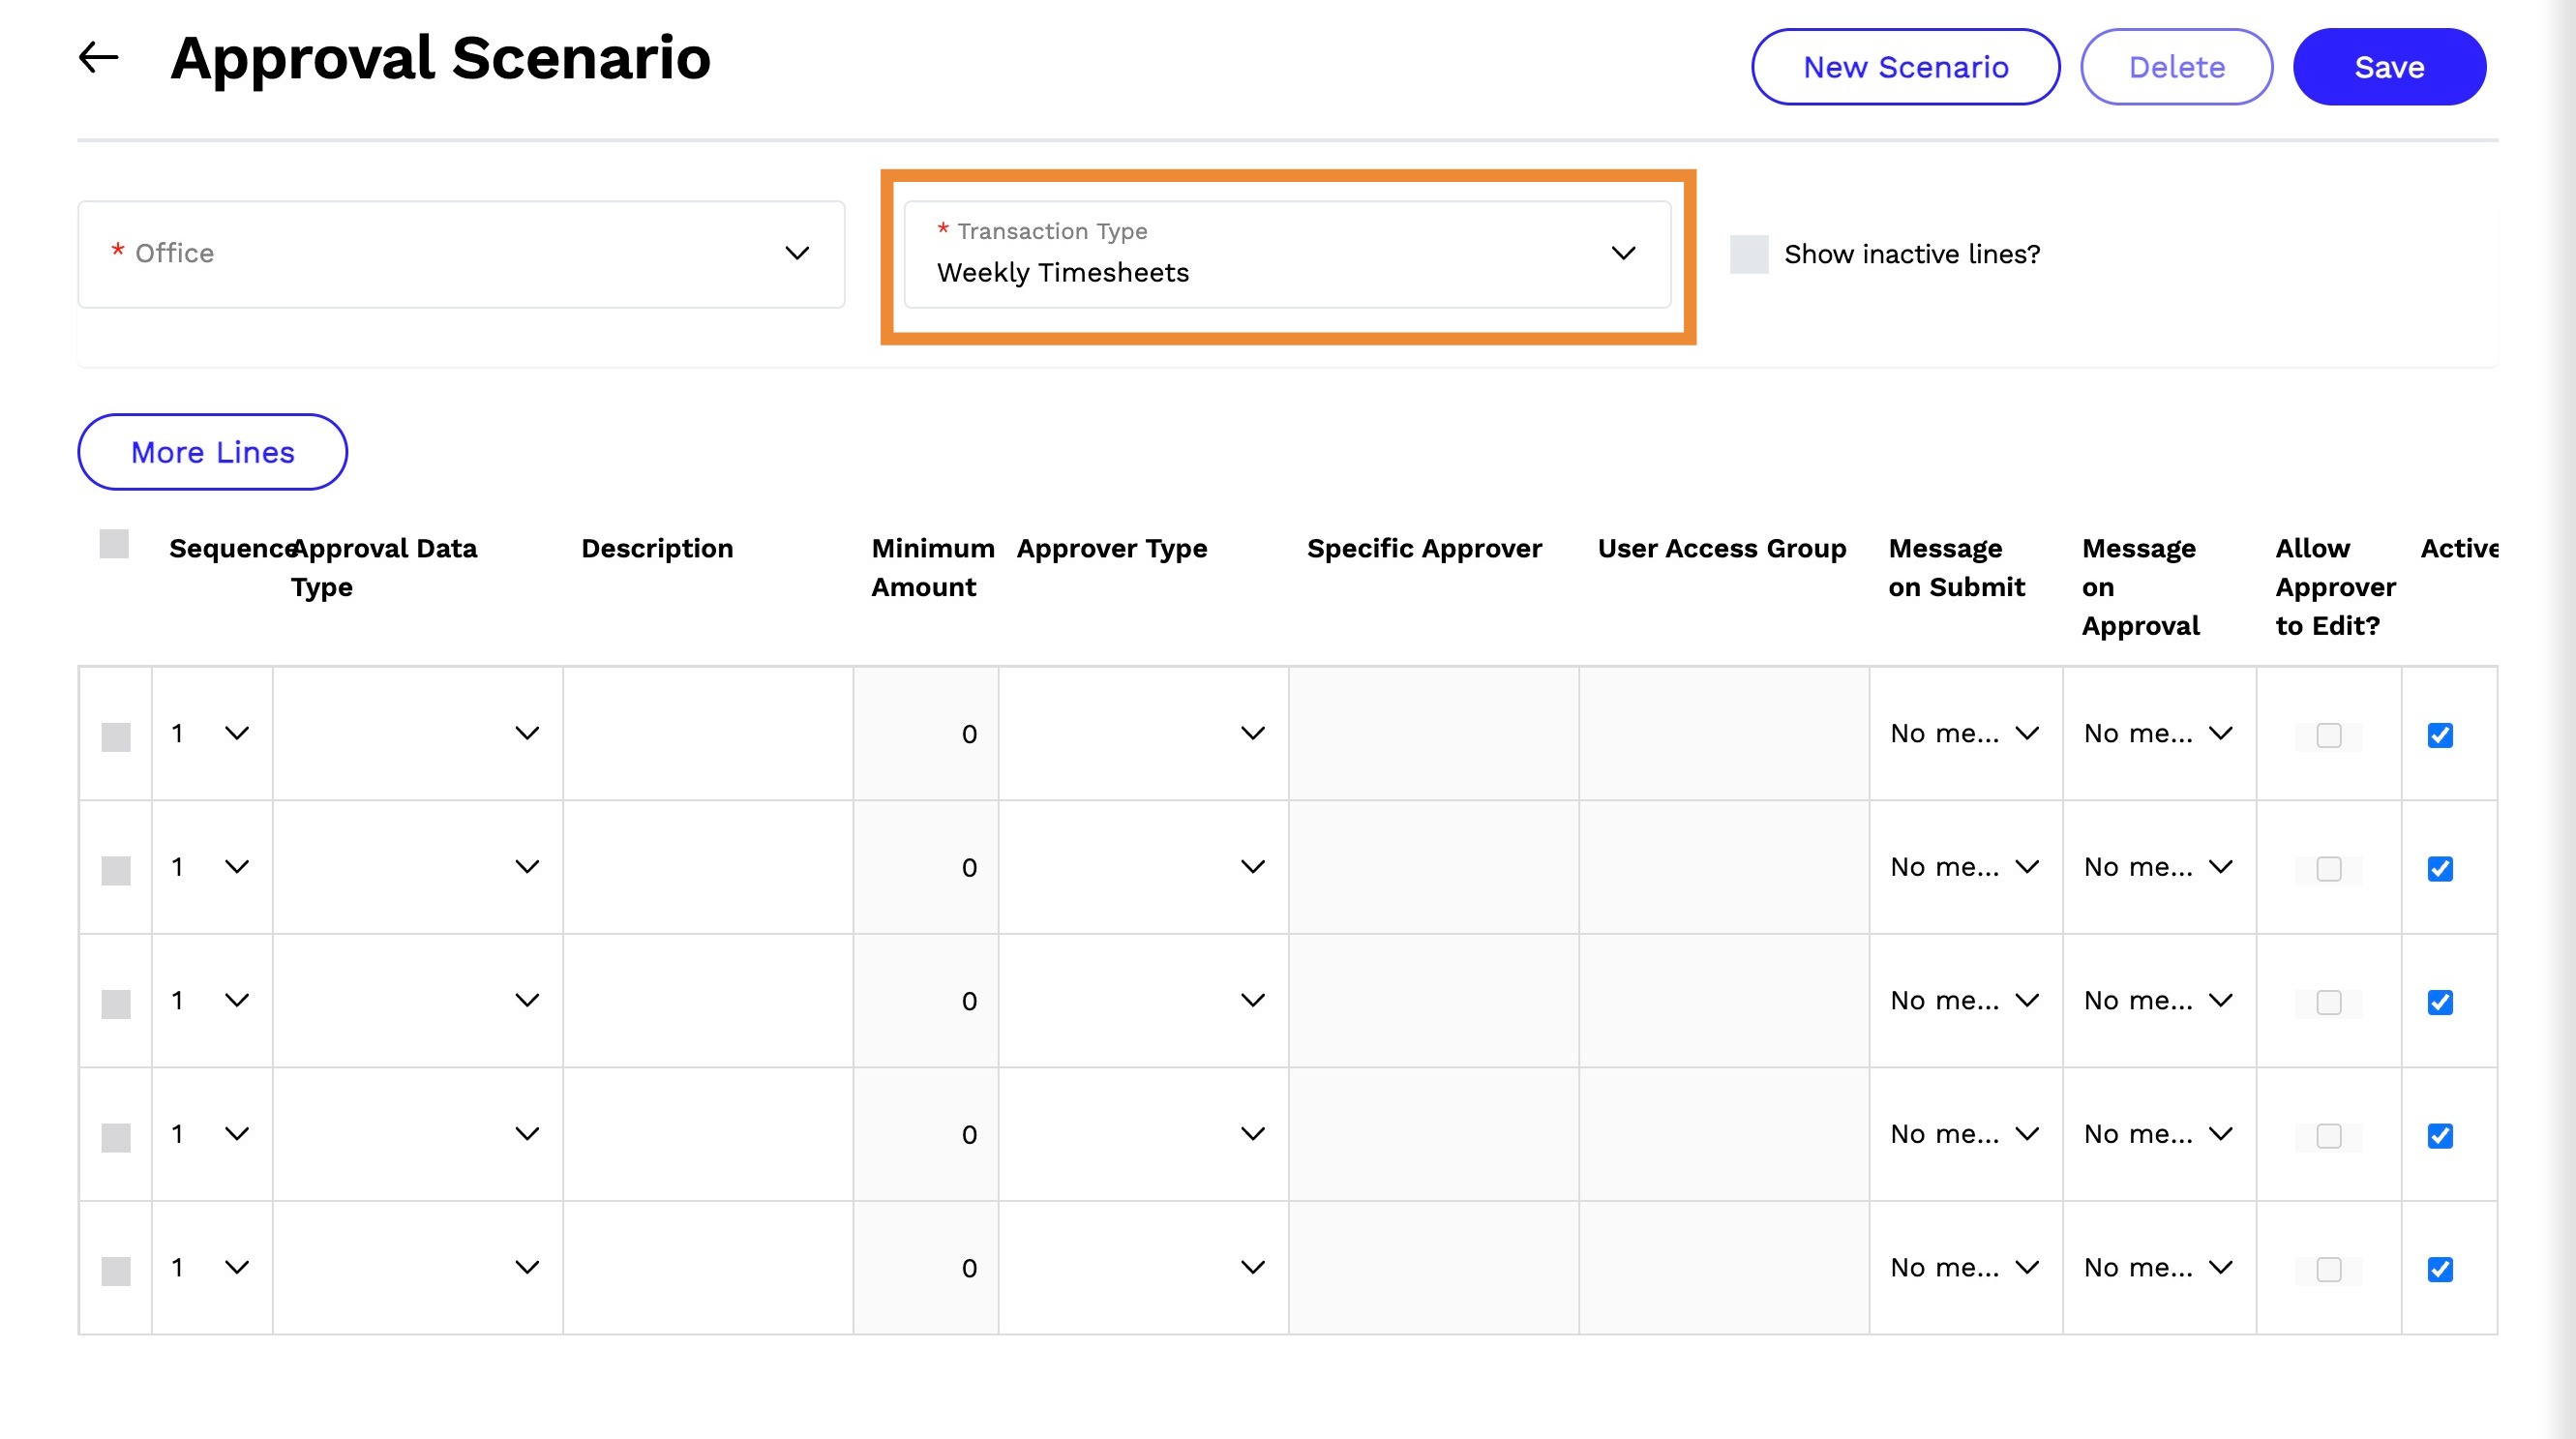
5. Transaction Type - Select Weekly Timesheets.
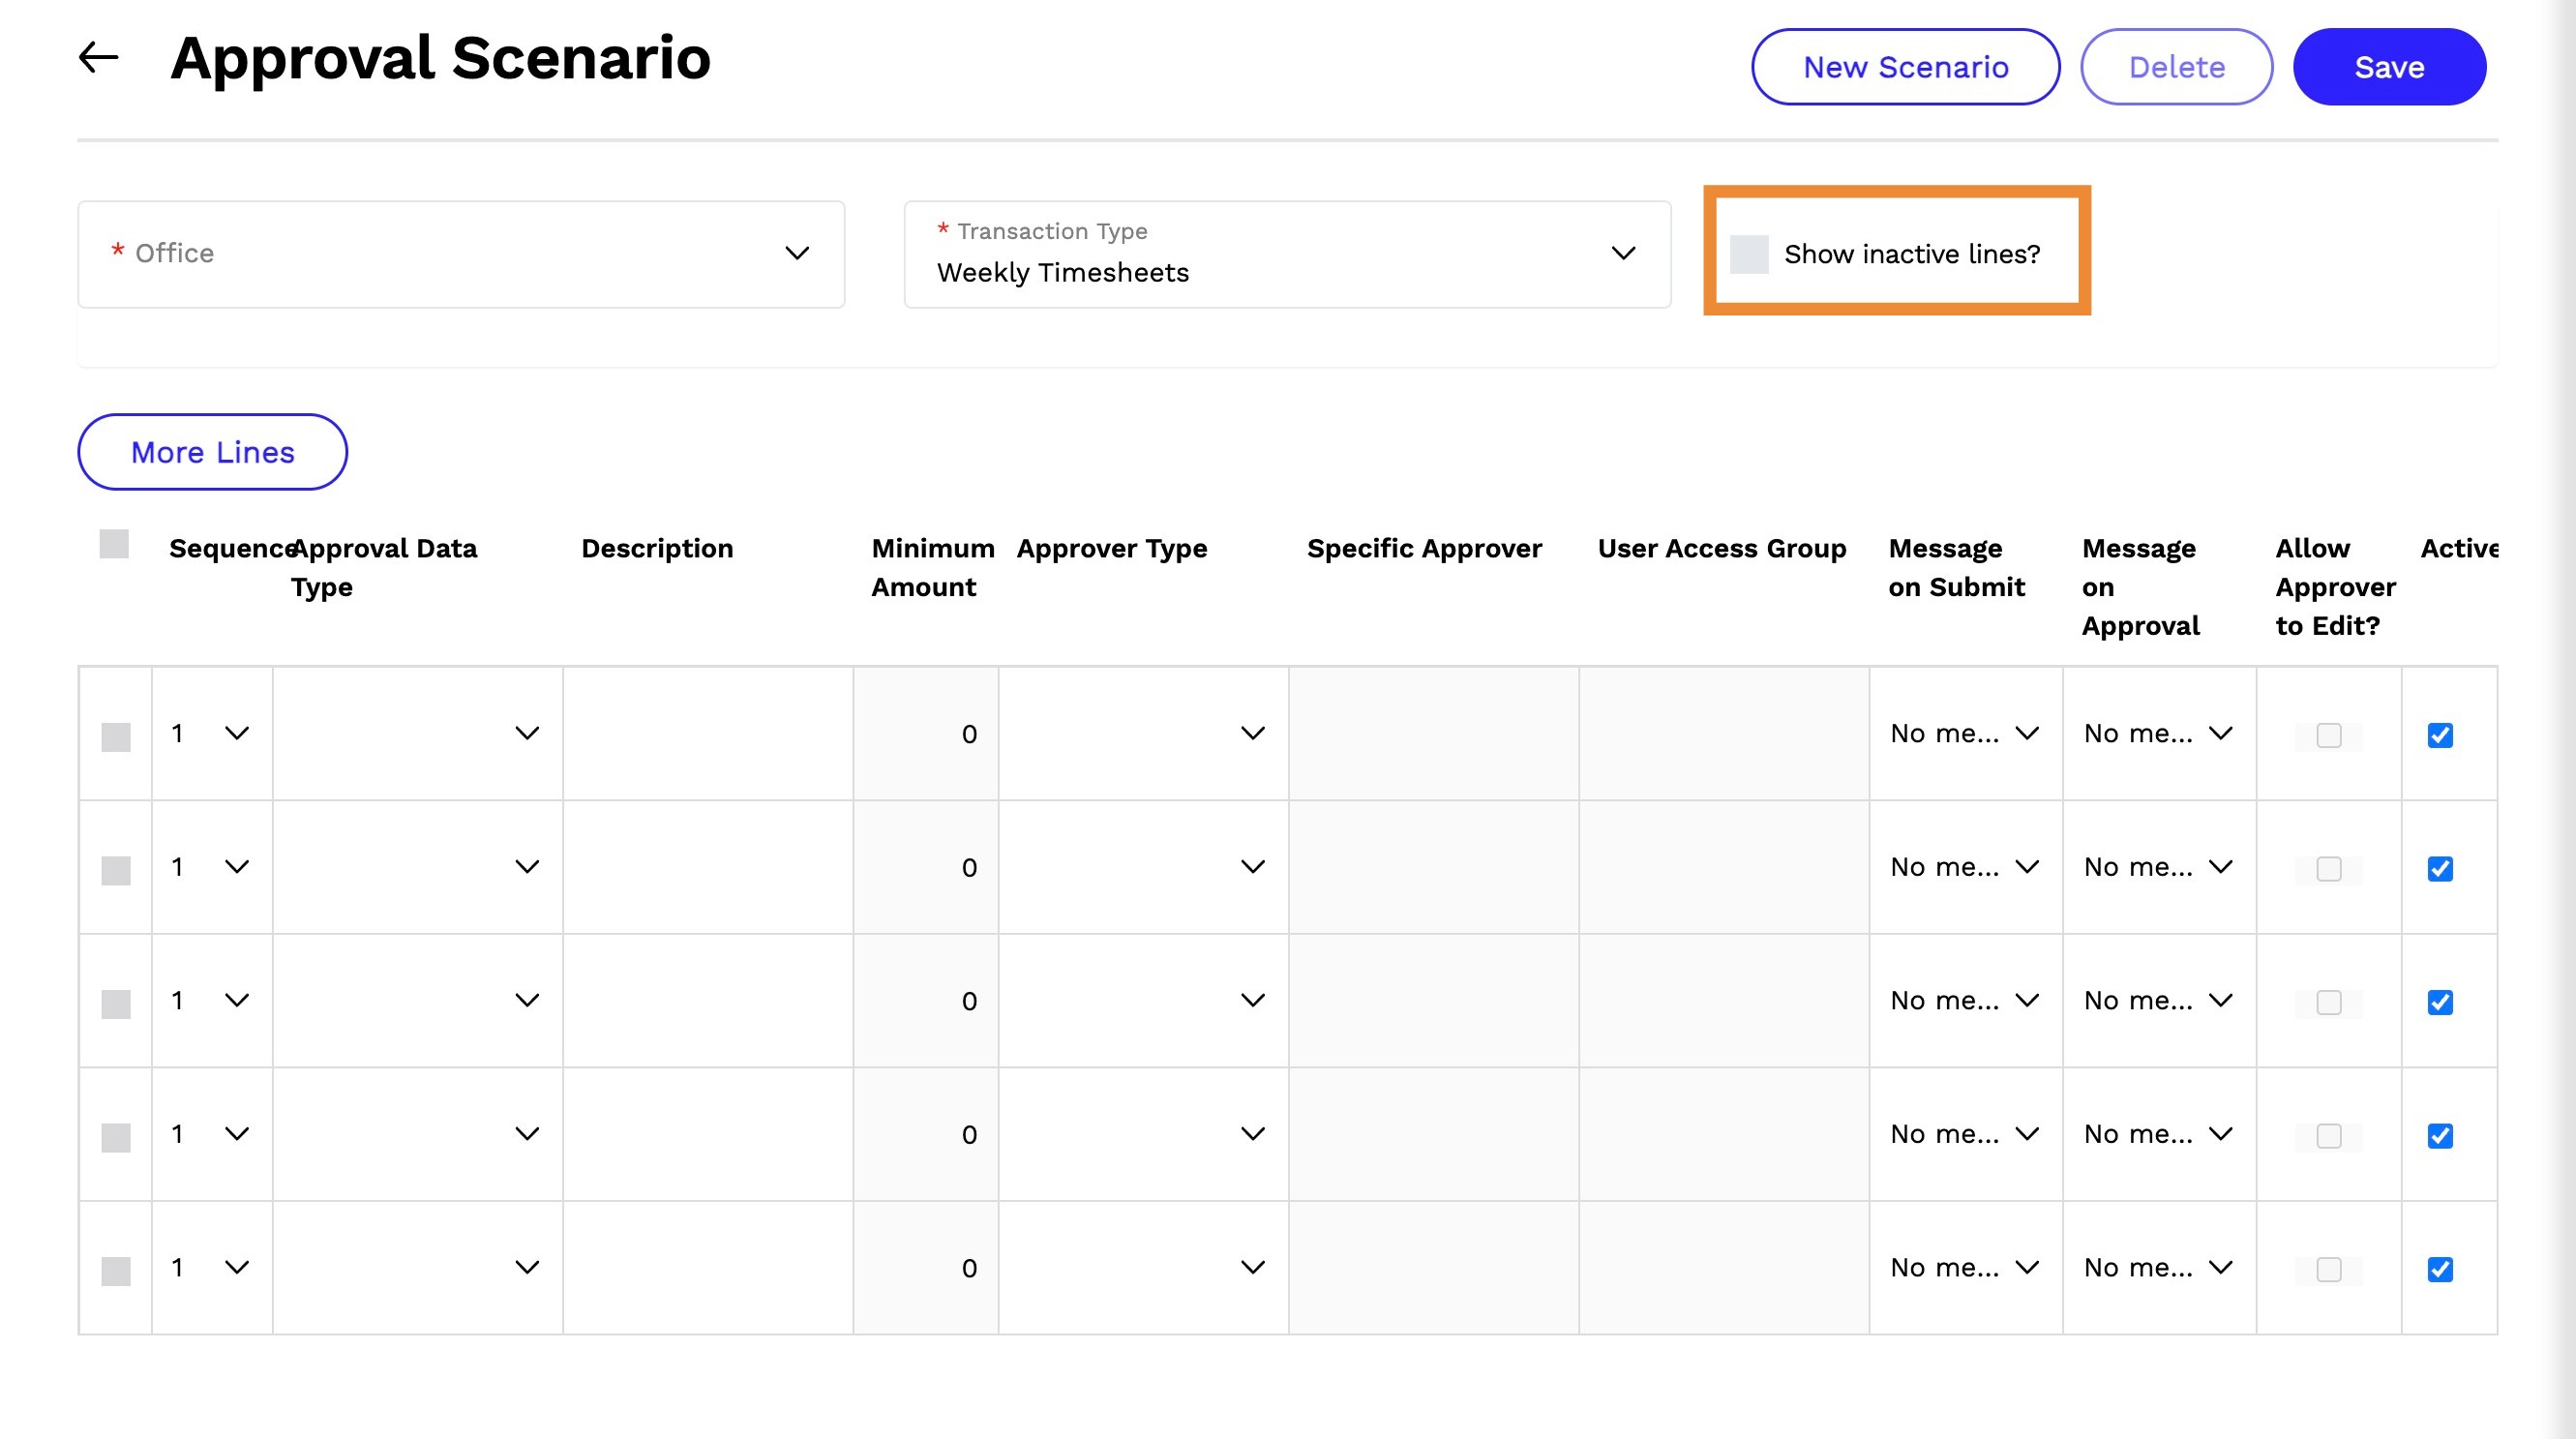
6. Show inactive lines? - Check to view inactive approval sequences.
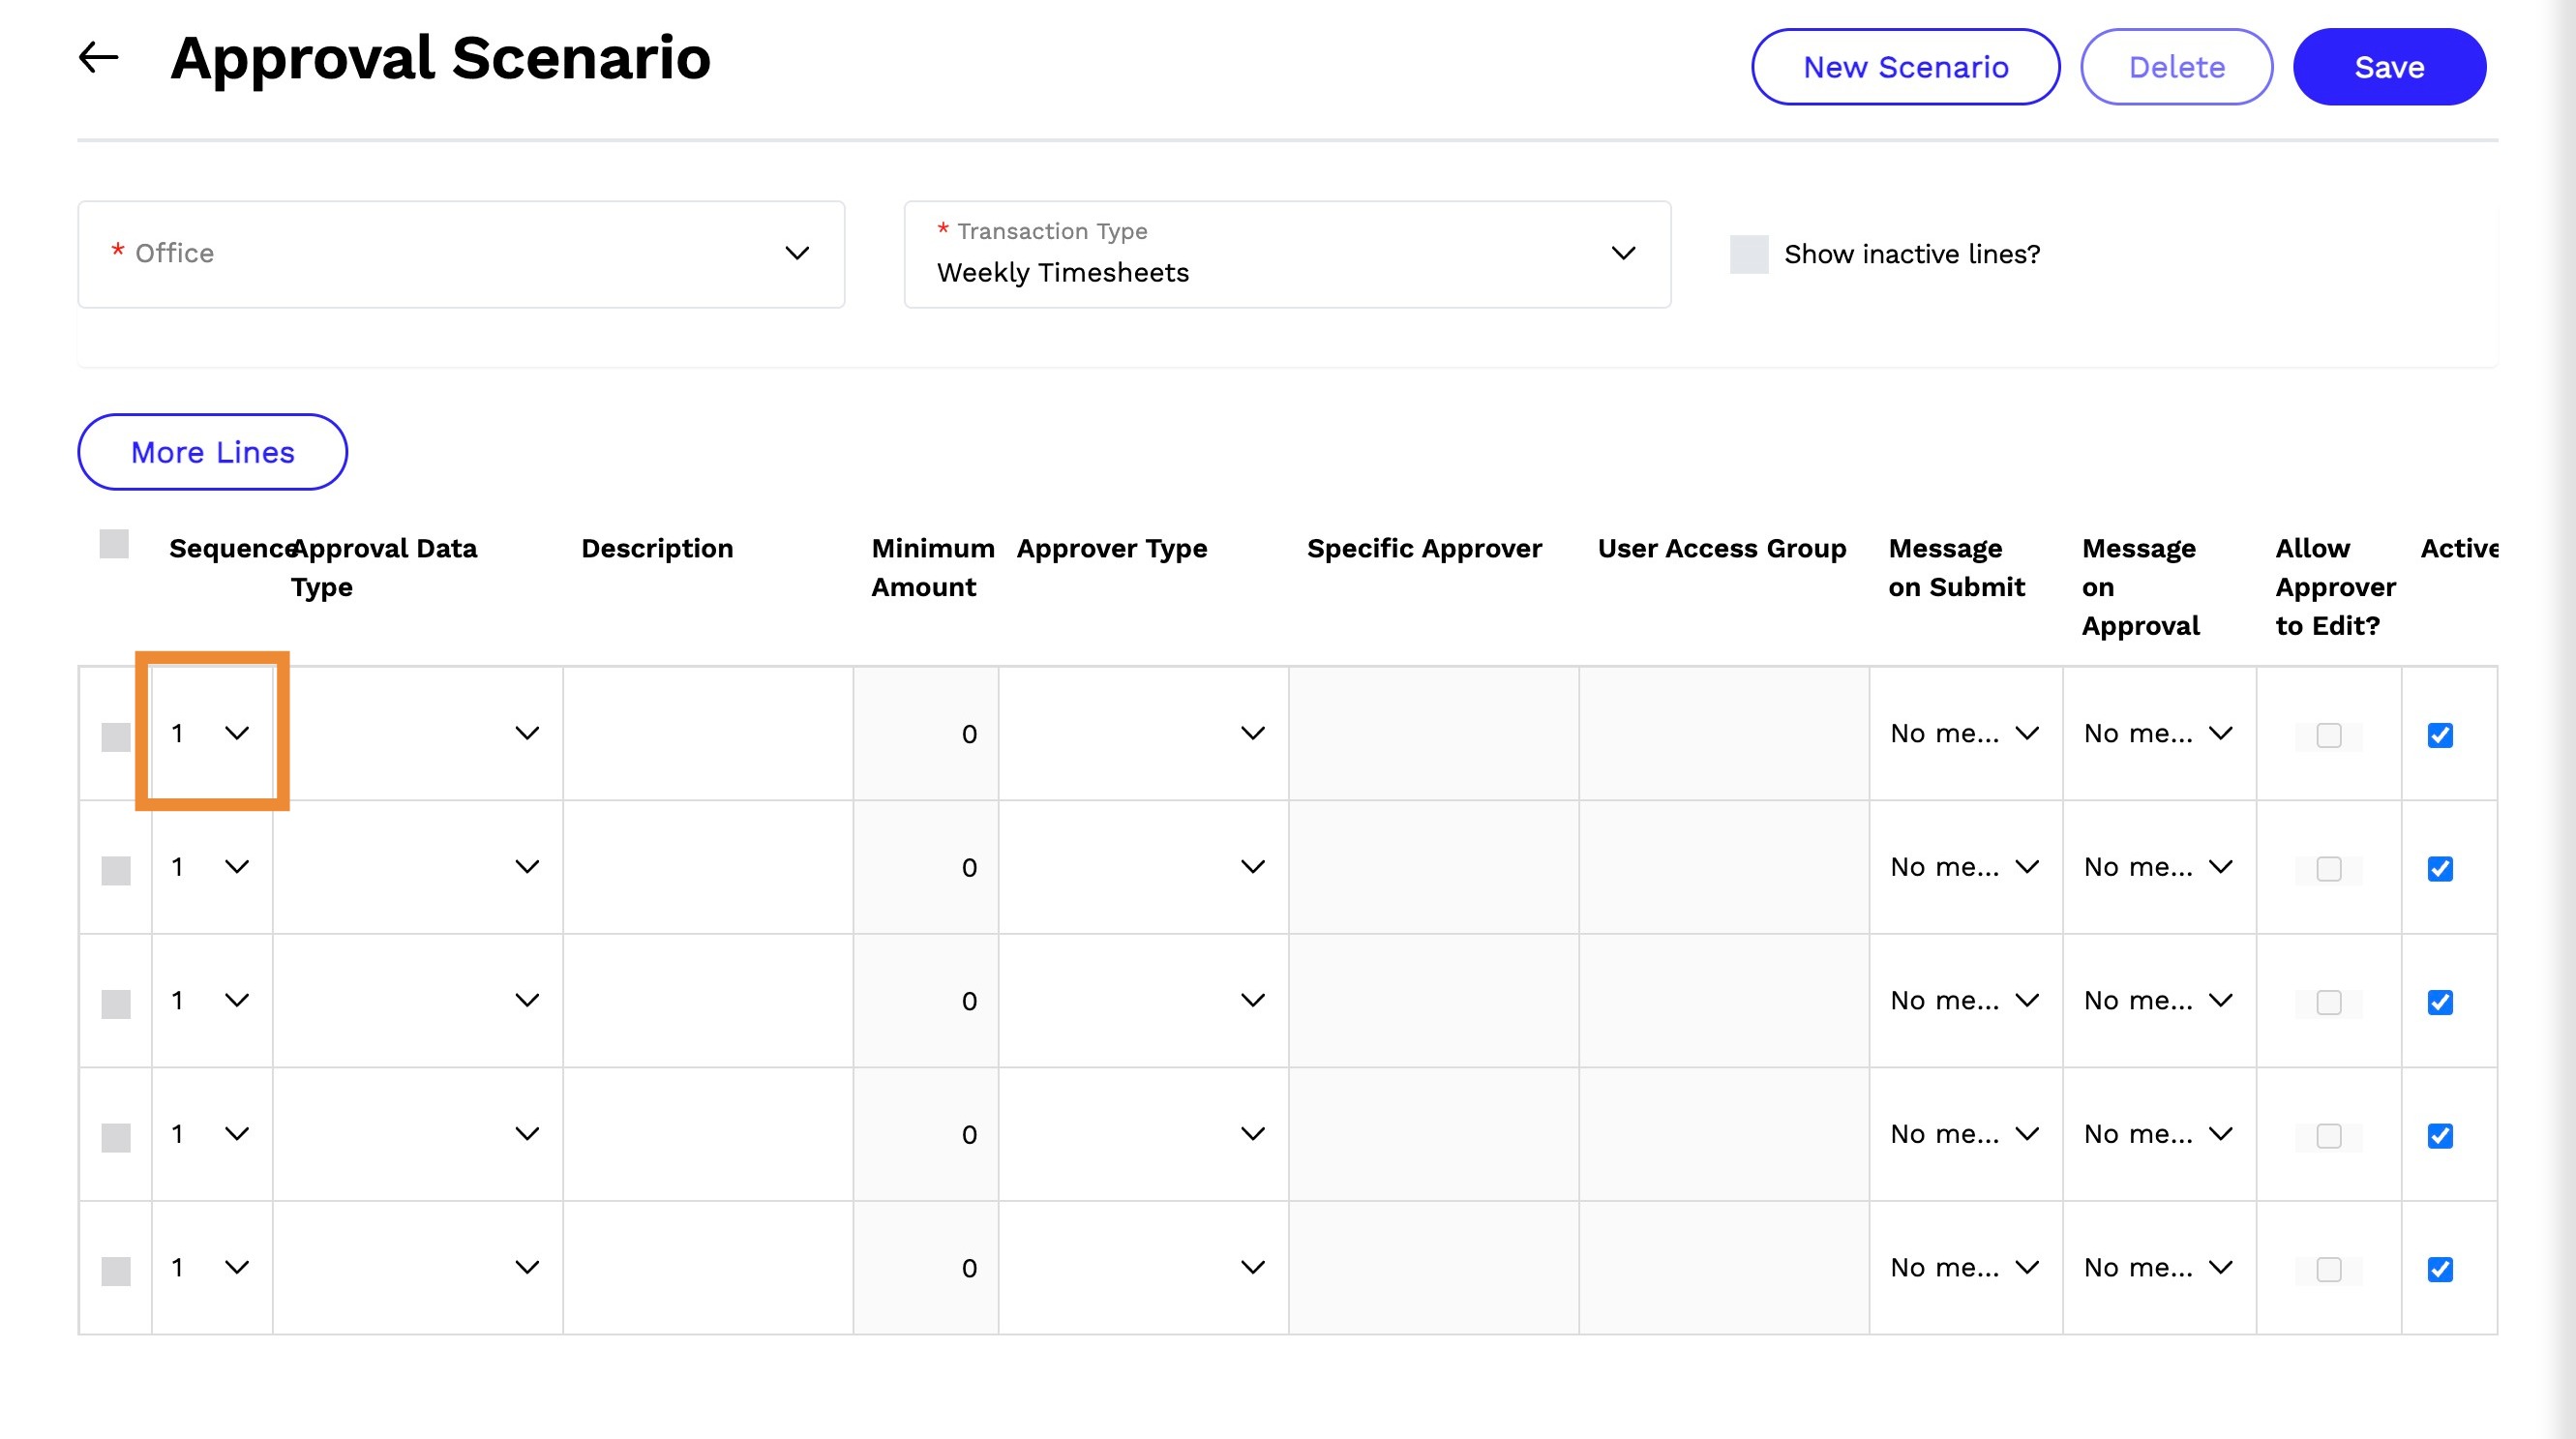
7. Sequence Enter - the order of approvals as defined by the company's approval rules.
8. Approval Data Type - Select the data type (Weekly Timesheet)
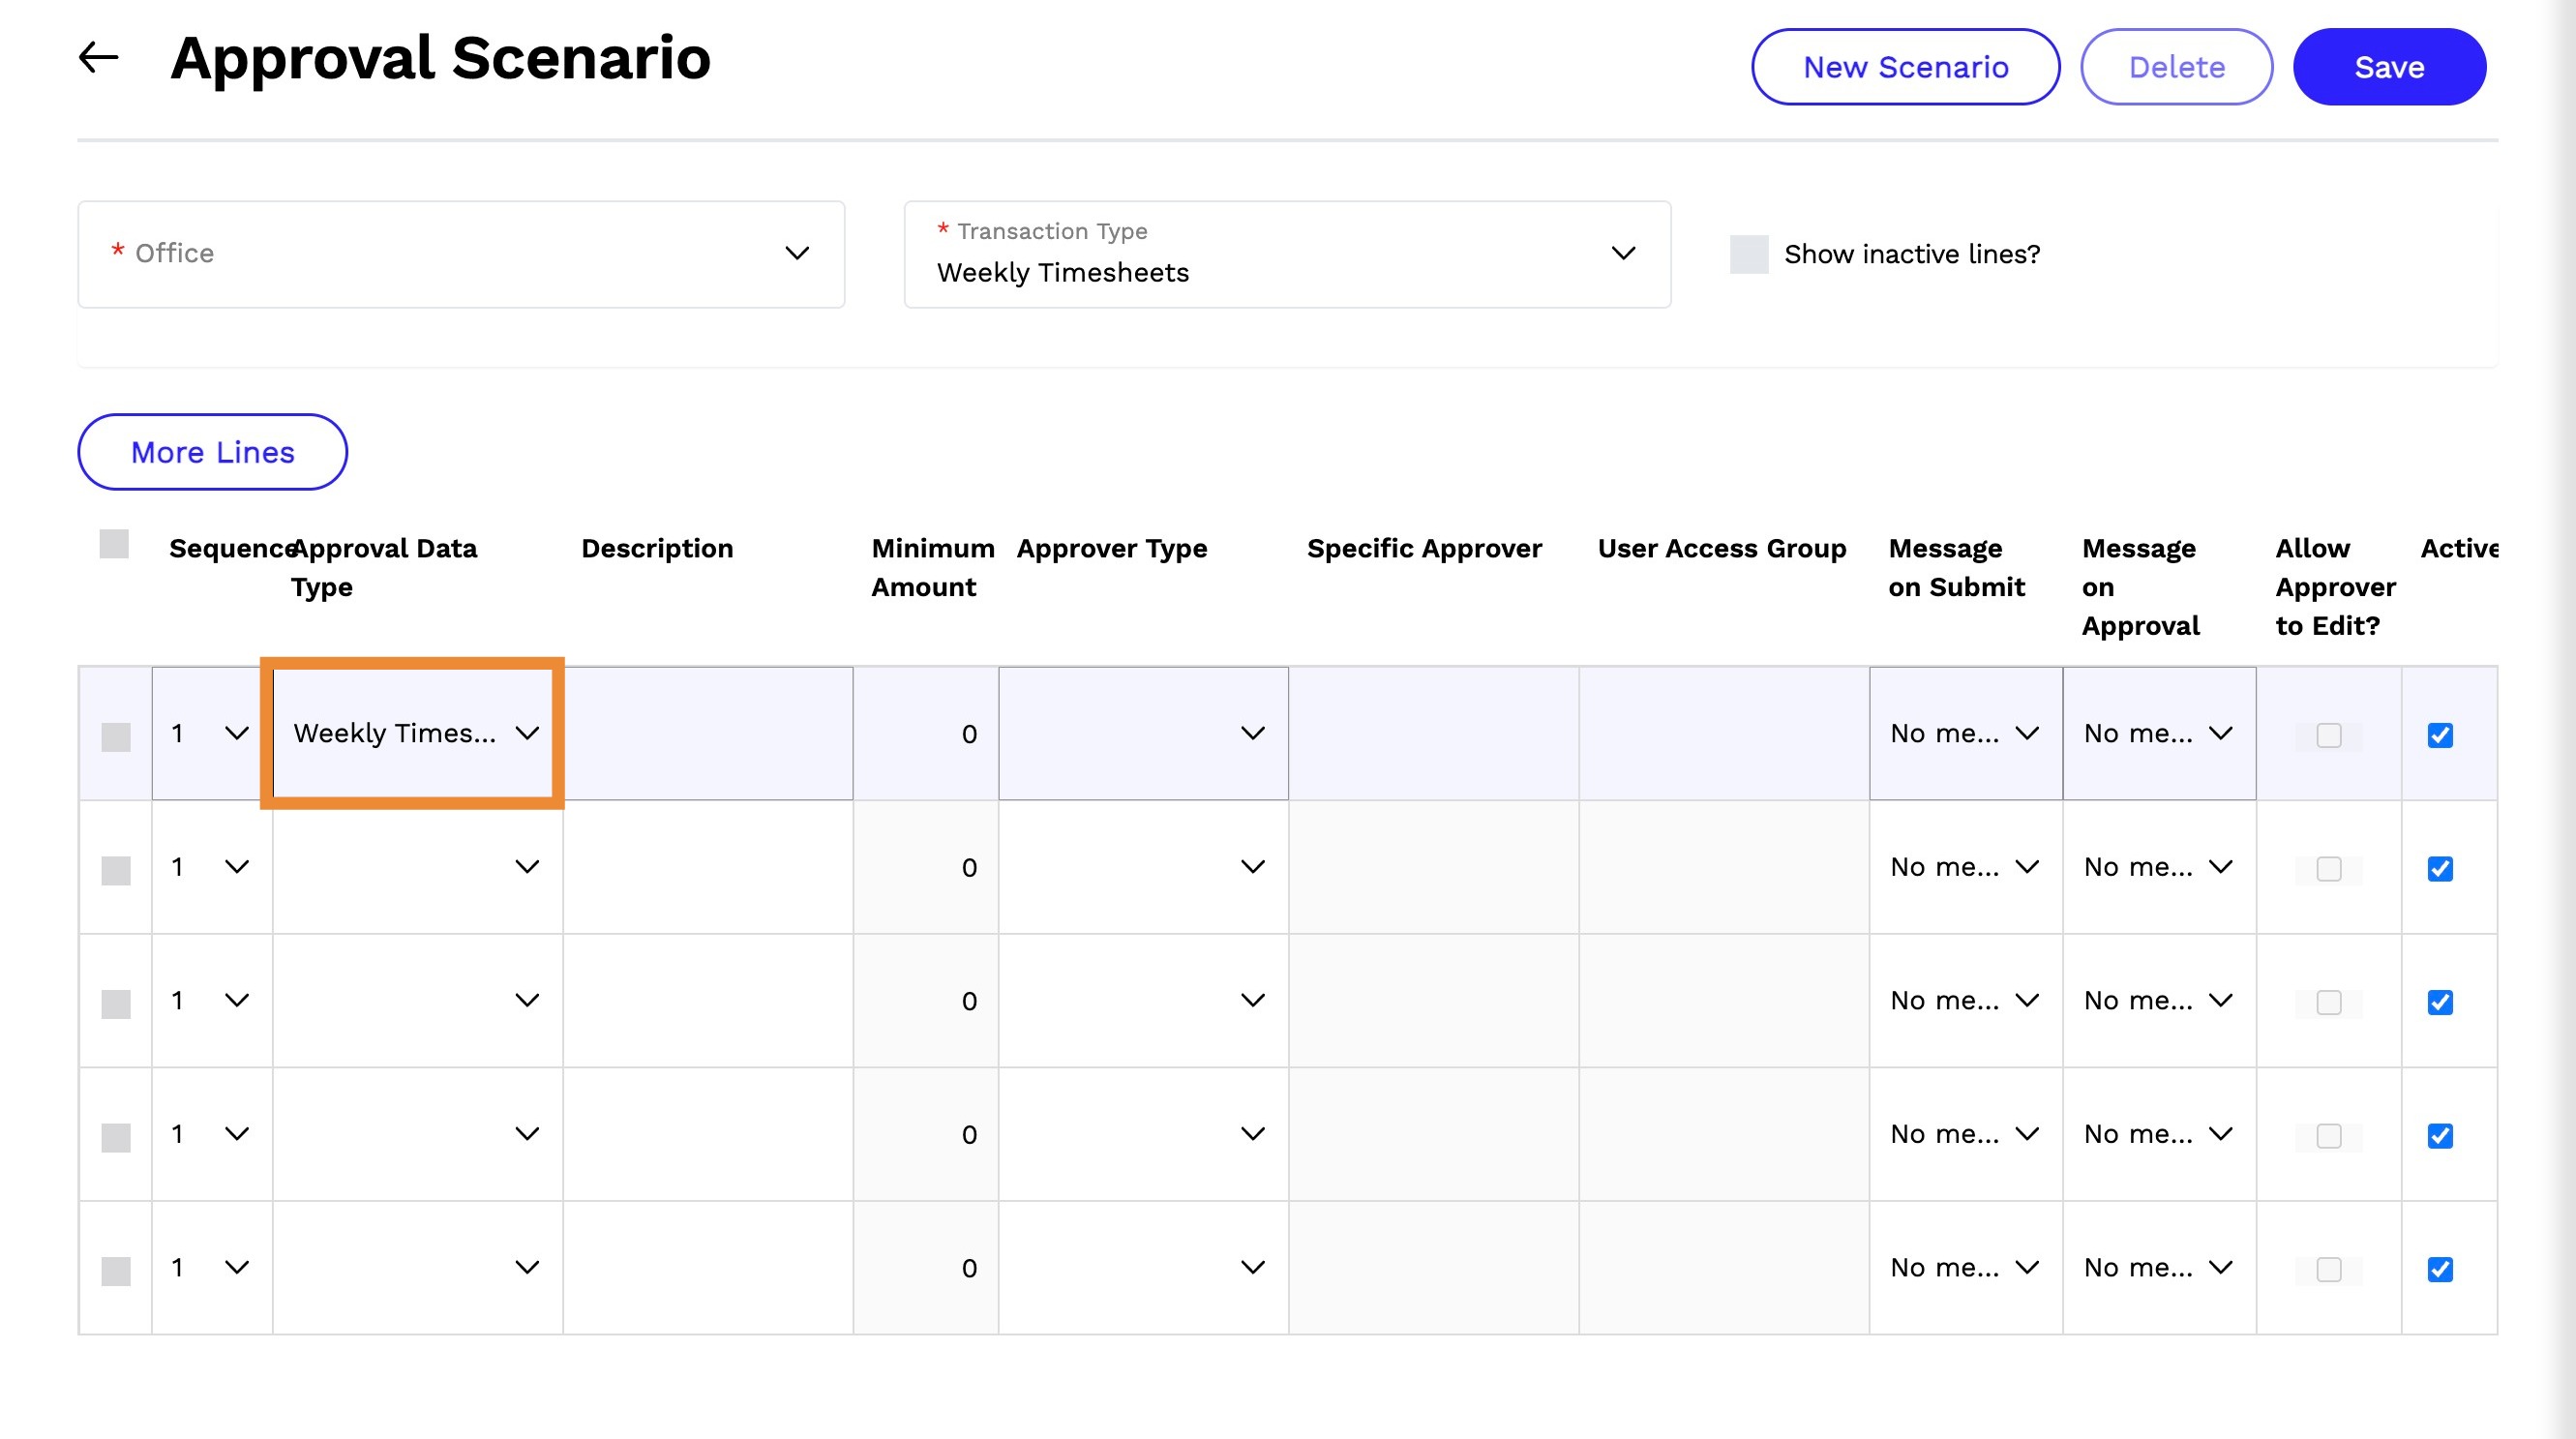
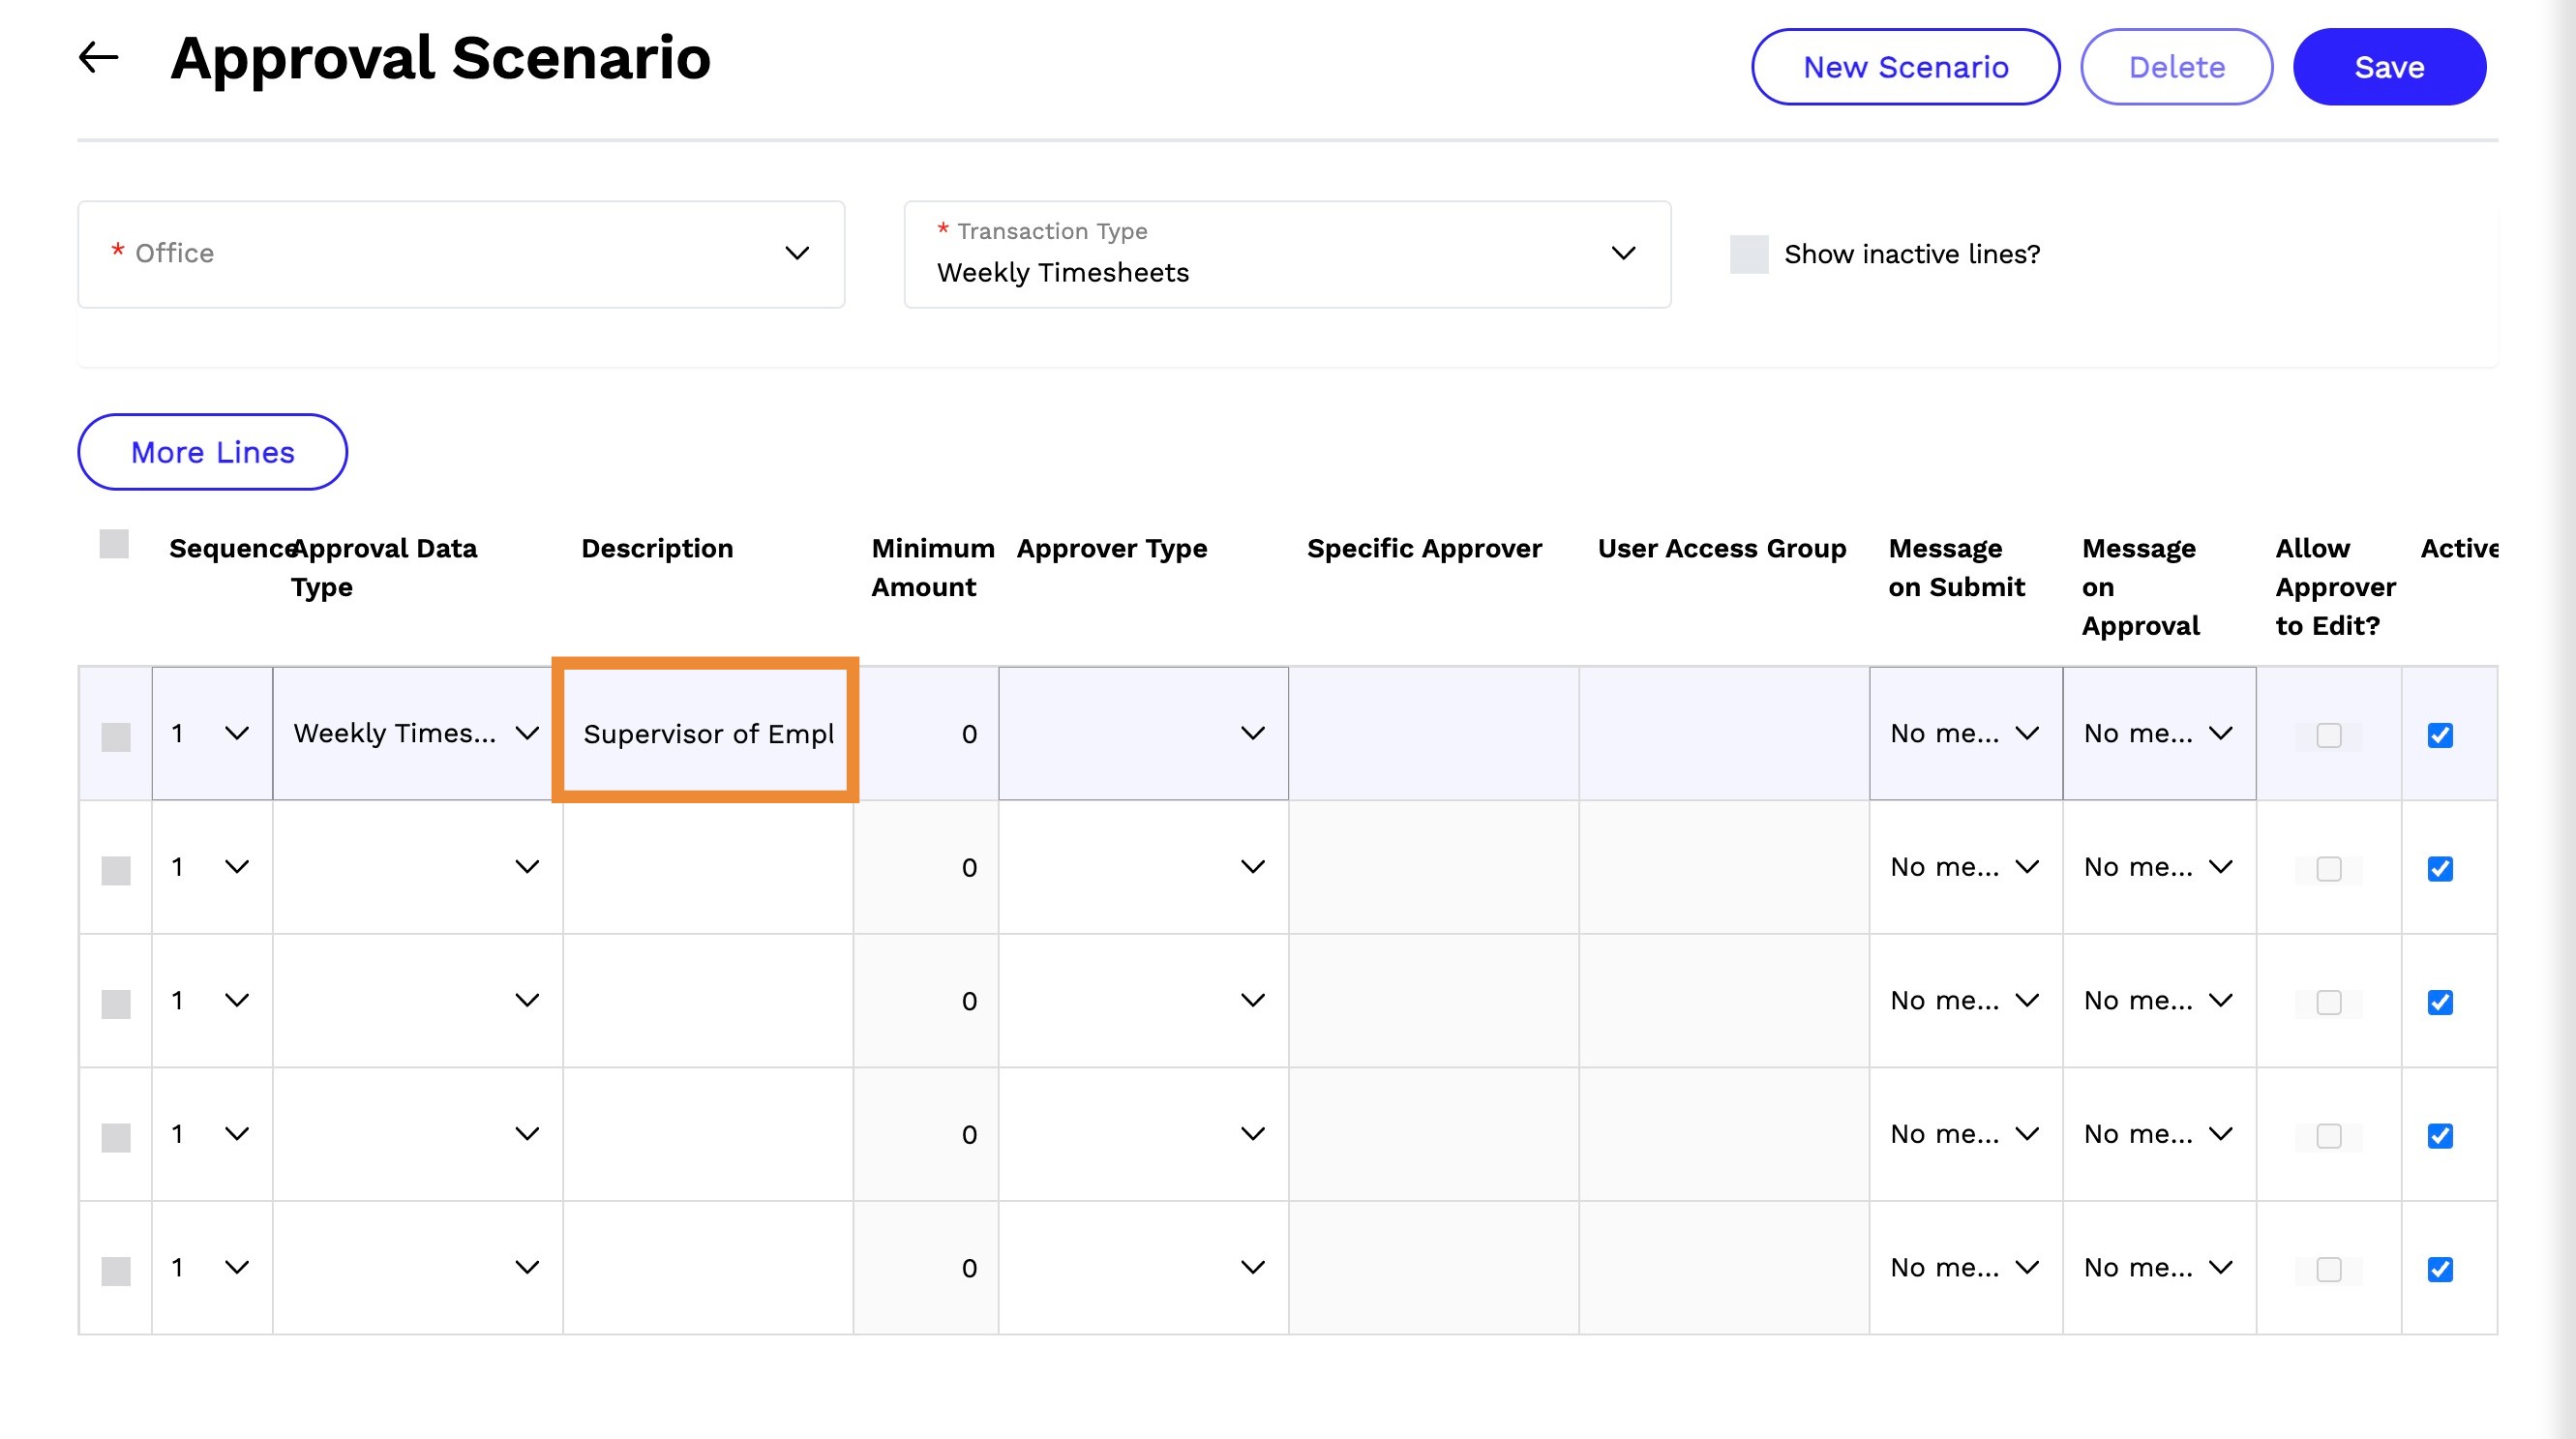
9. Description - Enter a description (the description entered can be the same as the approver type).
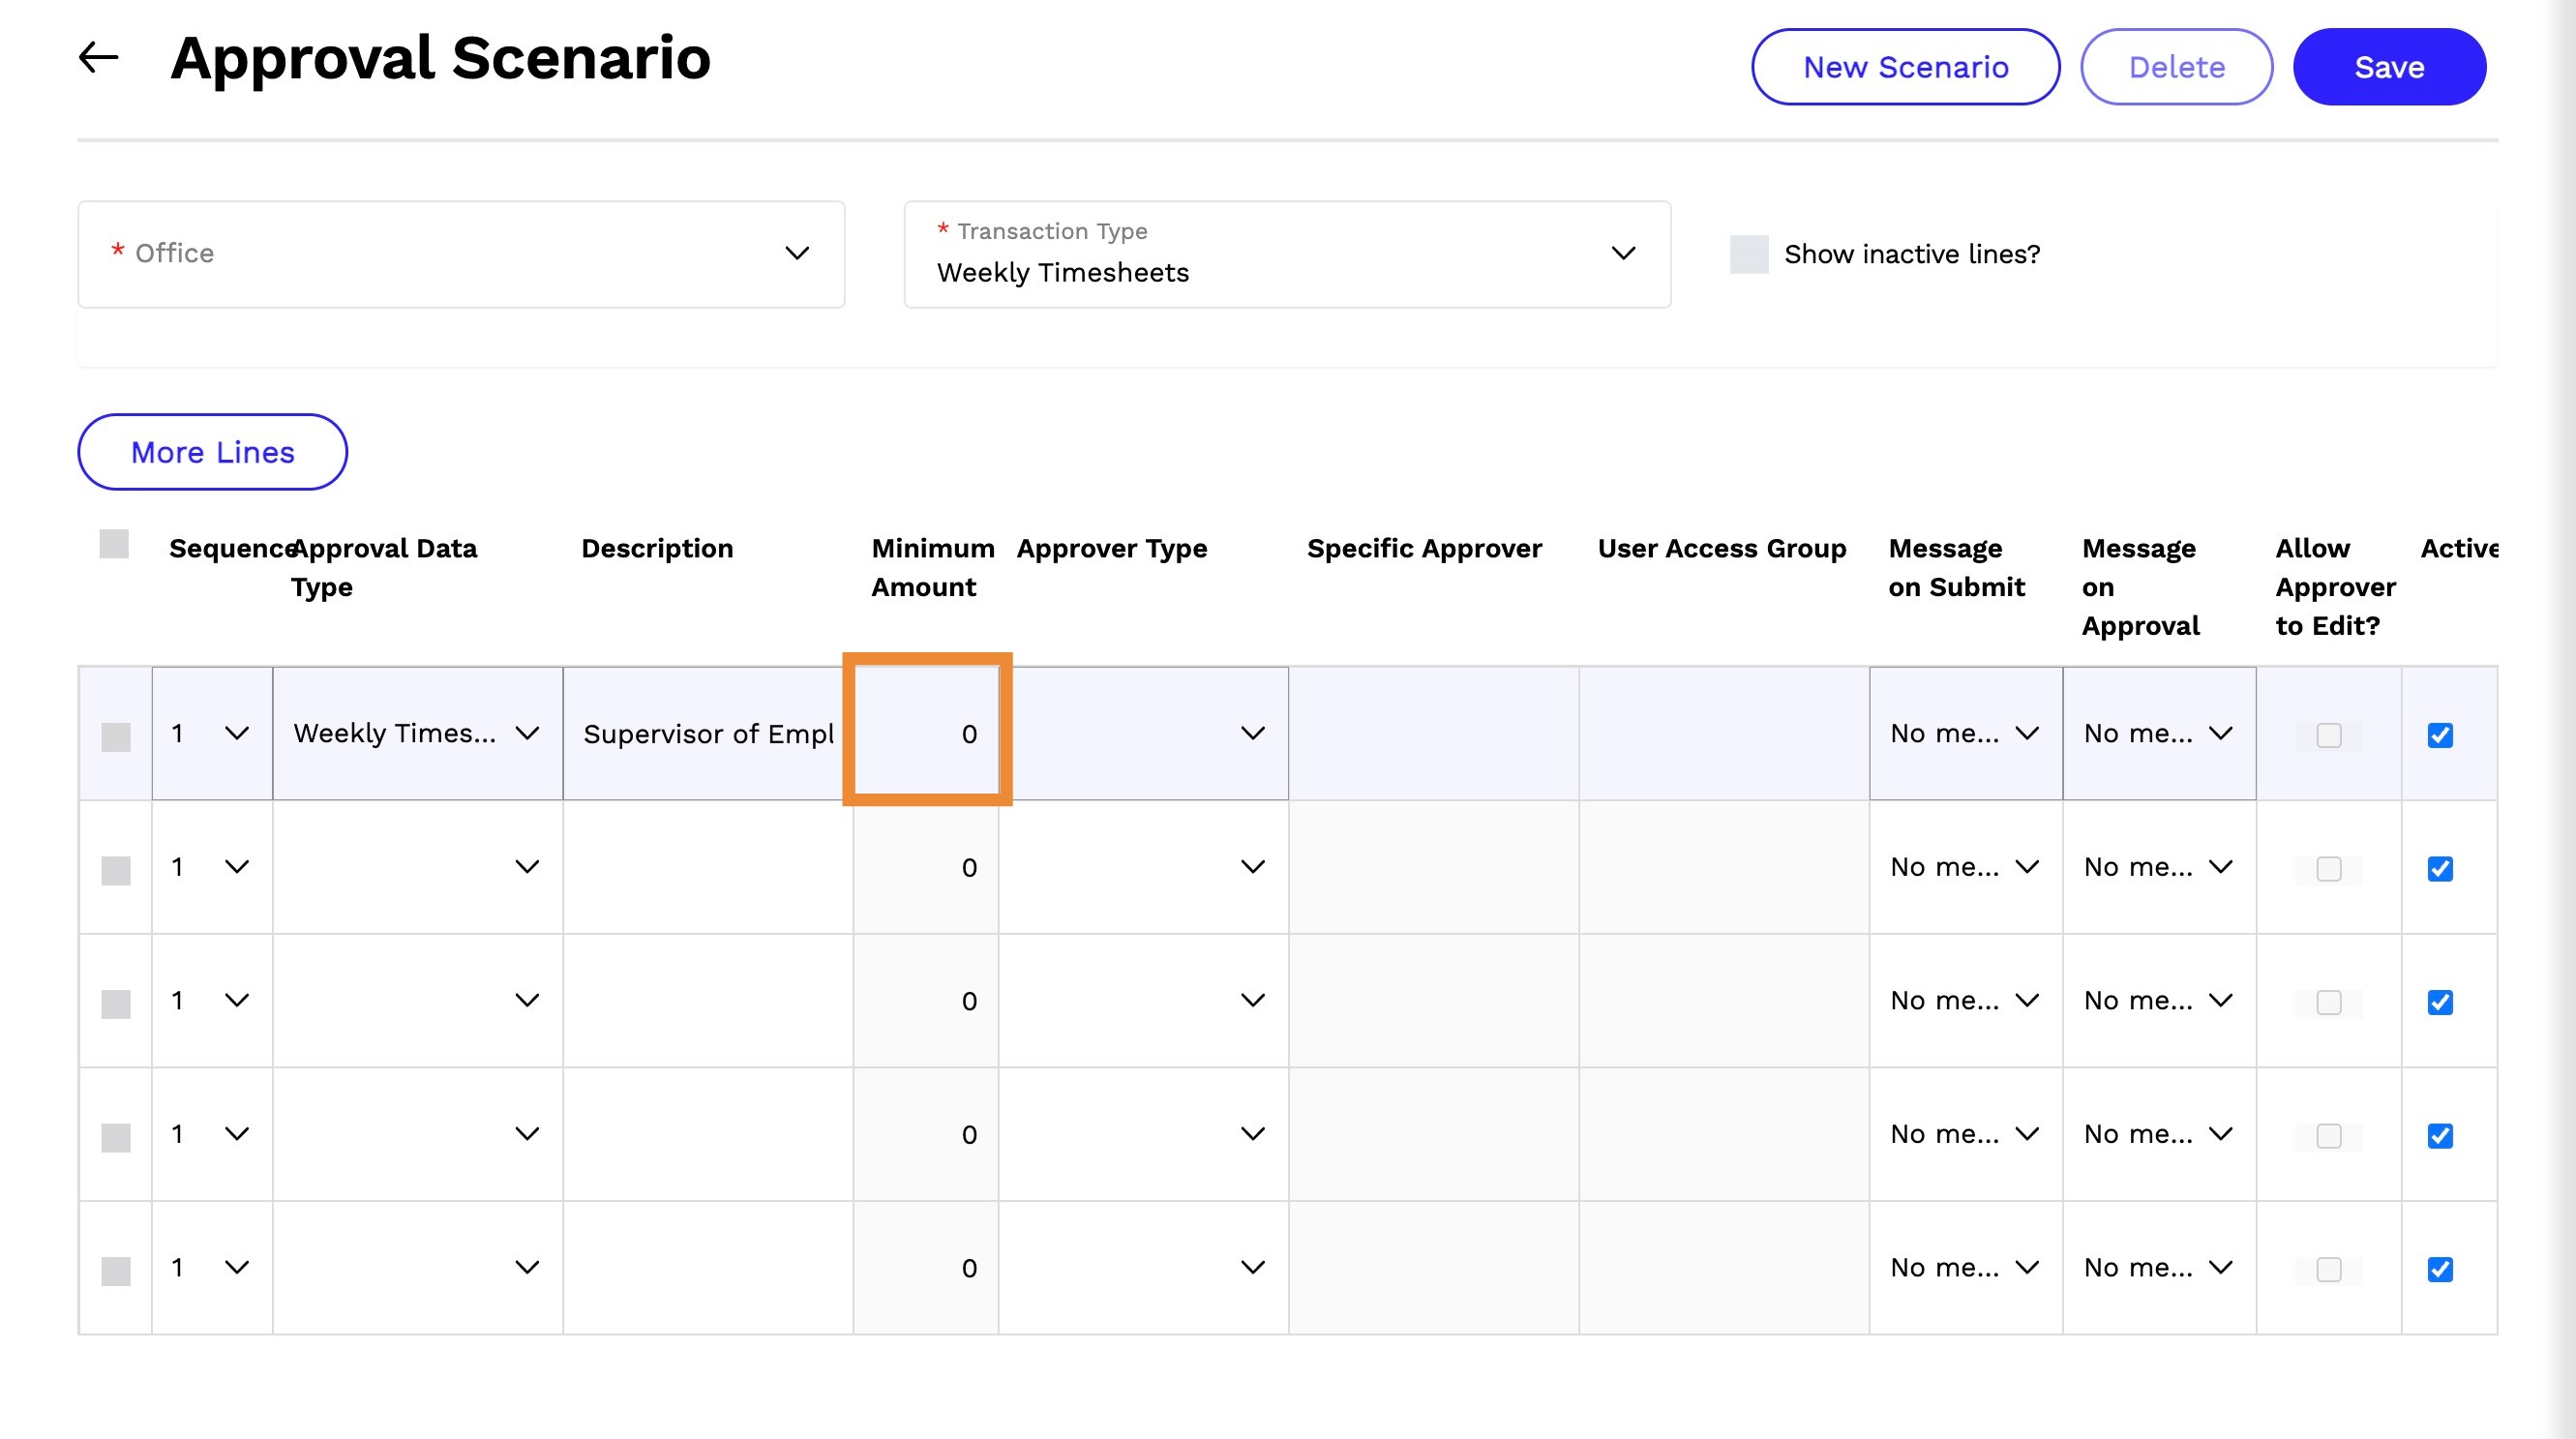
10. Minimum Amount - Enter the minimum amount (if applicable).
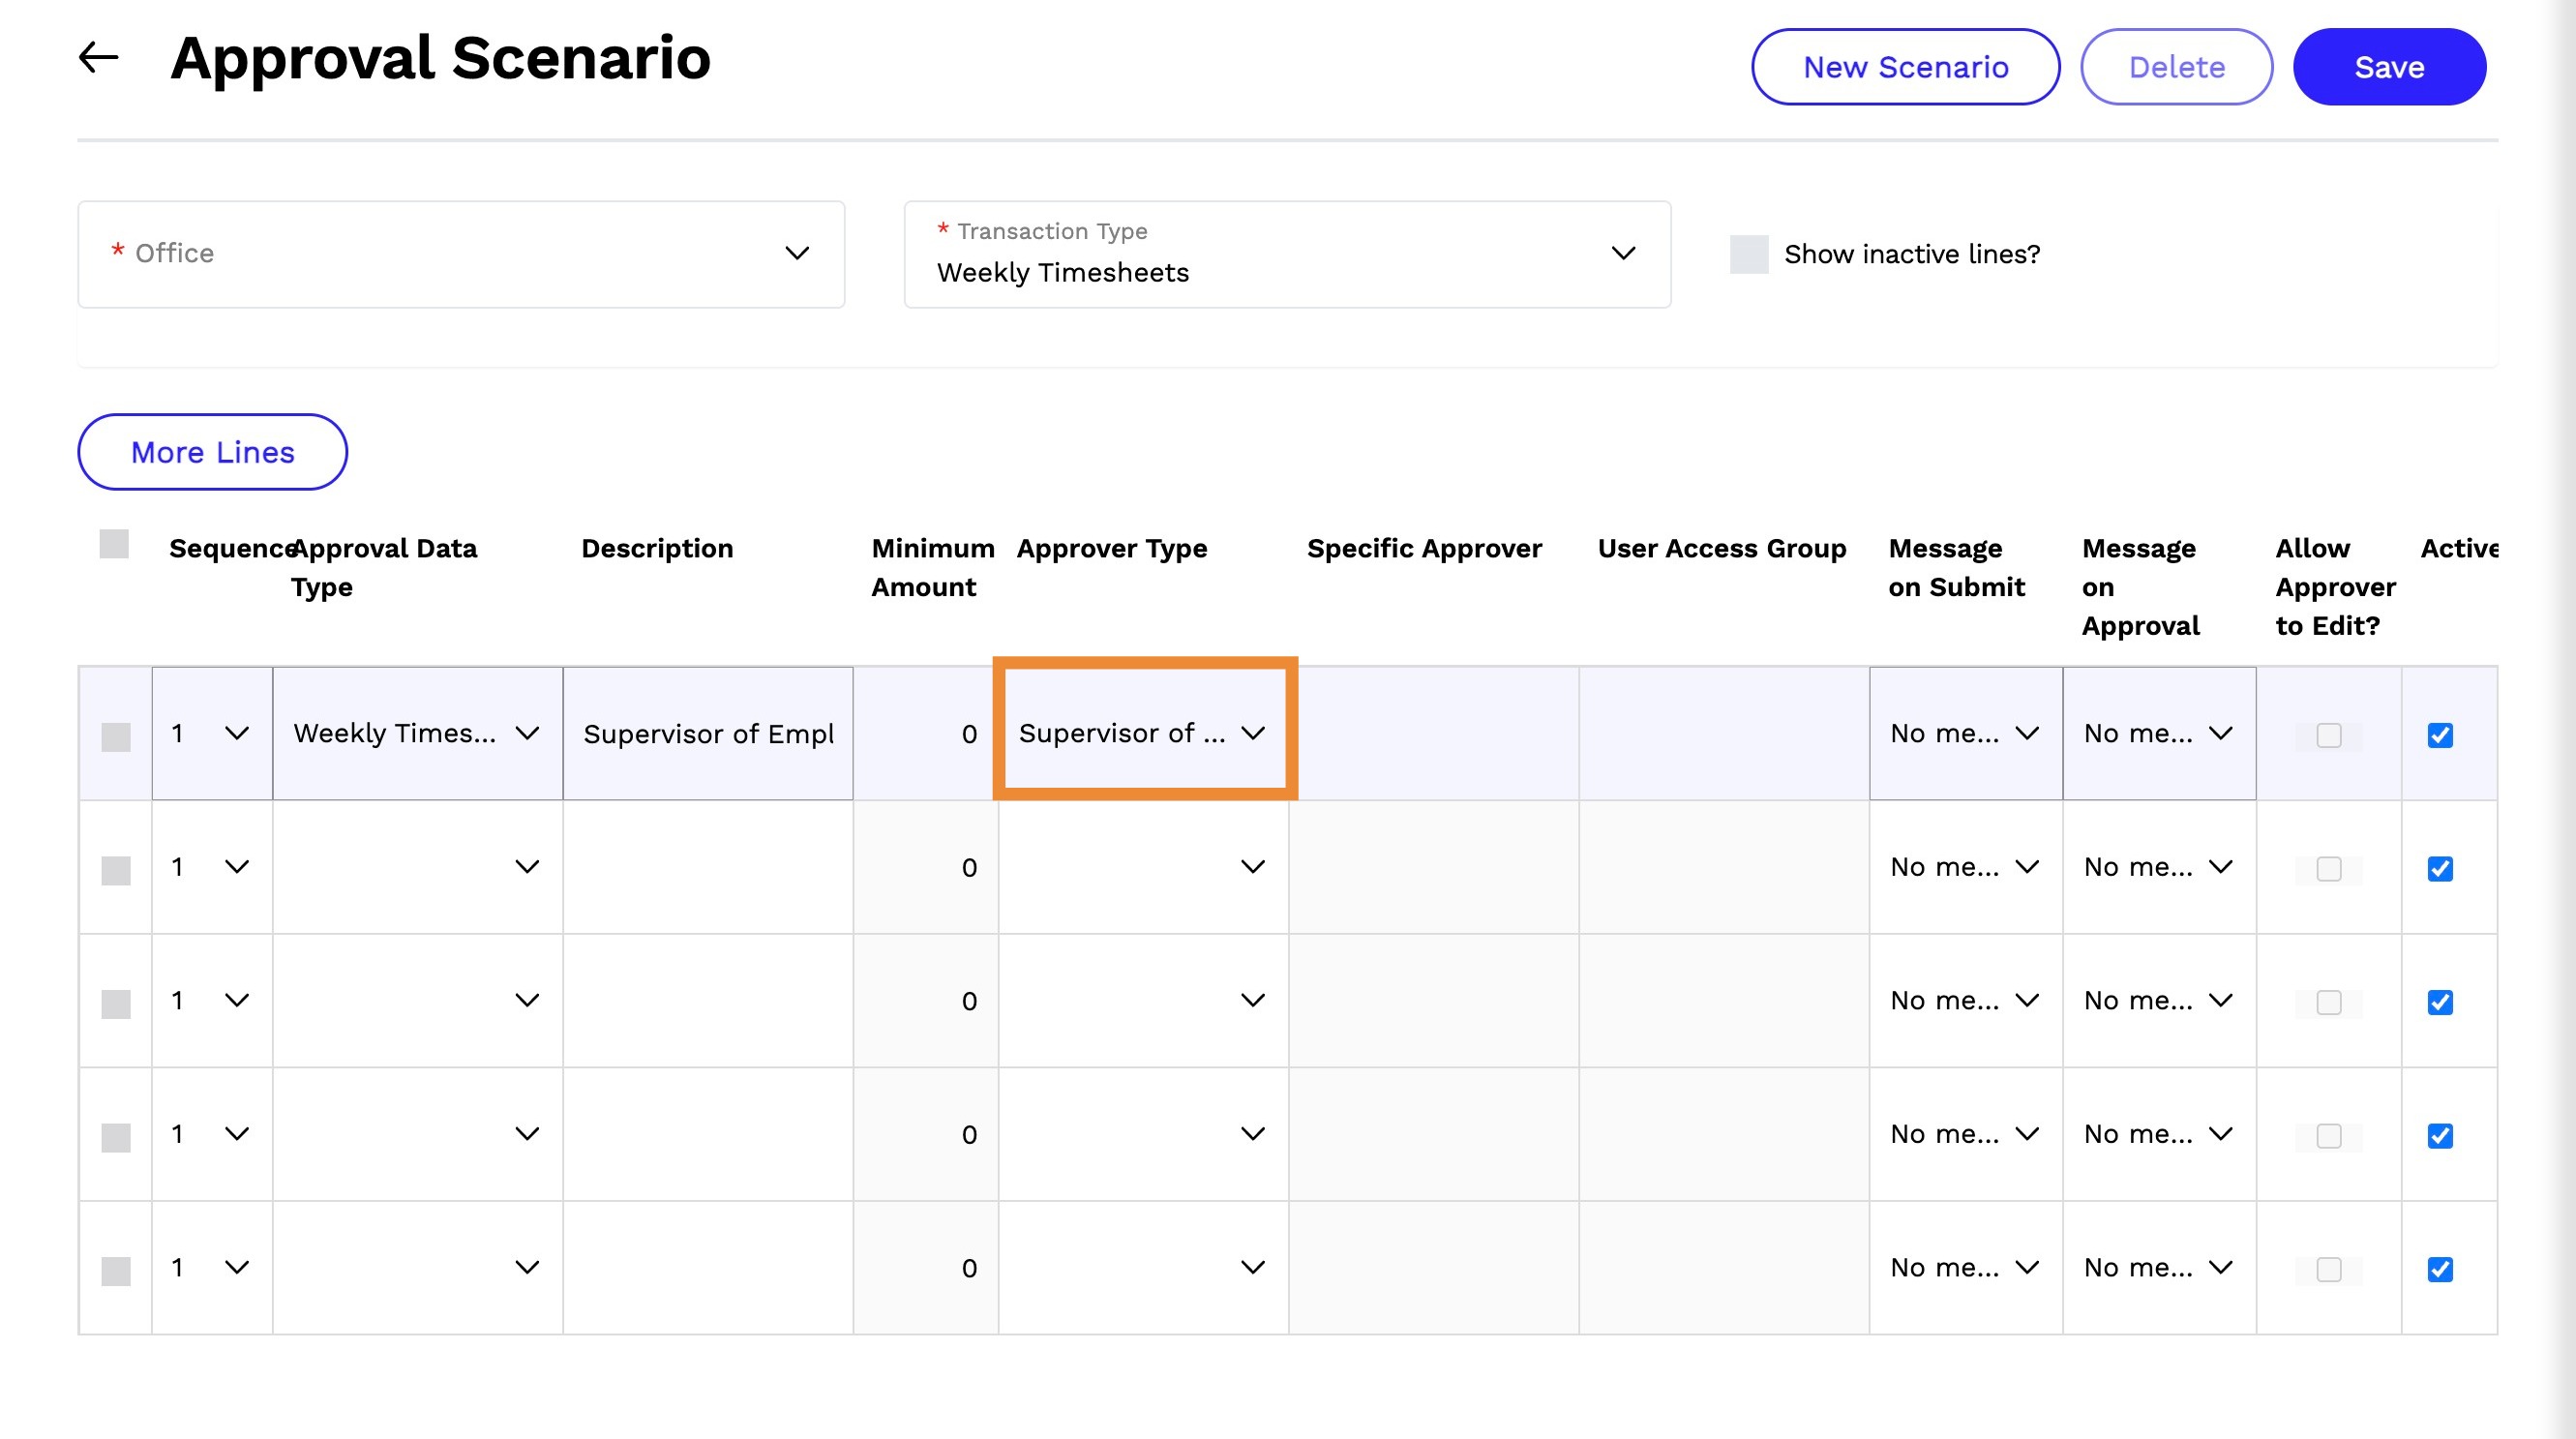
11. Approval Type - Select an approver type
- Specific Approver
- Supervisor of Employee
- Department Head of Employee
- User Access Group
12. Specific Approver - Enter the name of a specific approver (if applicable)
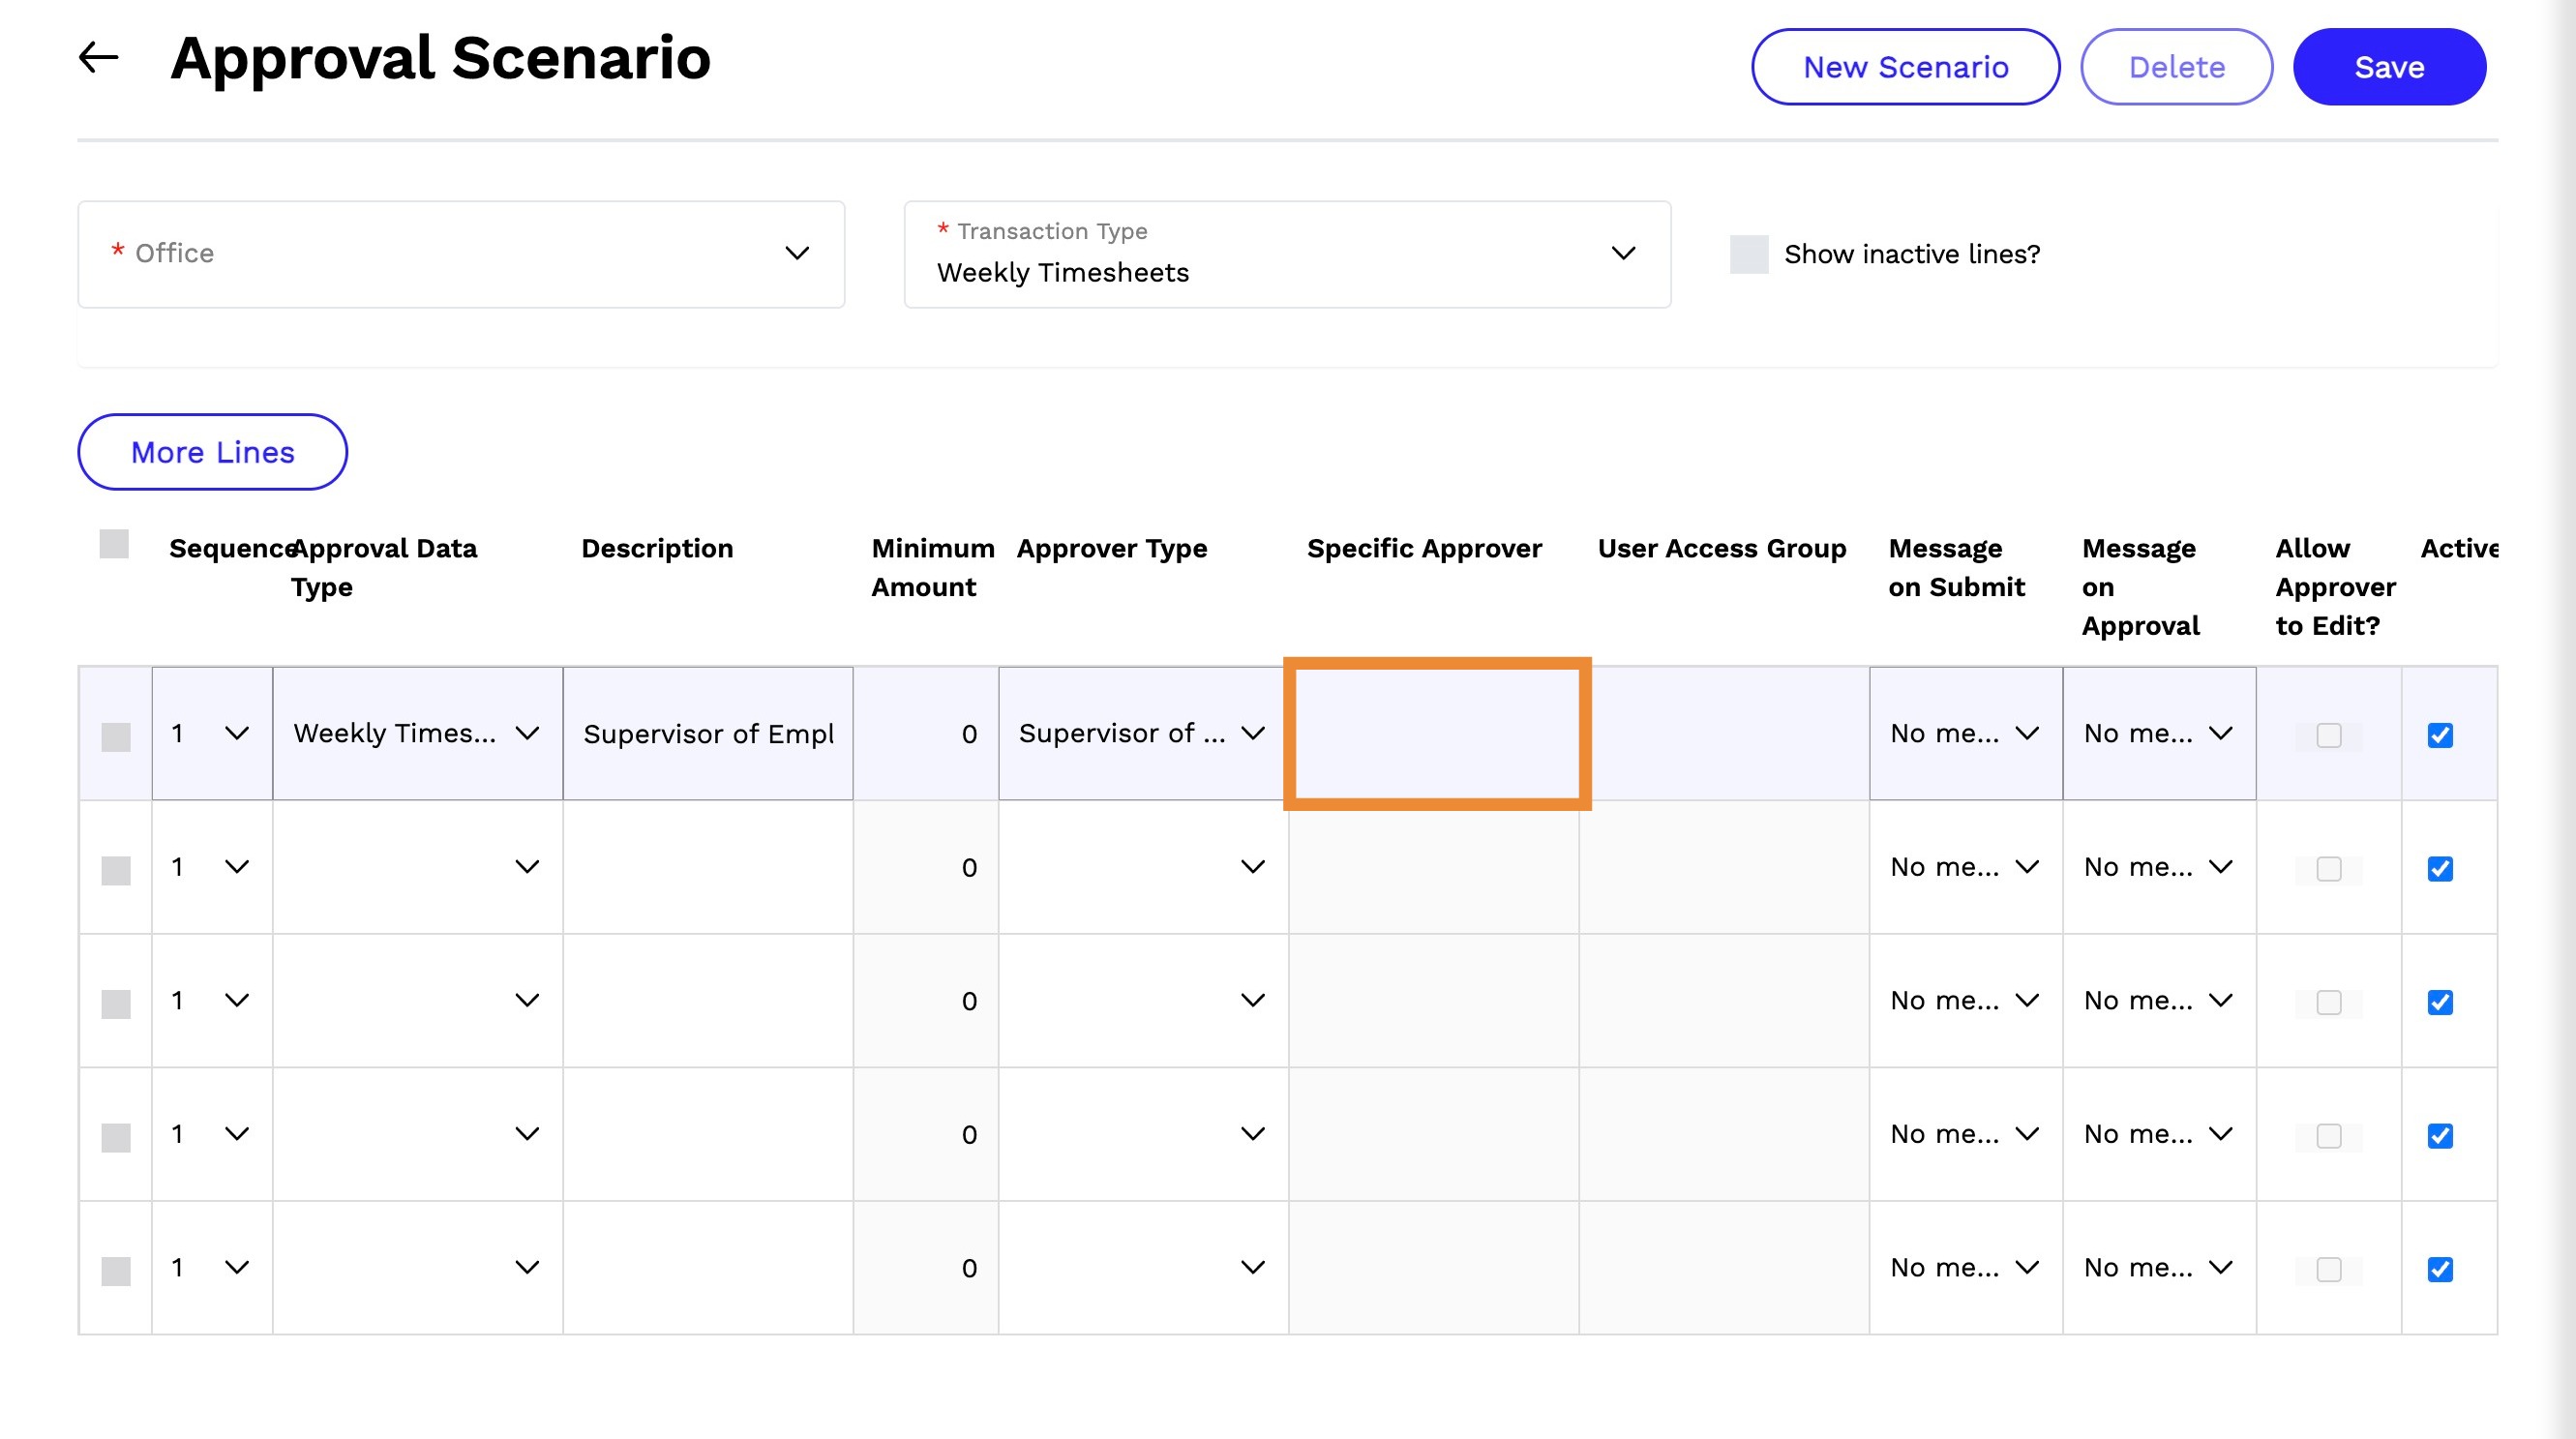
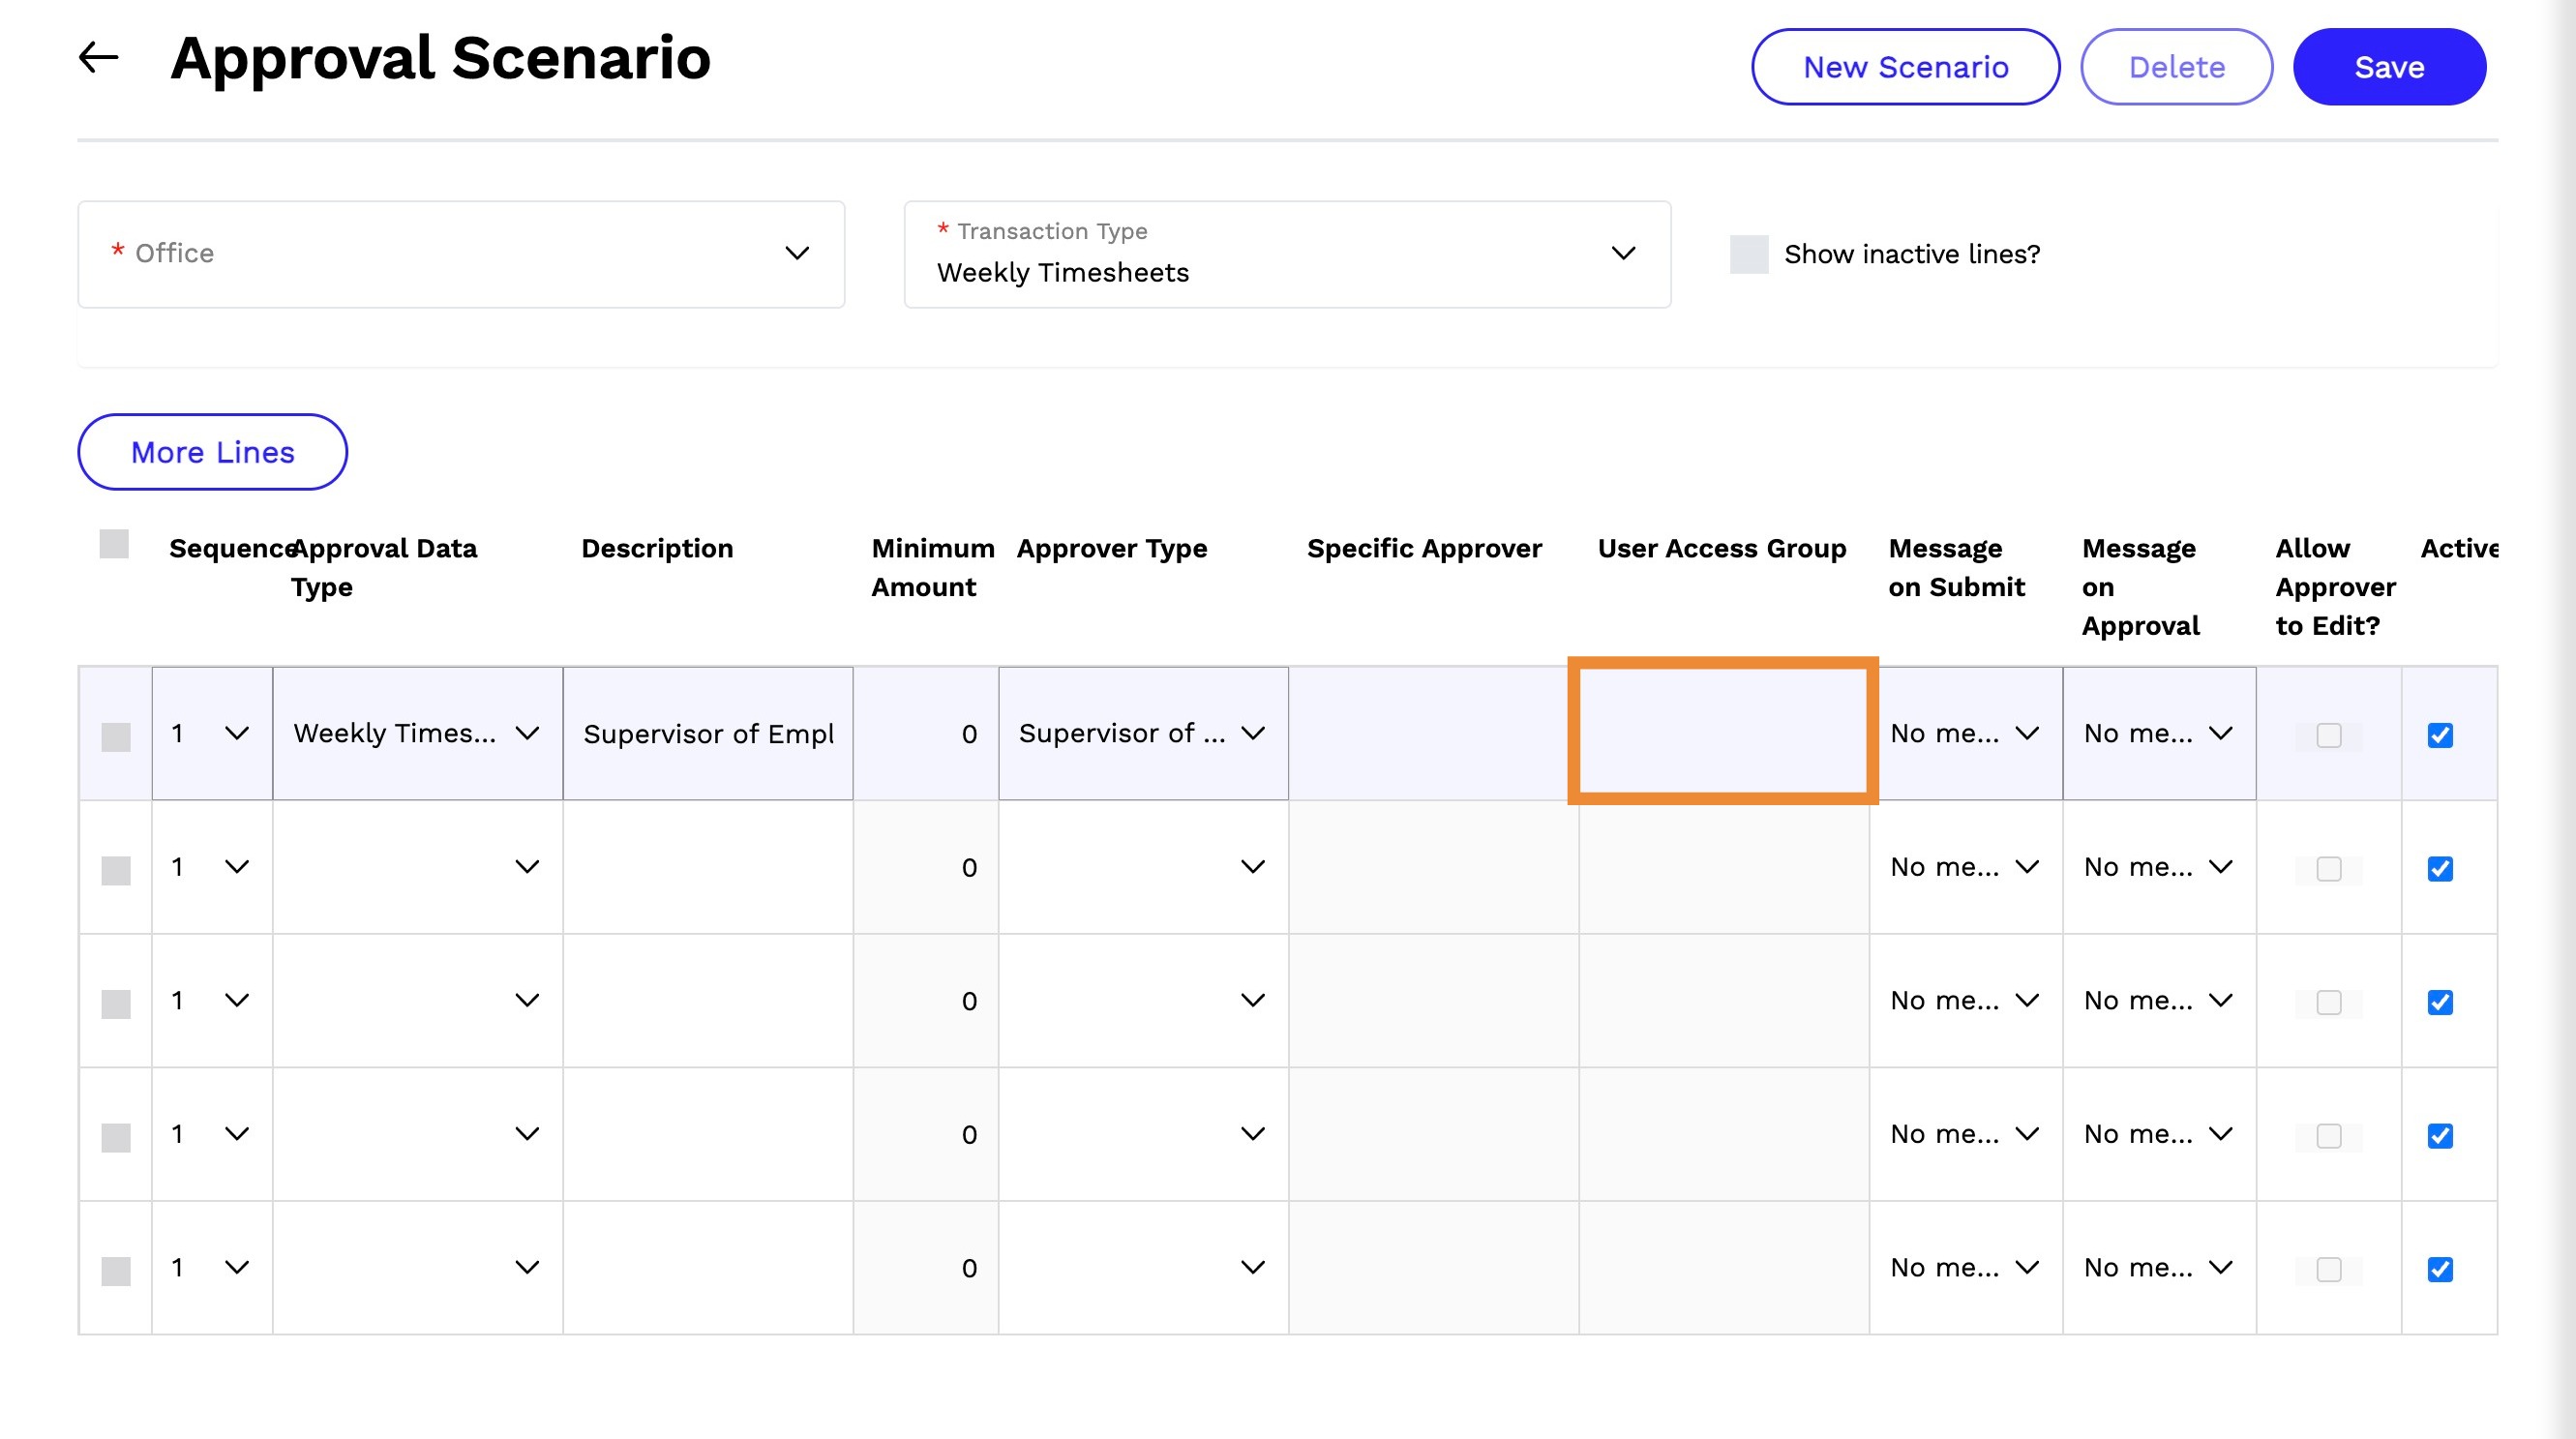
13. User Access Group - Select a specific group to approve the purchase order (If applicable).
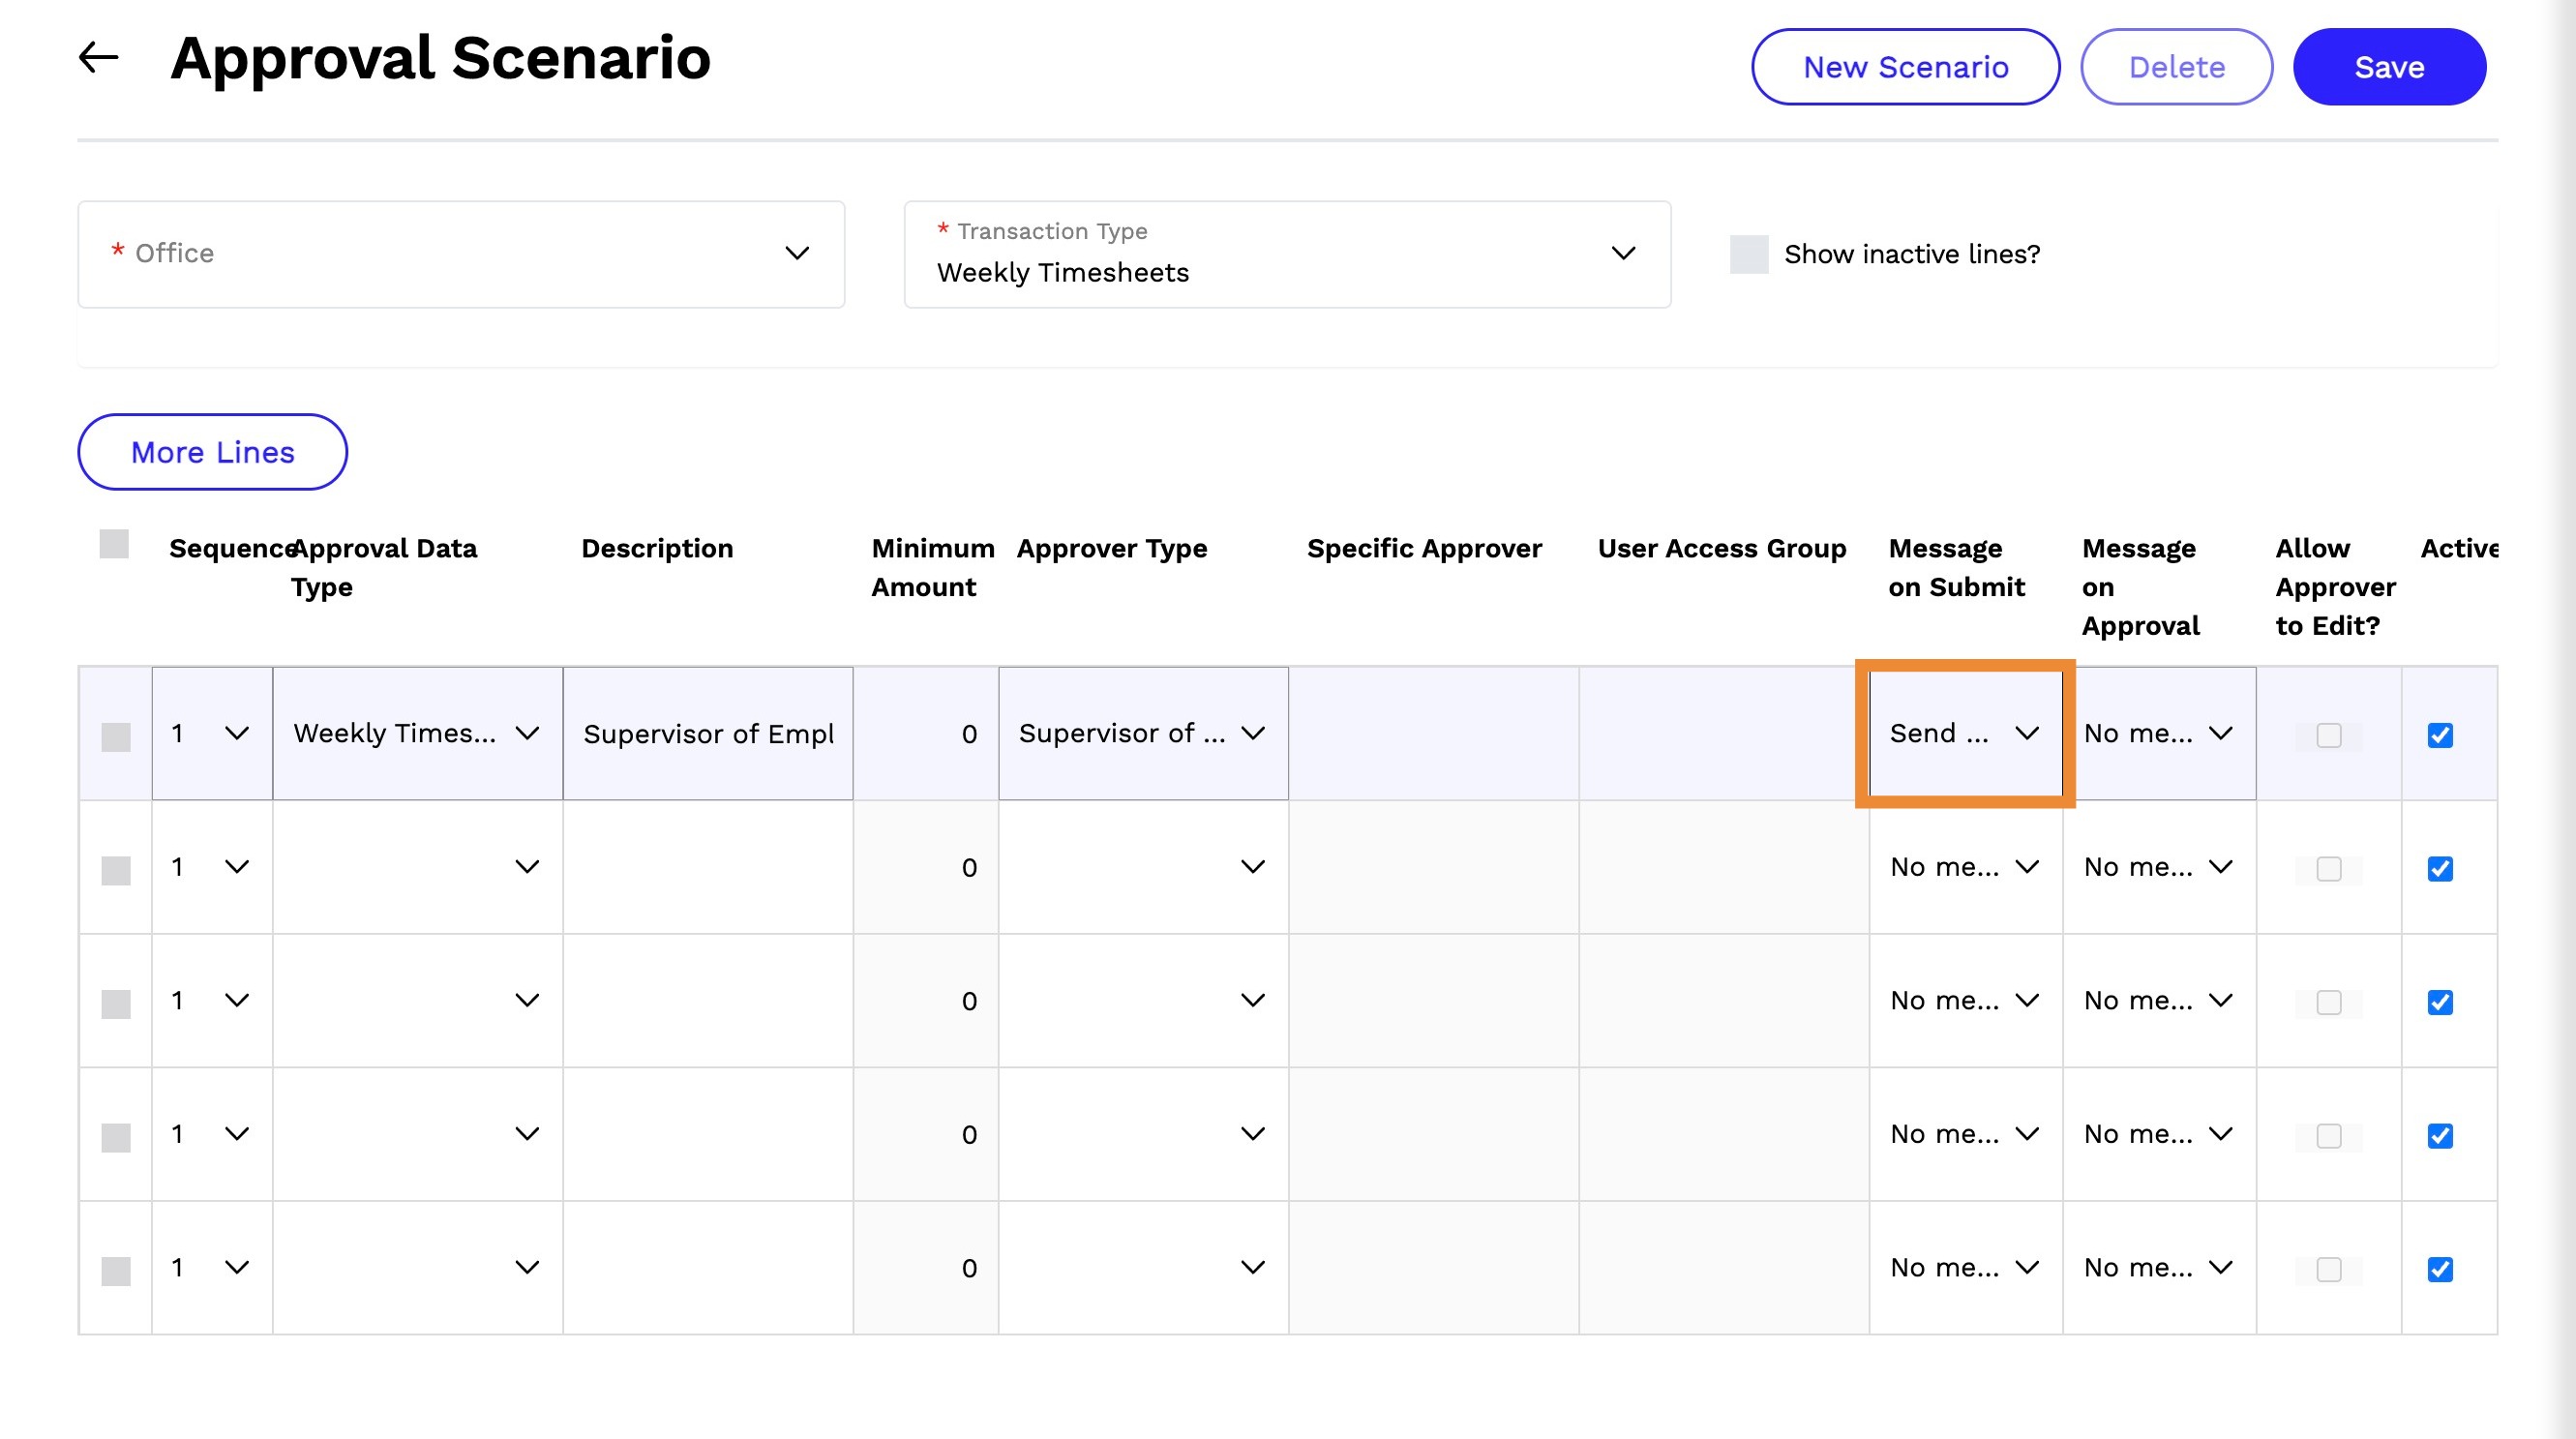
14. Message on Submit - Click on the arrow and select from one of the following options to receive notifications on submitted transactions.
- No message or email
- Send message only
- Send message and email
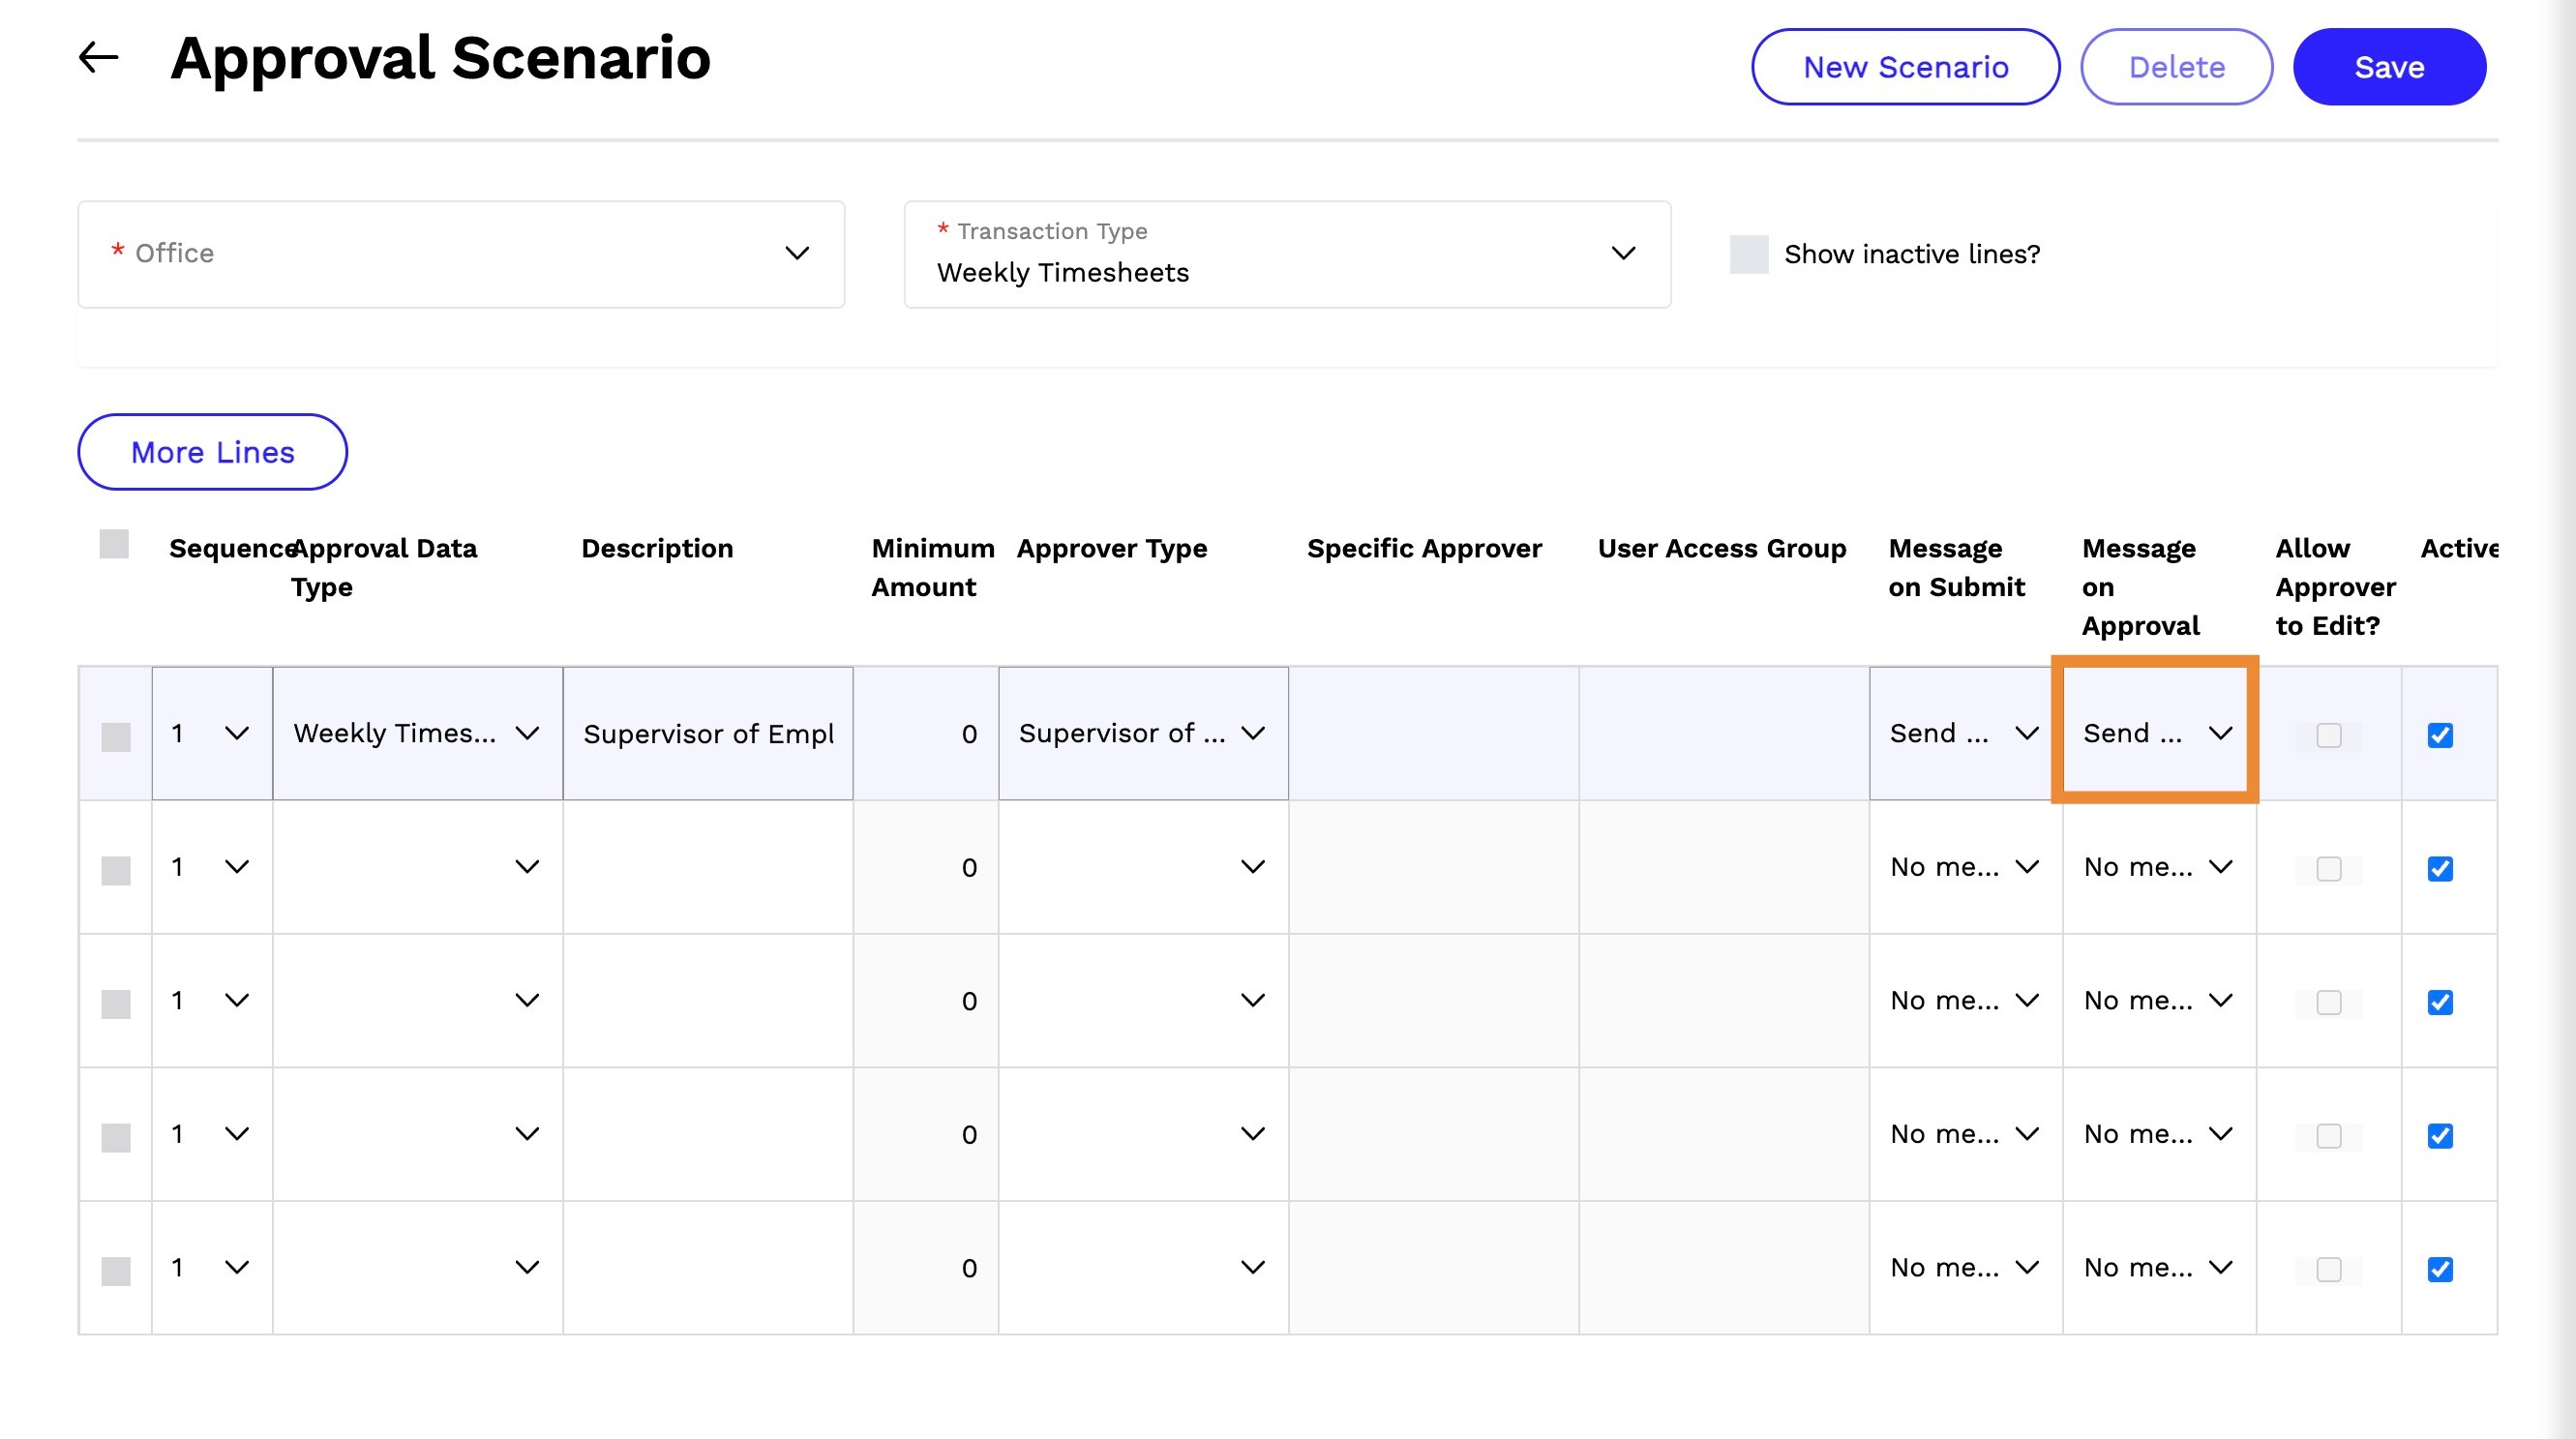
15. Message on Approval - Click on the arrow and select from one of the following options to receive notifications on approved transactions.
- No message or email
- Send messages only
- Send message and email
16. Active - Check the box to keep the line item active
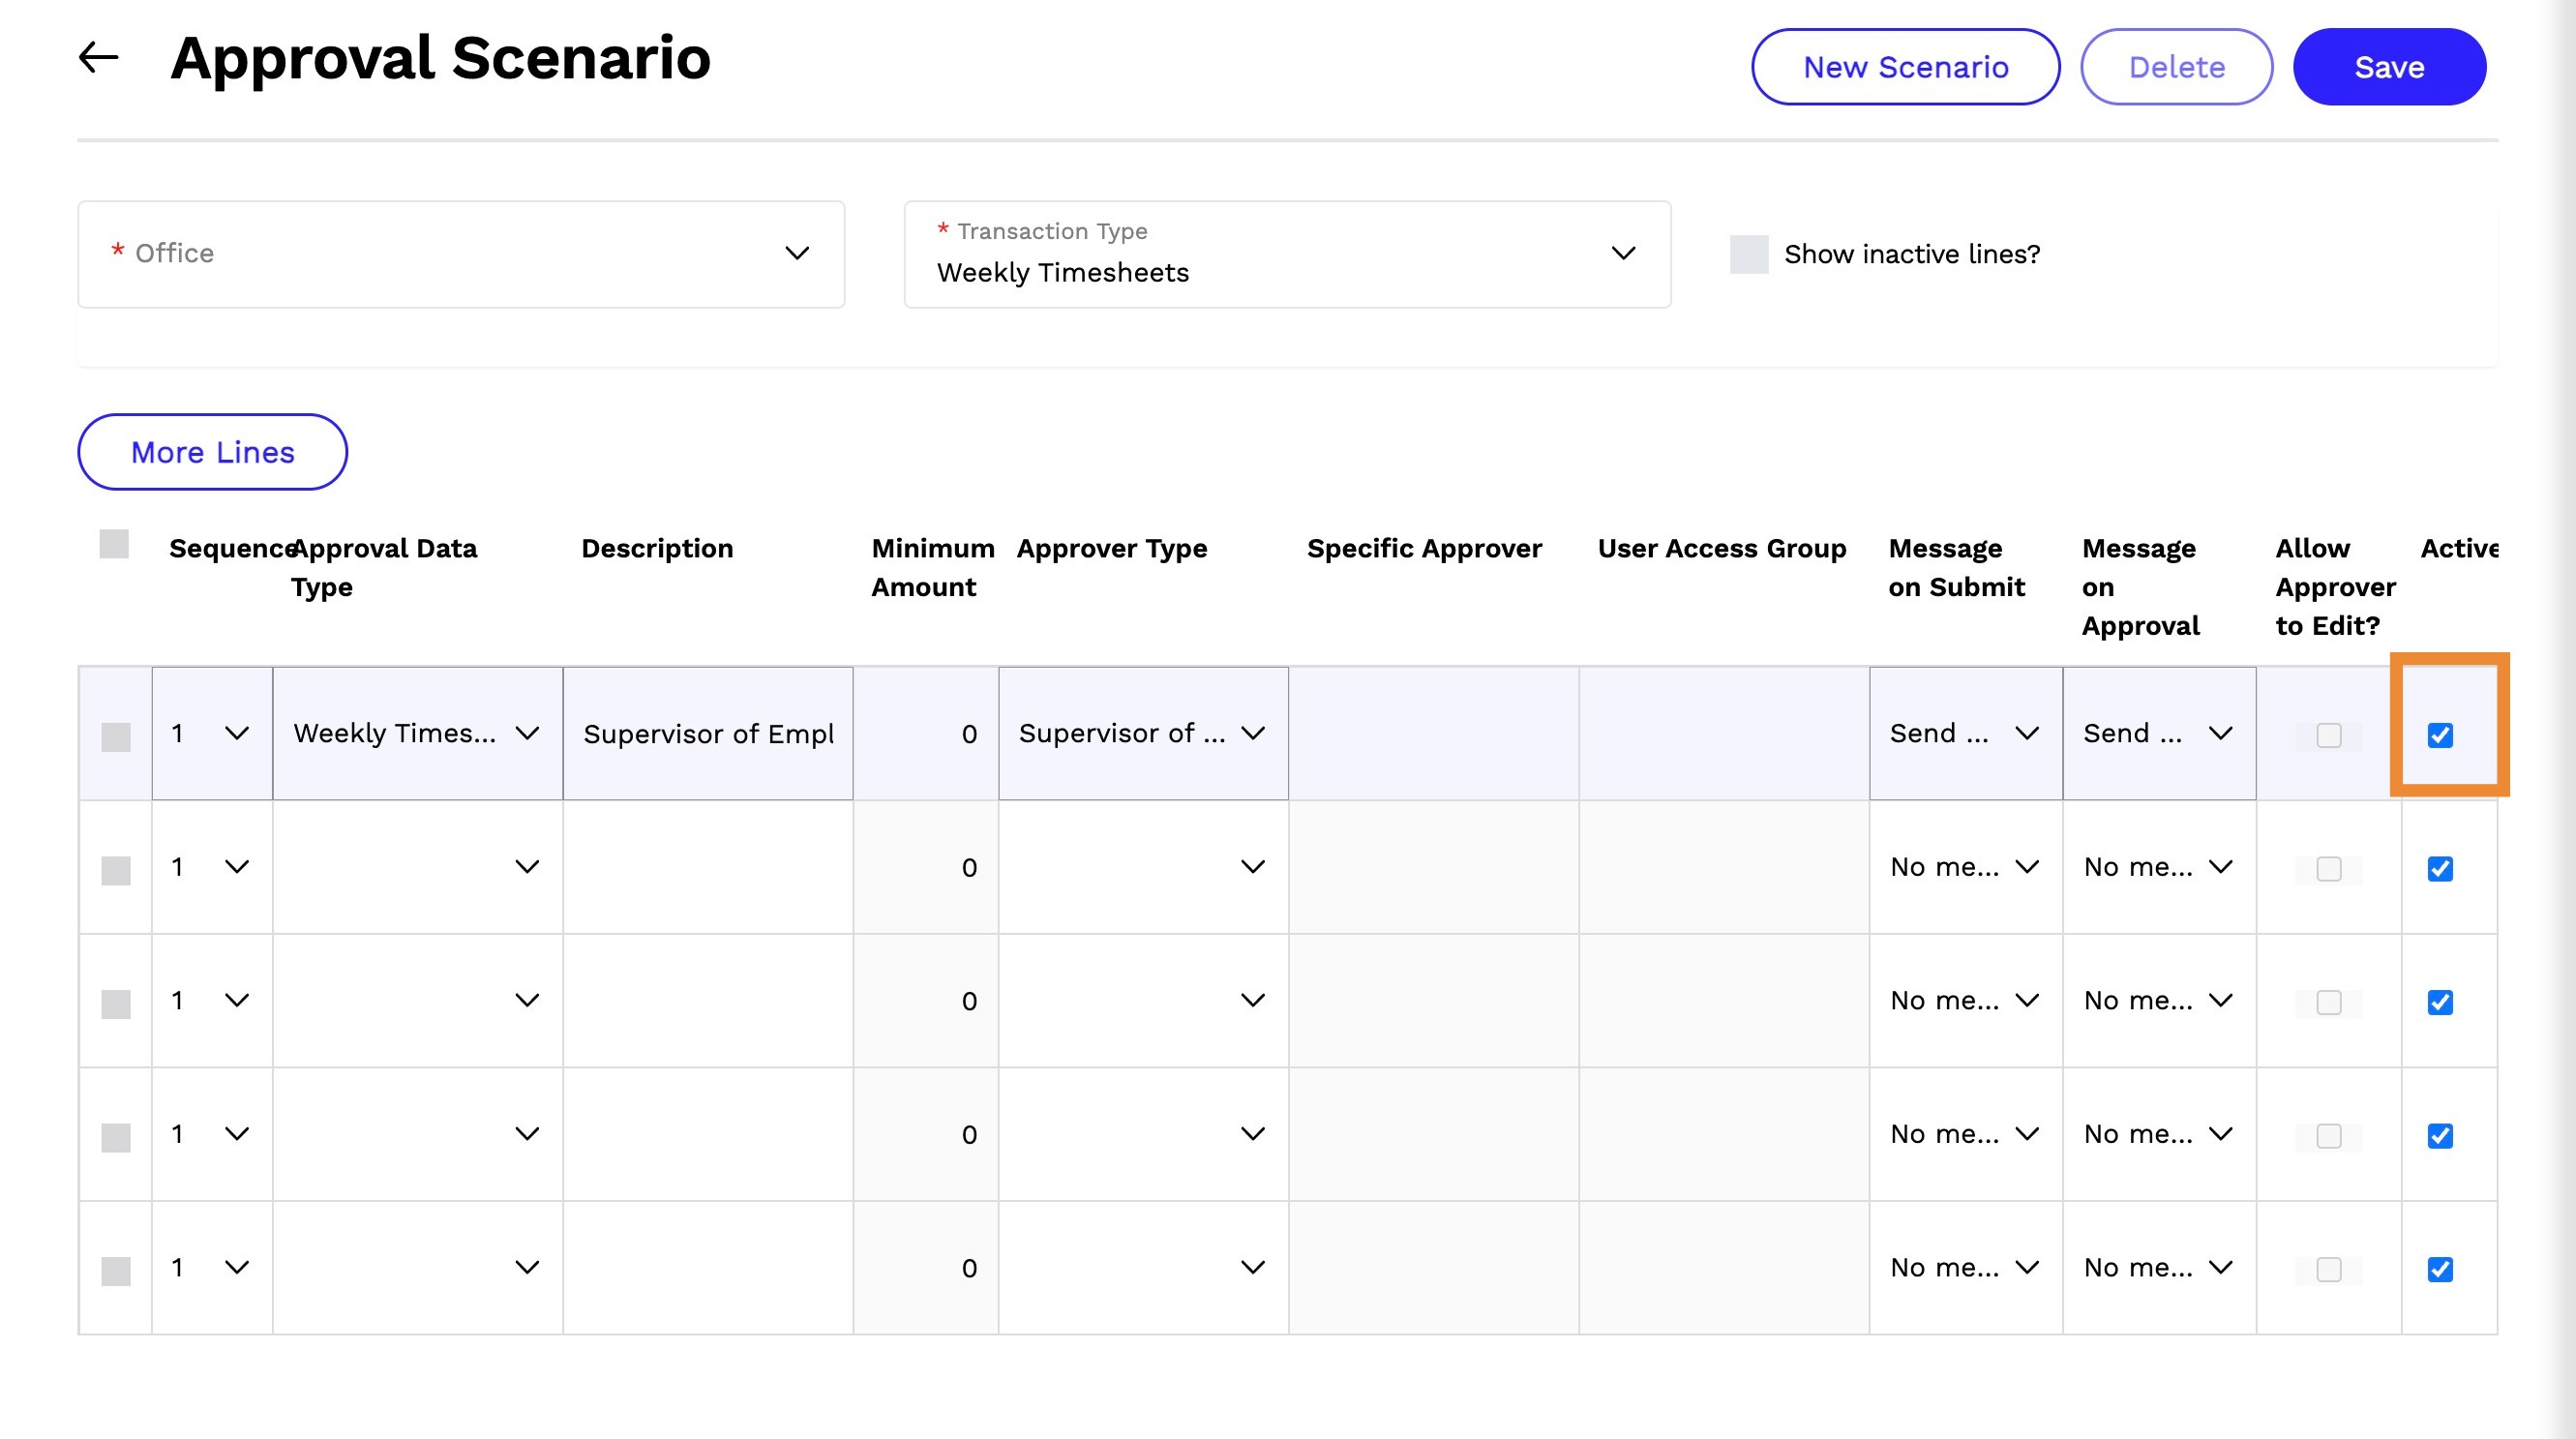
17. Click Save
Approval sequence can be created for each approval data type. Once Approval Scenarios are created, it is important to note that switching back to the old workflow is not possible.