Tip: Why This Matters
- Track performance by office or department (e.g., New York vs. Digital Media).
- Apply correct tax codes and currencies for global operations.
- Improve accountability for client billing and internal budgets.
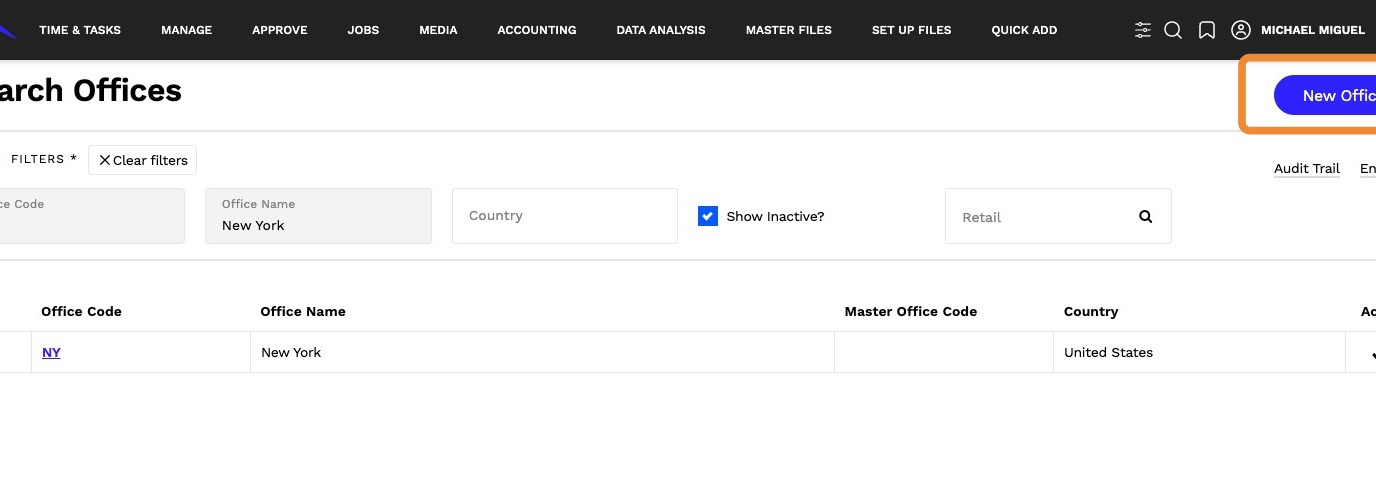
Step 1: Navigate to Offices
- Go to Setup Files → Offices.
- Tip: Use this section to manage all office-level financial settings.

Step 2: Create a New Office
- Click New Office.
- Tip: Create offices for major regions or departments to segment reporting.
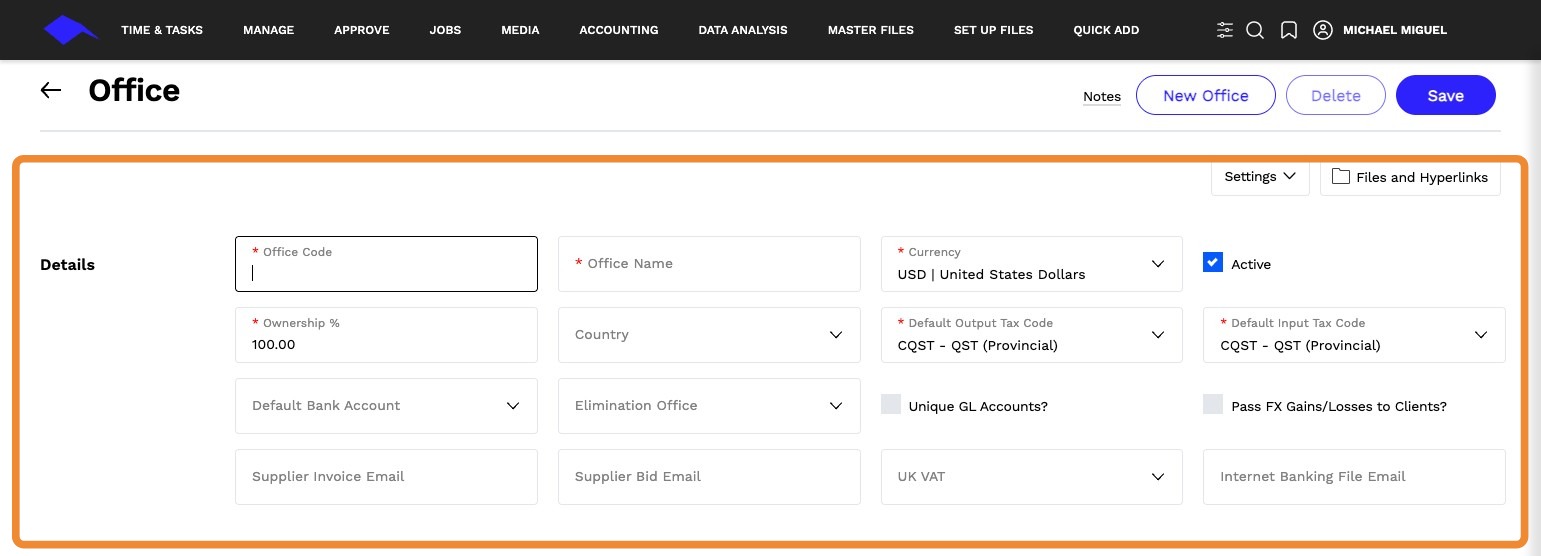
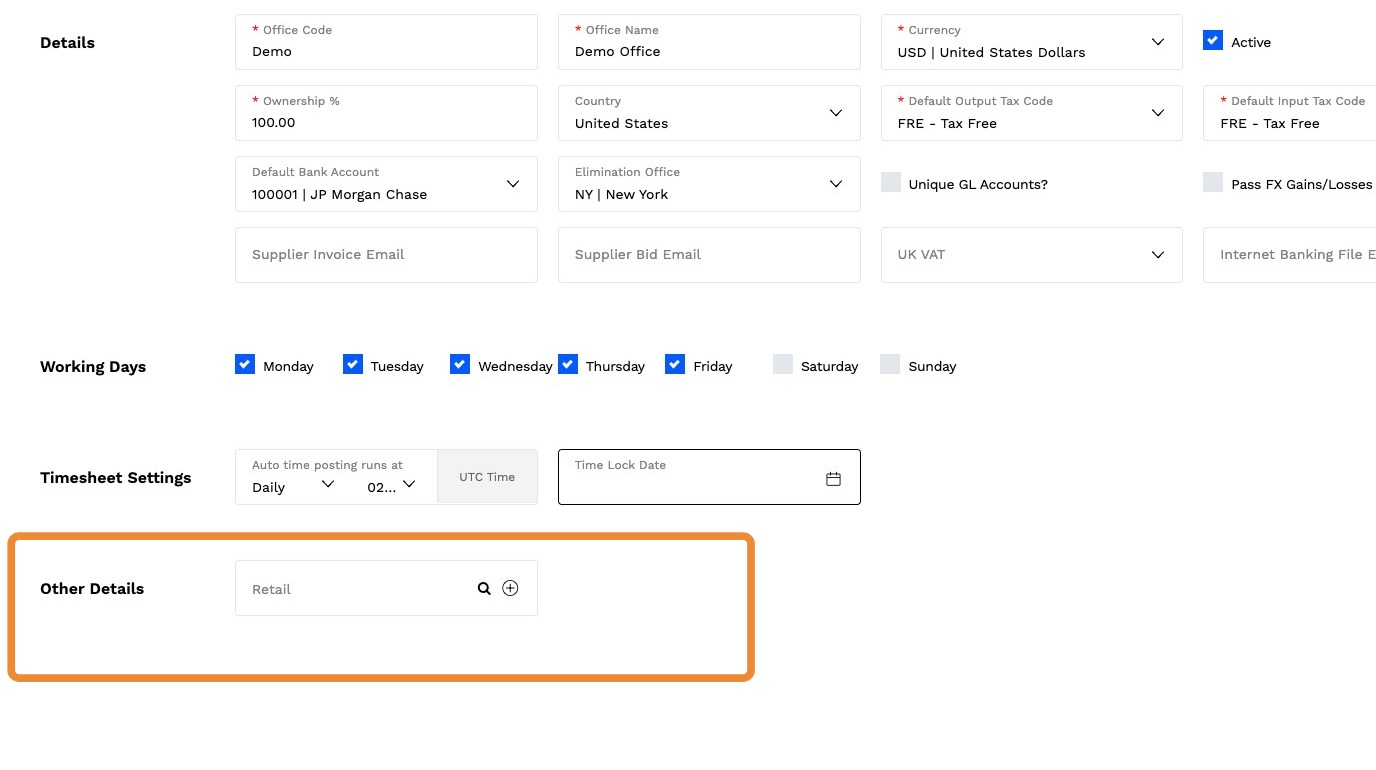
Step 3: Enter Office Details
Fill in the following fields:
Office Code: Unique identifier (e.g., NY01 for New York).
Office Name: Name of the office or department (e.g., Digital Media Team).
Currency: Select the currency for transactions—important for global agencies.
Active: Check to activate the office; uncheck to deactivate.
Ownership: Enter % ownership for joint ventures or affiliates.
Country: Select the country for tax compliance.
Default Output Tax Code: Tax code for client invoices.
Default Input Tax Code: Tax code for supplier invoices.
Default Bank Account: Assign the bank account for this office.
Unique GL Accounts: Enable if this office uses separate GL accounts
Pass FX Gains/Losses to Clients: Include FX adjustments on client invoices if needed.
Supplier Invoice Email: Enter supplier invoice email address.
Step 4: Set Working Days
- Define the standard workweek for this office.
- Tip: Align with regional labor laws or client expectations.
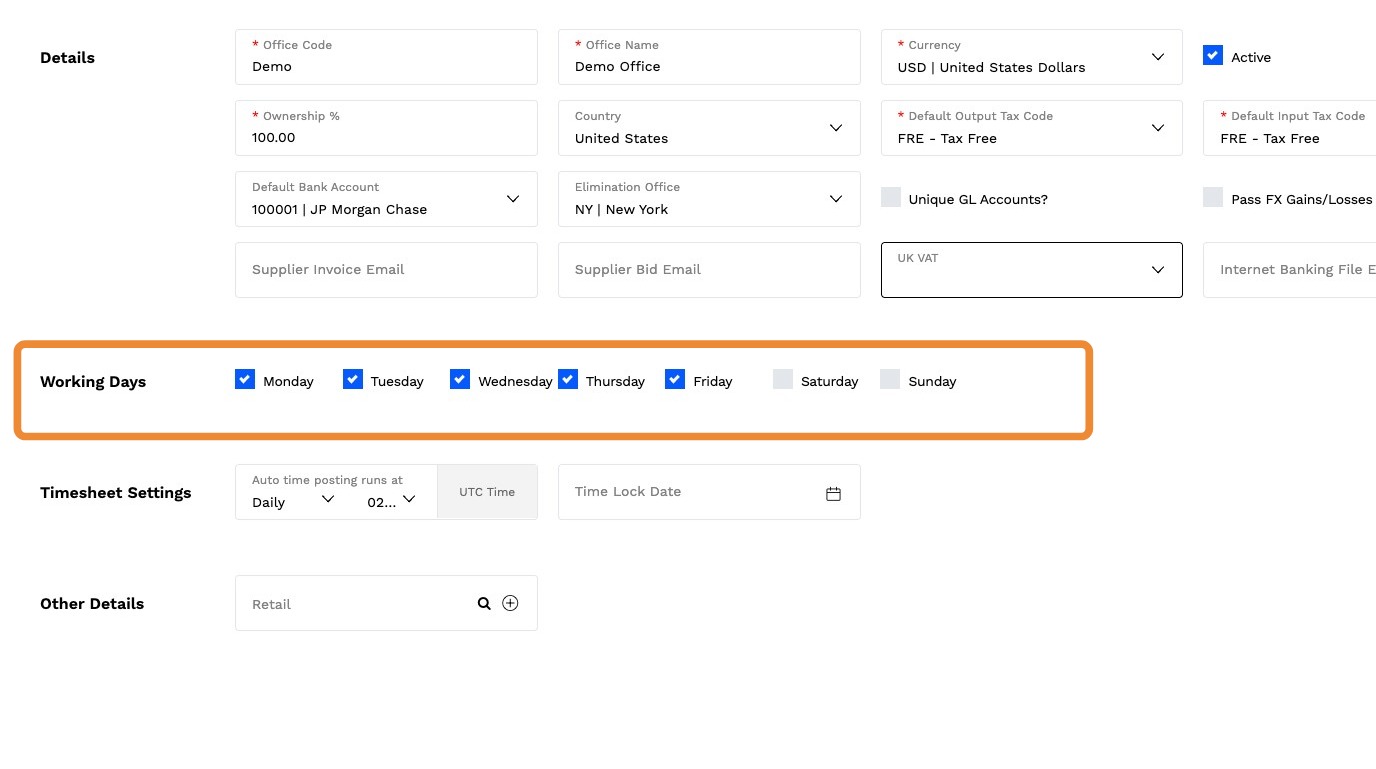
Step 5: Configure Timesheet Settings
- Ensure accurate time tracking for client billing.
- Tip: Use consistent settings across offices for reporting clarity.
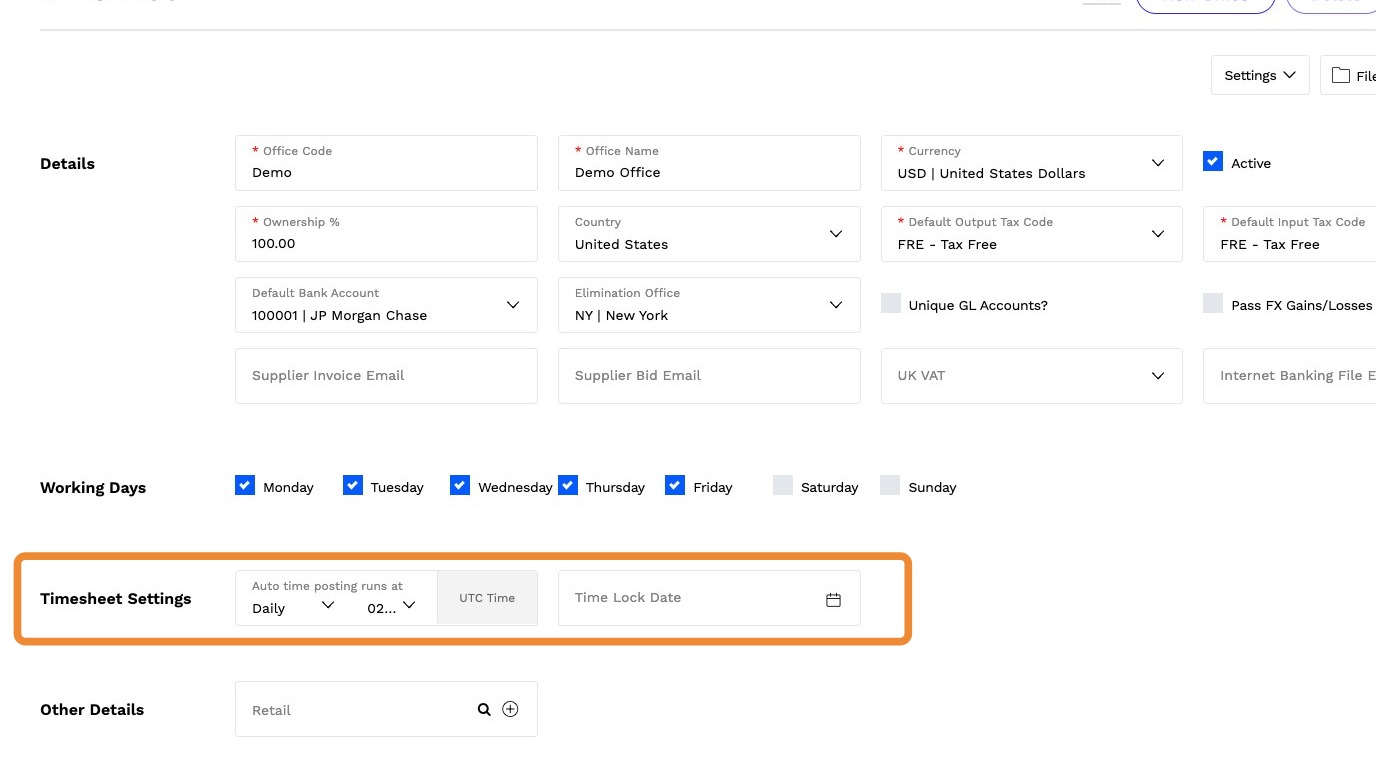
Step 6: Enter Other Details
- Add any additional information.
- To learn more about custom codes, click here
Step 7: Save
- Click Save to complete the setup.
- Your office is now ready for accurate financial tracking and reporting.
Tip: Agency Best Practices
- Use consistent naming conventions (e.g., “Region: APAC” vs. “Asia-Pacific”).
- Assign correct tax codes for each country to avoid billing errors.
- Review office settings quarterly for compliance and accuracy.