Custom codes are essential for organizing and tailoring your master data to fit your business needs. They allow you to create up to five unique labels per record, making it easier to classify, search, and report on critical information. This flexibility supports use cases like tagging projects by region, client type, priority, or compliance category—helping teams improve efficiency and clarity in data management.
Custom Codes impact all offices in your agency database, so please use them with caution.
Prerequisites:
Your User Access Group needs to have full access to Custom Codes to create custom codes or manage a custom code list.
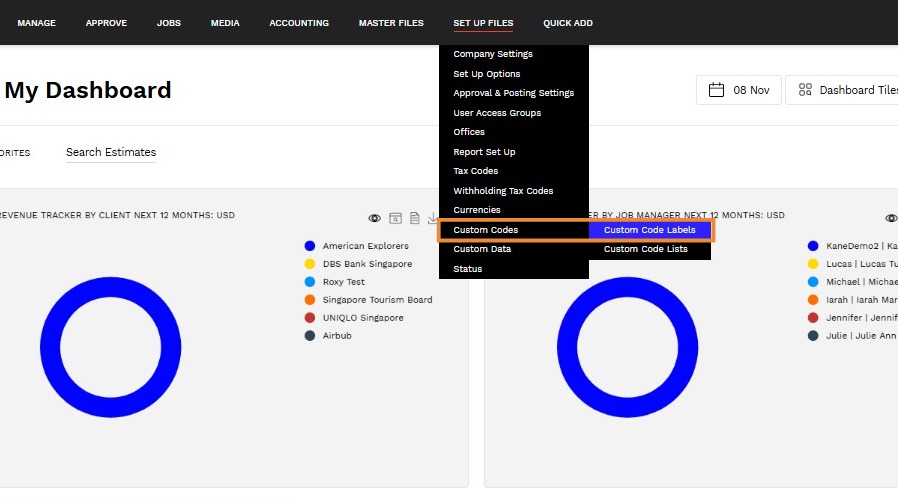
1. Navigate to Set Up Files > Custom Codes > Custom Code Labels.
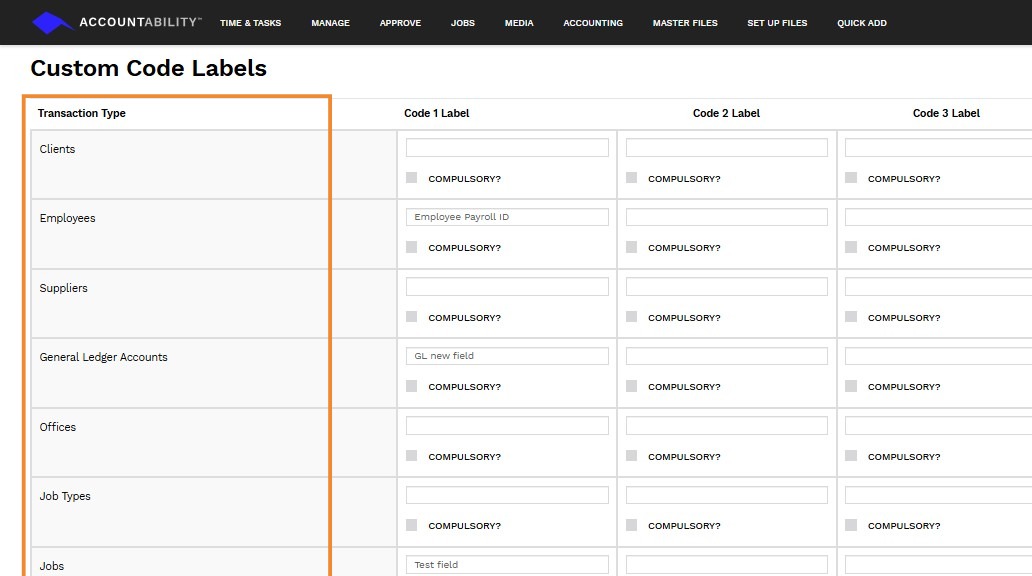
2. You’ll see a list of master data records where custom codes can be applied. These include:
- Clients – Tag by region, type, or priority
- Employees – Add role or department identifiers
- Suppliers – Classify vendors by category or compliance
- General Ledger Accounts – Assign financial tracking codes
- Offices – Organize by location or branch
- Job Types & Jobs – Define project categories or campaigns
- Purchase Orders – Add approval or budget codes
- Prospects – Segment by lead source or status
- Task Types – Group tasks for reporting
- Credit Card Holders & Merchants – Track expenses by card or vendor
- Manage Inventory – Apply product or stock codes
3. You can assign up to five (5) custom code labels to each master data record.
The sequence determines the display order on the record. For example, if “Reporting Client” is set as the first label, it will appear at the top of the Client record.
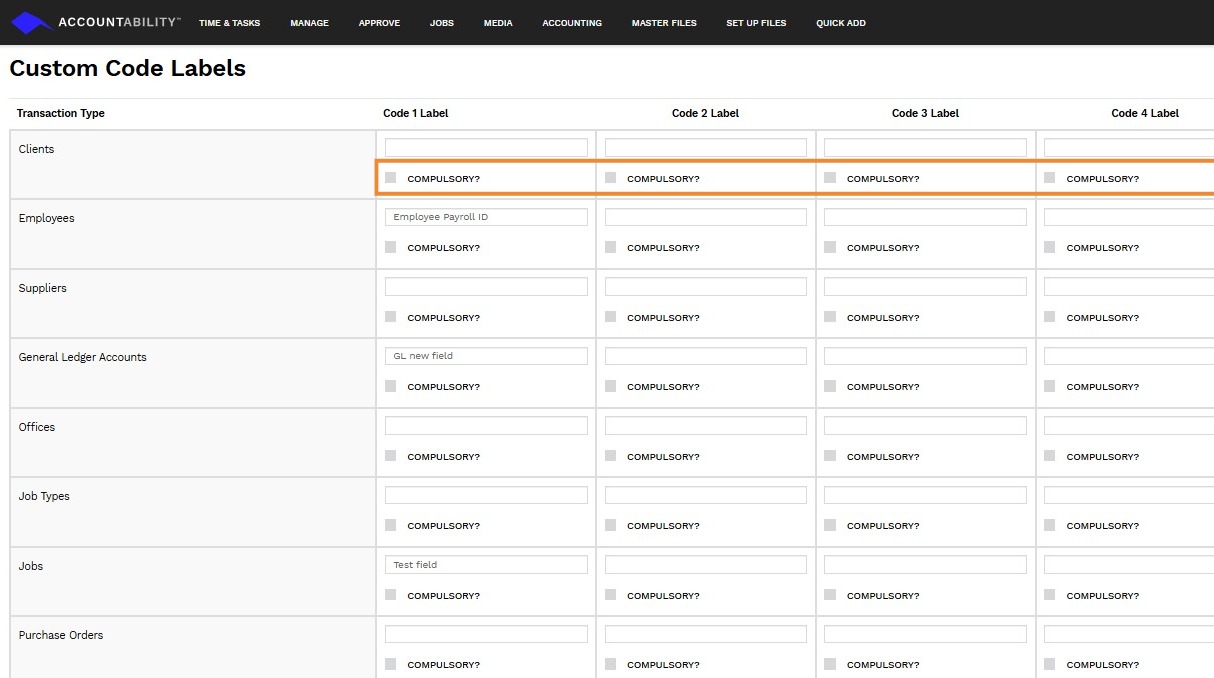
Tip: By default, all custom code labels are not marked as required.
If you want a label to be require when creating a new master data record, simply check the “Compulsory?” box during setup.
Once you’ve made your changes, click Save in the upper-right corner.