![AccountAbility_logo_primary_fullcolor-1.png]](https://knowledgebase.counta.com/hs-fs/hubfs/AccountAbility_logo_primary_fullcolor-1.png?height=40&name=AccountAbility_logo_primary_fullcolor-1.png)
Step by Step Guide:
1. Navigate to JOBS > Purchase Orders.
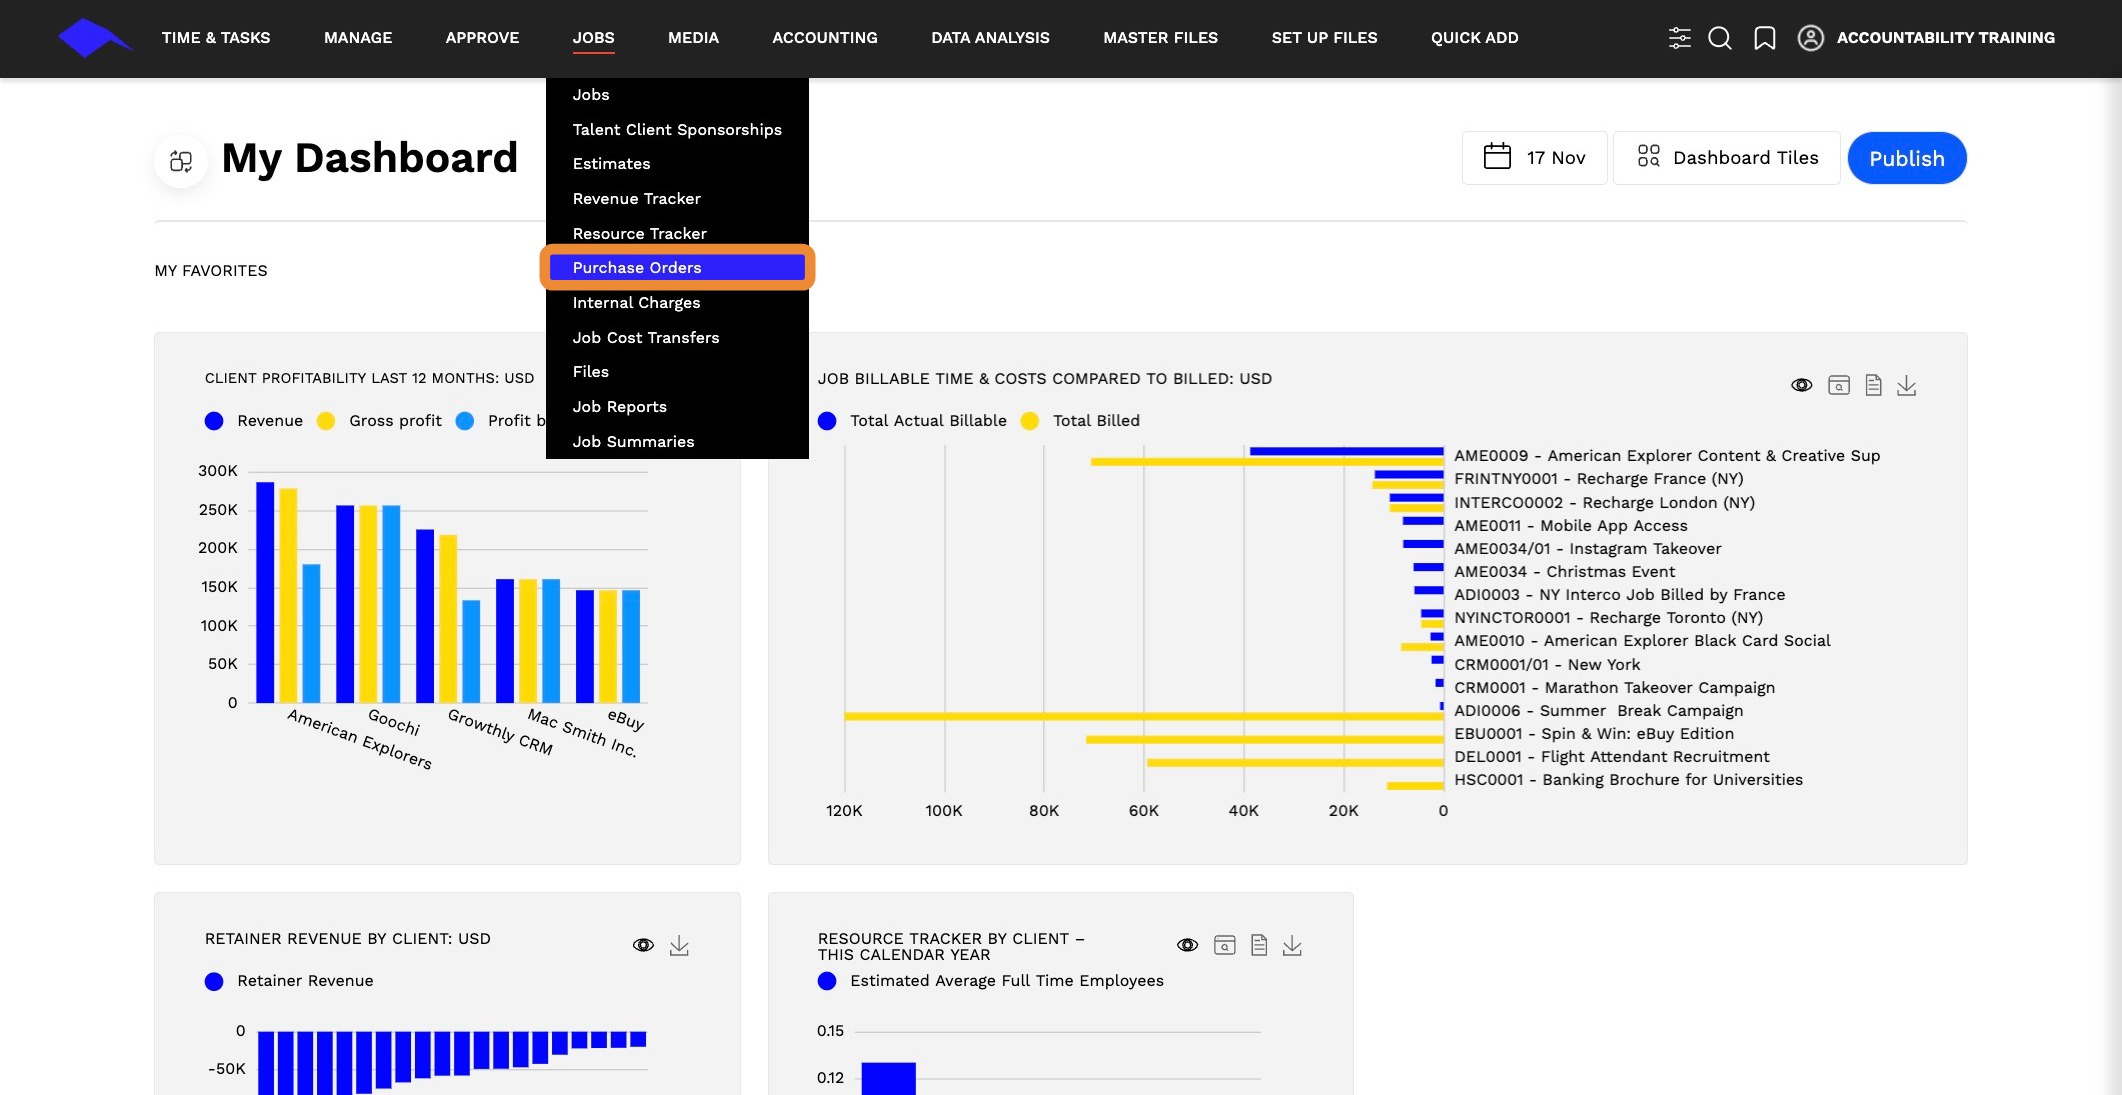
2. Select CREATE A NEW PURCHASE ORDER.
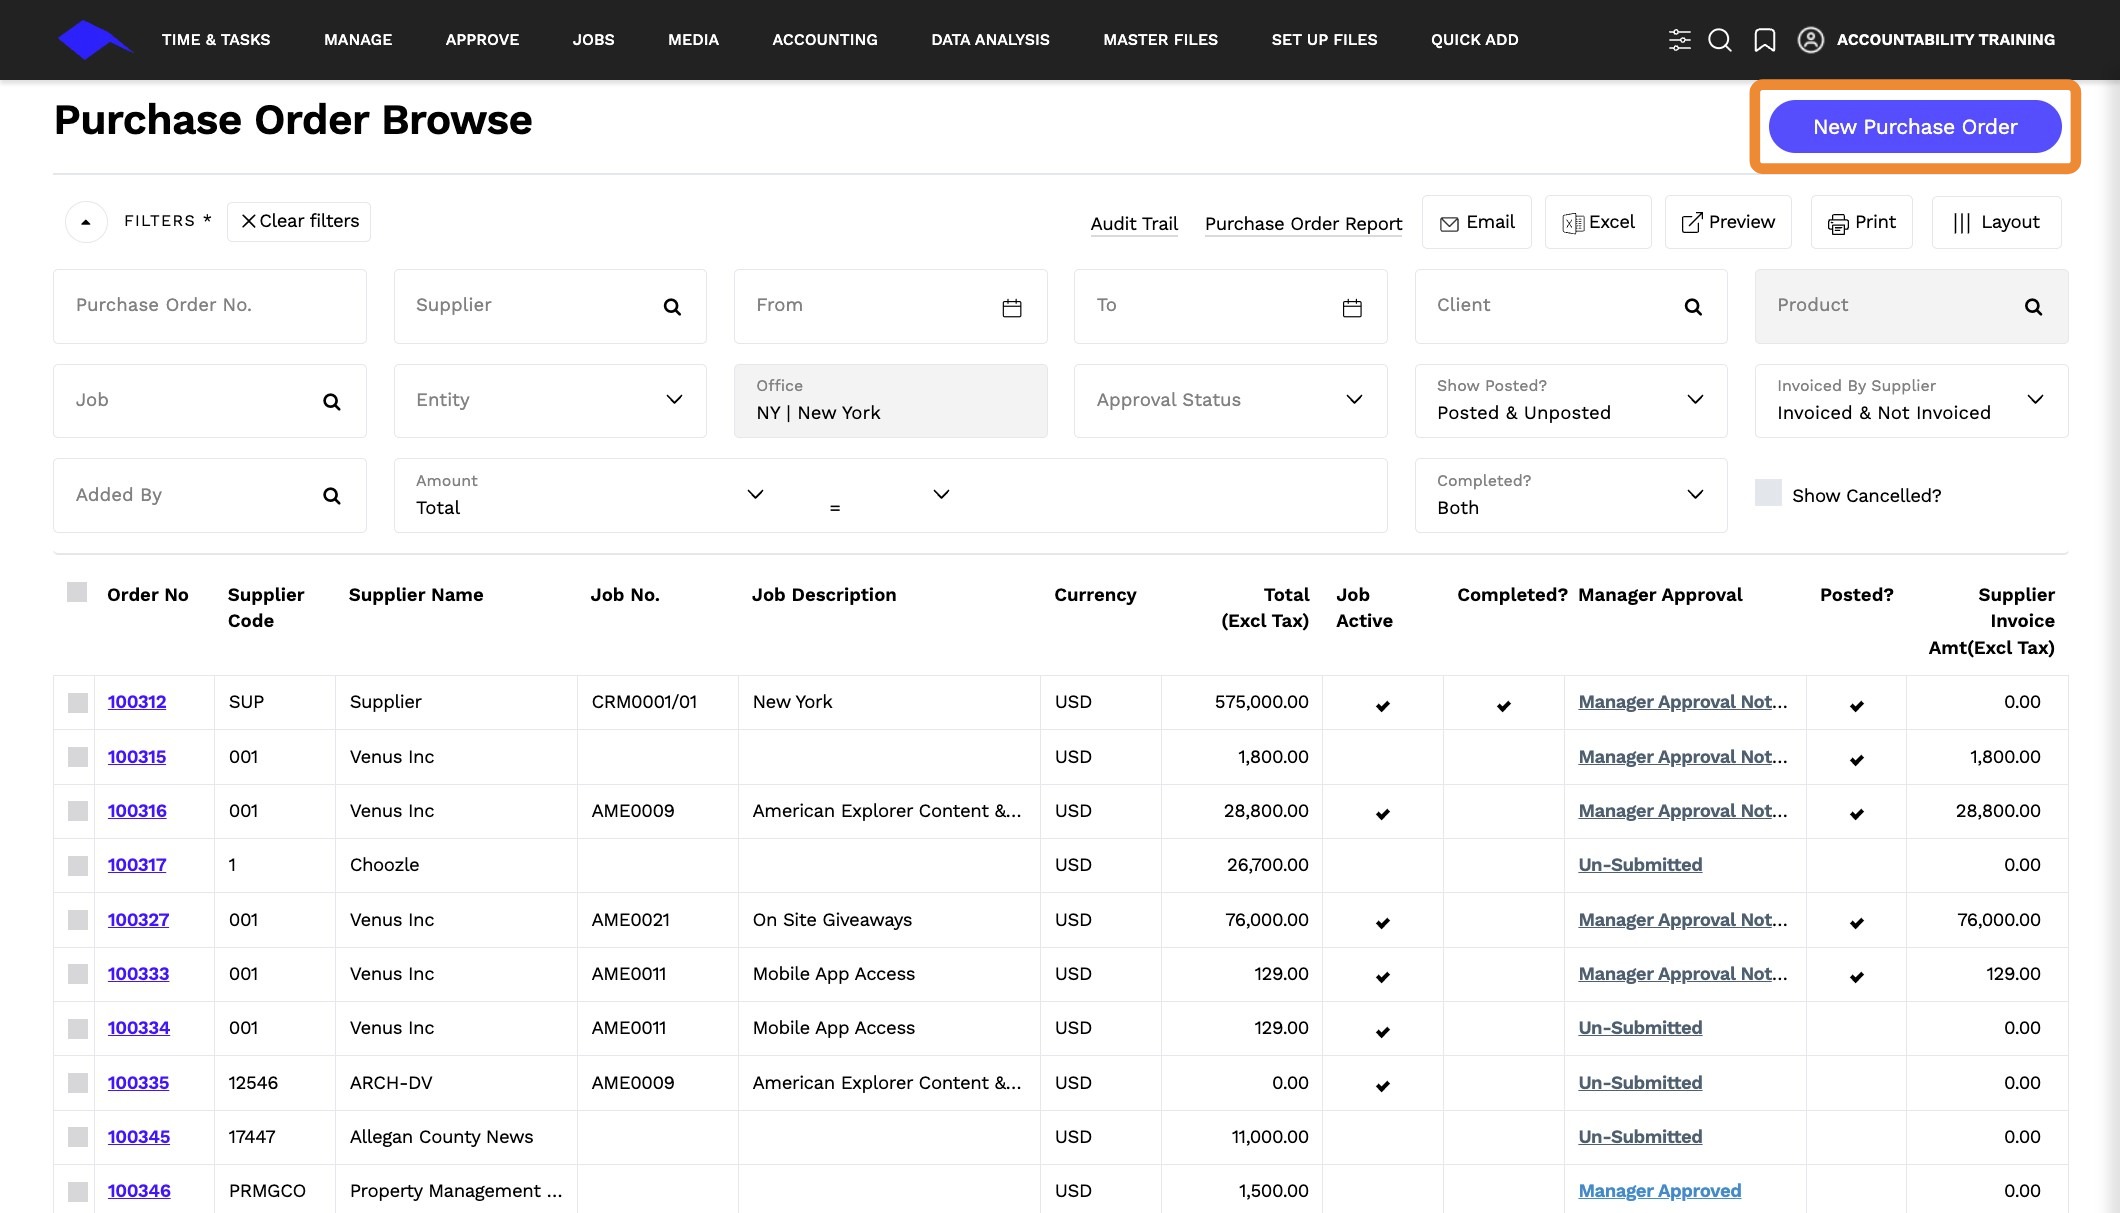
3. Enter or Select the following information:
- Supplier- Enter or select a supplier
- Office- Enter or change the office - If required
- Date- Enter or change the date - If required
- Default Tax Code- Enter or select the tax code
- Default Tax %- Default tax %
- Layout- Select the layout
- Nominated Approver- Enter or select a nominated approver - (add if the scenario approvals are in place)
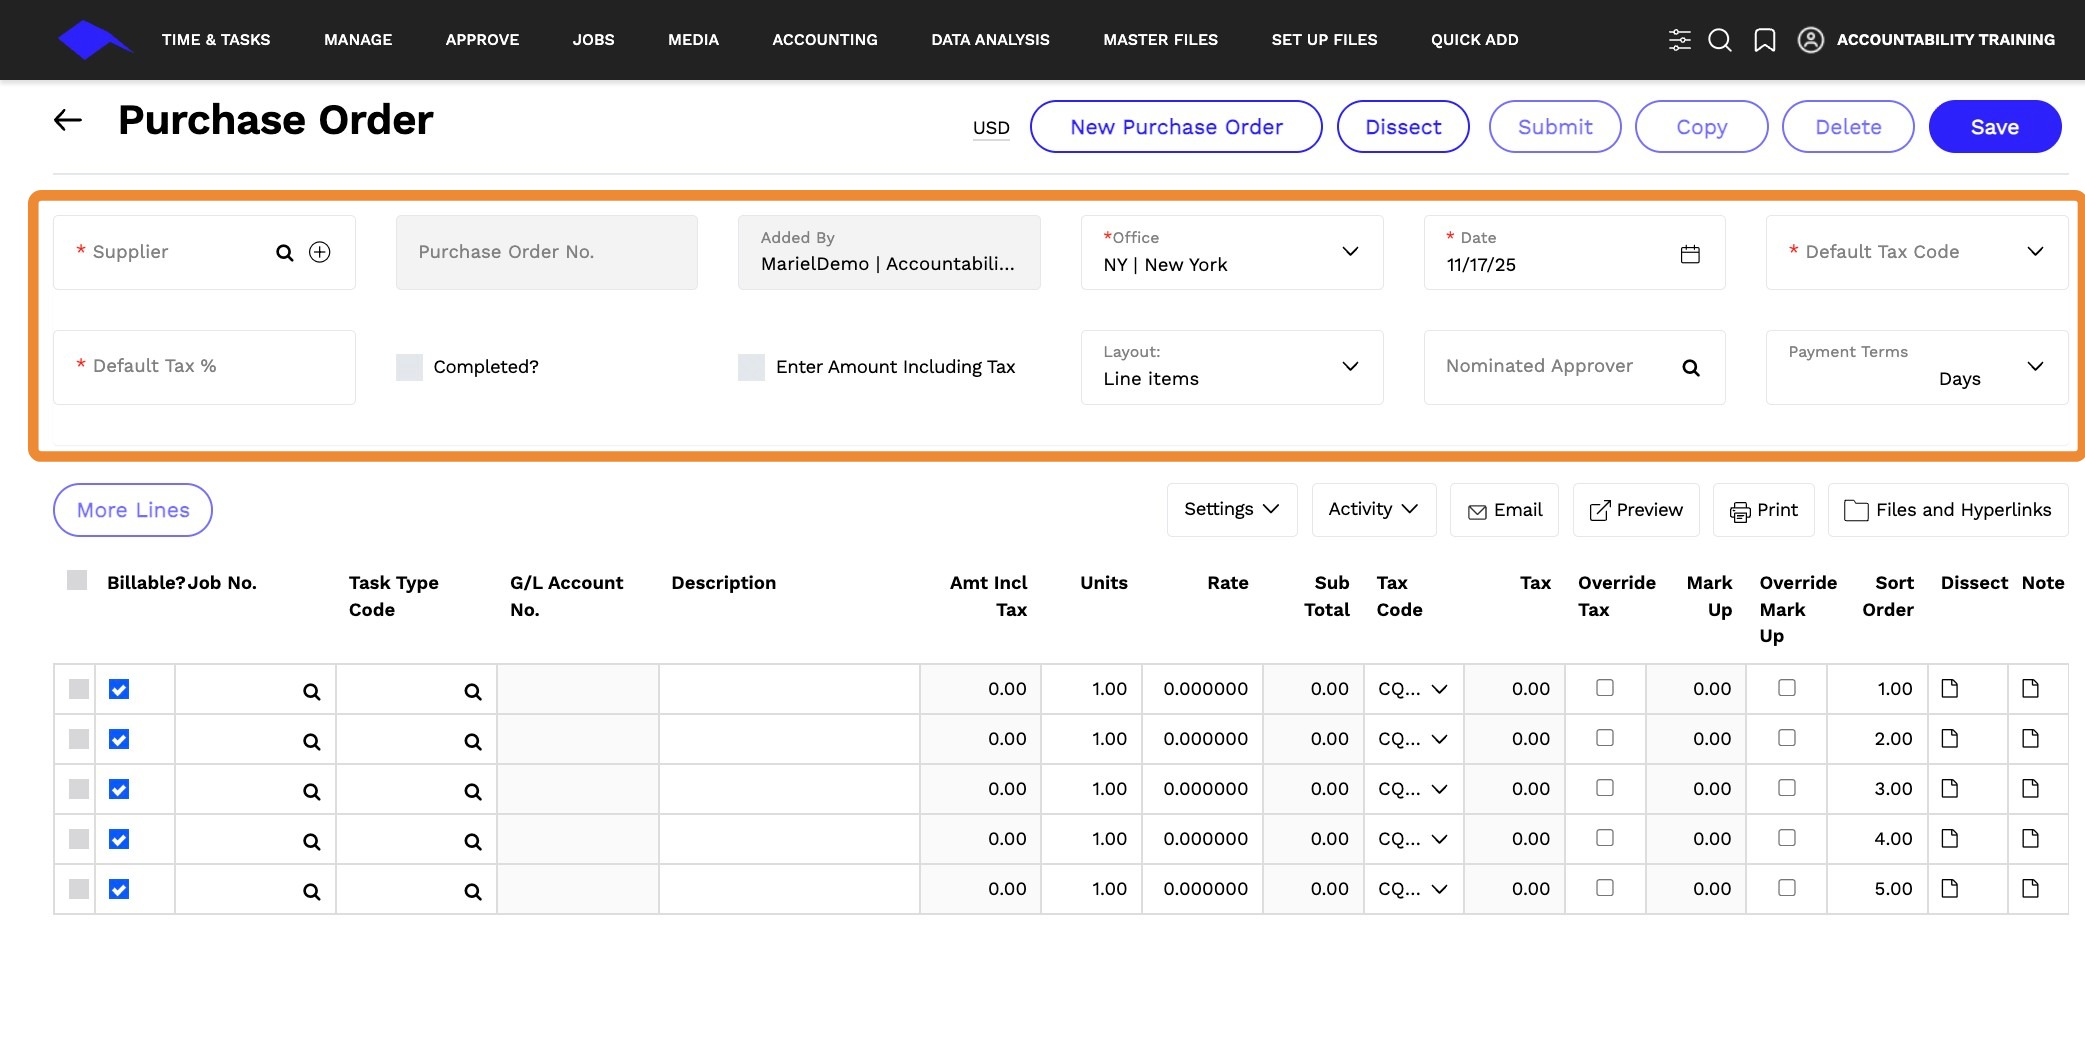
4. If the PO is a Billable Cost - Enter or Select the BILLABLE JOB NO and TASK TYPE CODE.
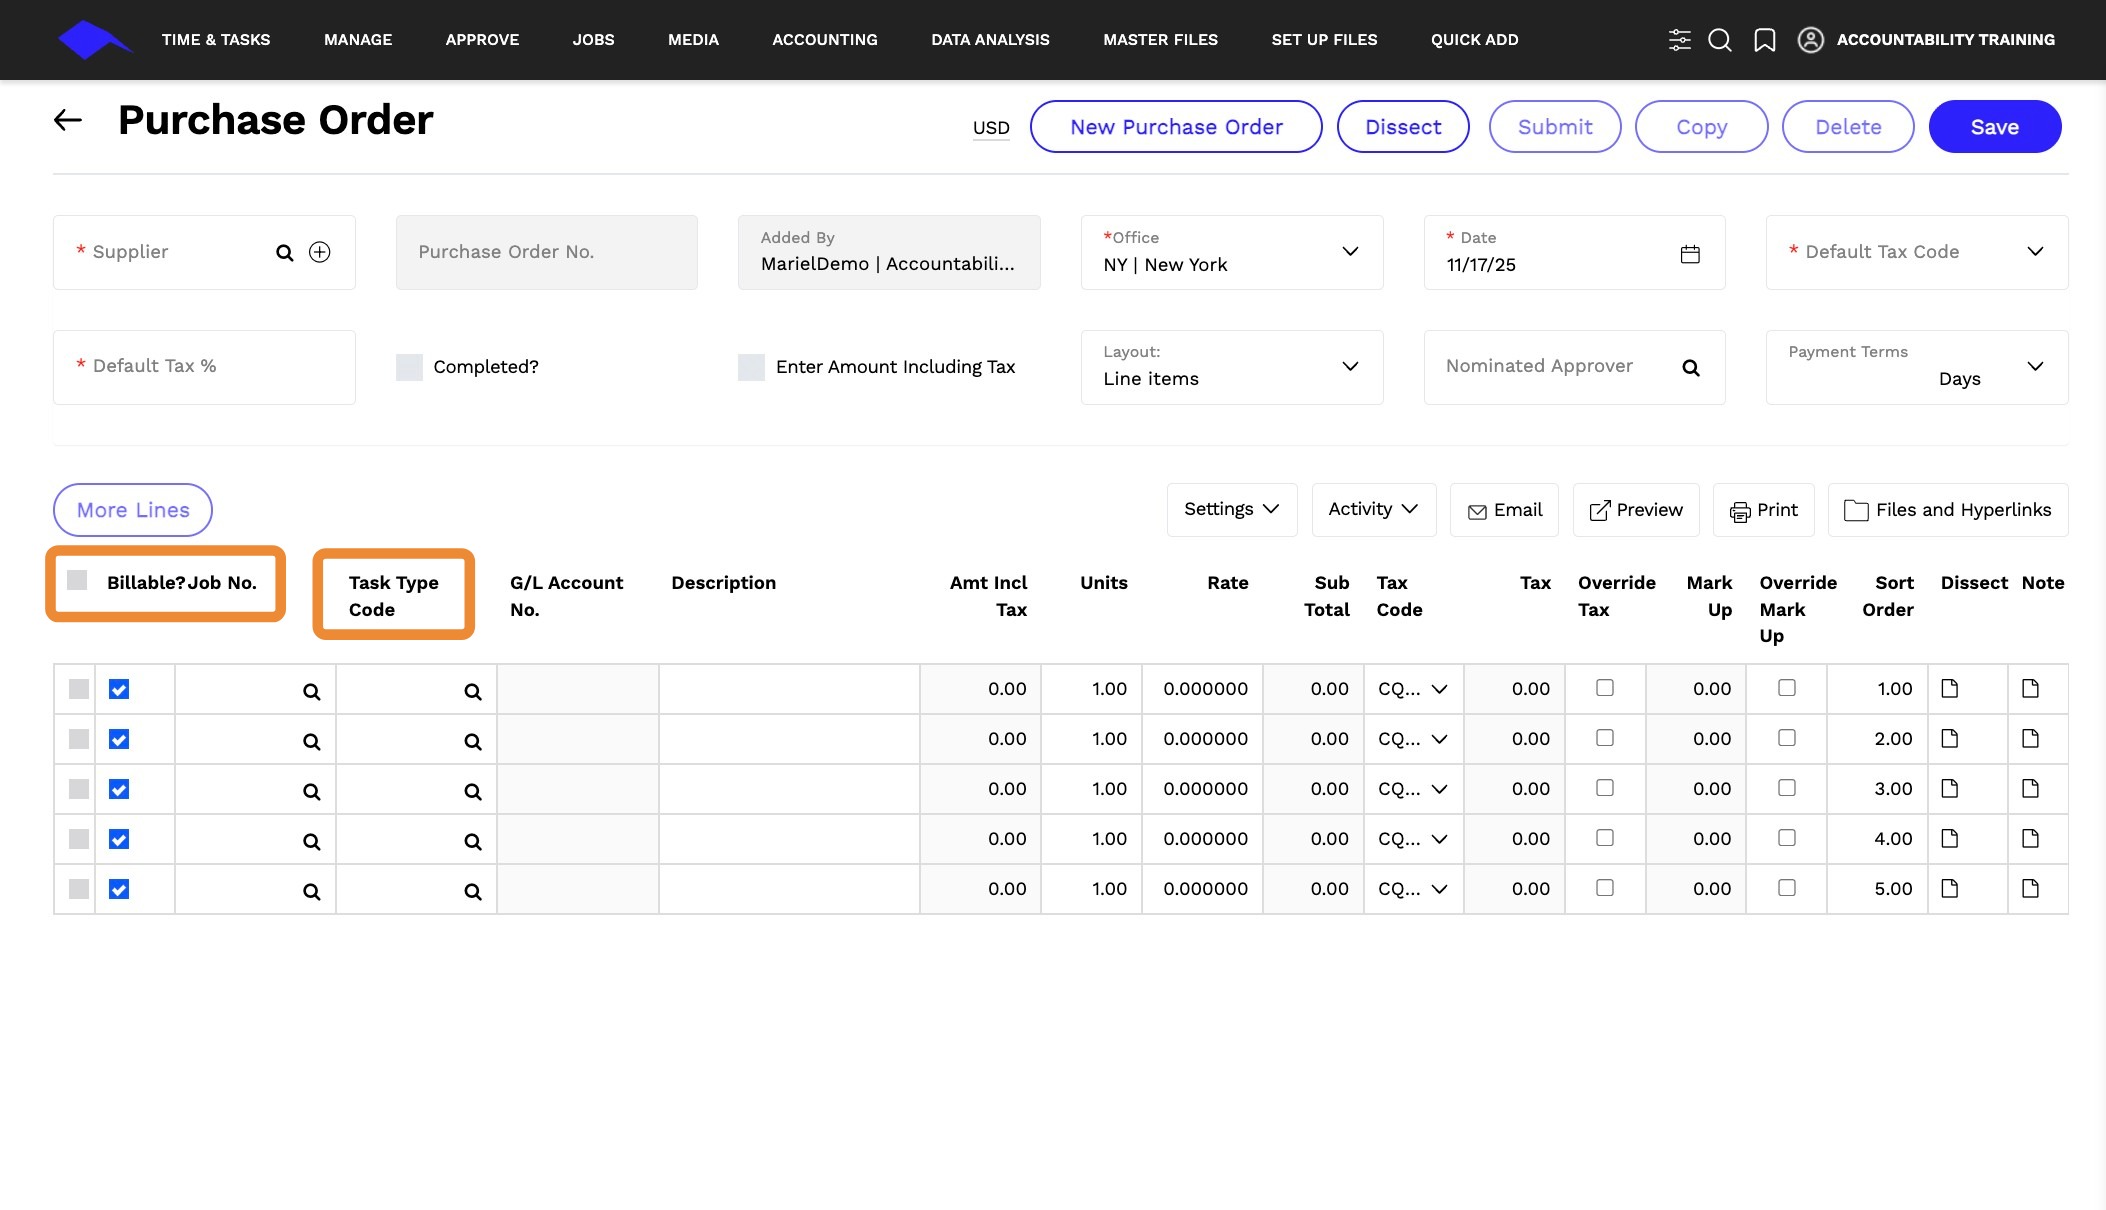
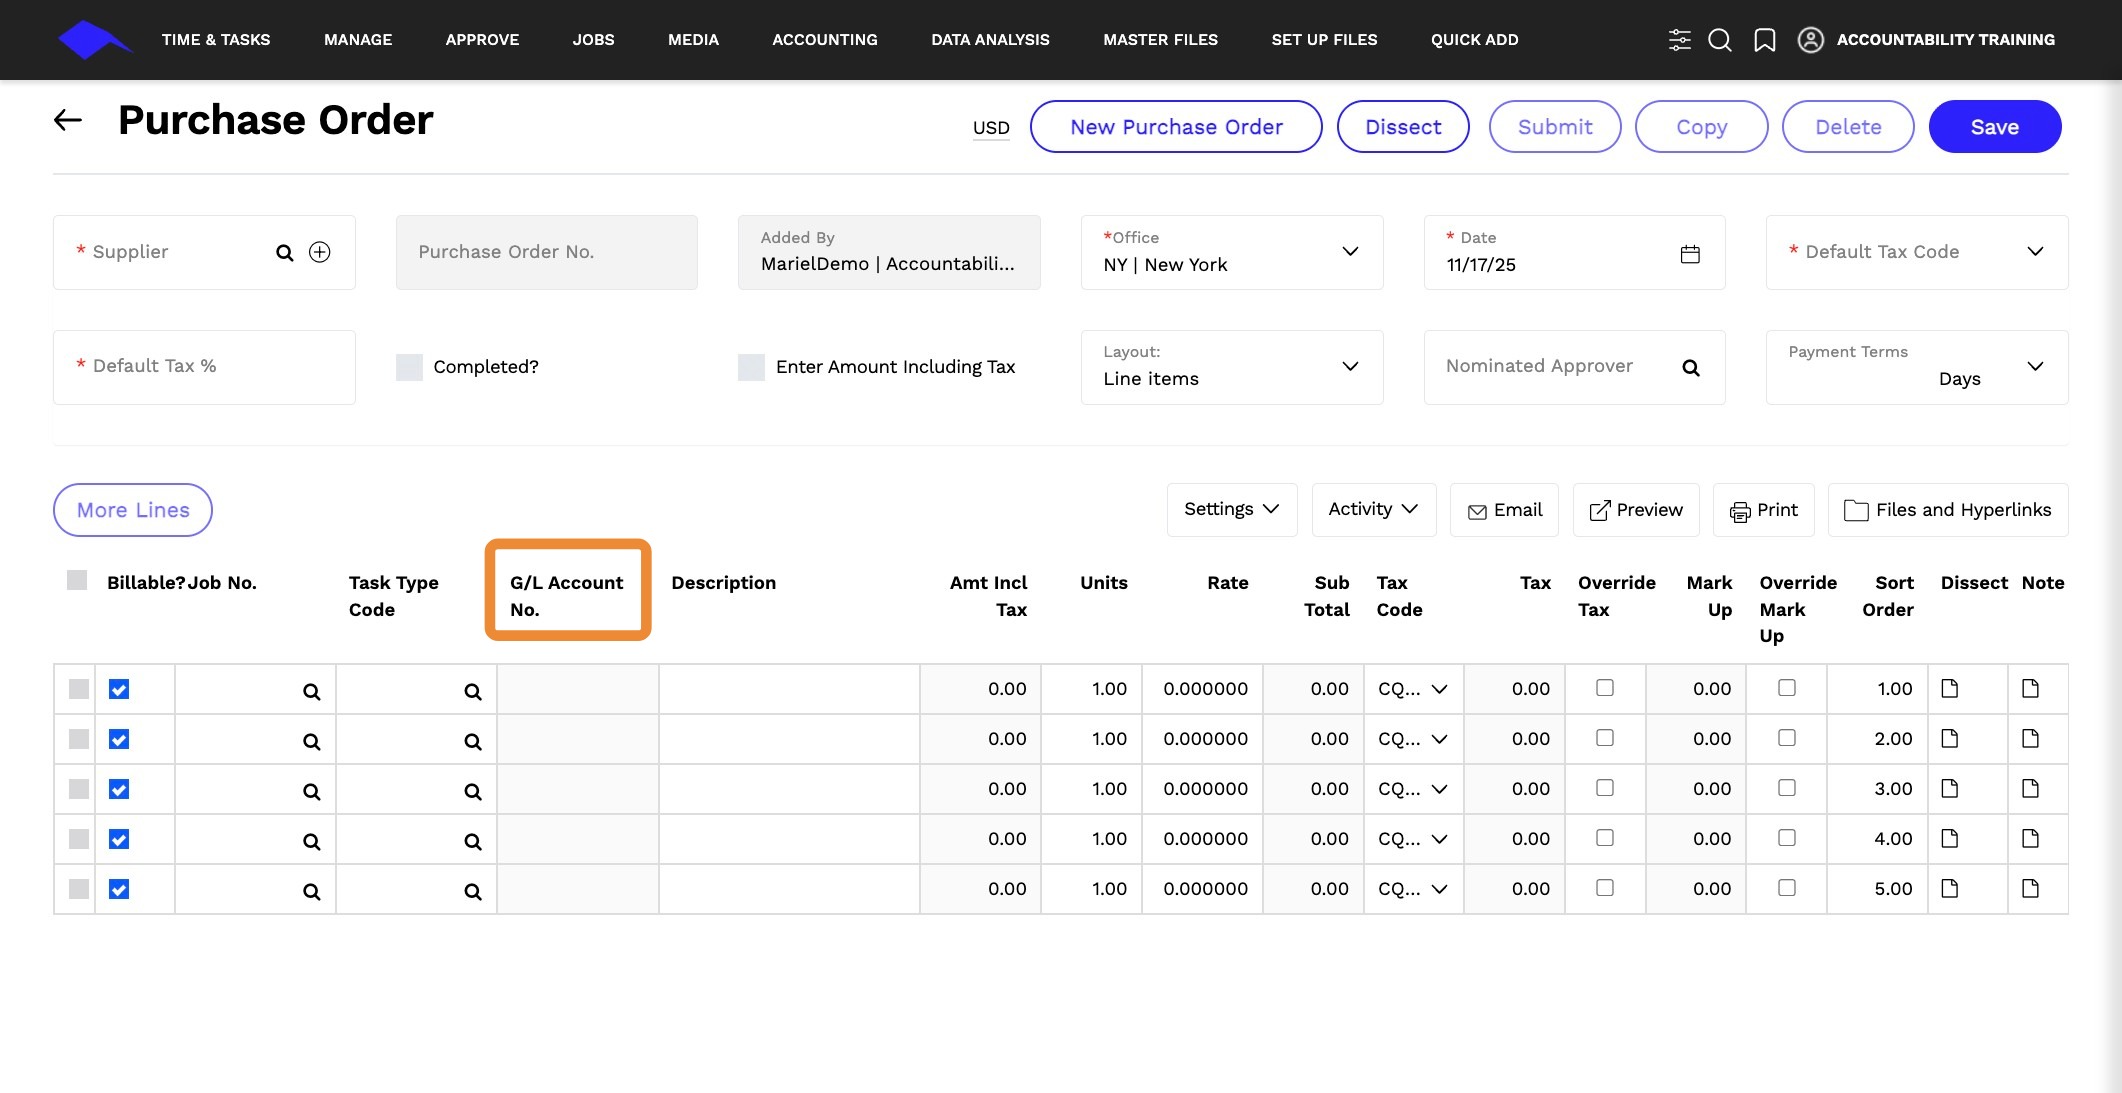
5. If the PO is for an Overhead Cost - Uncheck the BILLABLE JOB NO. box and enter or select the GL ACCOUNT NO.
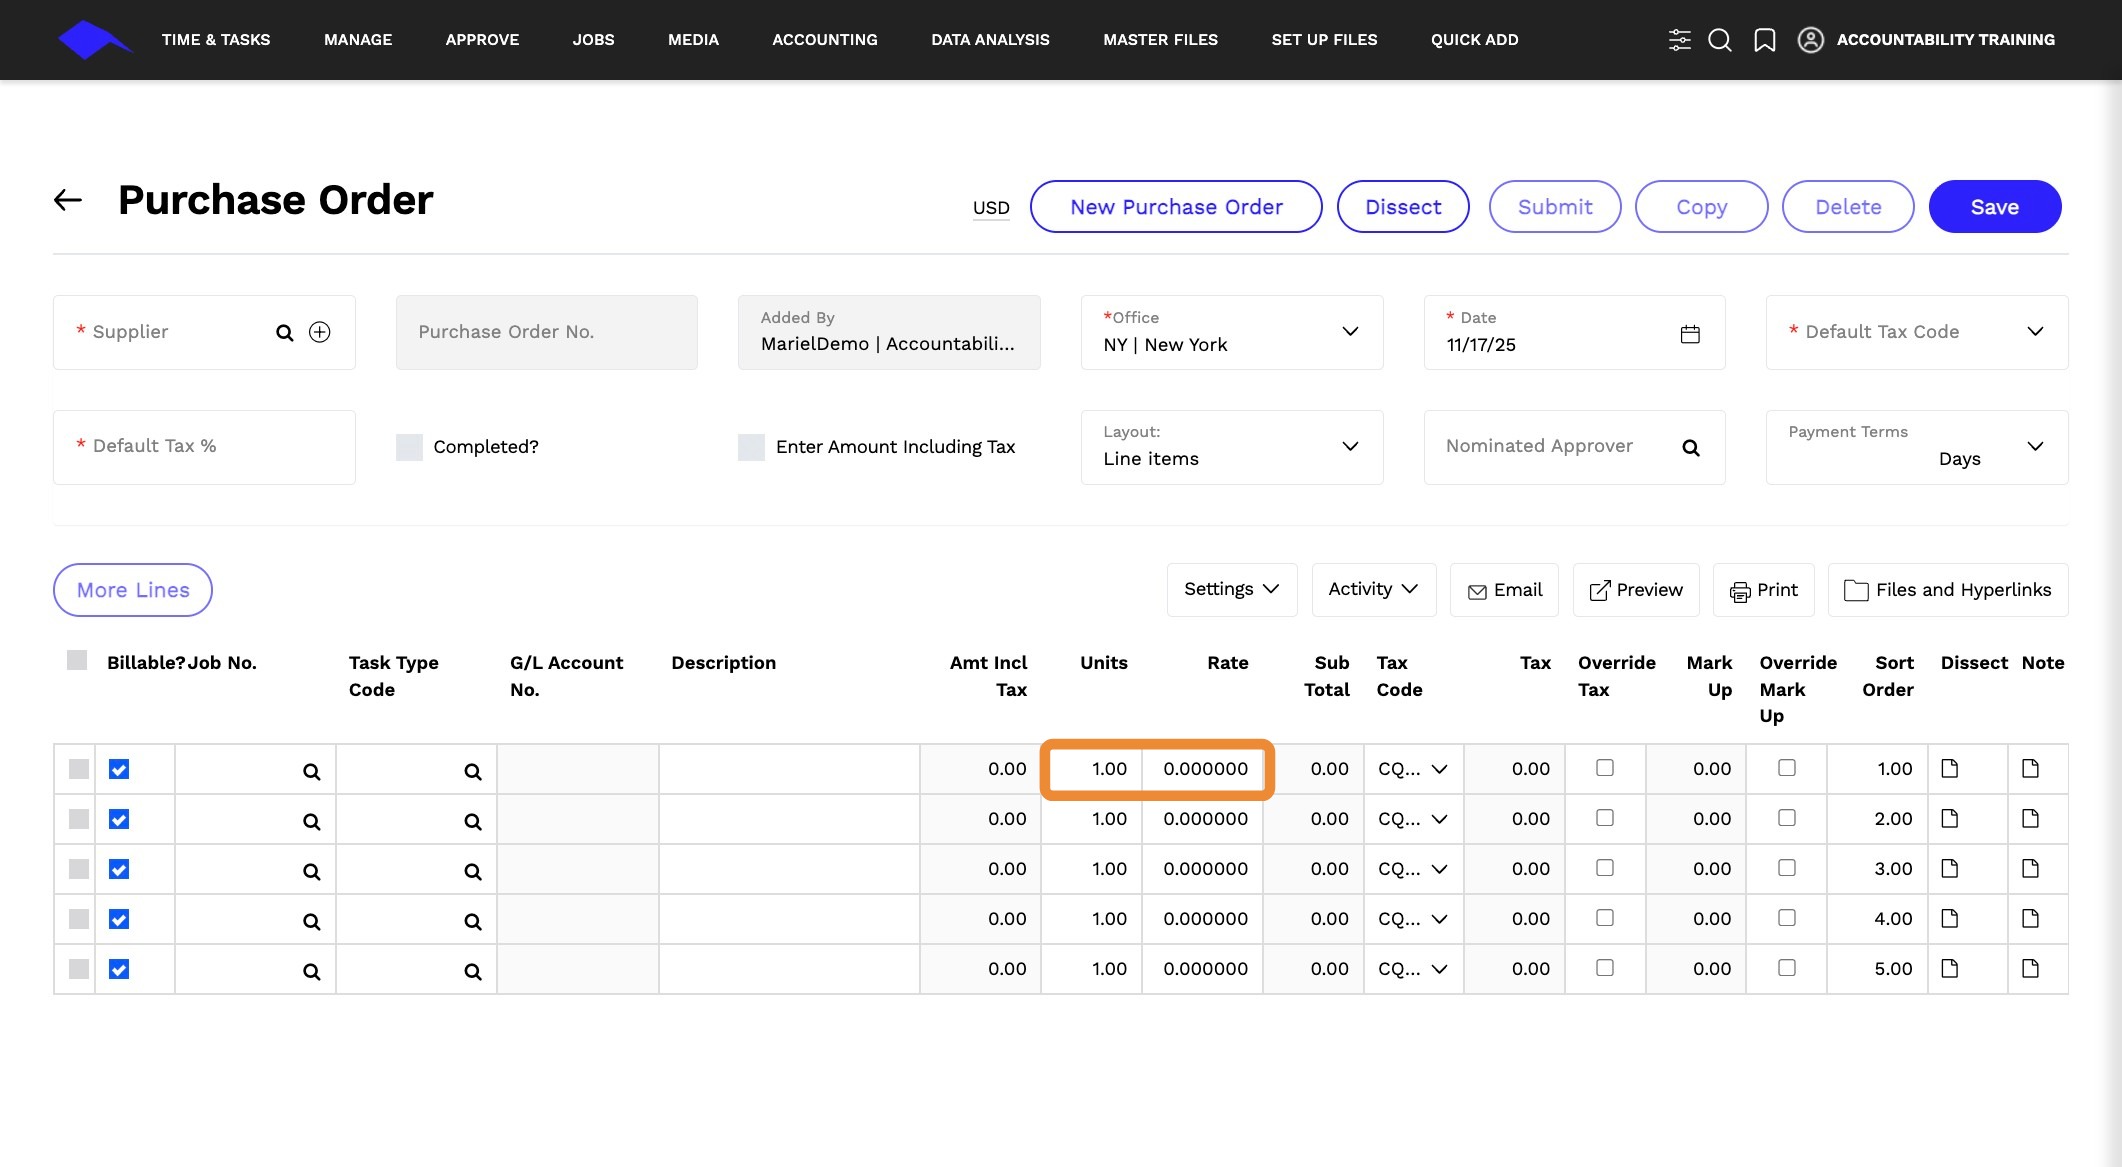
6. Enter the Unit and Rates.
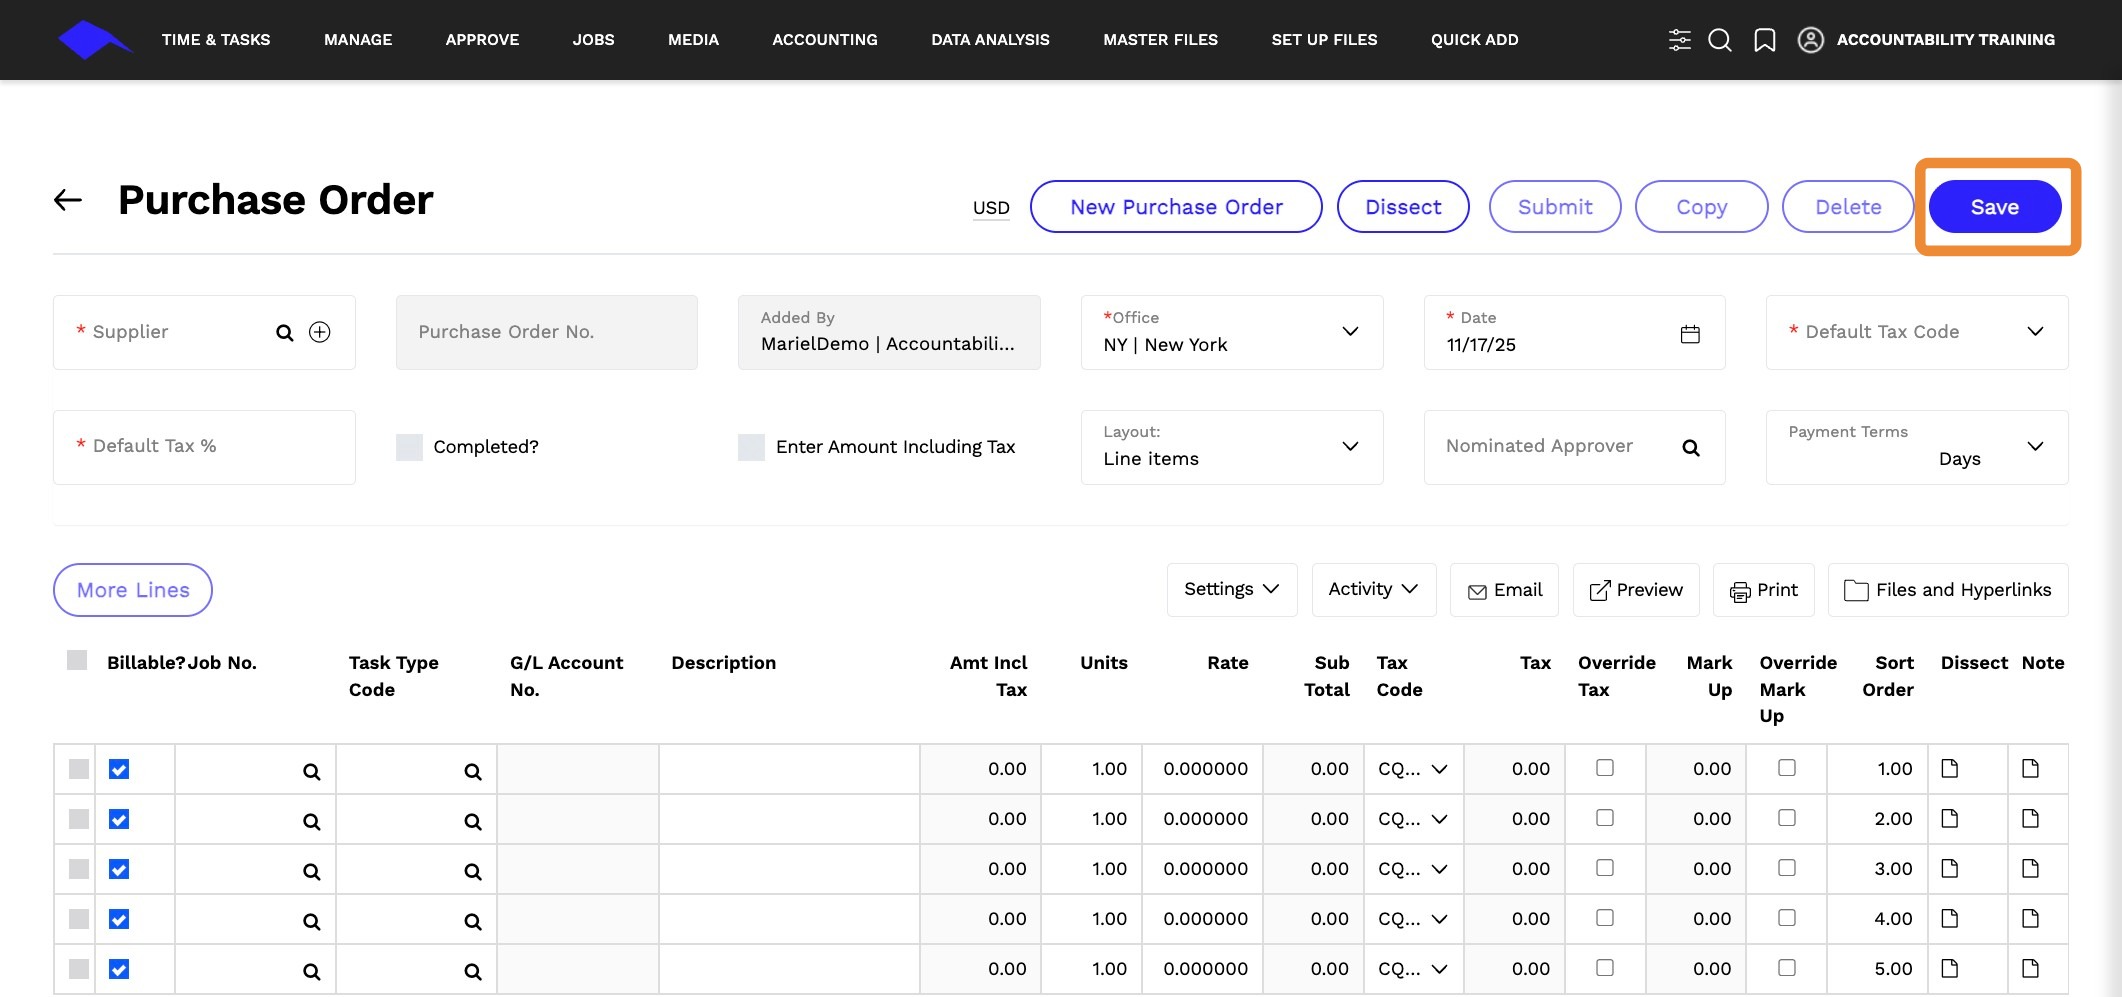
7. Click SAVE or SAVE
8. Click POST.
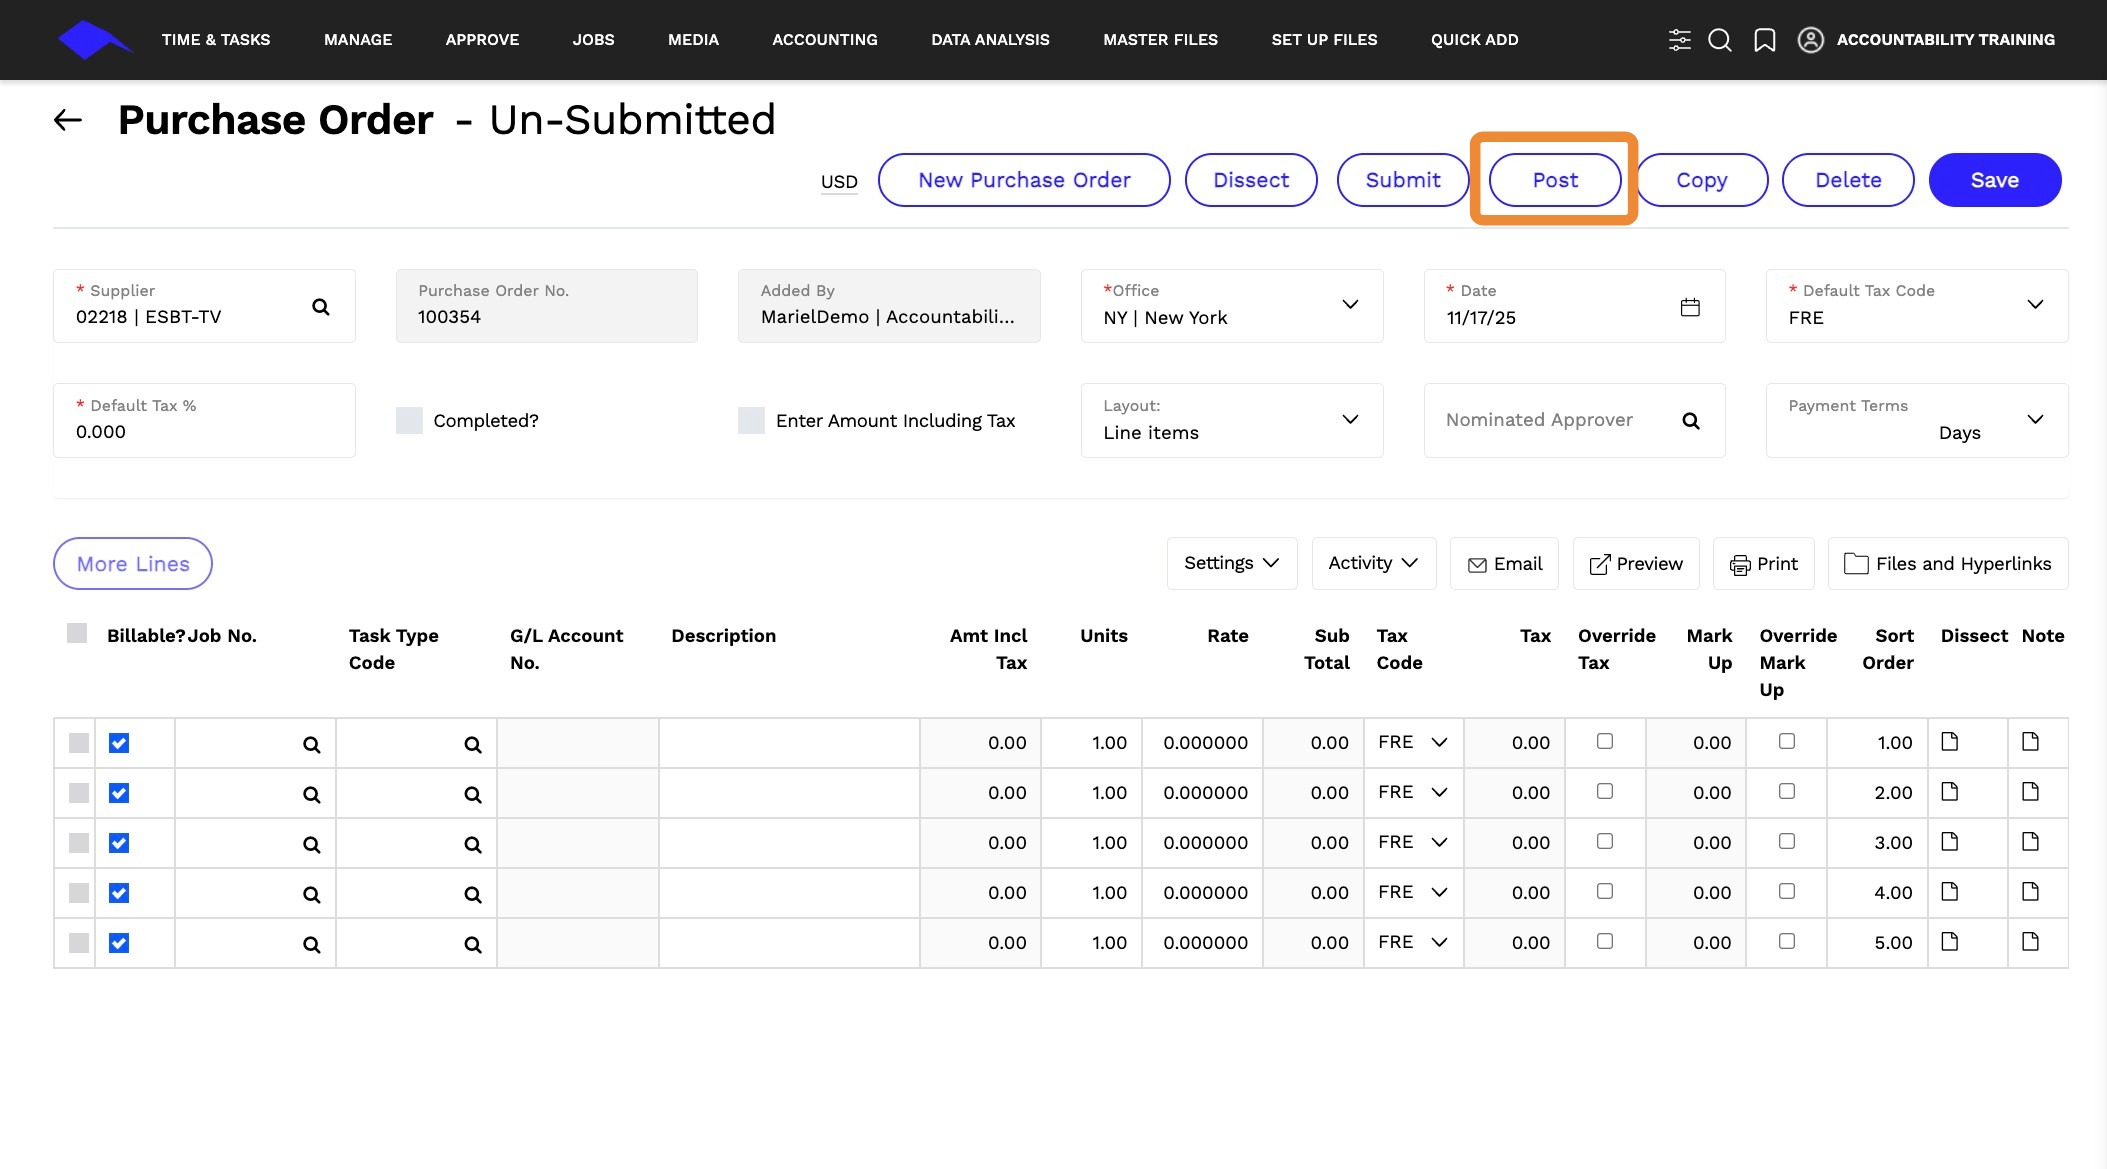
Tip: Depending on the users' approval rights, Final Approval cannot be made until the invoice has required Manager Approvals
It's important to mention that once a Purchase Order (PO) is established, we cannot alter it. However, in the event that the necessary approvals are granted, we do have the capability to cancel and reissue a new one