1. Navigate to Jobs > Jobs
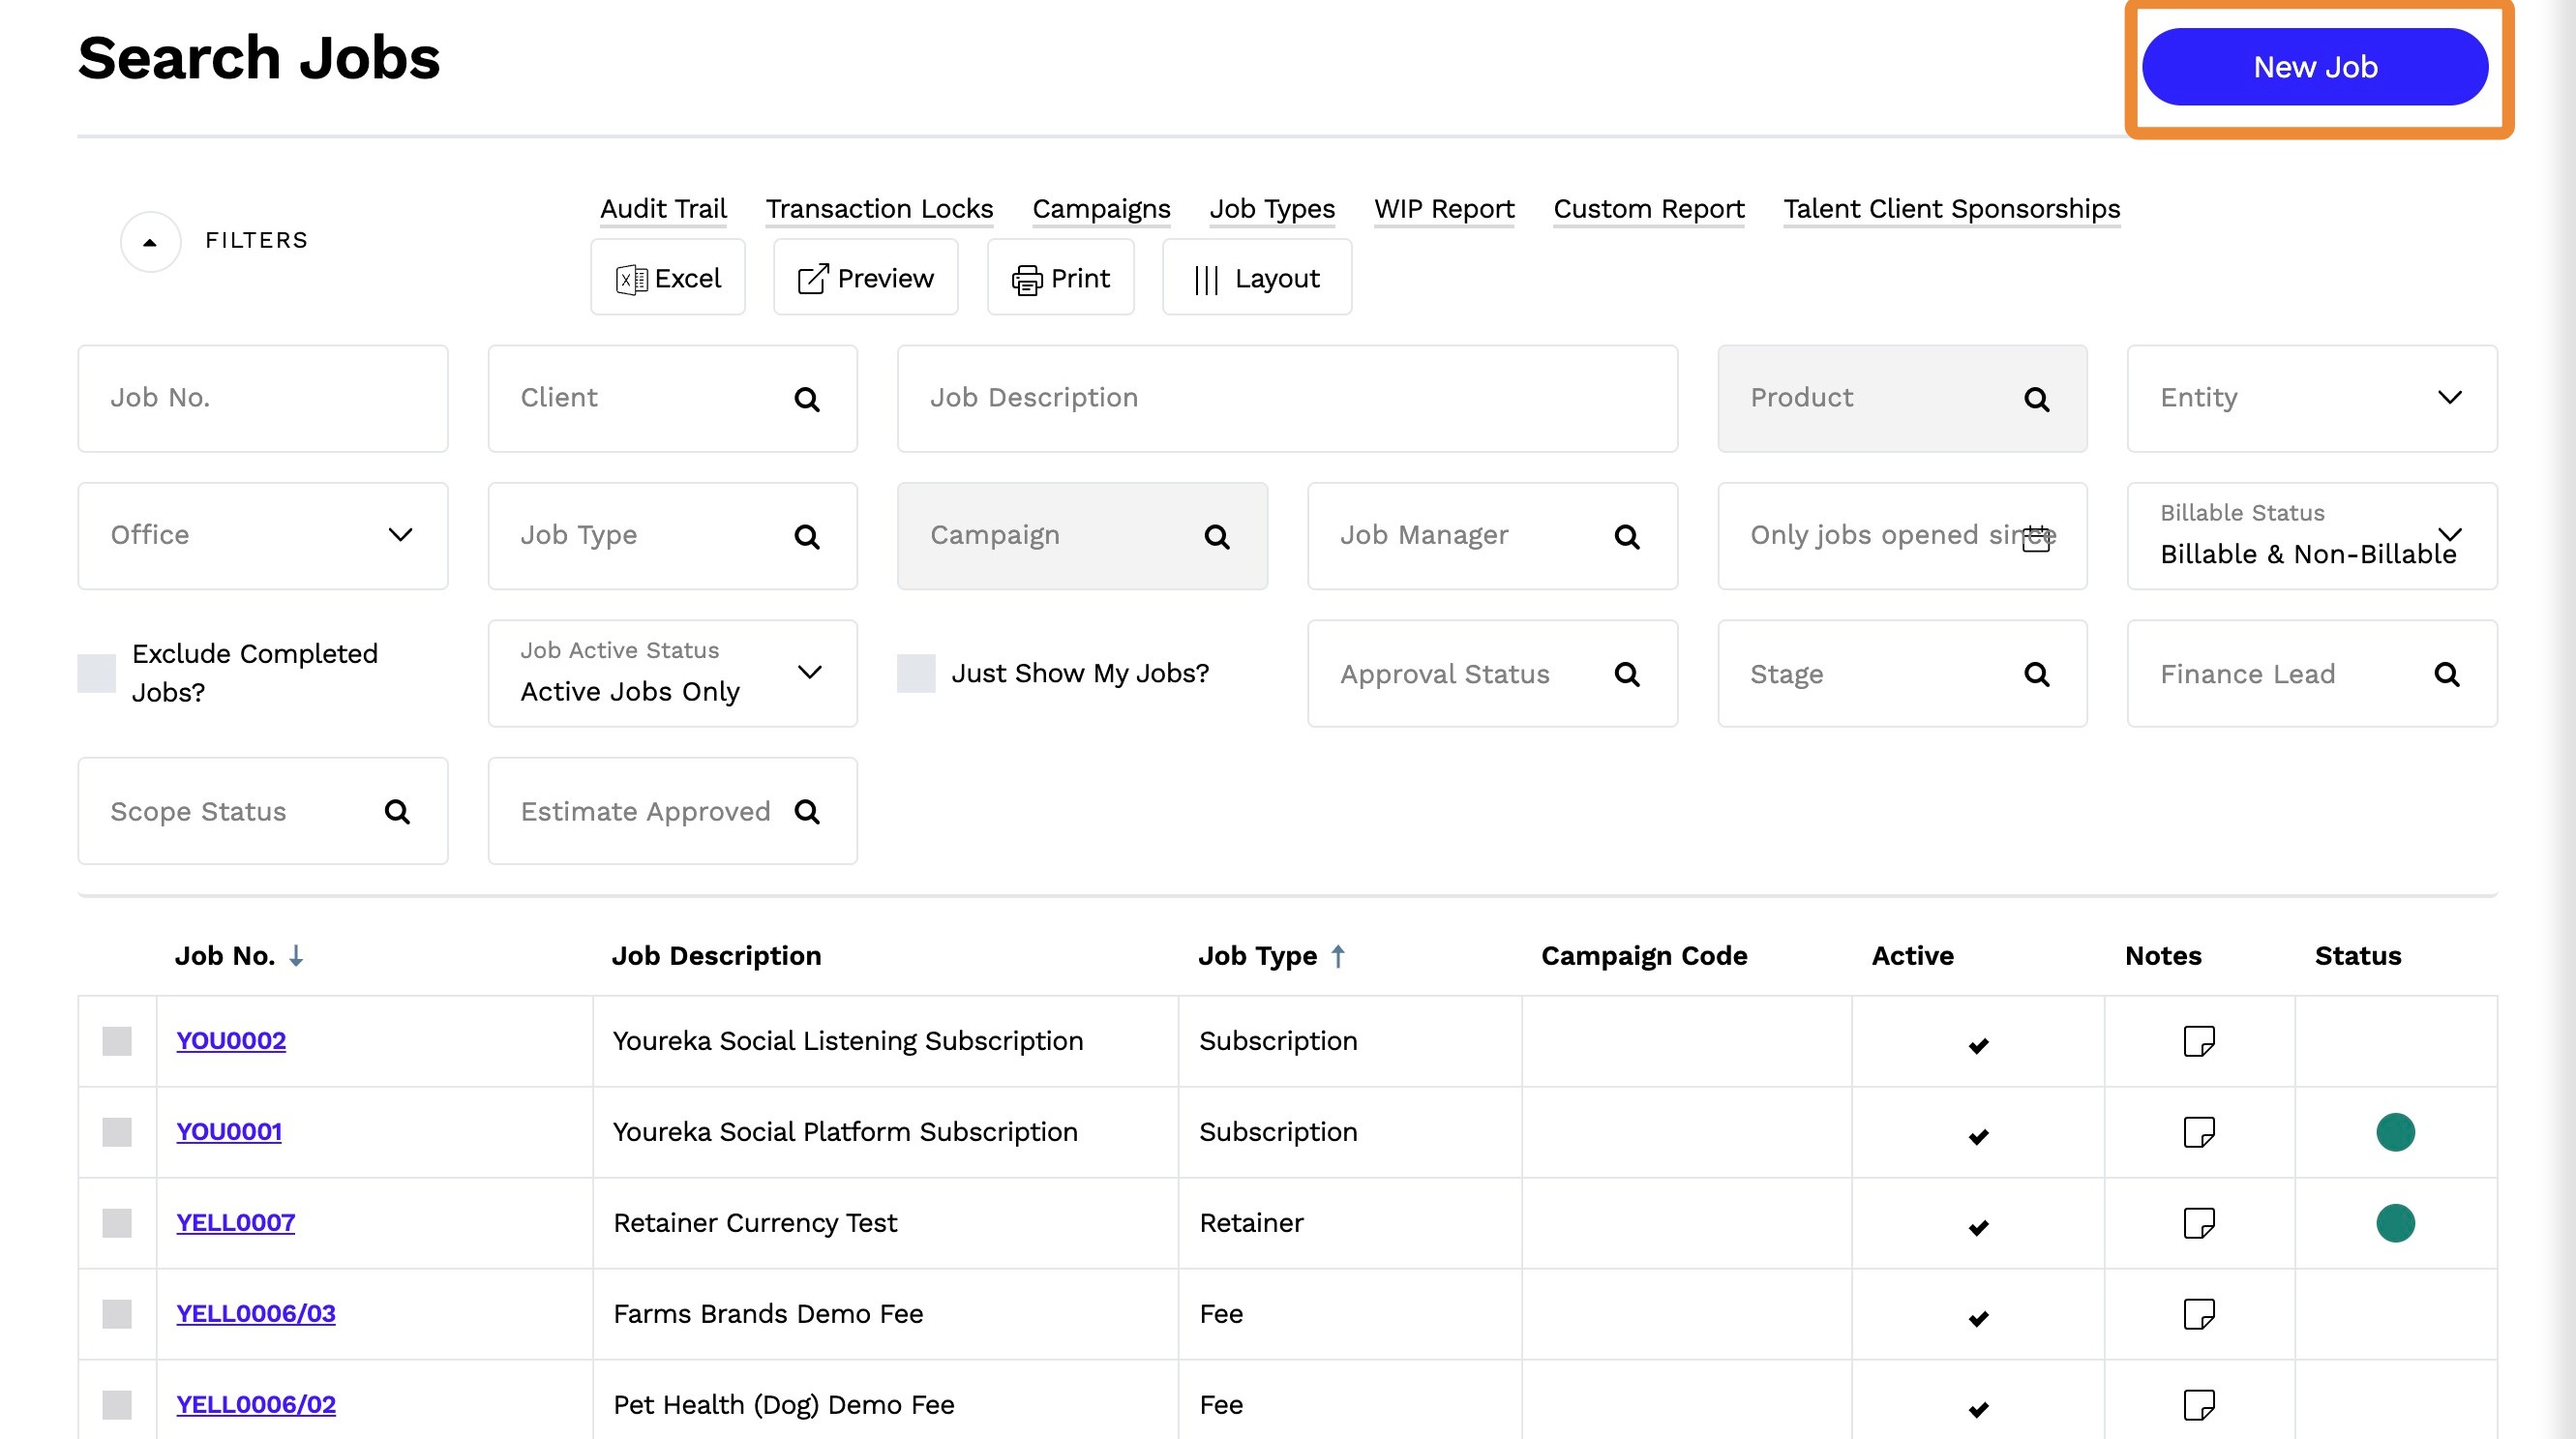
2. Click New Job
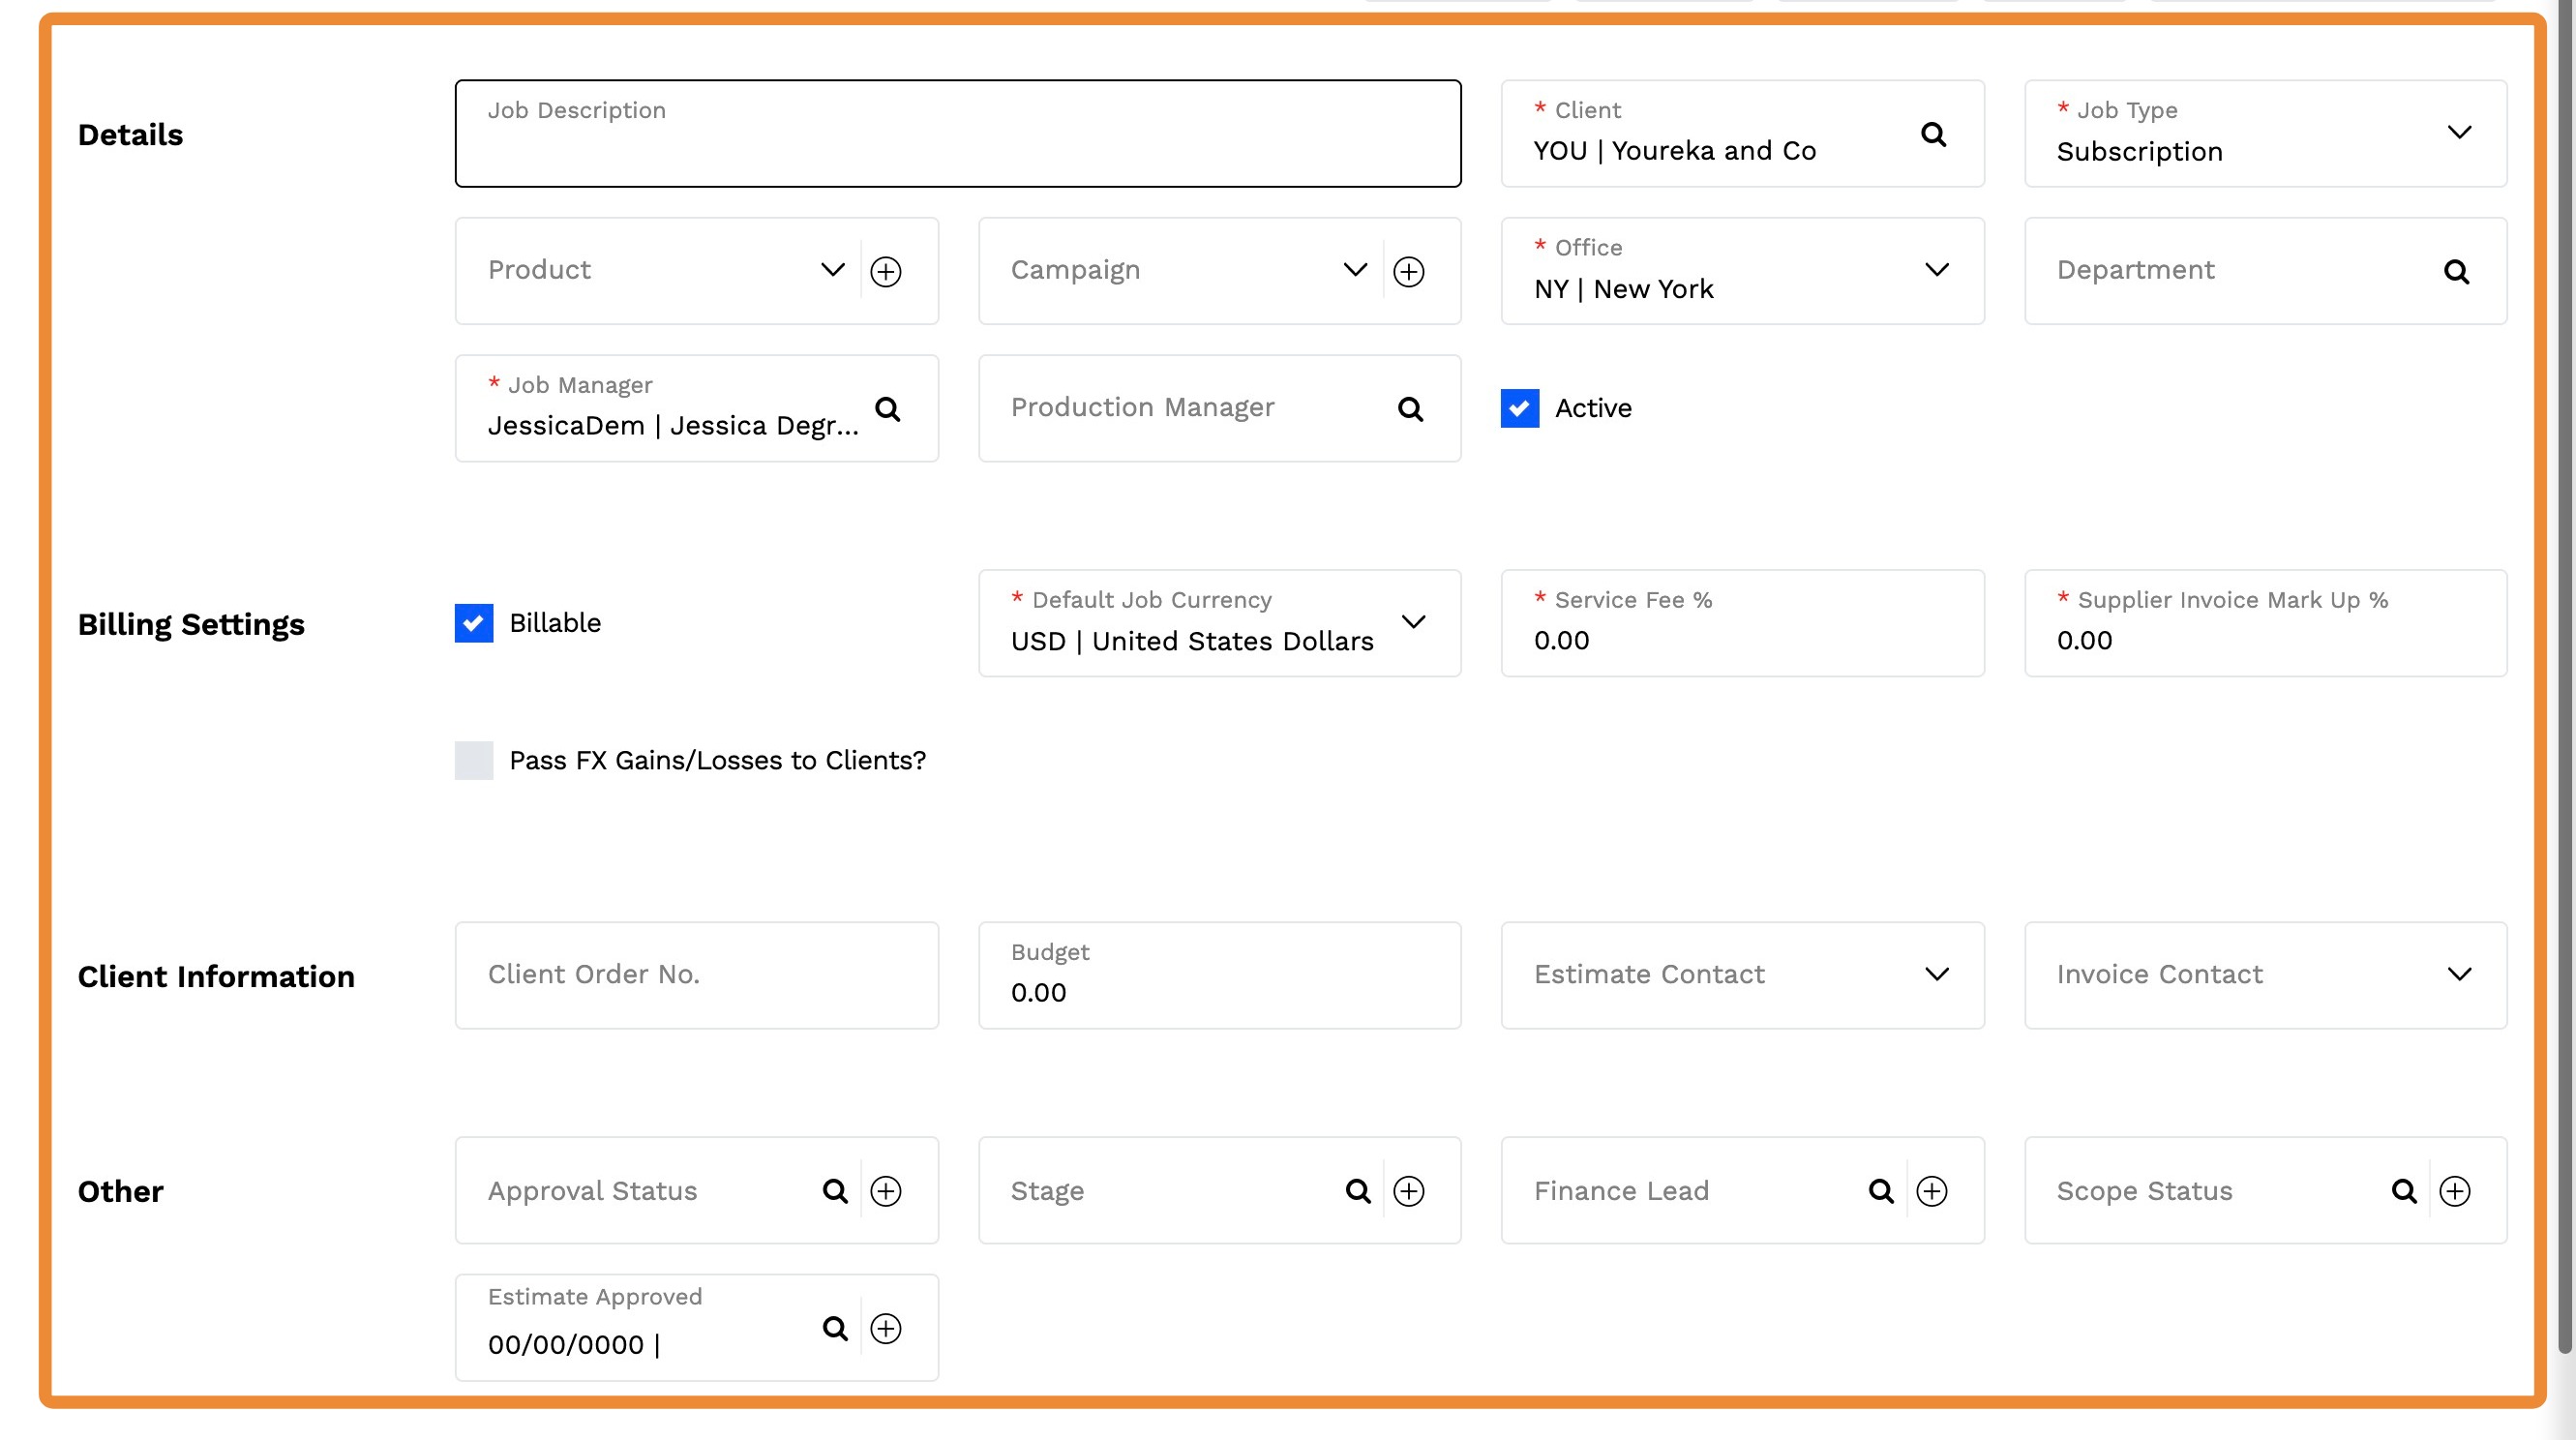
3. Enter Job Details: Fill in the following fields to define your job:
- Job Description: Enter a short description or the job name.
- Client: Select the client or use the search icon to find it.
- Job Type: Select the job type to classify revenue and determine available task types.
- Product (Optional): Enter or select the product.
- Campaign (Optional): Enter or select a campaign.
- Office: The default office is applied based on the client but can be changed if needed.
- Department (Optional): Select or search for the relevant department.
- Job Manager: Auto-filled with client defaults but can be modified.
- Production Manager: Assign a production manager.
- Active: Check this box to keep the job active.
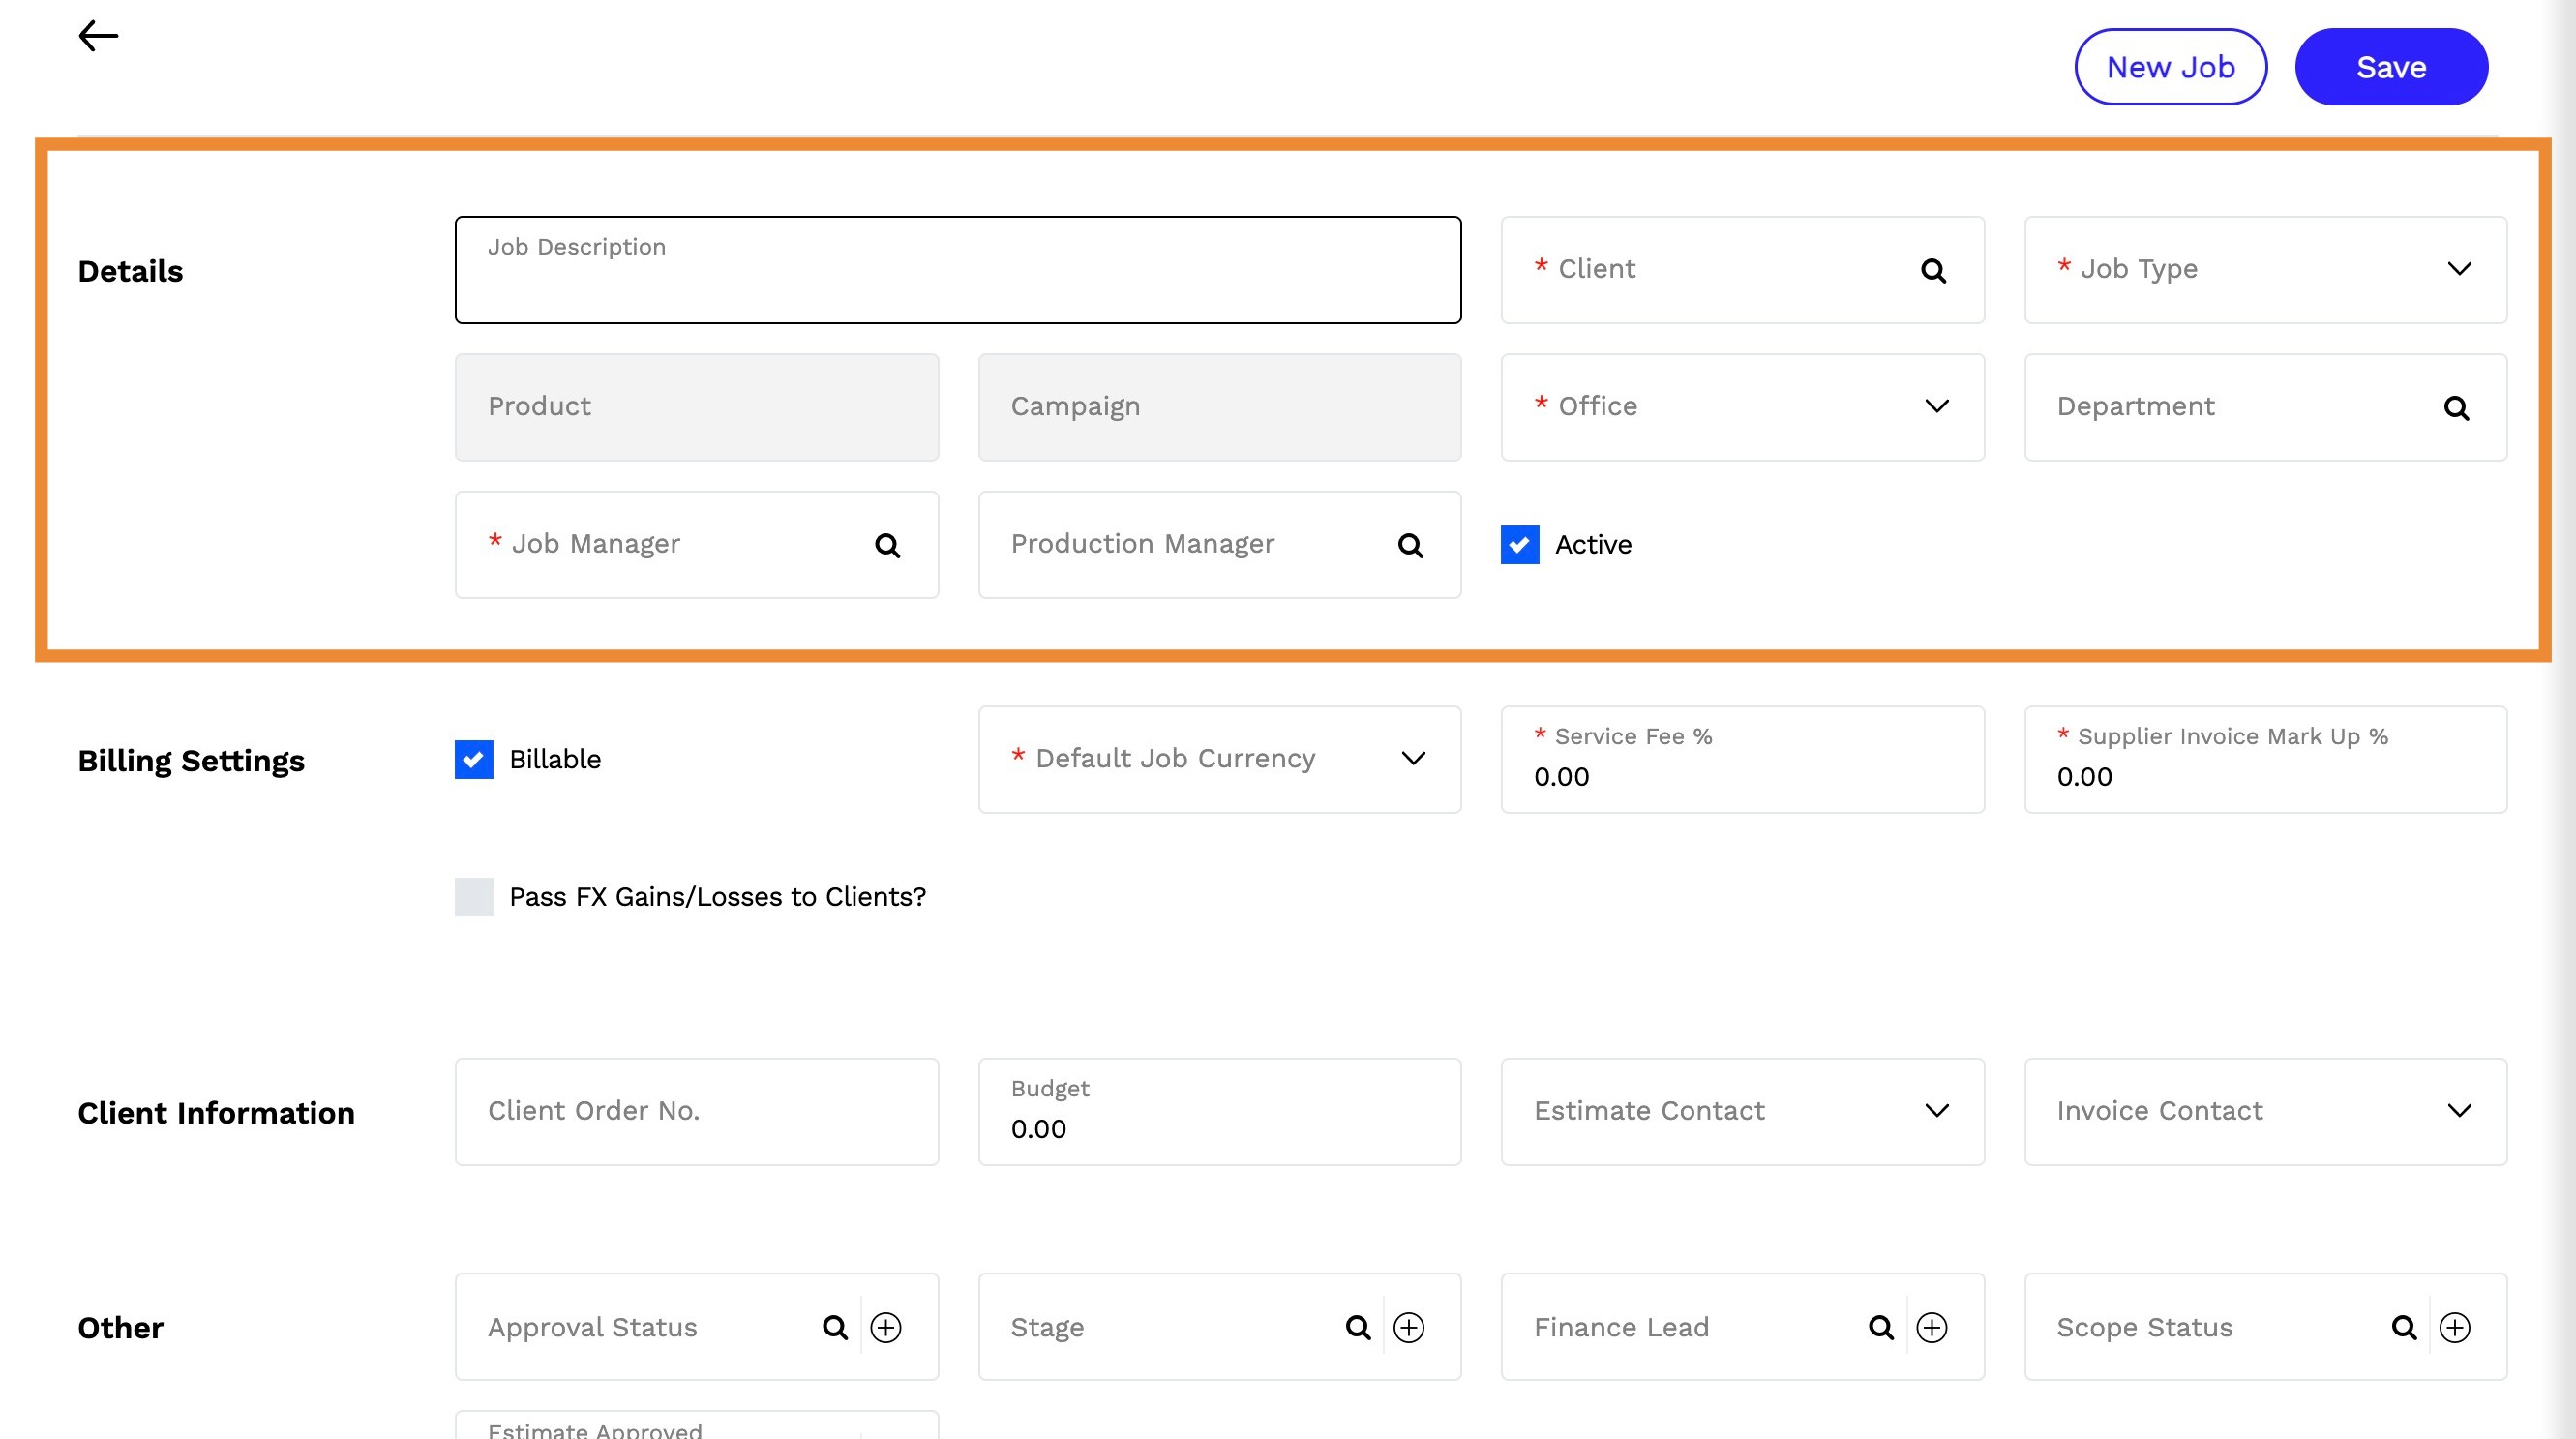
Tip: All required fields are marked with red asterisk (*).
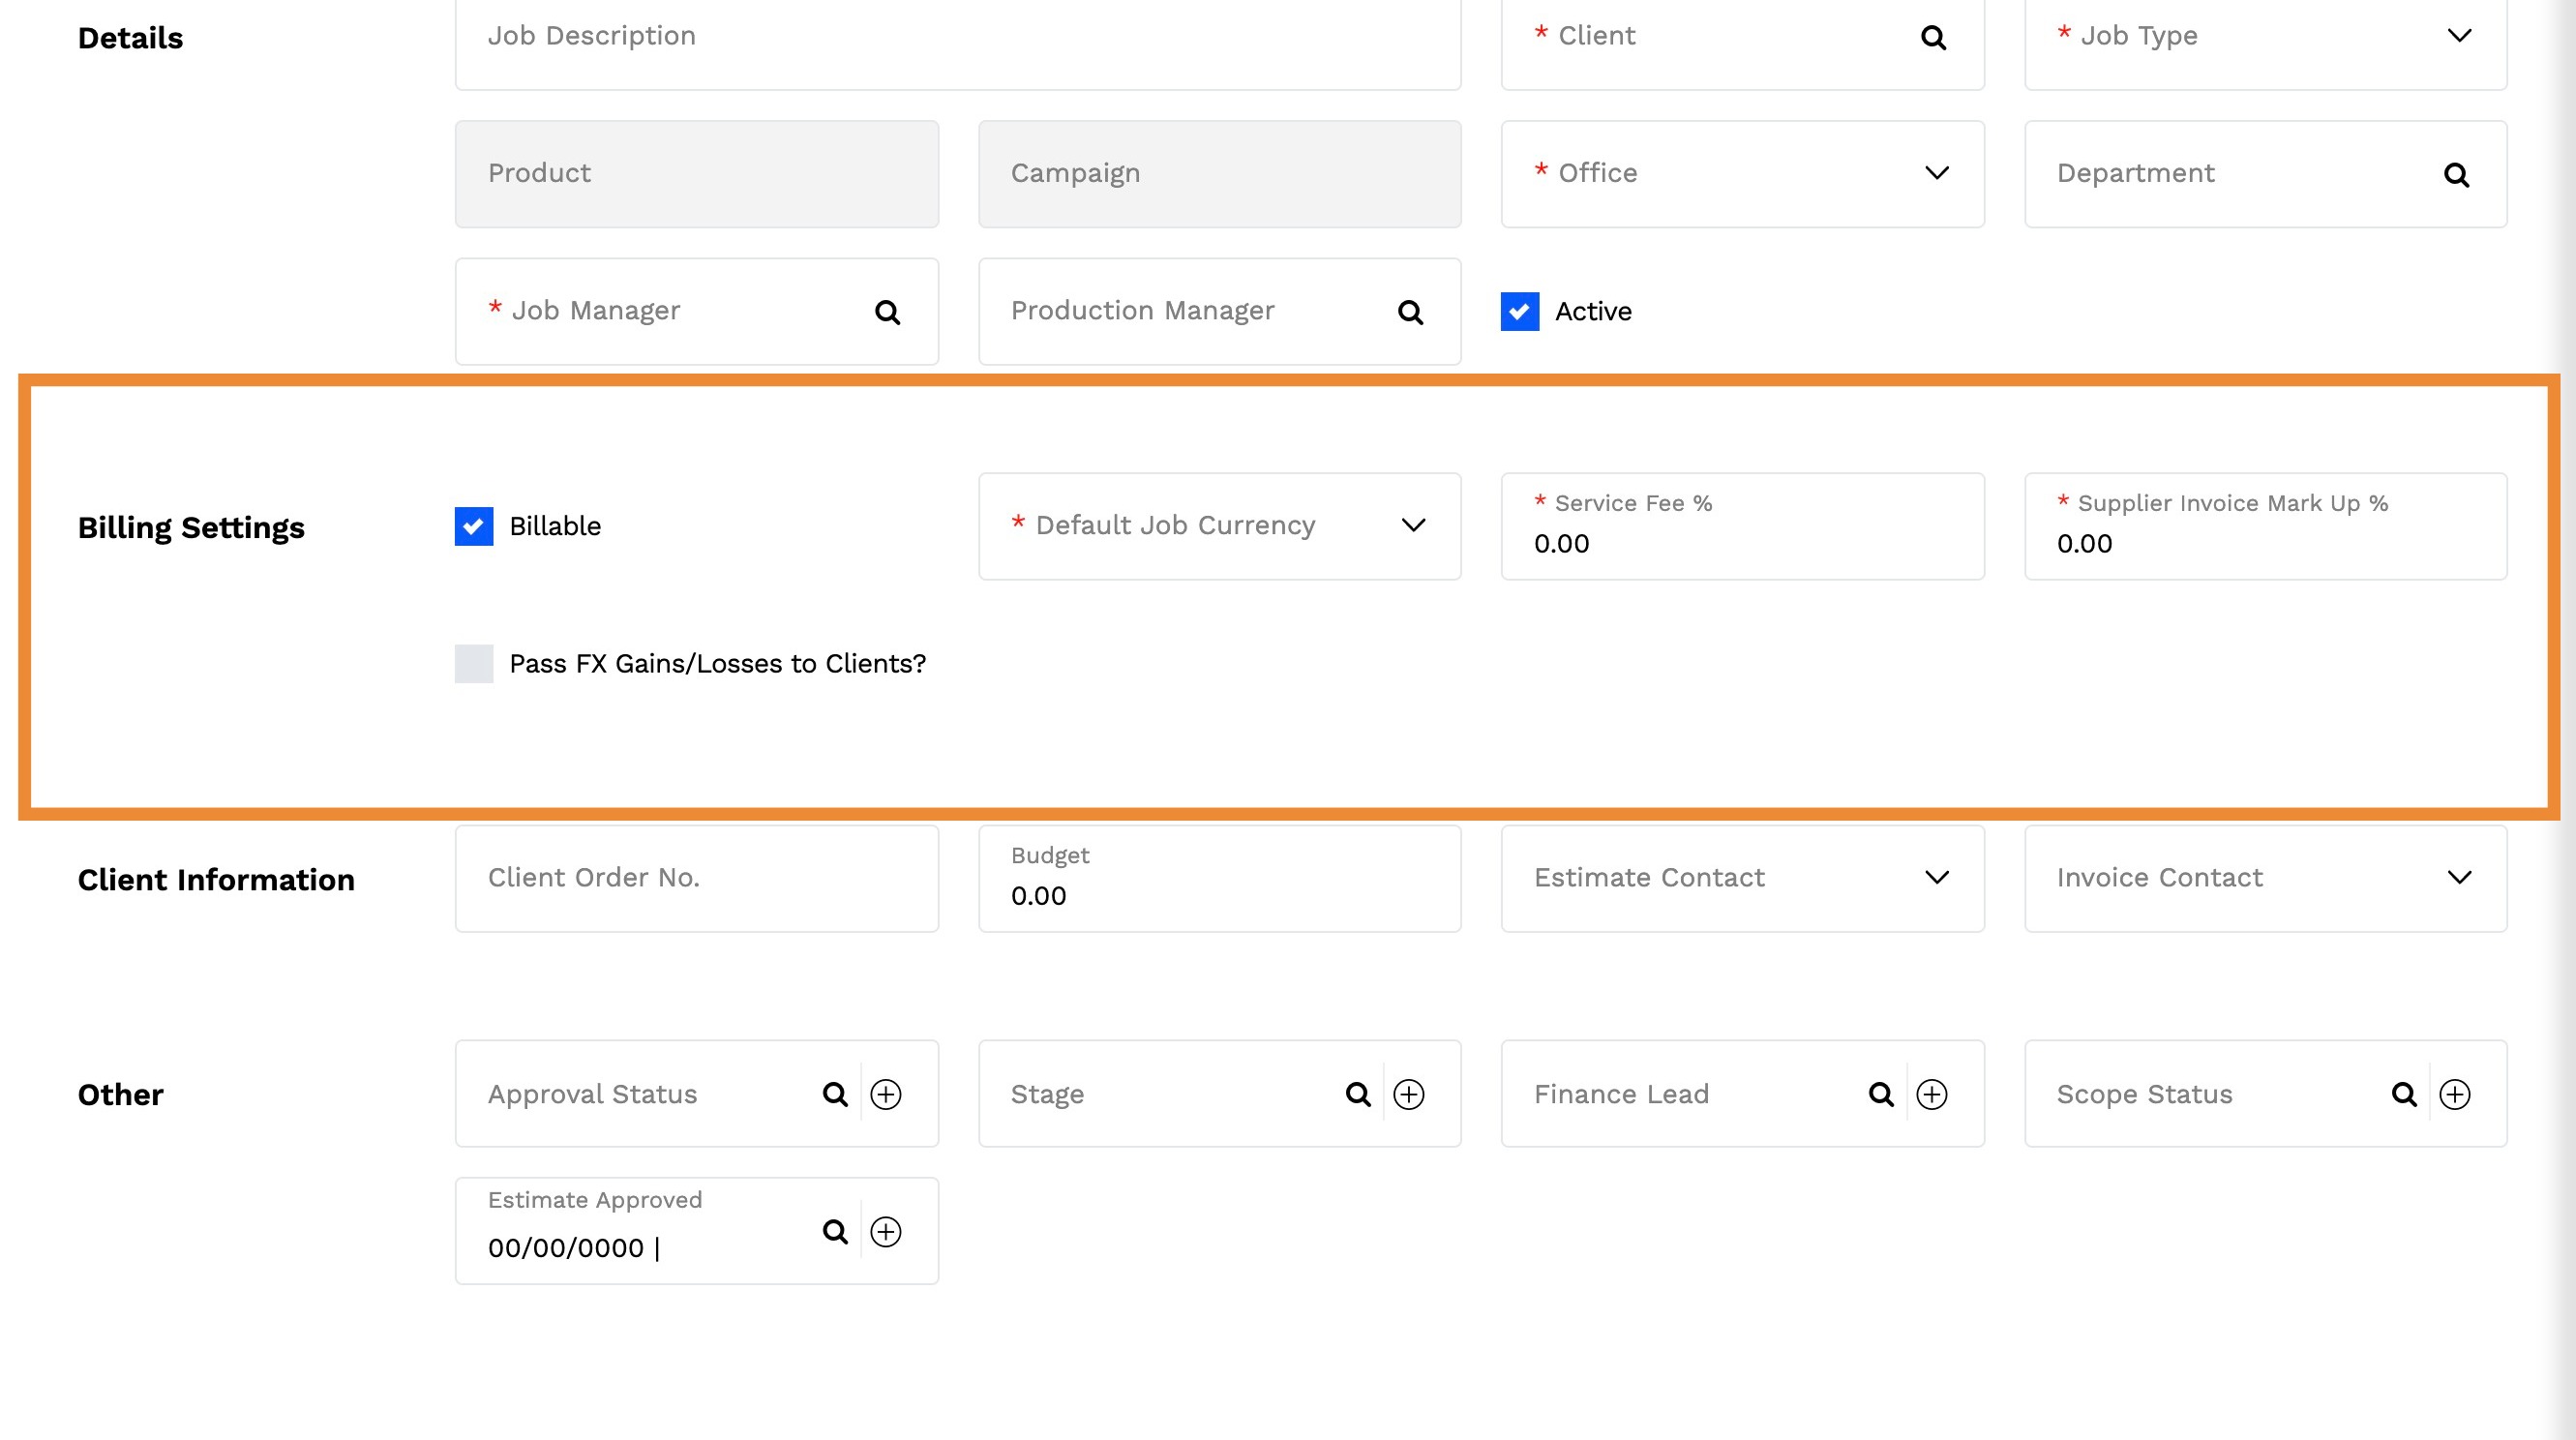
4. Configure Billing Settings:
- Billable: Check this box to mark the job as billable.
- Default Job Currency: Auto-filled from client settings but can be updated.
- Service Fee %: Populates based on client data but can be changed for this job.
- Supplier Invoice Mark-Up %: the percentage markup for supplier invoices if applicable.
- Pass FX Gains/Losses to Clients?: Check if foreign exchange gains or losses should be passed on to the client.
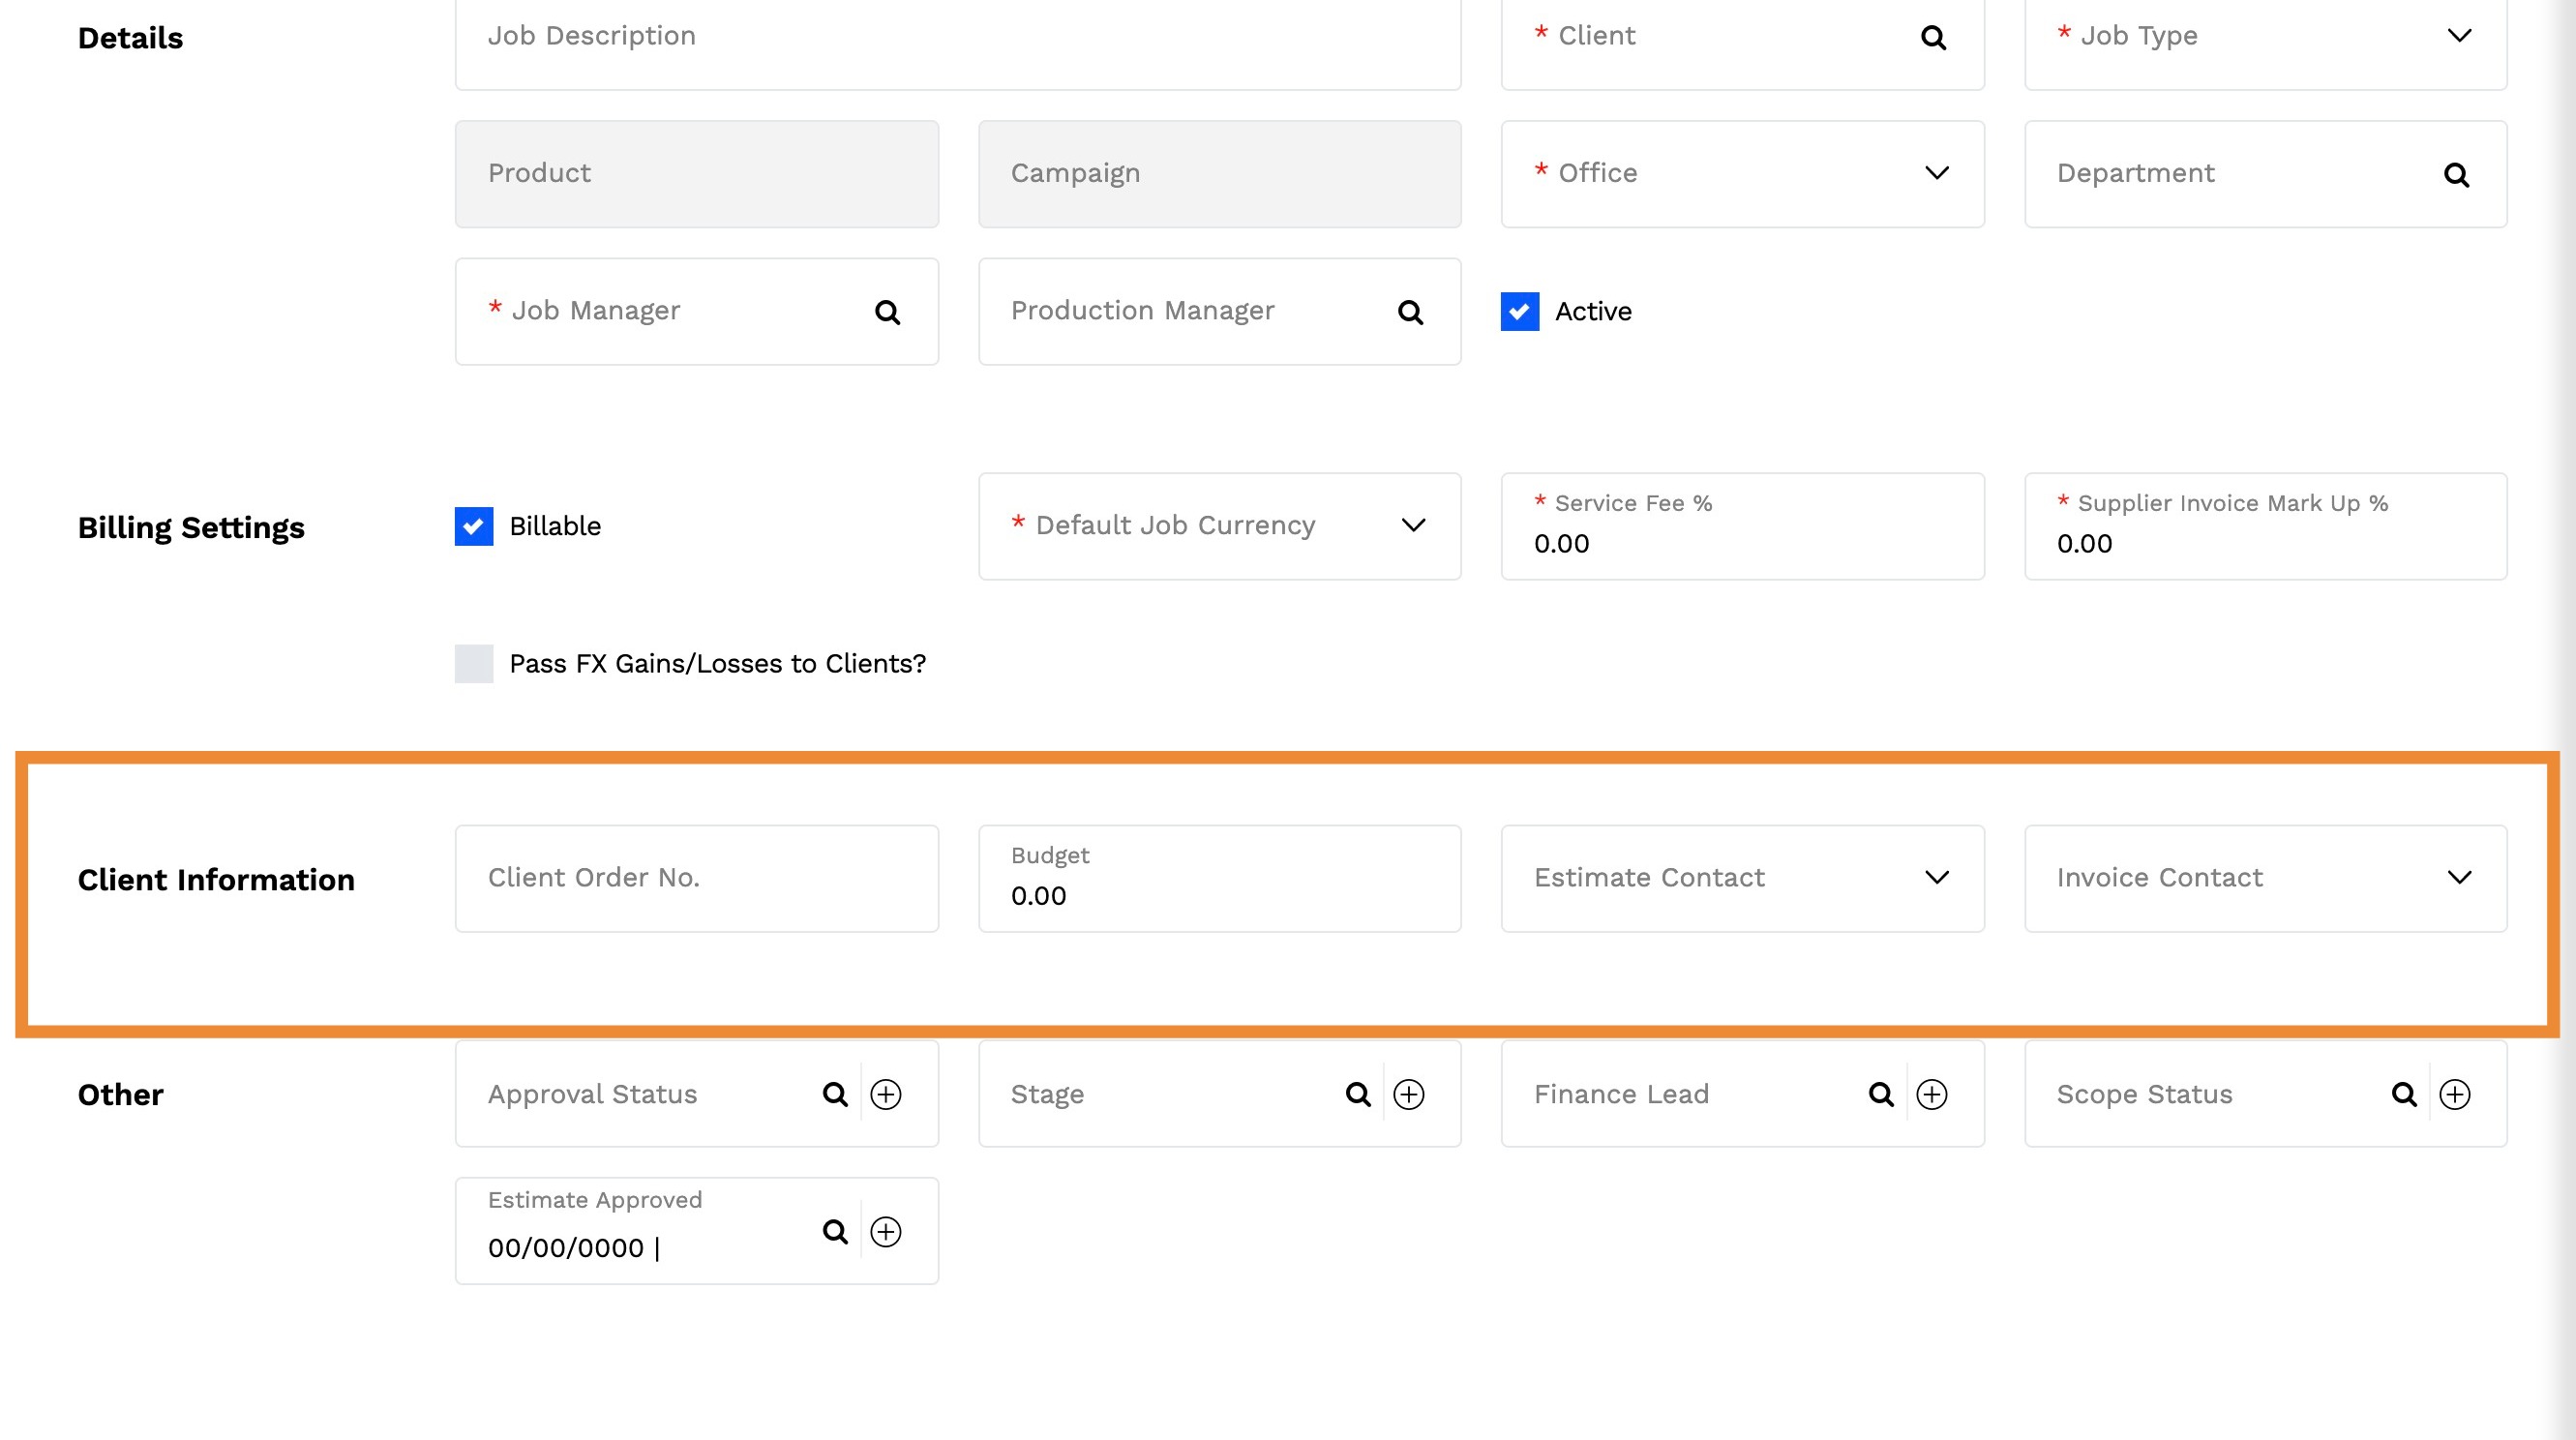
5. Input Client Information (Optional):
- Client Order No.: Add a client order number if required.
- Budget: Enter a budget for the job (optional but recommended).
- Estimate Contact: Auto-filled from client settings; update if needed.
- Invoice Contact: Auto-filled from client settings; update if needed.
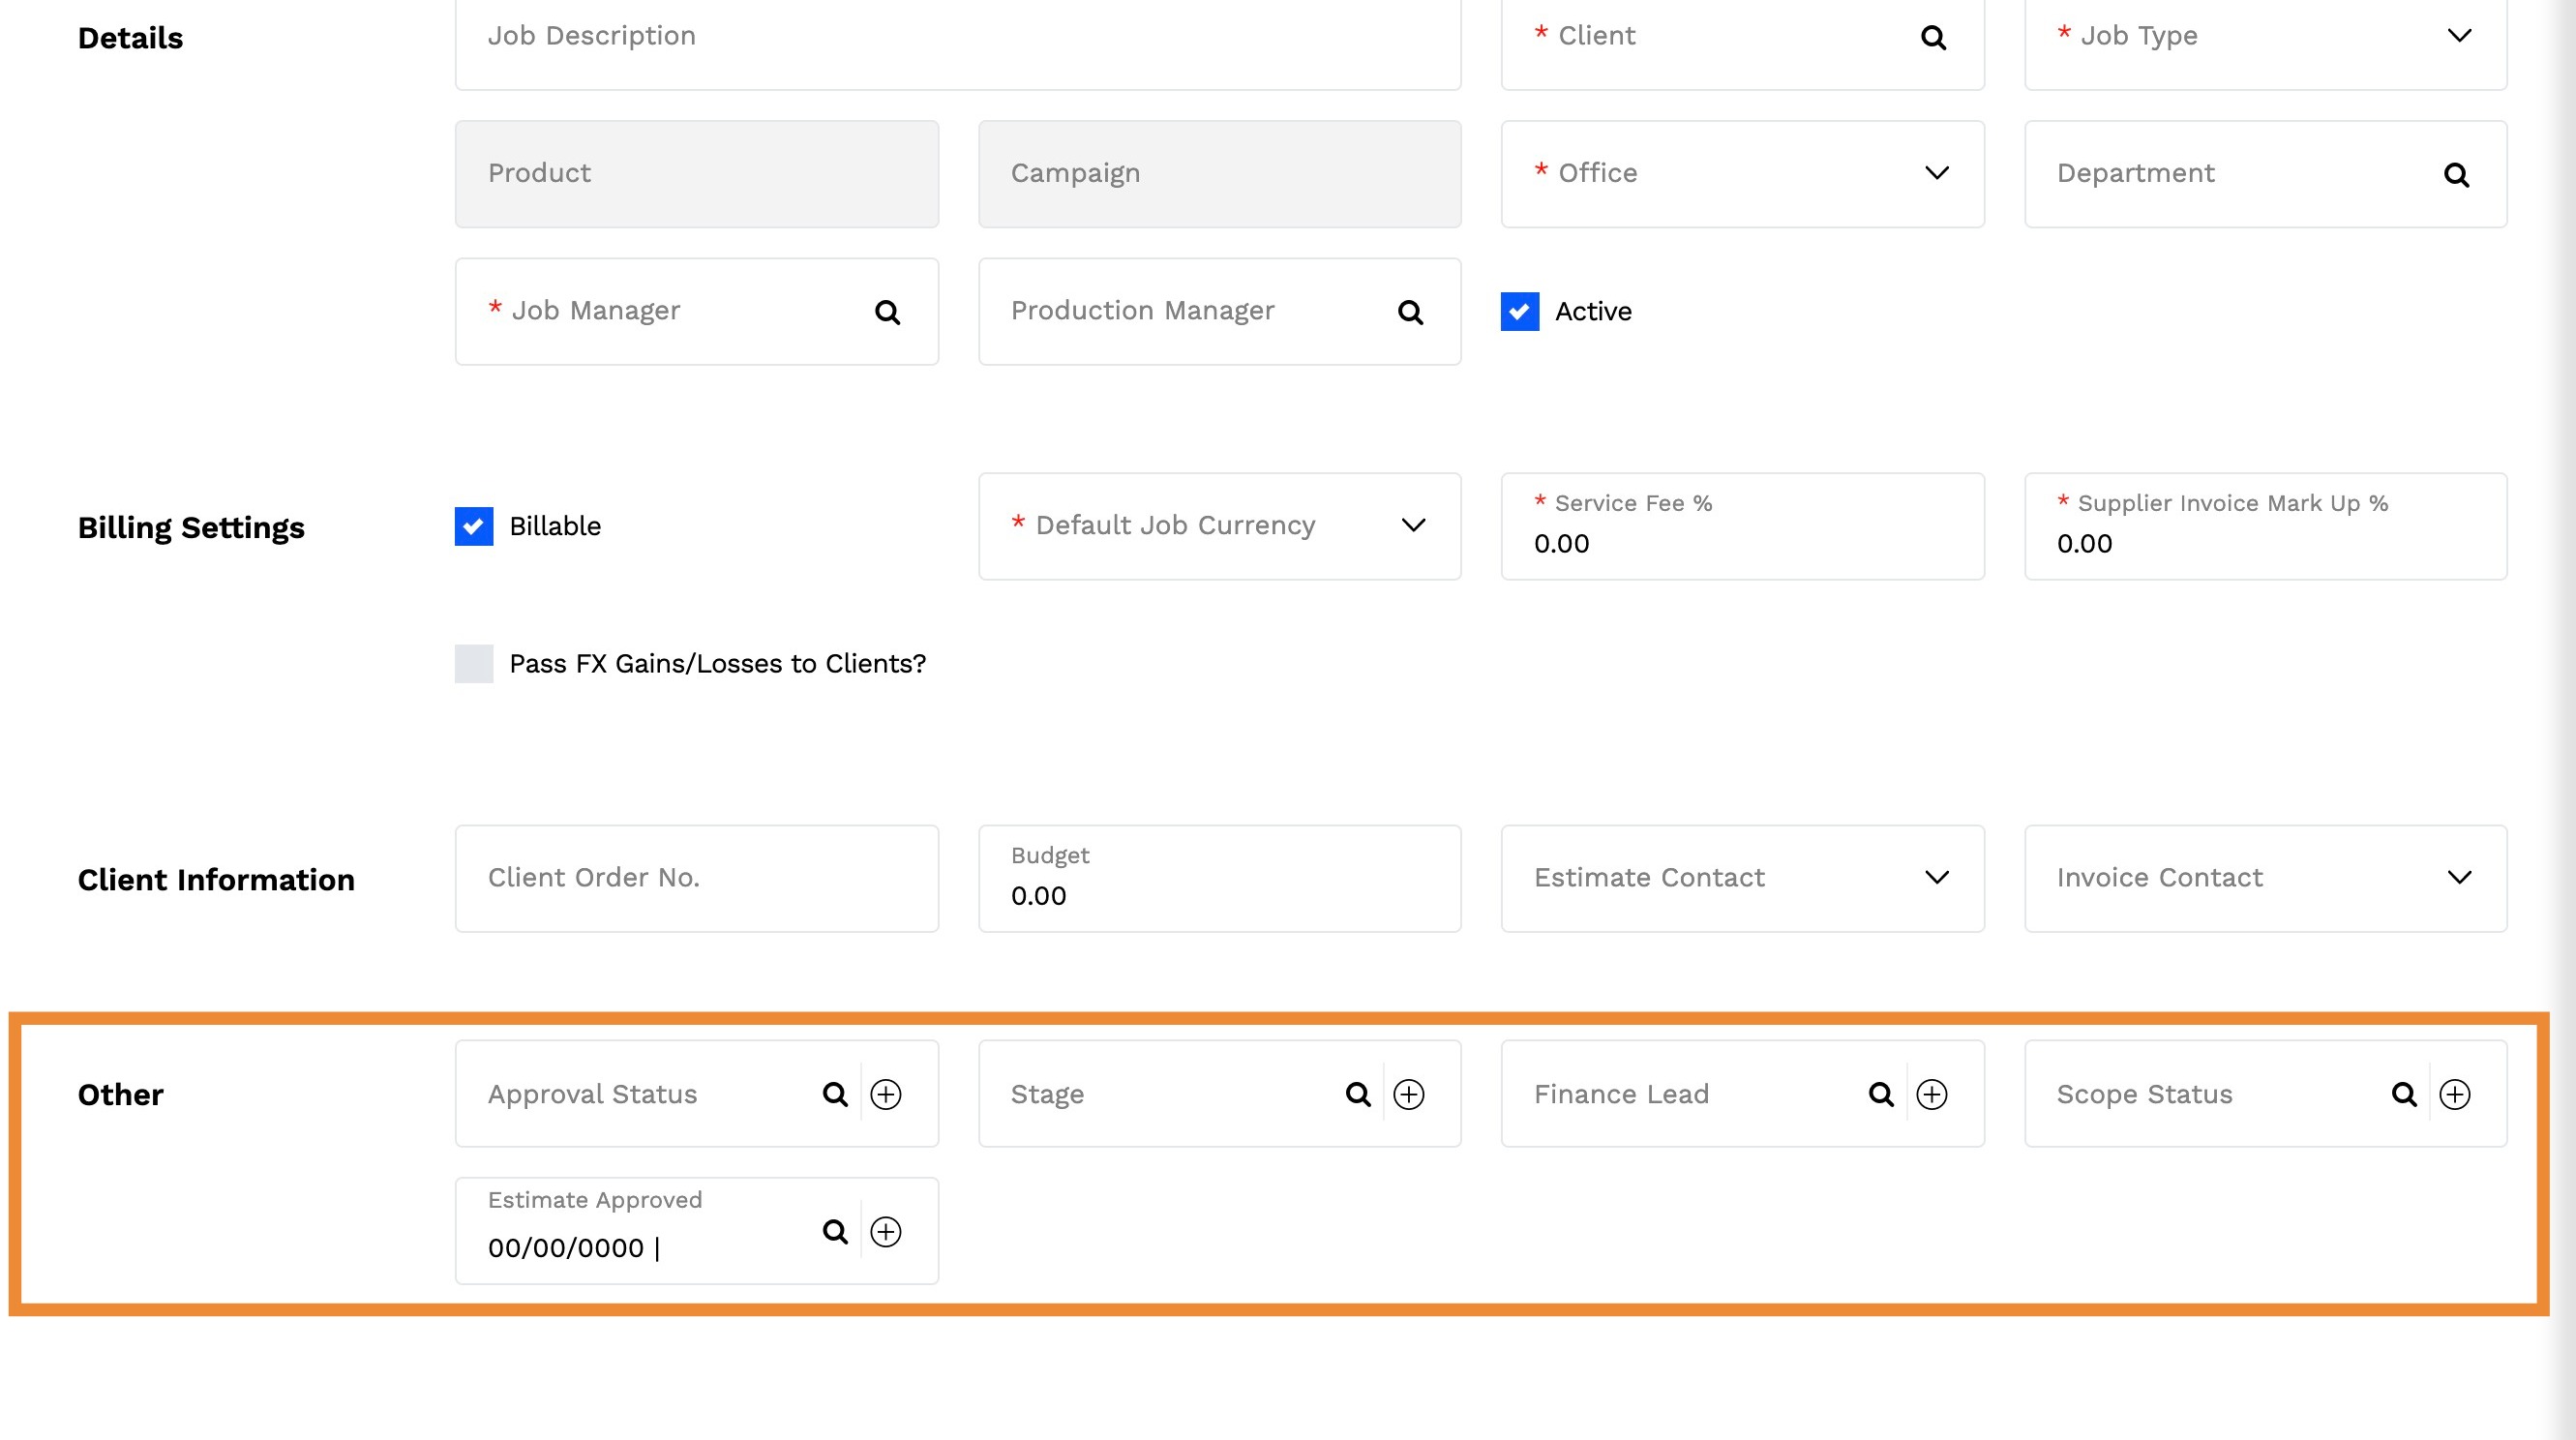
6. Agency Defined Fields (Custom Labels):
Accountability provides the ability to create up to 5 custom fields, tailored to your agency's needs. These fields can be labeled according to your requirements to better manage and categorize job information.
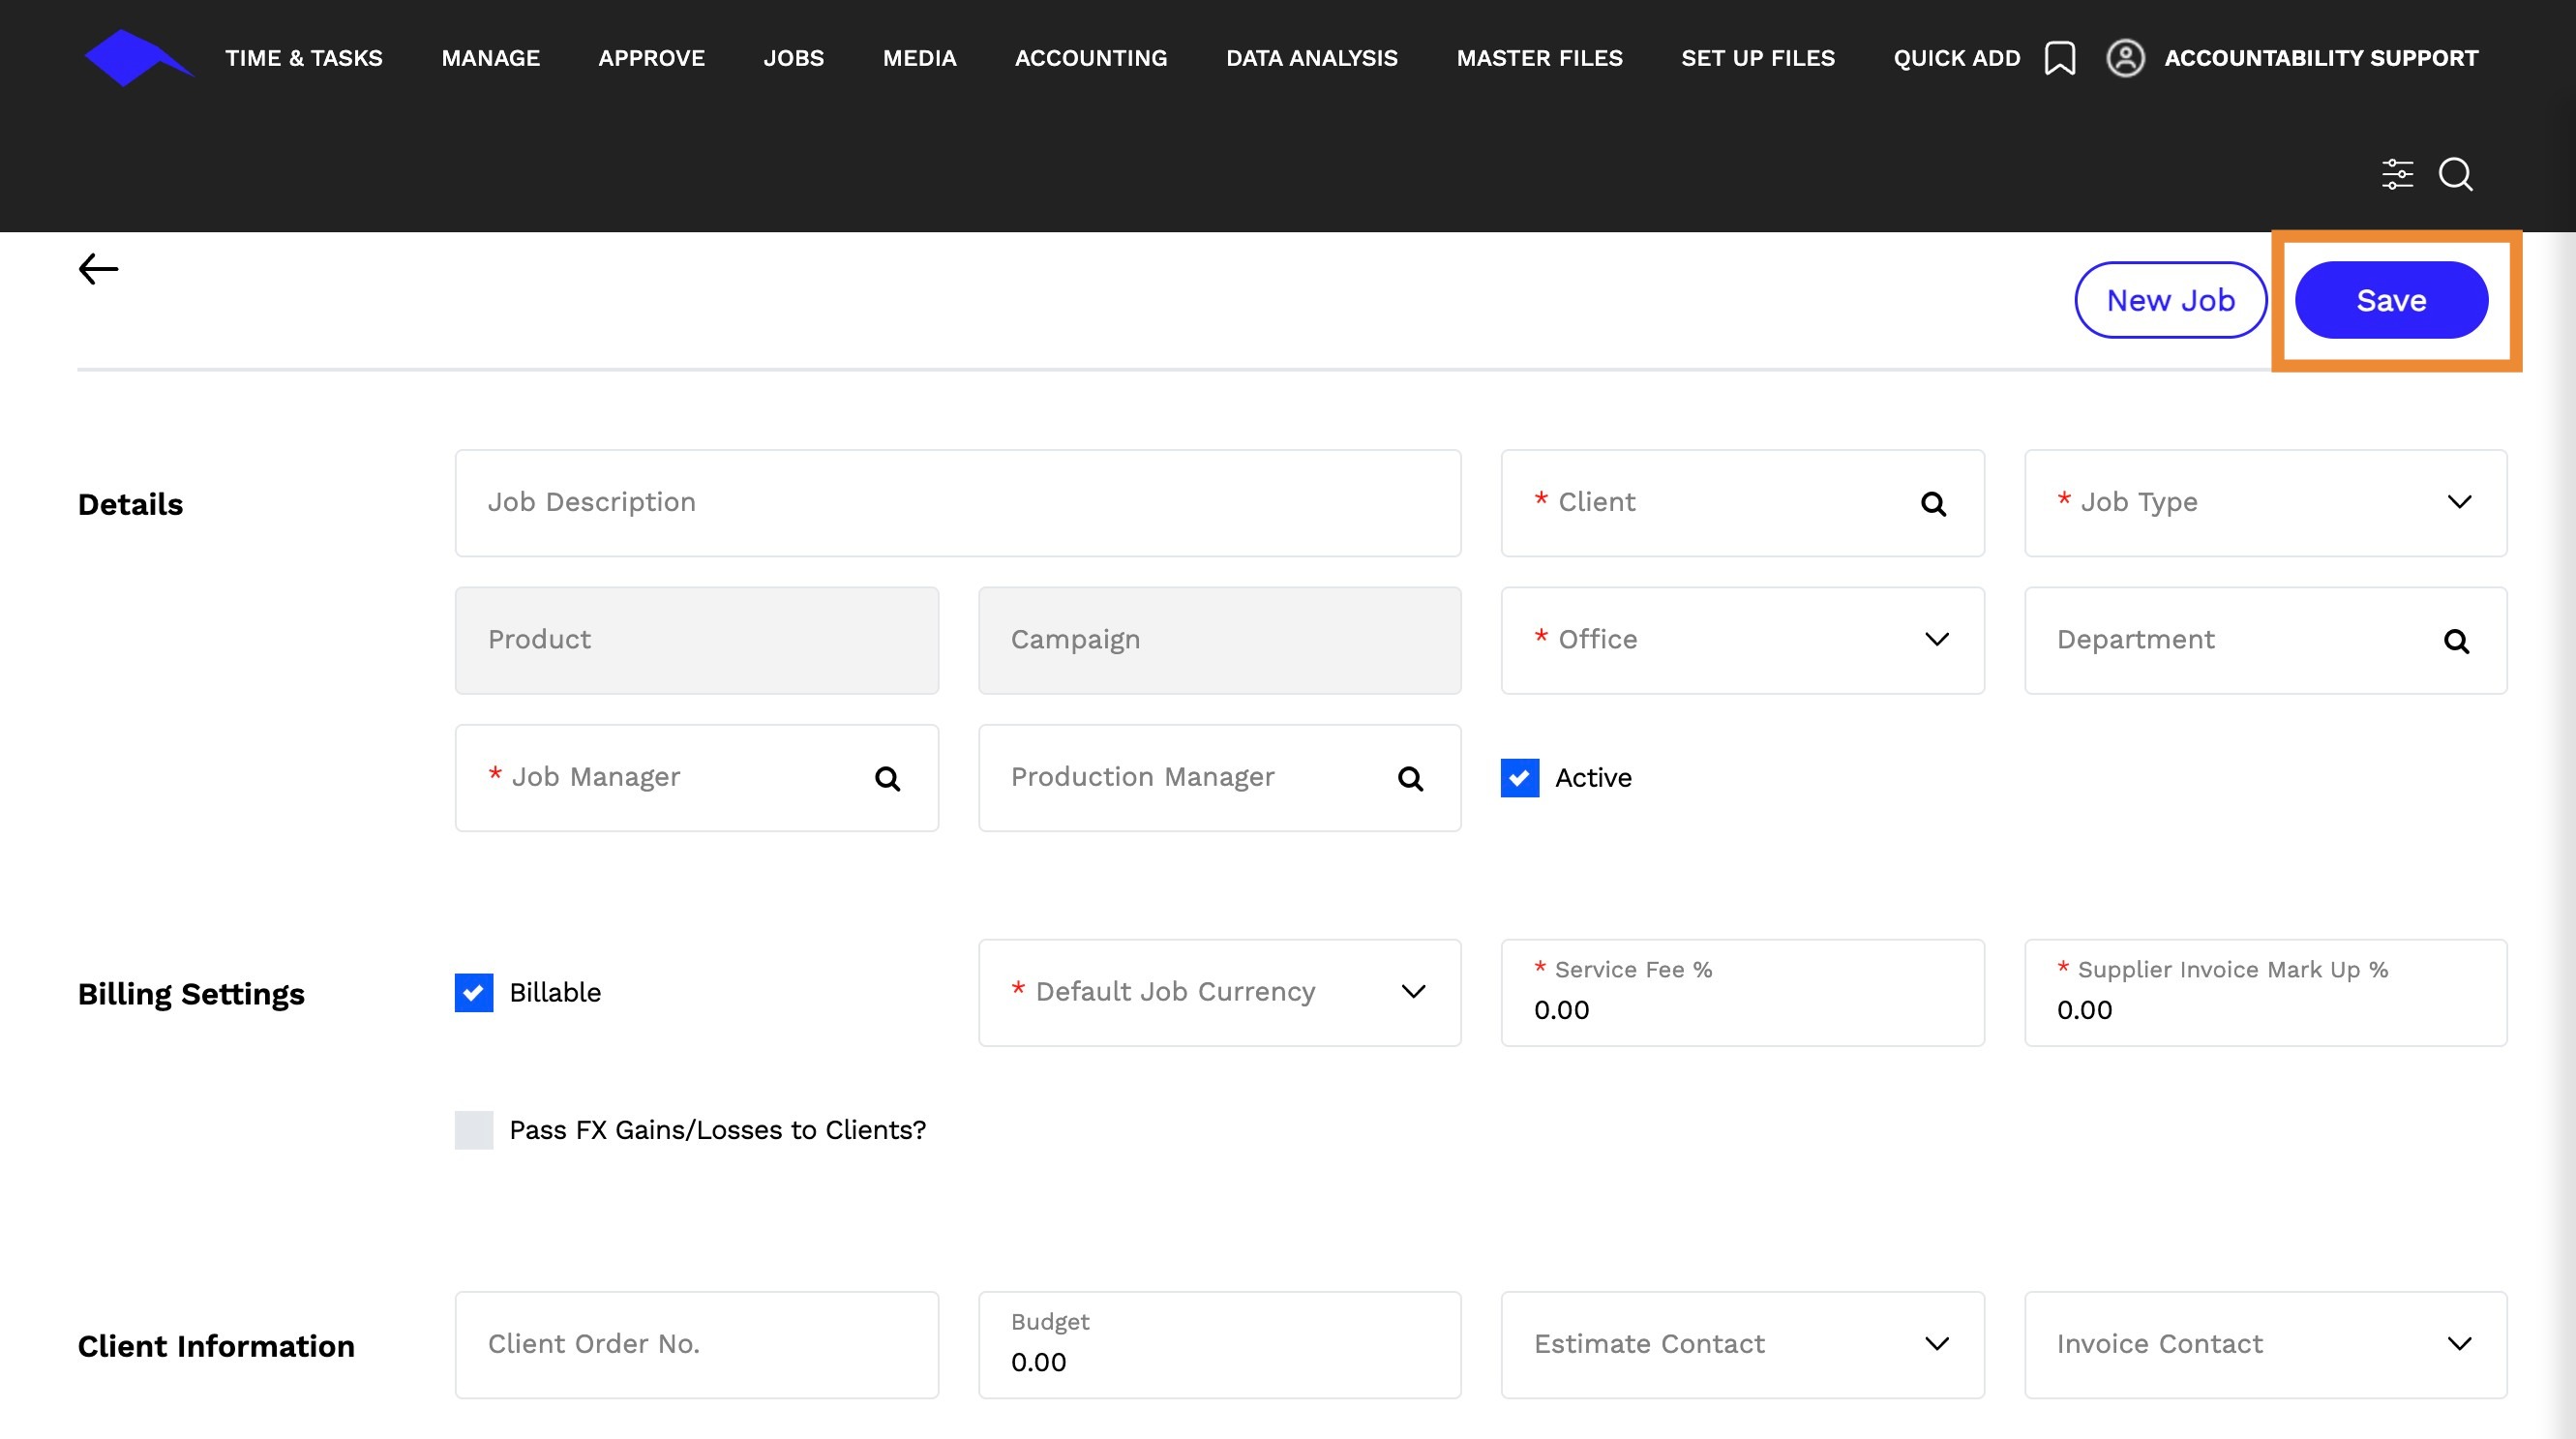
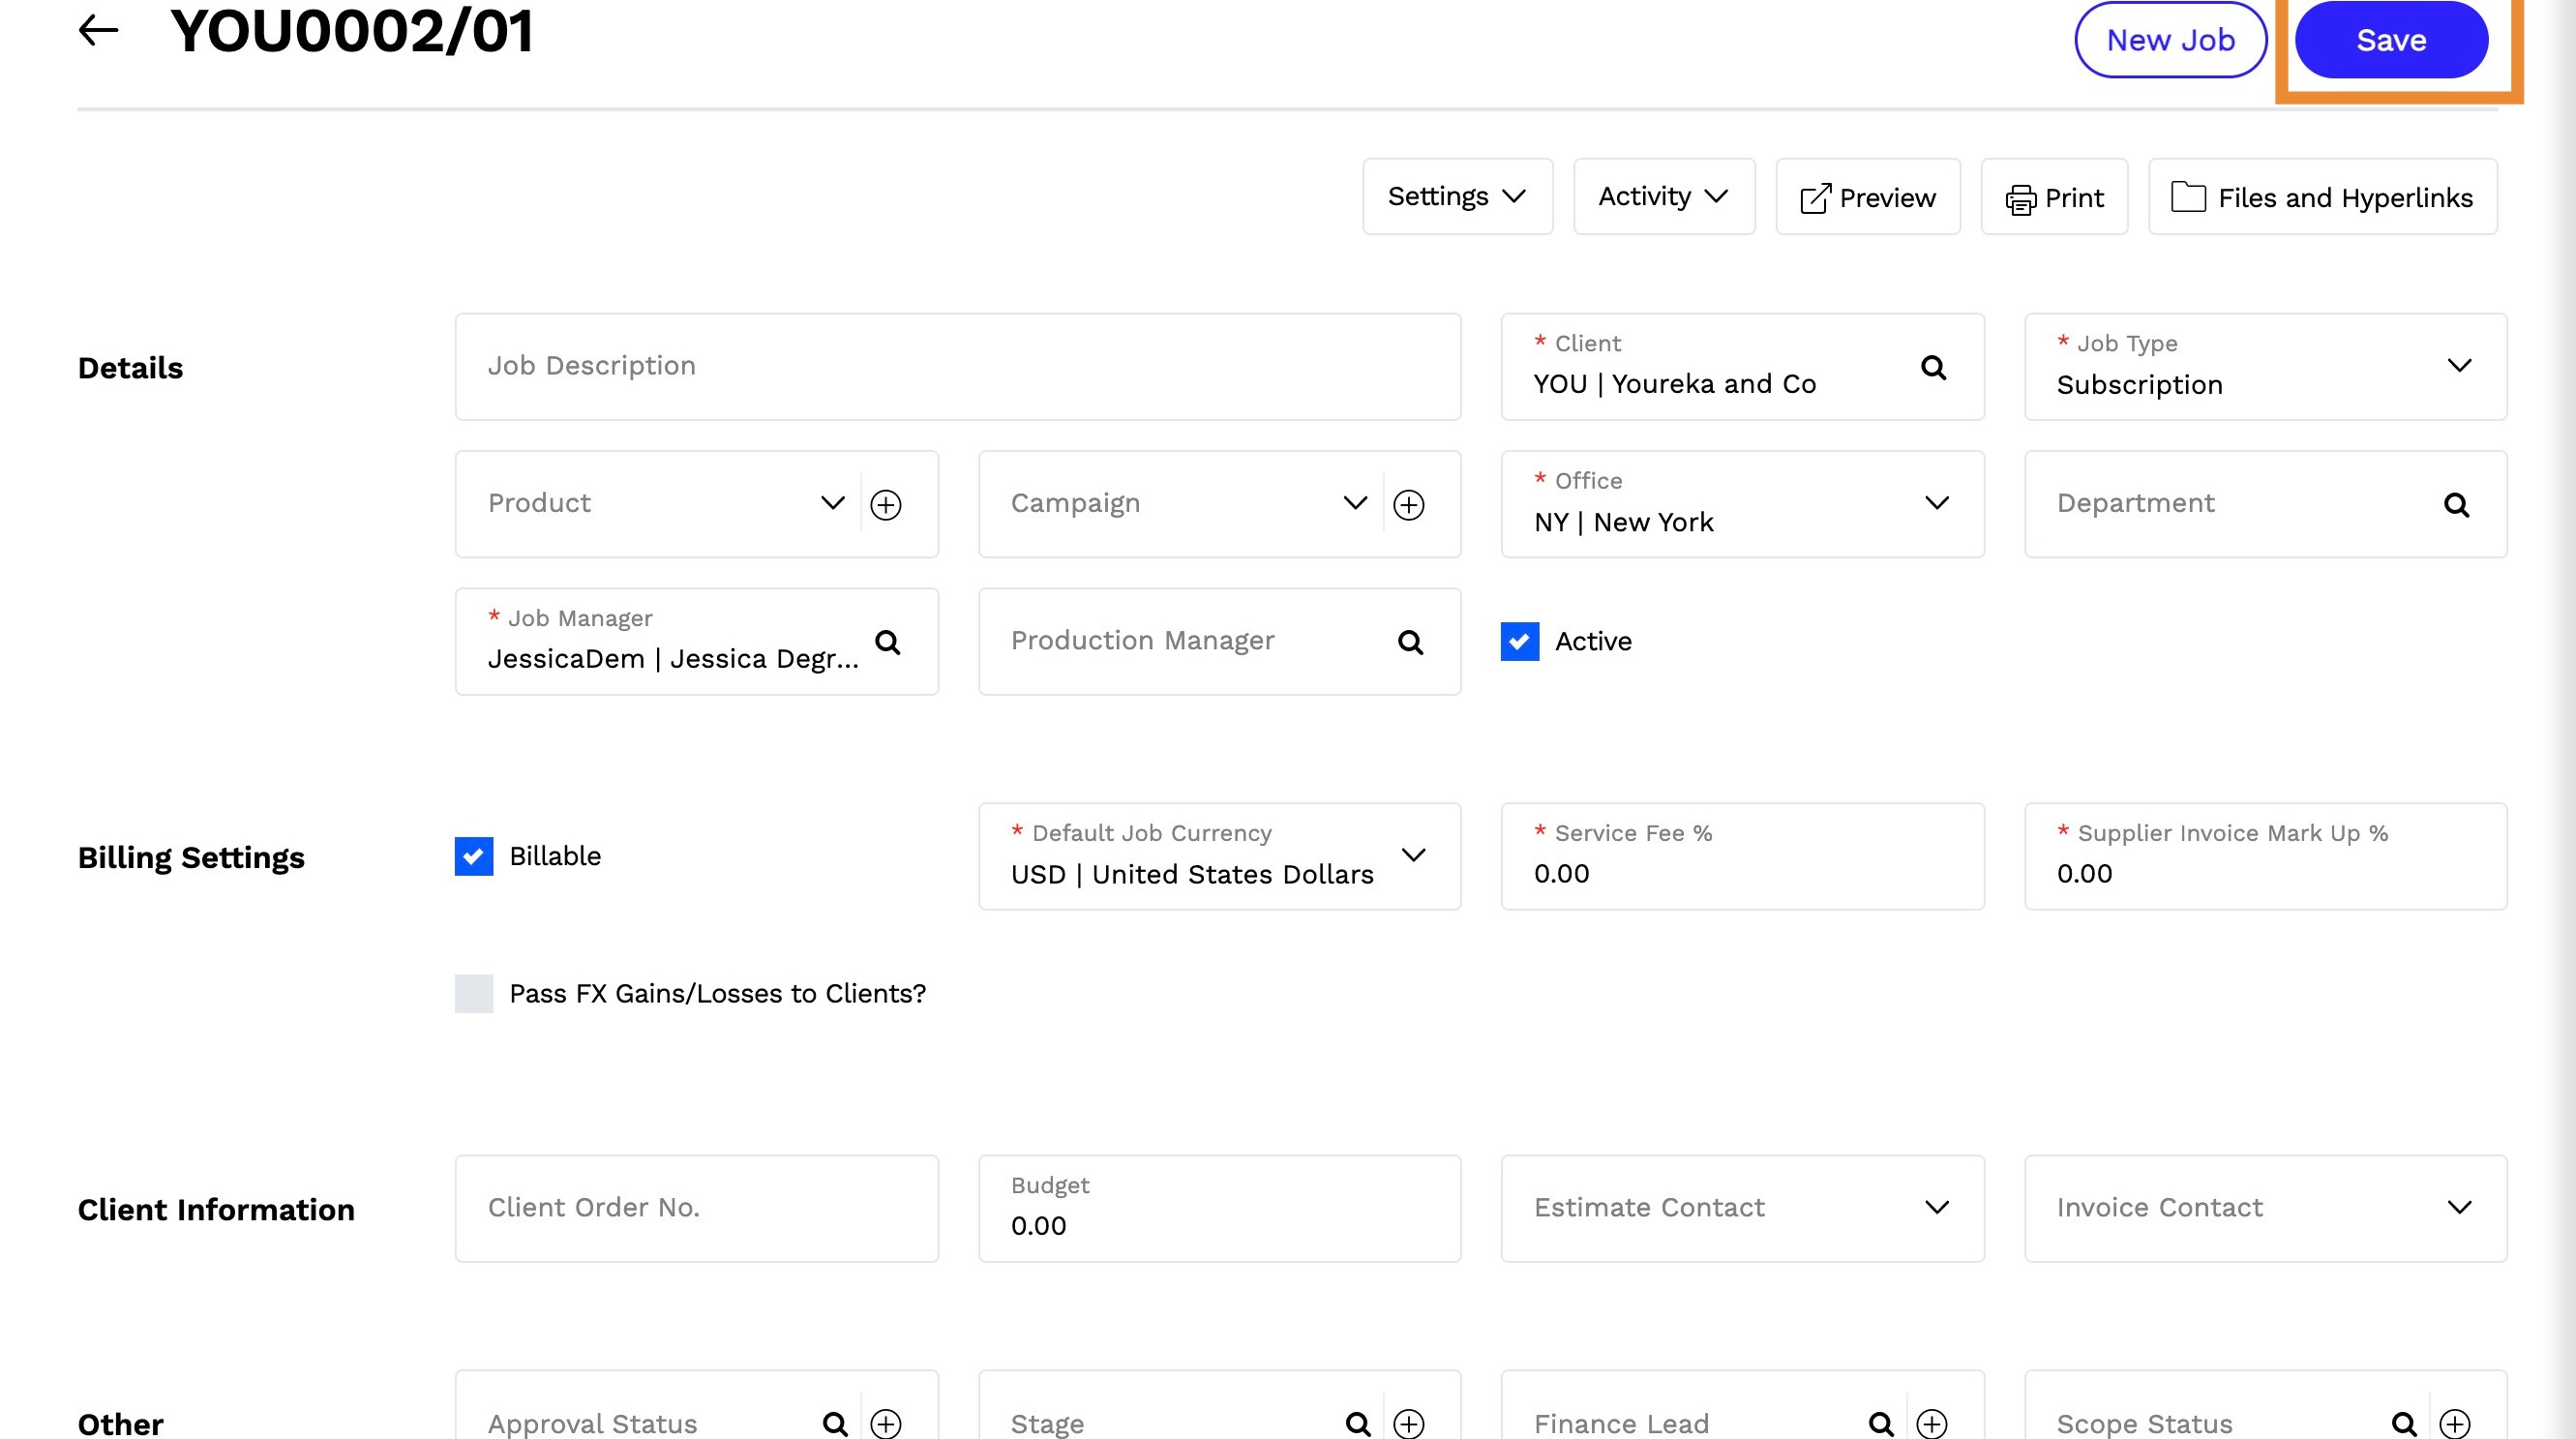
7. Click Save and finalize the job creation.
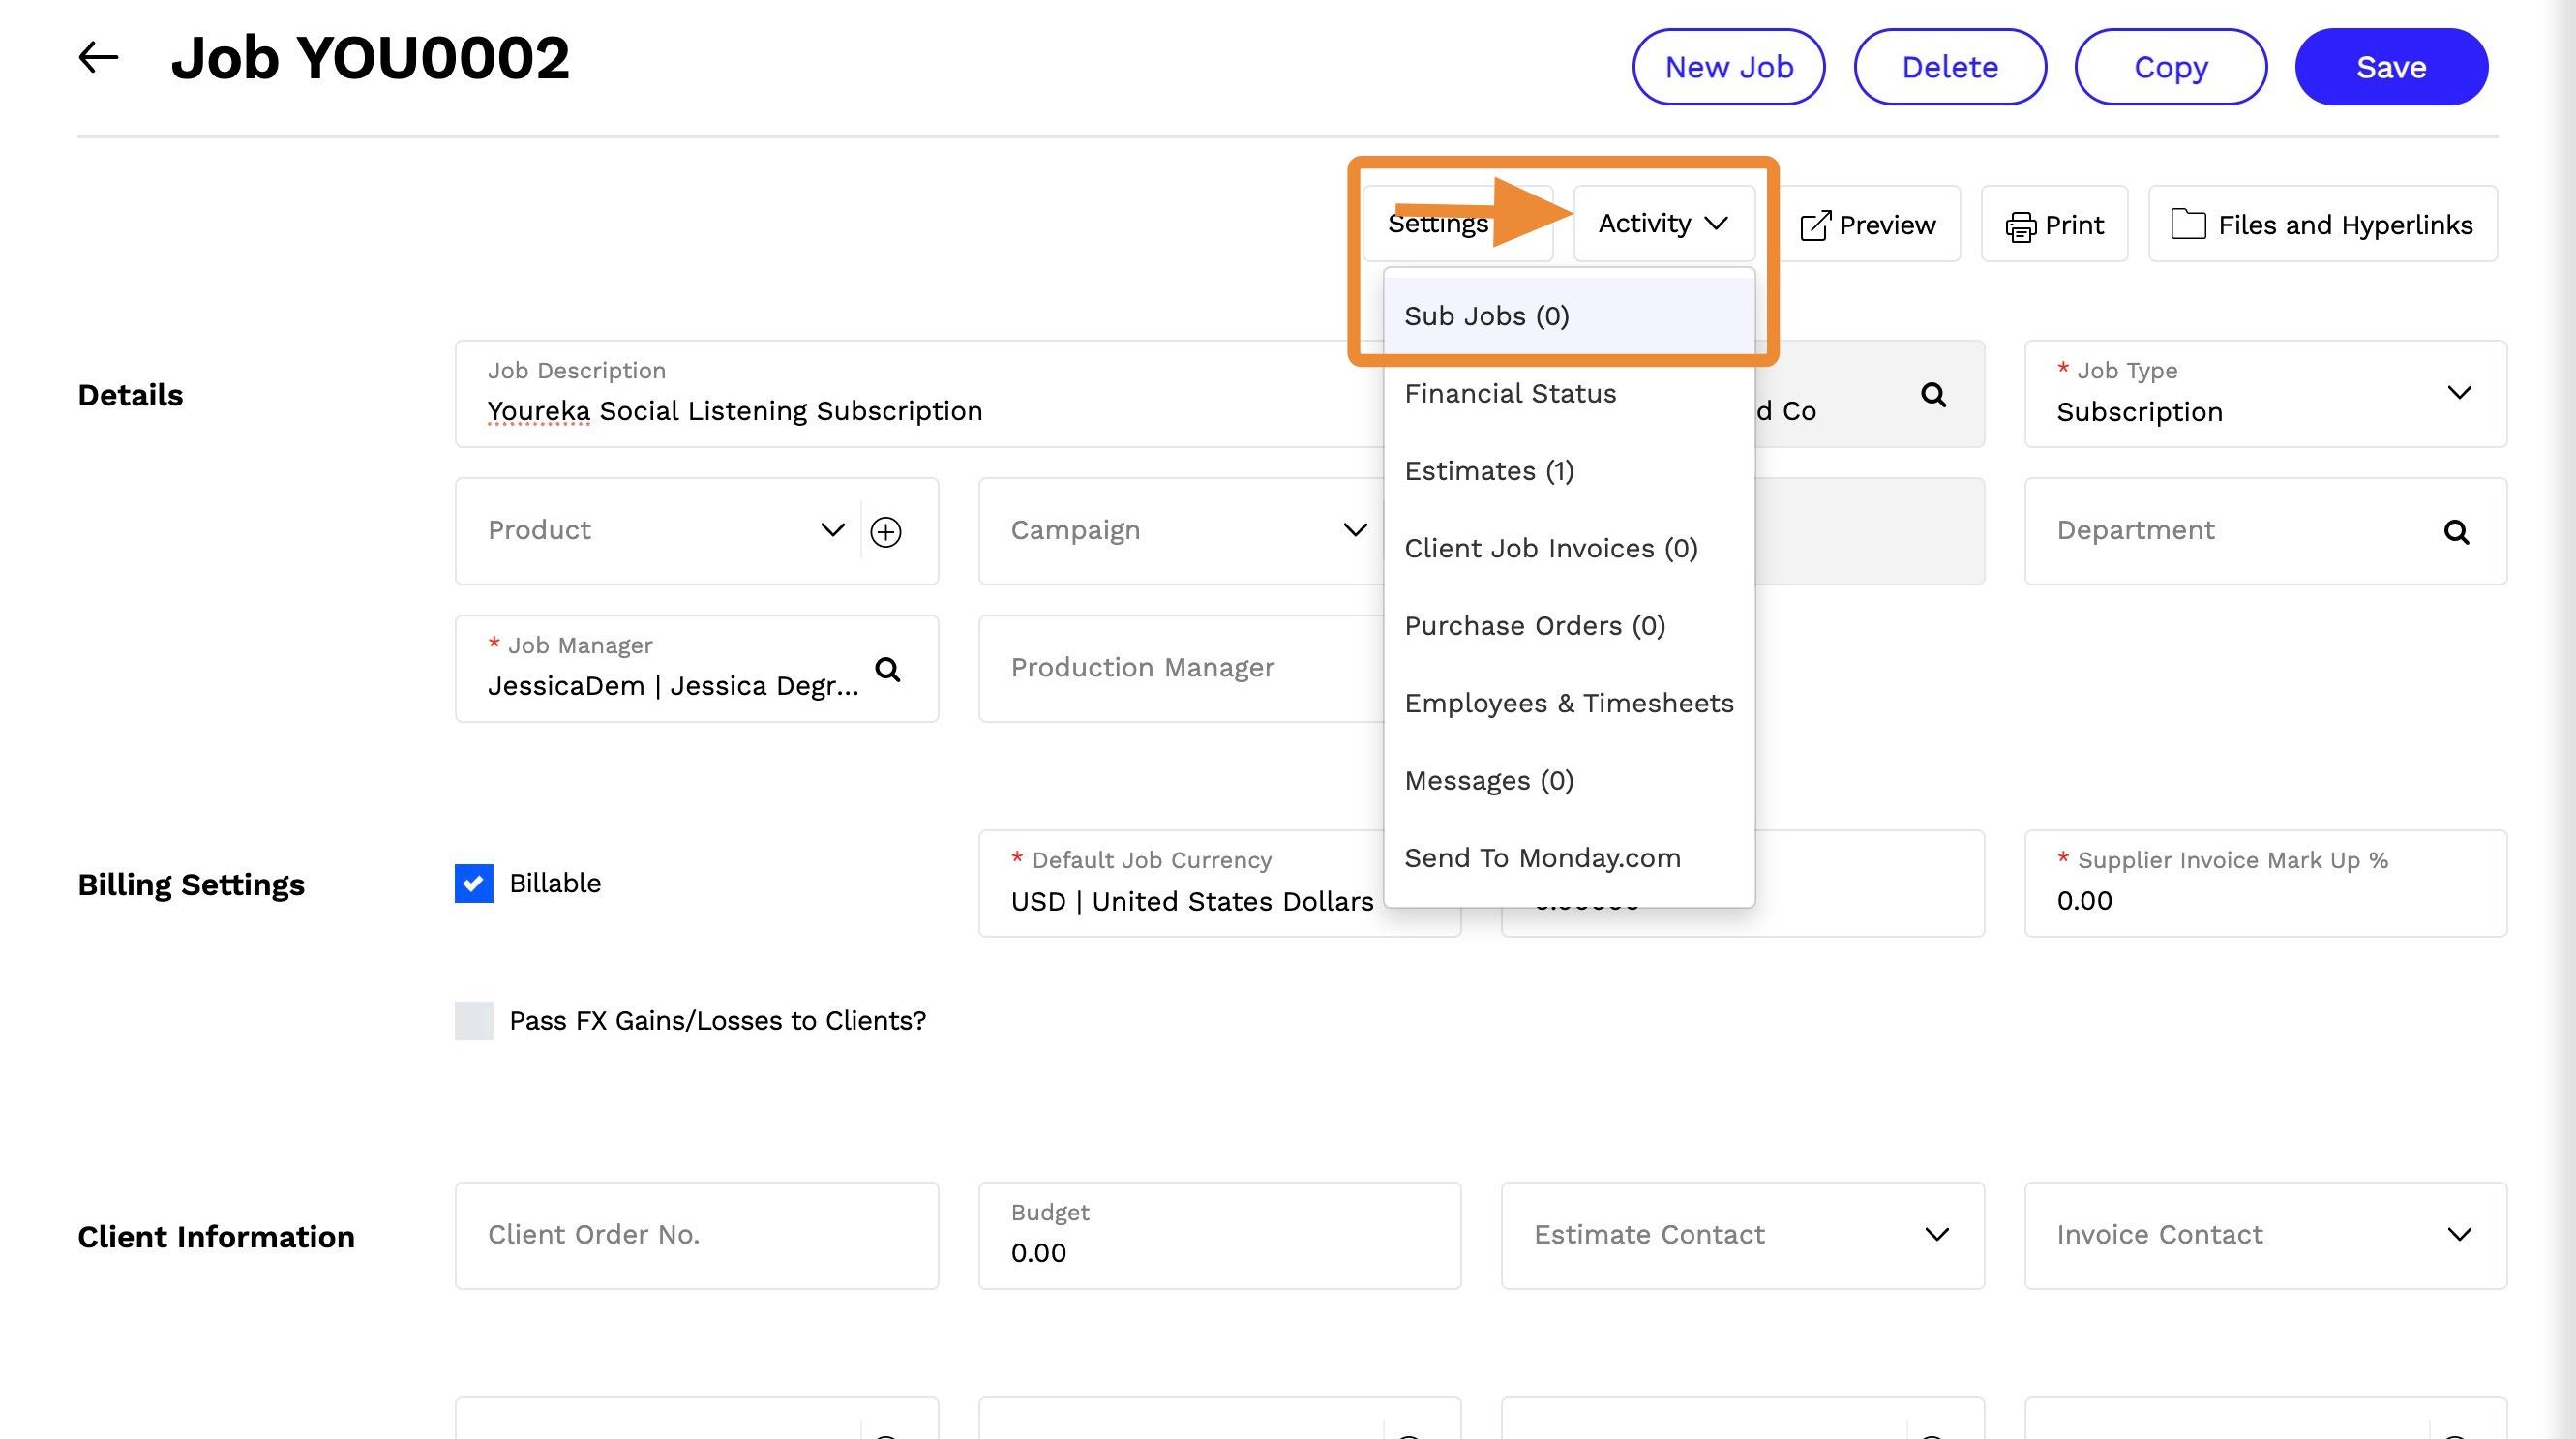
8. Access the Sub Jobs Section
- Click on Activity at the top of the page.
- Select Sub Jobs from the dropdown menu
9. Click New Sub Job
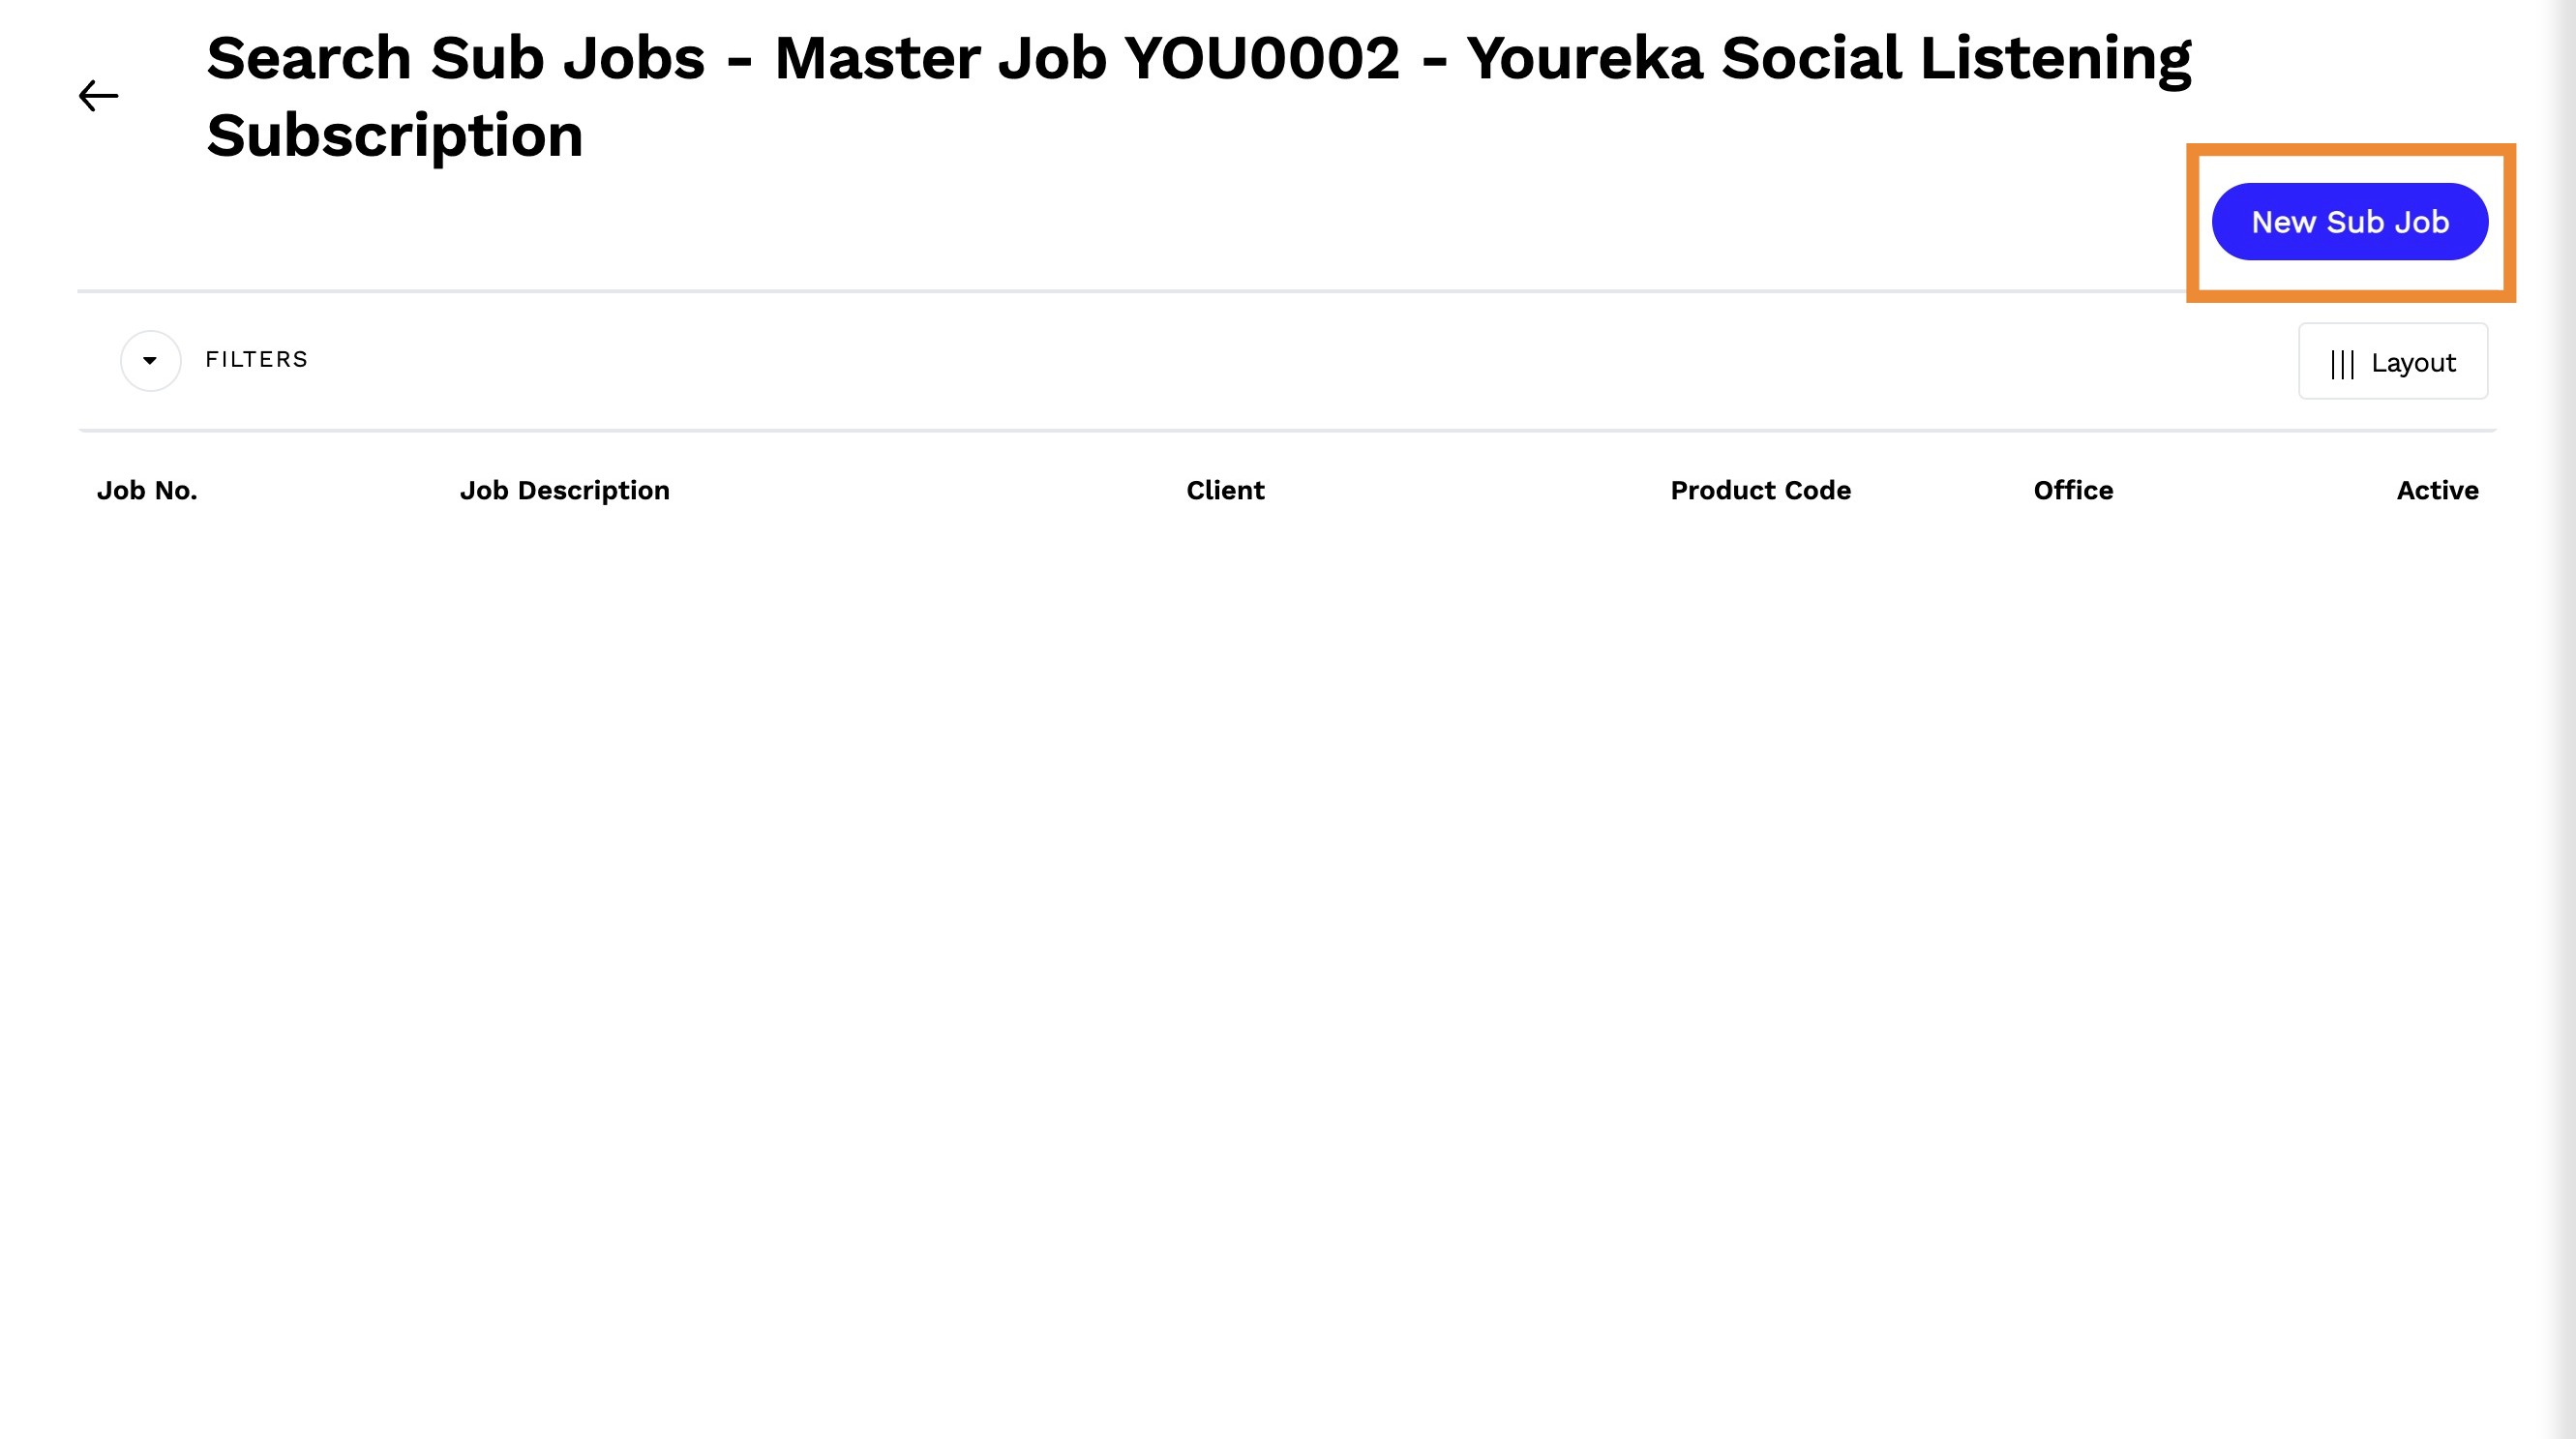
10. Enter the required details for the Sub Job
11. Click Save to finalize the sub-job creation
Tip: Additional Sub Jobs
- You can create multiple sub-jobs under the same Master Job.
- Each sub-job will be assigned a sequential number
- Sub-jobs automatically inherit the Master Job’s office but can be assigned to different offices if needed.