![AccountAbility_logo_primary_fullcolor-1.png]](https://knowledgebase.counta.com/hs-fs/hubfs/AccountAbility_logo_primary_fullcolor-1.png?height=40&name=AccountAbility_logo_primary_fullcolor-1.png)
Step by Step Guide:
Post a Timesheet
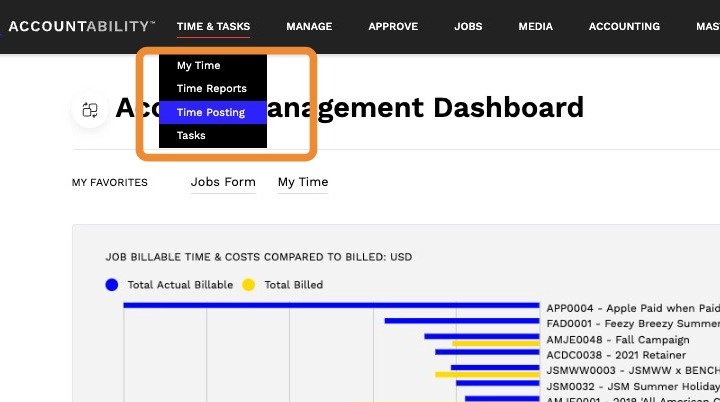
1. Navigate to TIME & TASKS > Time Posting.
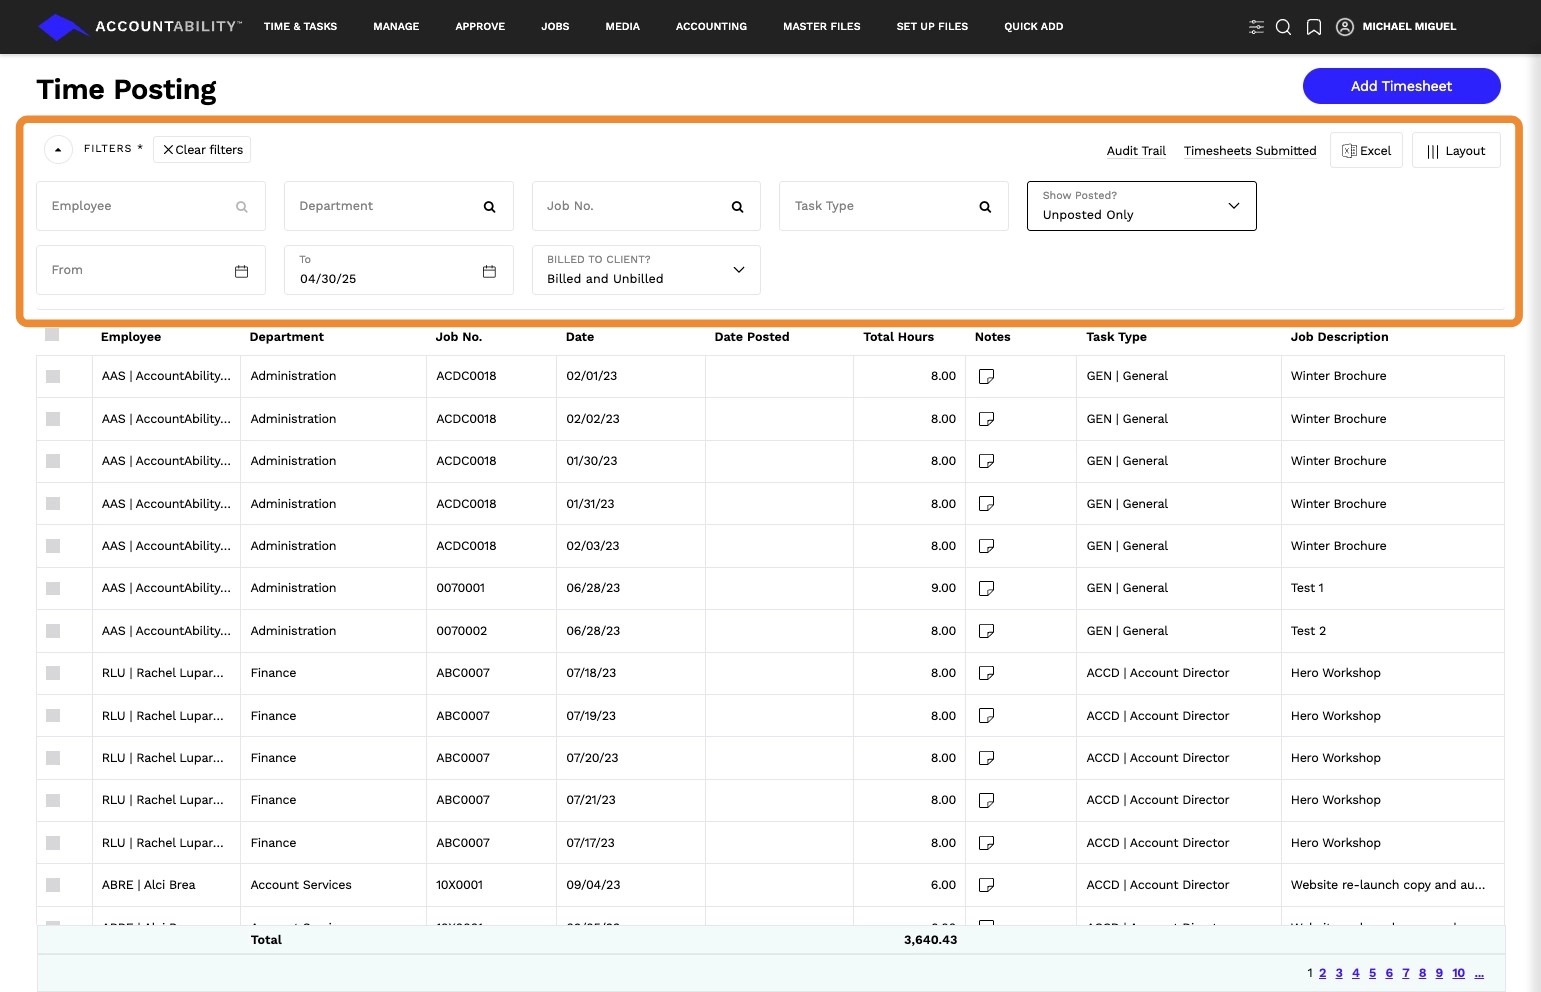
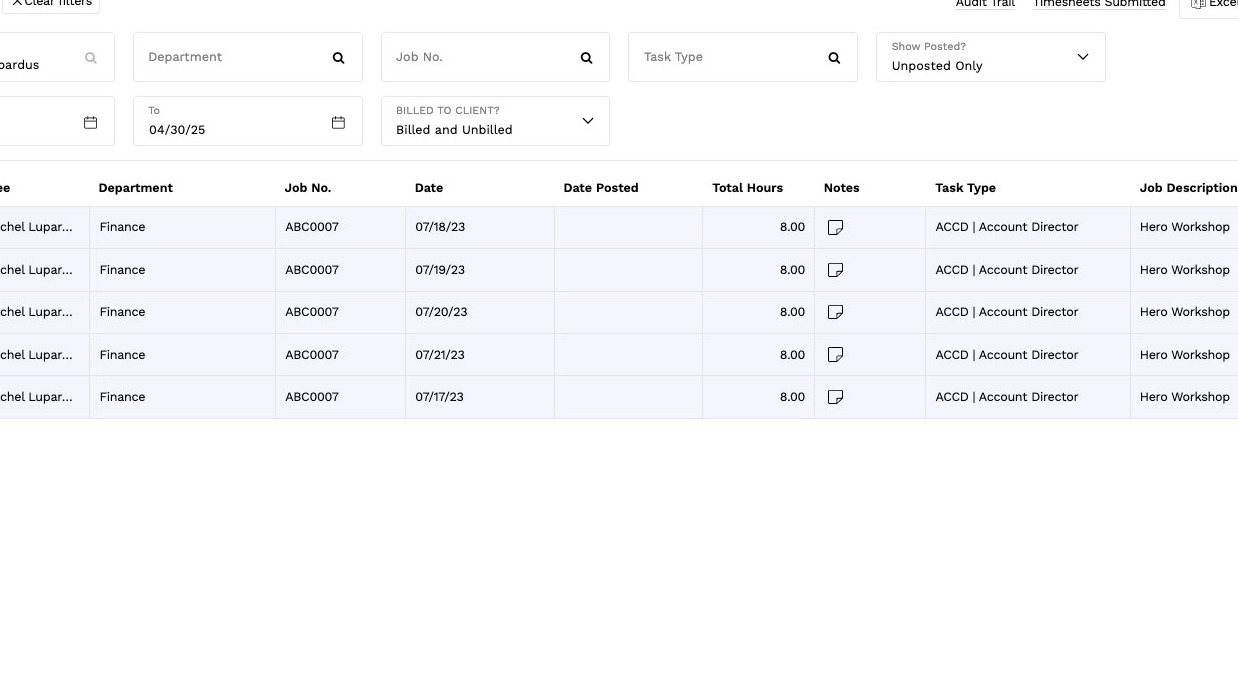
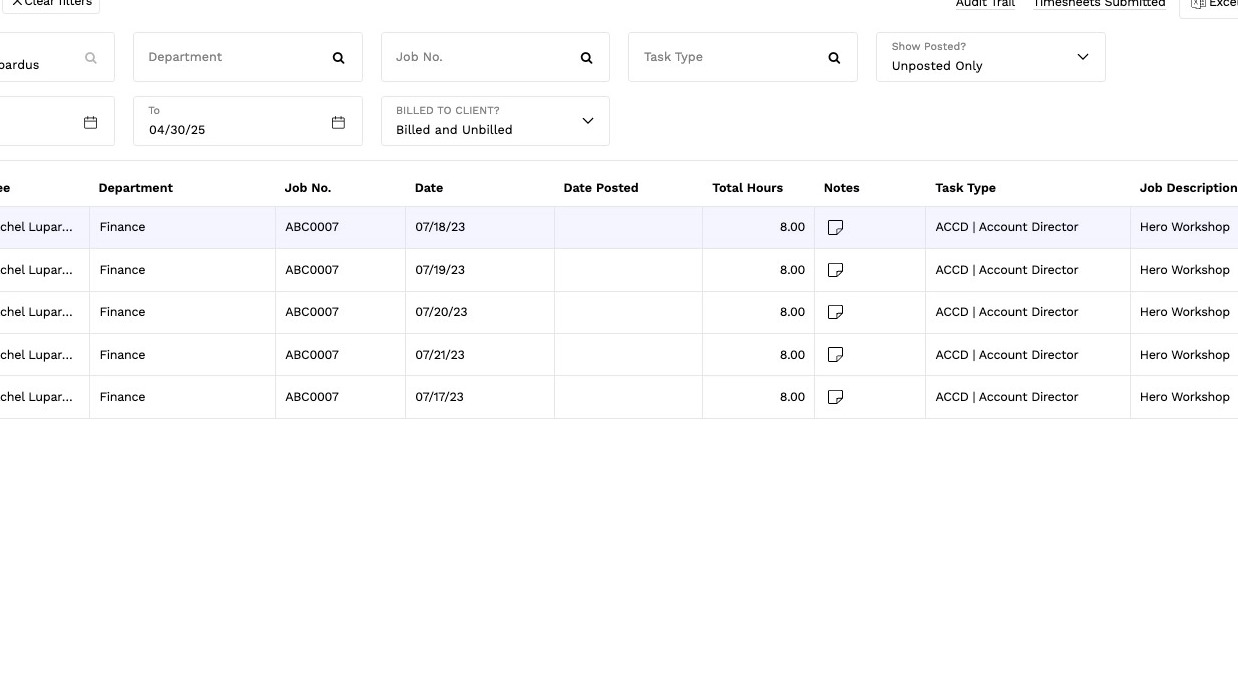
2. Use the filters at the top to locate time entries ready for posting. Available filters include:
- Employee – search by name or user code
- Department – filter by department code
- Job No. – internal or client project number
- Task Type – category of time entry
- Show Posted – select from:
- Posted Only
- Unposted Only
- Posted and Unposted
- From – set a date range
3. For example, select the Employee field and enter the name or user code.
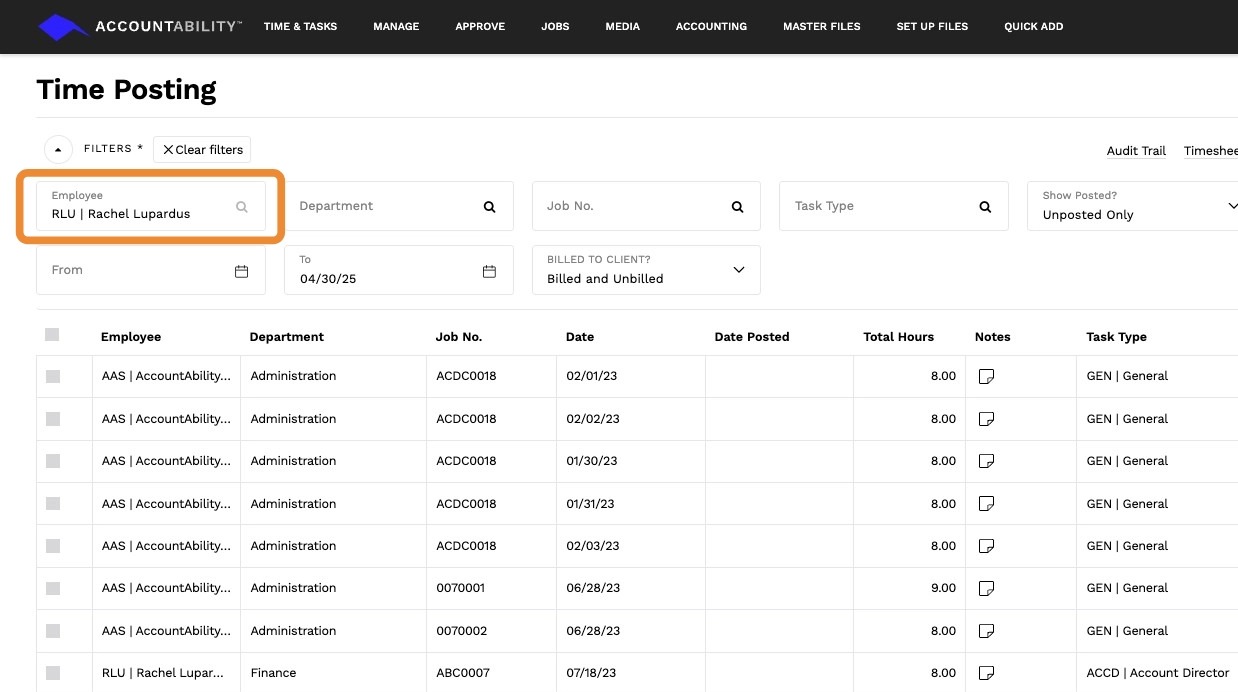
4. Check the boxes next to the entries you want to post.
Click Post to complete.
Unpost a Timesheet
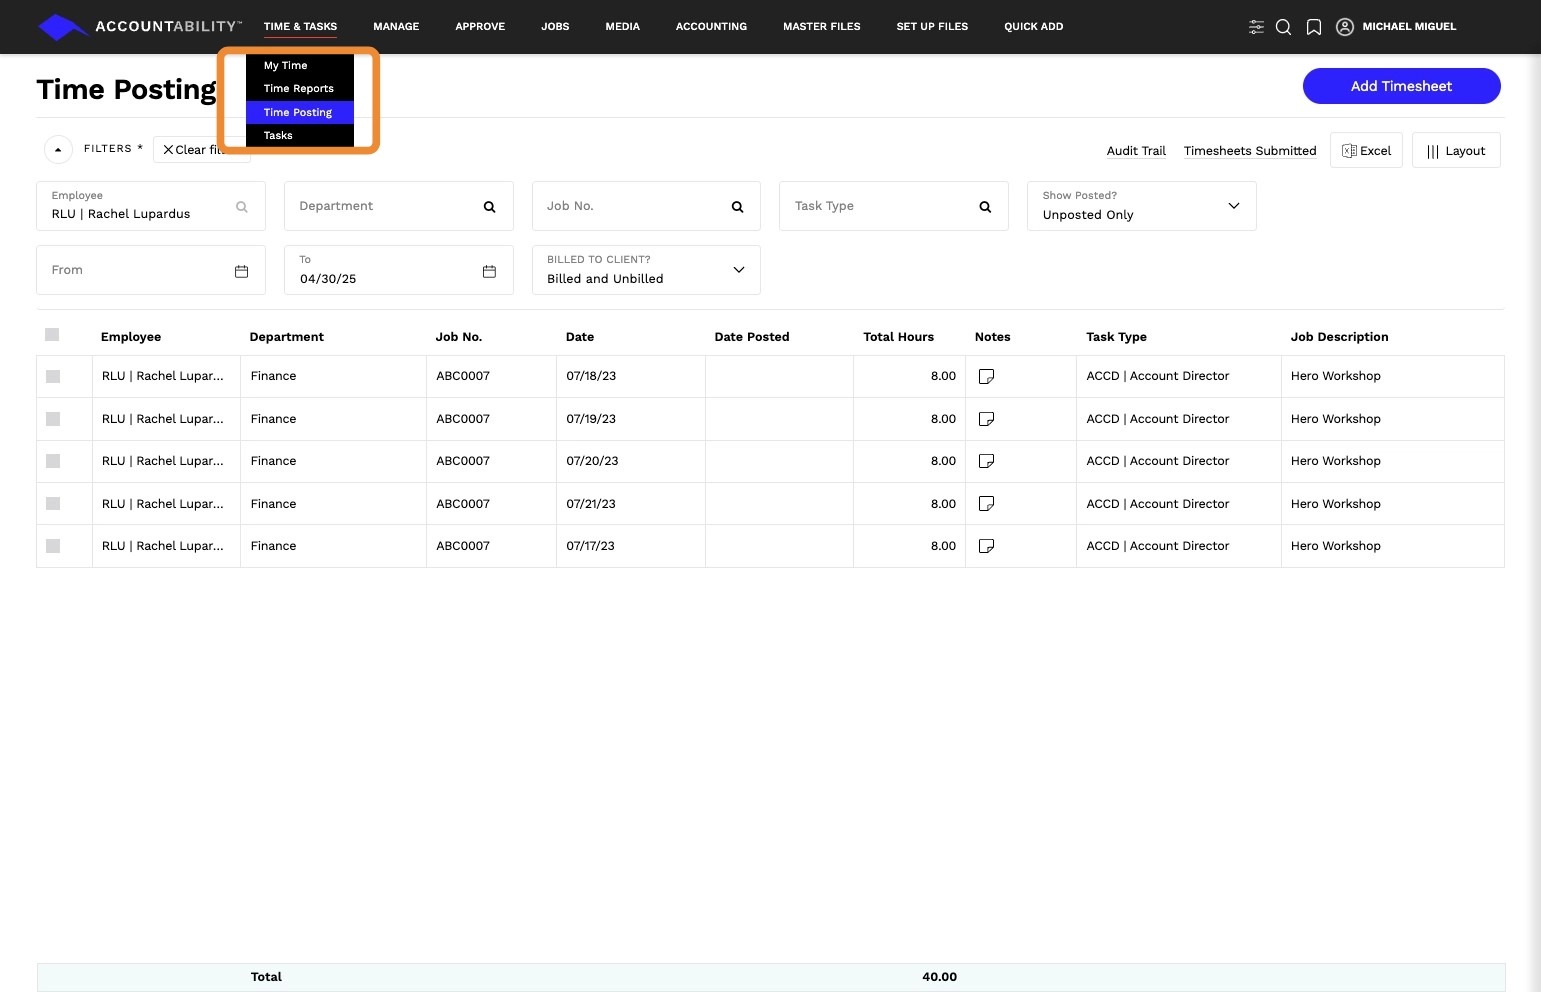
5. Navigate to TIME & TASKS > Time Posting.
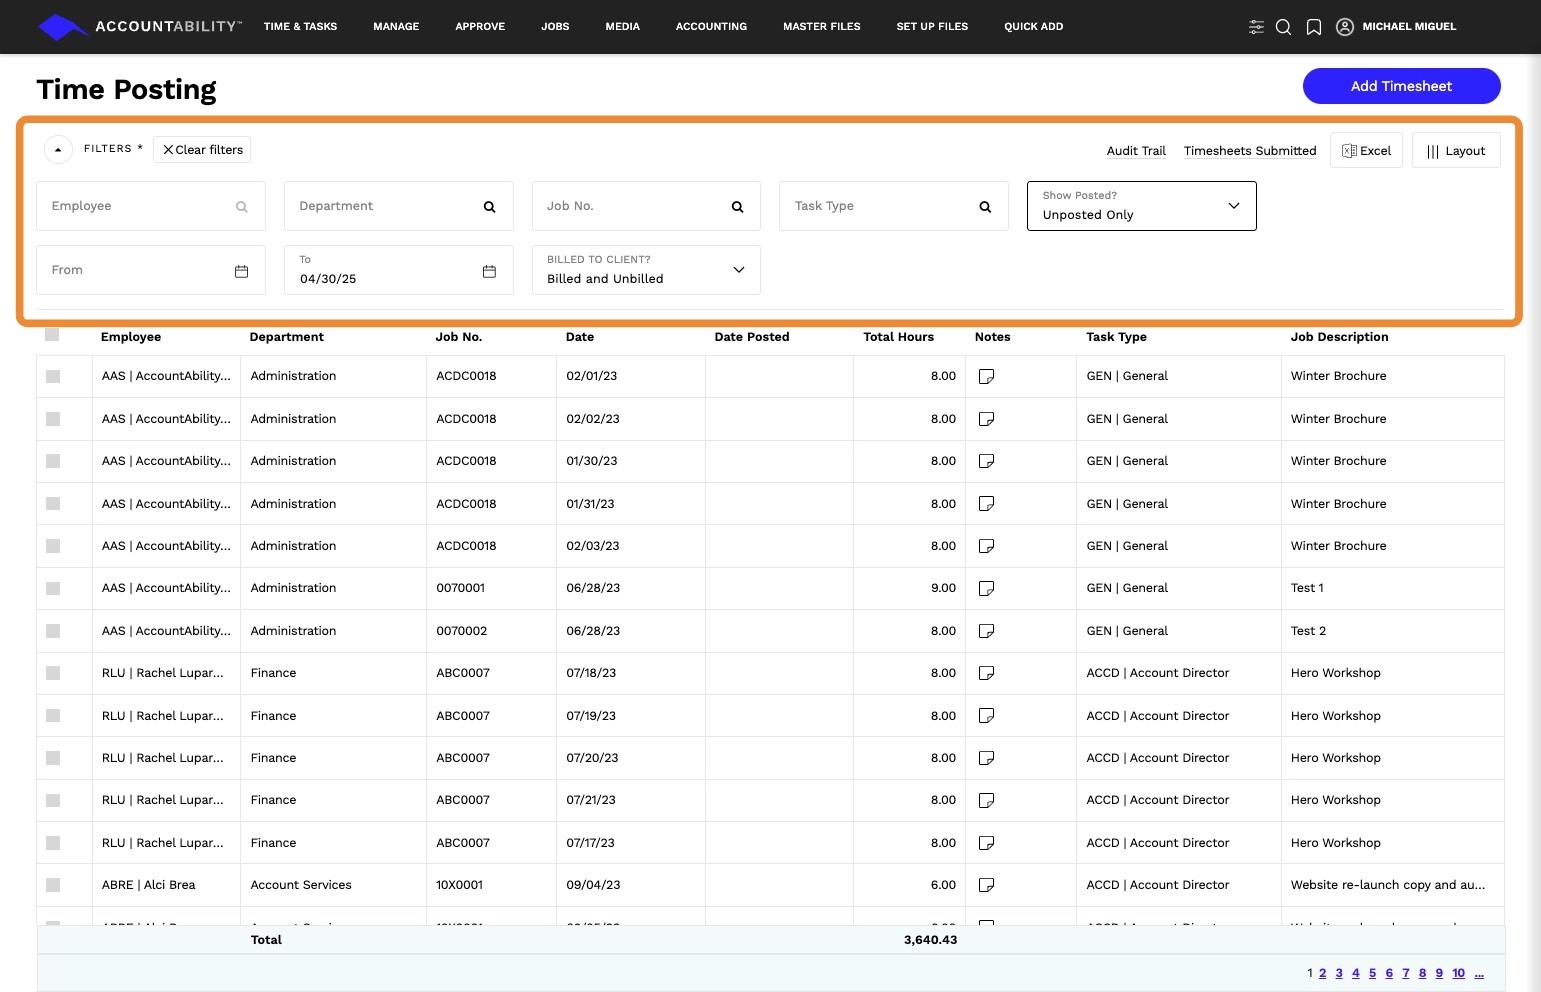
6. Use the filters at the top to locate time entries ready for unposting. Available filters include:
- Employee – search by name or user code
- Department – filter by department code
- Job No. – internal or client project number
- Task Type – category of time entry
- Show Posted – select from:
- Posted Only
- Unposted Only
- Posted and Unposted
- From – set a date range
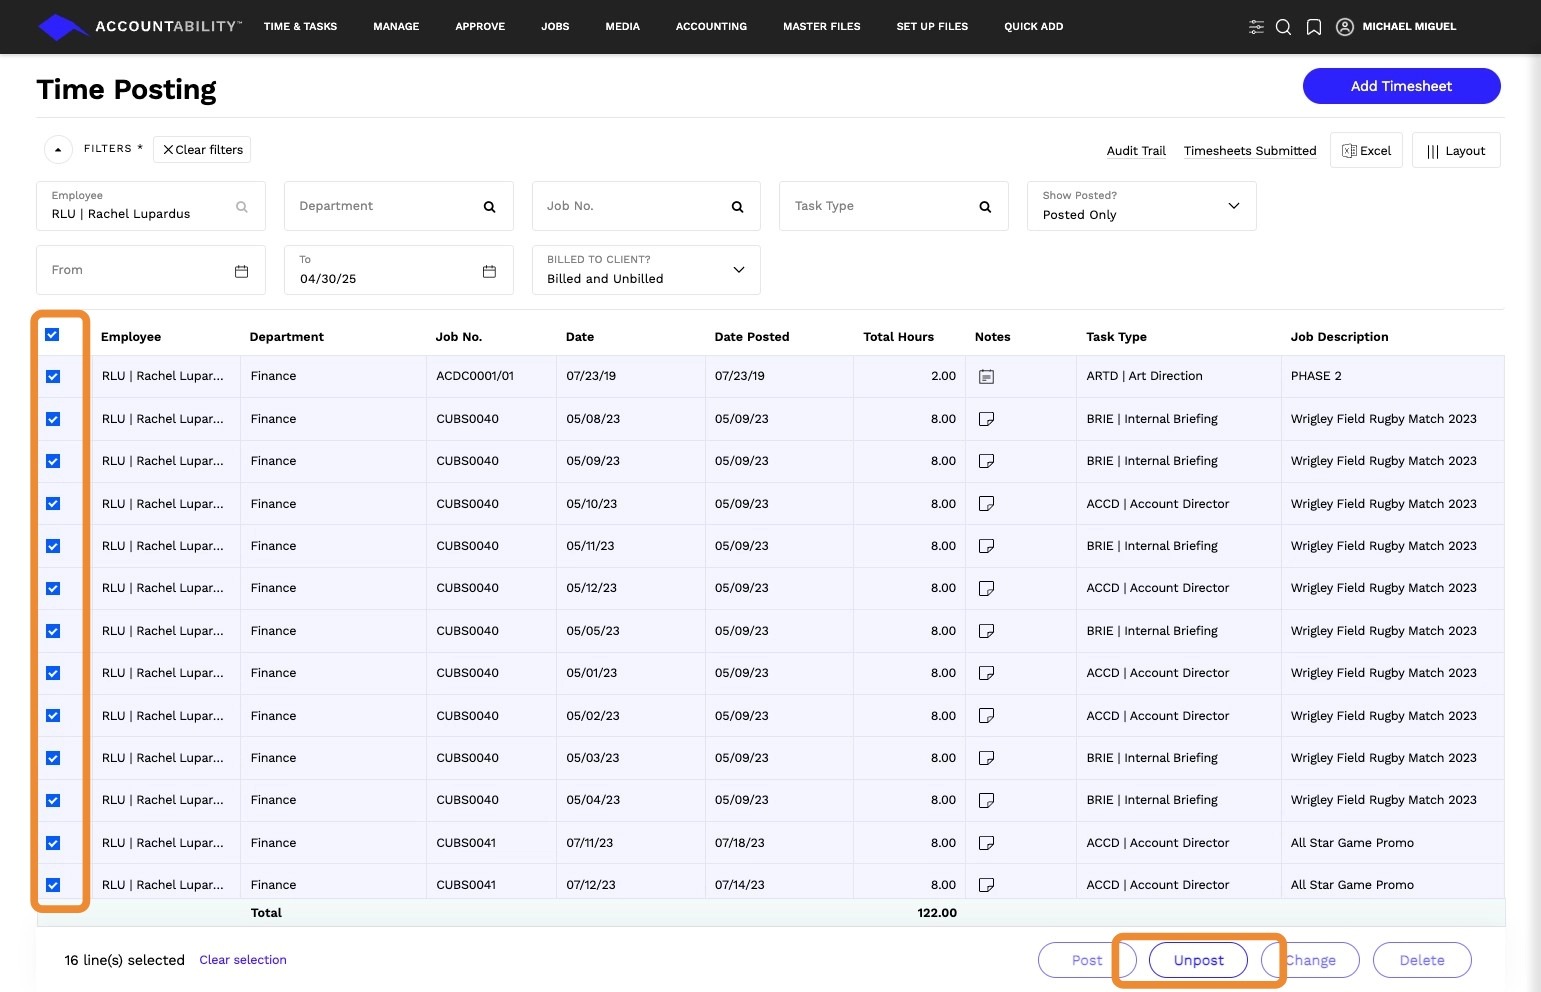
7. Select the checkboxes next to the entries you want to unpost.
Click Unpost.
Tip: Once a timesheet is unposted, you are able to change the timesheet
Change a Timesheet
8. Select the unposted time entries you want to change by checking the boxes.
Click Change.
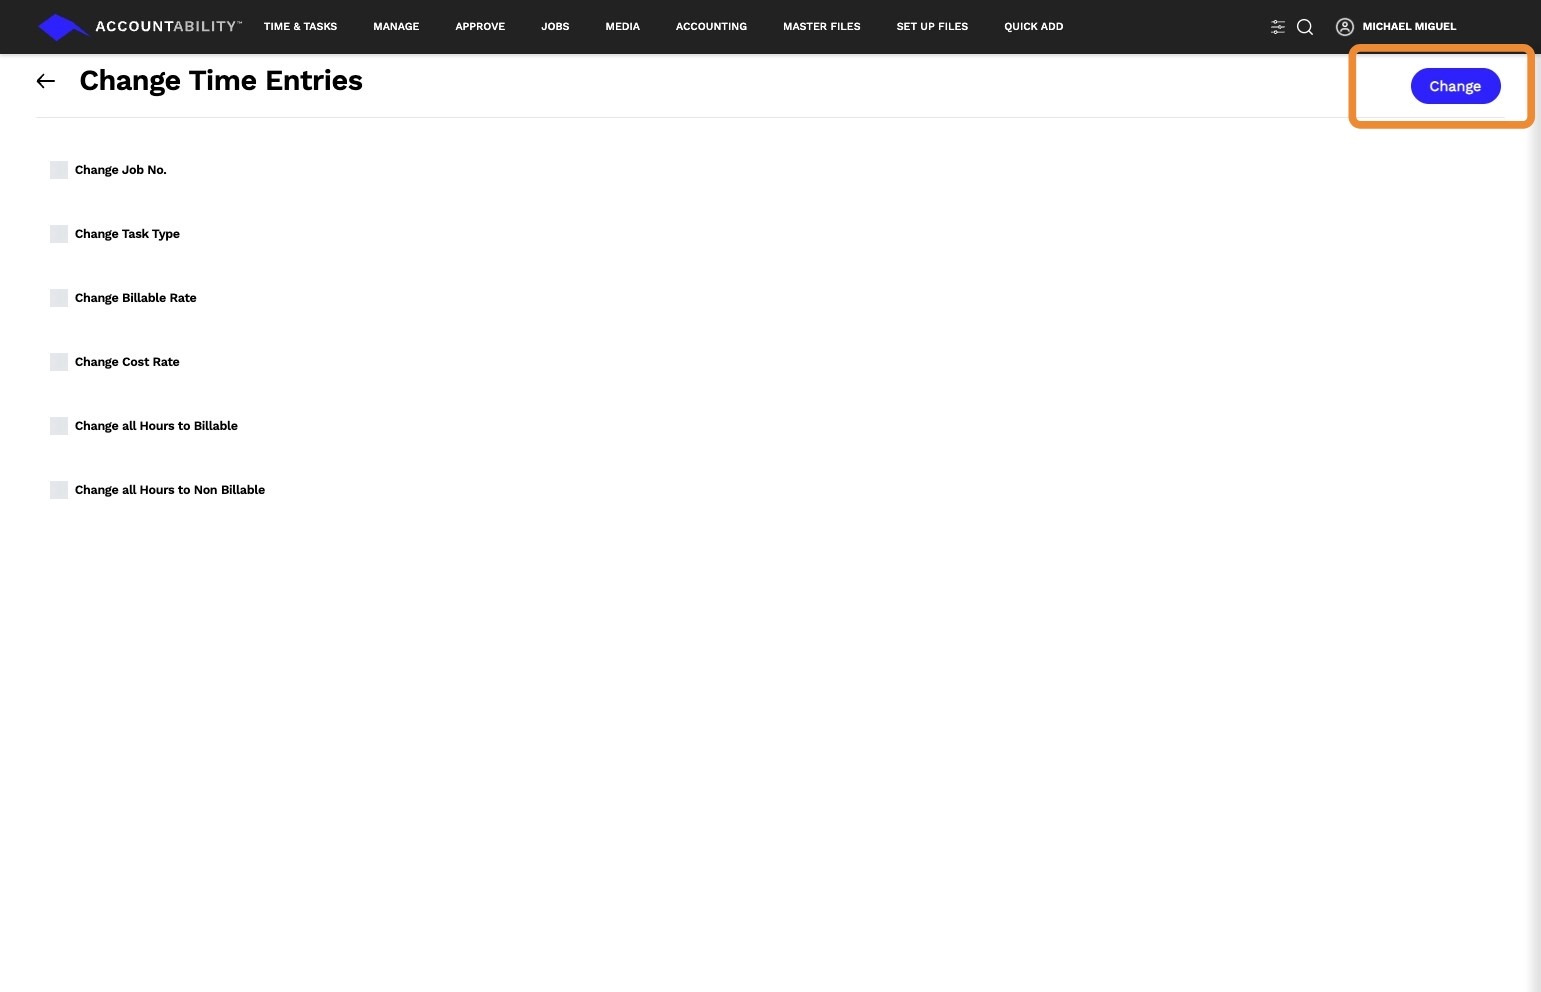
9. In the Change Time Entries screen:
You can change the following fields:
- Change Job No.
- Change Task Type
- Change Billable Rate
- Change Cost Rate
- Change all hours to Billable
- Change all hours to Non-Billable
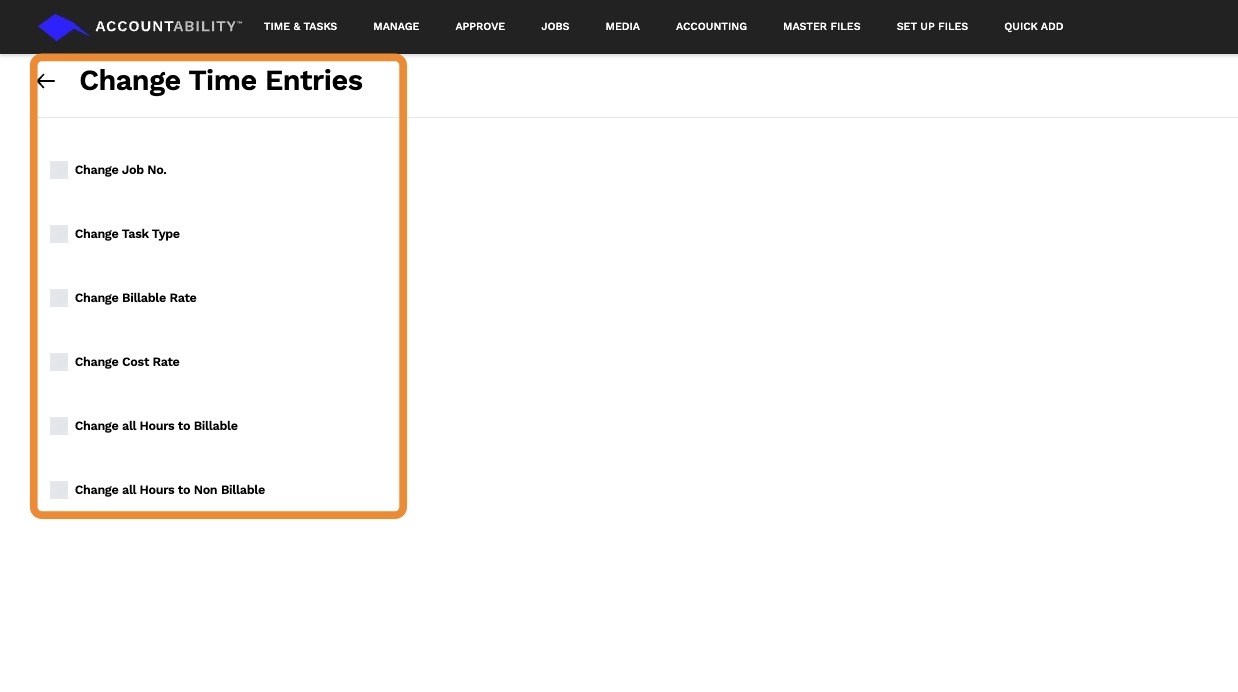
10. Enter the required changes and click on change